
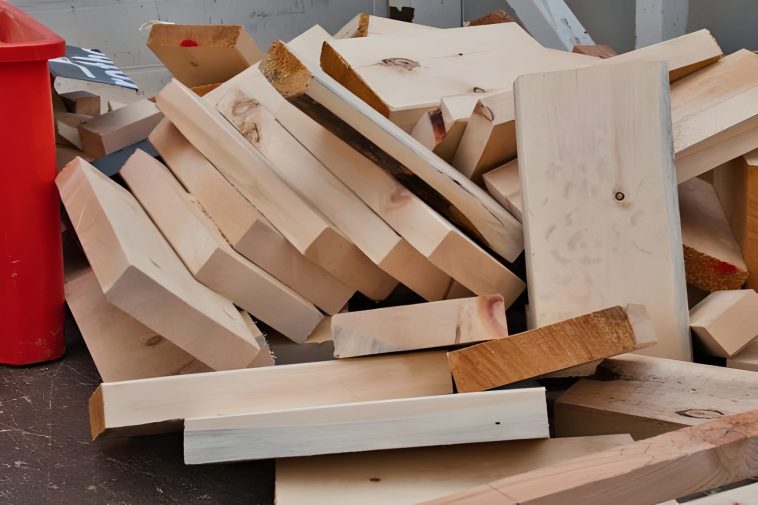
You know that moment when you finish a woodworking project and you’re left staring at a pile of leftover pieces? Yeah, that guilty feeling when you toss them in the trash, knowing deep down they could’ve been something useful. I’ve been there more times than I’d like to admit, and honestly, it haunts me a little every time.
Here’s the thing: Americans toss about 170 million tons of construction waste annually, and a hefty chunk of that is perfectly good wood. We’re literally throwing money in the dumpster. But what if I told you those “worthless” scraps could become coasters, shelves, or even a side table?
Today, I’m sharing 25 scrap wood projects that’ll transform your guilt into creativity. I’ve organized everything by skill level and scrap size, so whether you’ve got tiny offcuts or longer boards, you’ll find something perfect. Trust me, even that 3-inch piece you almost chucked? It’s got potential.
How to Organize Your Scrap Wood
Okay, real talk: hoarding scraps without a system is chaos. Ask me how I know. :/
Sort by size. Create three bins: small (under 12 inches), medium (12-24 inches), and large (24+ inches). This saves you from digging through everything when inspiration strikes.
Sort by wood type. Keep your pine separate from your oak, your cedar away from your plywood. Different woods need different approaches, and you’ll thank yourself later.
Small space solutions. Wall-mounted racks work wonders. Those hanging shoe organizers? Perfect for storing thin strips and small pieces. Get creative—I’ve seen people use old filing cabinets, and honestly, it’s genius.
The inspiration bin. Keep one container for oddly-shaped or particularly beautiful pieces that spark ideas. Sometimes the wood tells you what it wants to become. Sounds weird, but you’ll get it once you start.
Projects for Small Scraps (Under 12 inches)
1. Wooden Coasters
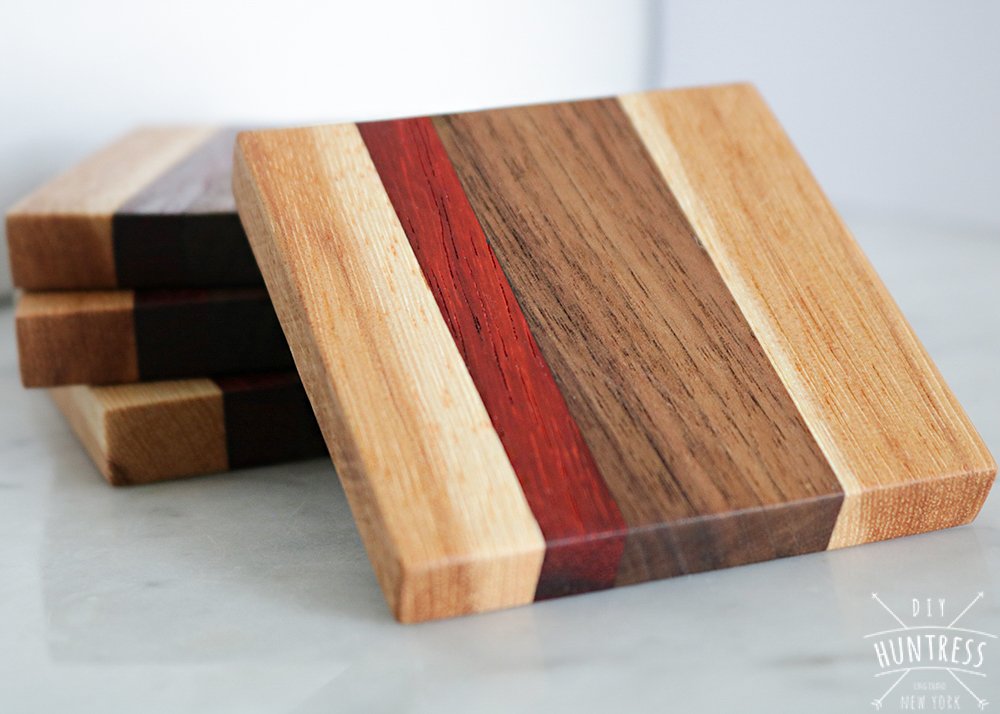
Credit : Diy huntress
Materials: Scrap wood pieces (3-4 inches square), sandpaper, wood finish or sealant, felt pads
Difficulty: Beginner | Time: 30 minutes
Ever looked at a water ring on your coffee table and thought, “I should’ve used a coaster”? Make your own! Cut your scraps into squares, sand them smooth, and apply a waterproof finish. Stick felt pads on the bottom, and boom—you’ve got custom coasters that actually look intentional. Mix different wood types for a cool mismatched set.
2. Plant Markers
Materials: Small wood scraps, pencil or wood-burning tool, outdoor sealant (optional)
Difficulty: Beginner | Time: 20 minutes
Your garden deserves better than those plastic markers that fade after one season. Cut scraps into stakes, write plant names on them, and you’re done. Want to get fancy? Use a wood-burning tool for that rustic vibe. These last forever and look way better than anything from the store.
3. Drawer Dividers
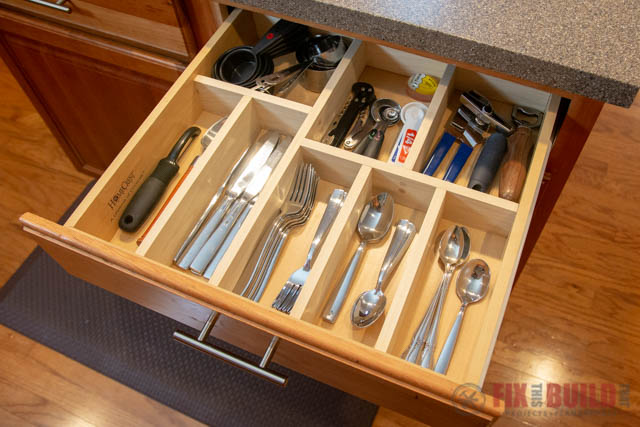
Materials: Thin wood scraps, wood glue, sandpaper
Difficulty: Beginner | Time: 1 hour
Messy drawers driving you crazy? Custom dividers are the answer. Measure your drawer, cut scraps to fit, and create a grid system with wood glue. This works brilliantly for utensil drawers, jewelry boxes, or that junk drawer everyone pretends they don’t have.
4. Napkin Rings
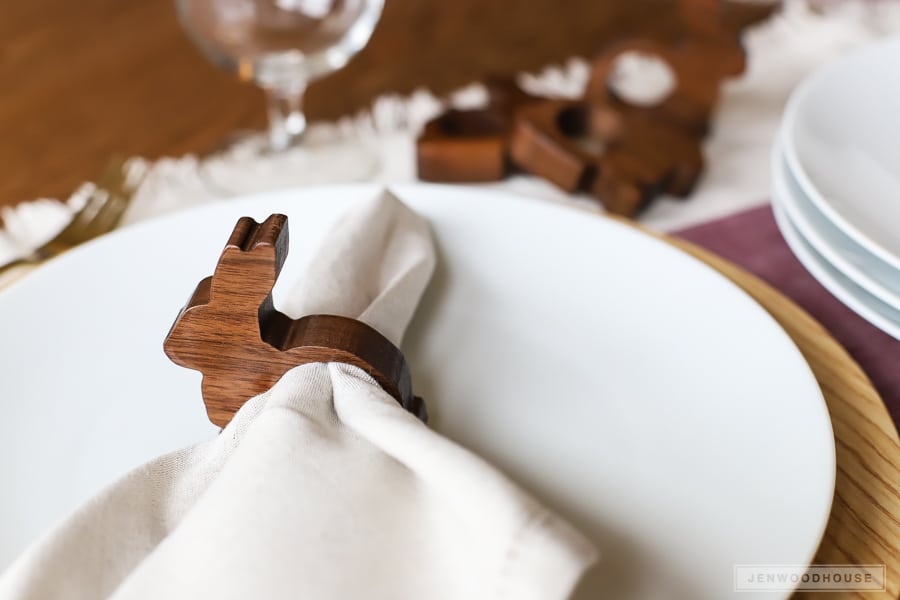
Credit : jenwoodhouse
Materials: Wooden dowels or thick scraps, saw, sandpaper, stain or paint
Difficulty: Beginner | Time: 45 minutes
Fancy dinner party coming up? Cut 1.5-inch sections from thick dowels or square pieces, sand the edges smooth, and finish them however you want. Stain for elegance, paint for fun—either way, your table setting just got an upgrade. FYI, these make fantastic last-minute gifts too.
5. Key Holders
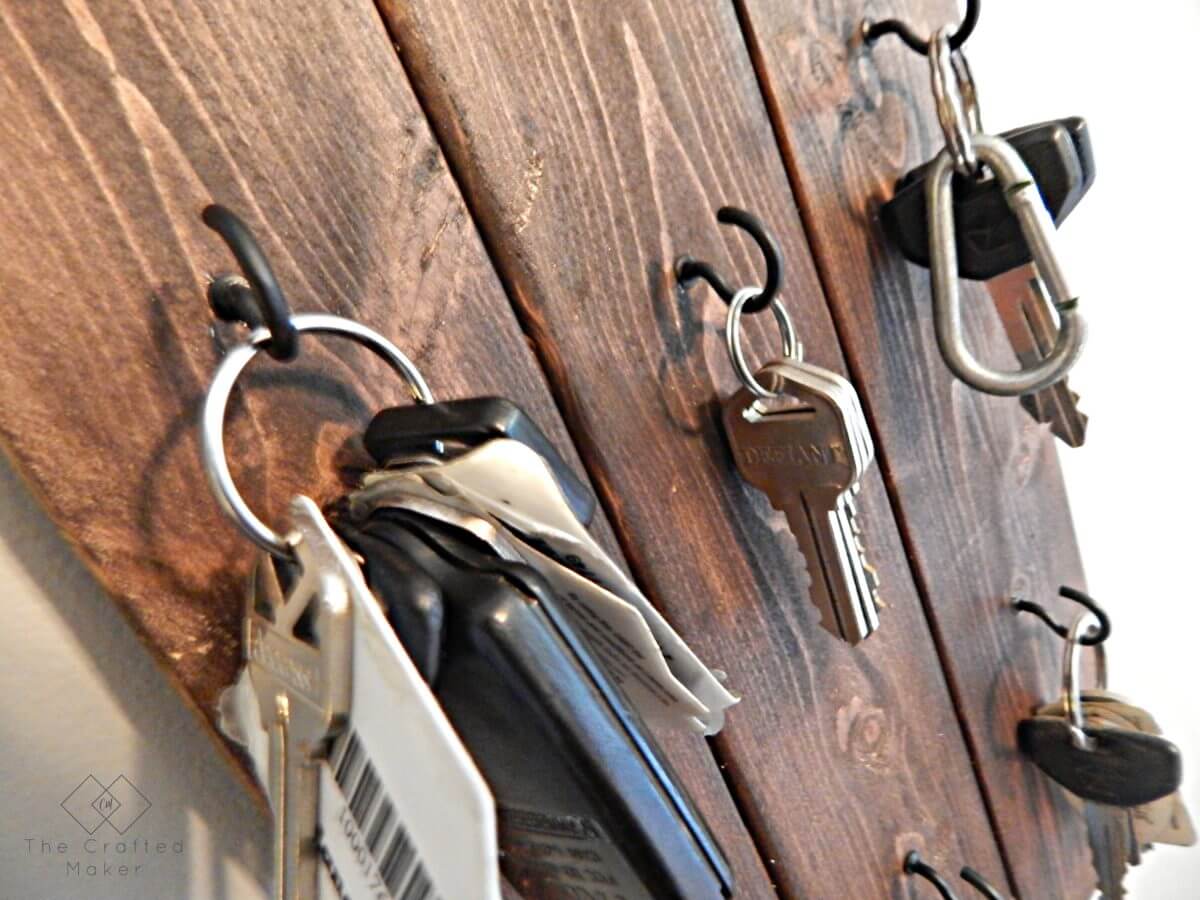
Credit : thecraftedmaker
Materials: Small wood piece (4×6 inches), hooks, sandpaper, hanging hardware
Difficulty: Beginner | Time: 1 hour
Stop losing your keys. Seriously. Sand a small piece of wood, screw in some hooks, add mounting hardware, and hang it by your door. You can keep it simple or jazz it up with stain, paint, or wood-burning designs. Your future self will thank you every single morning.
Projects for Medium Scraps (12-24 inches)
6. Floating Shelves
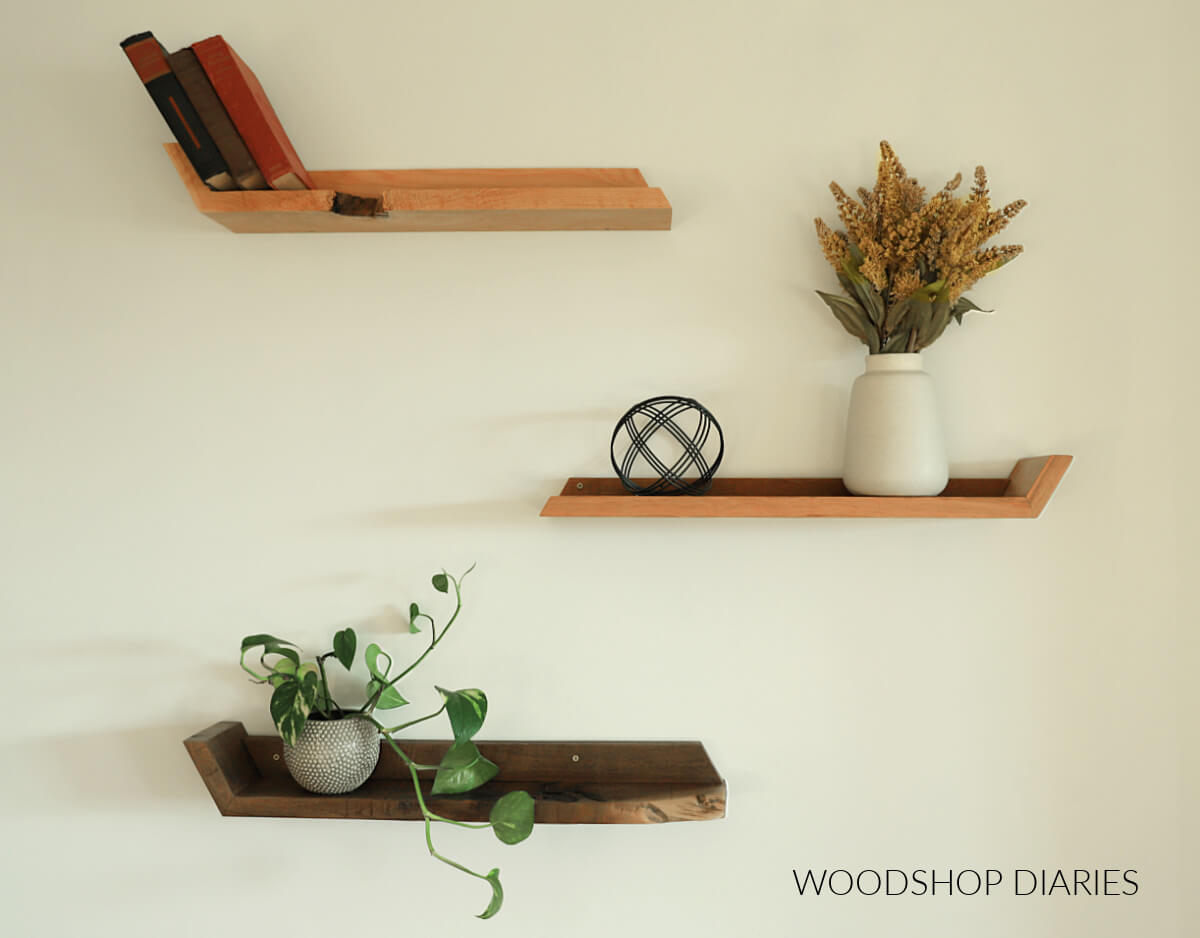
Credit : woodshopdiaries
Materials: Wood board (12-24 inches), brackets, sandpaper, wood finish, mounting hardware
Difficulty: Intermediate | Time: 2 hours
Floating shelves are the perfect weekend project that looks way harder than it actually is. Sand your scrap smooth, finish it however you like, and mount it with hidden brackets. Instant storage and style points. I’ve made probably a dozen of these, and they never get old.
7. Picture Frames
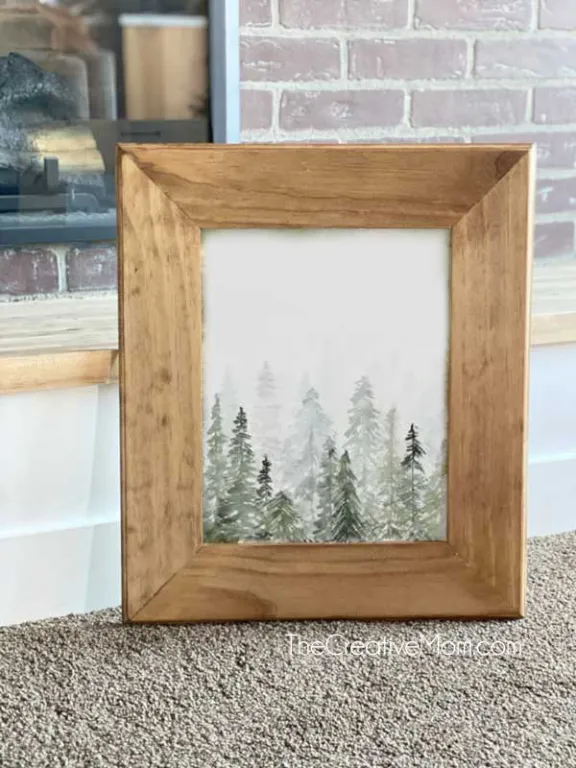
Credit : thecreativemom
Materials: Four matching wood pieces, wood glue, corner clamps, glass (optional), backing board
Difficulty: Beginner | Time: 1 hour
Why buy frames when you can make custom ones? Cut your scraps at 45-degree angles, glue the corners together, and you’ve got a one-of-a-kind frame. The wood grain tells its own story, which beats generic store frames every time.
8. Serving Trays
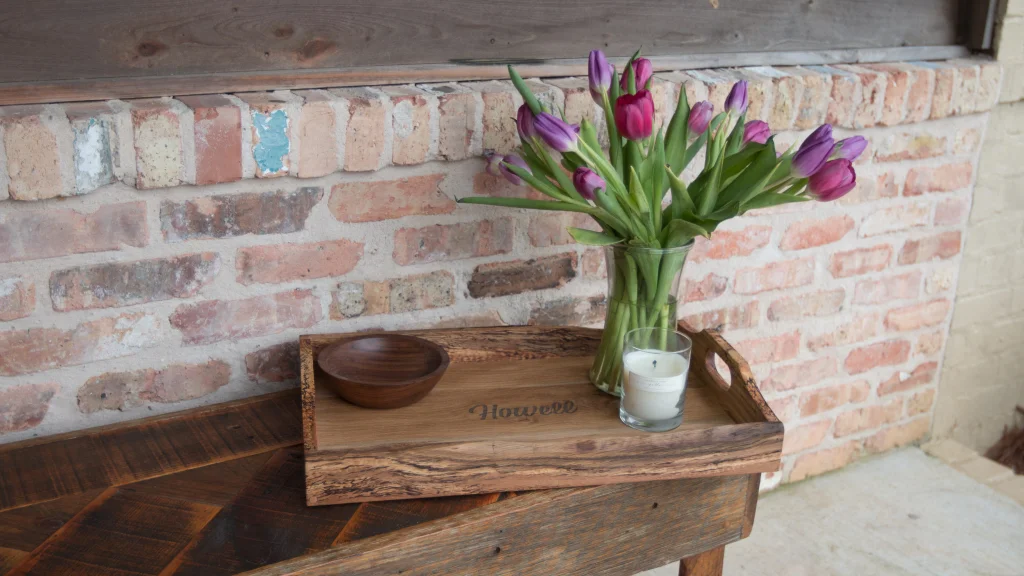
Credit : Instructables
Materials: Wood scraps for base and sides, handles, wood glue, screws, food-safe finish
Difficulty: Intermediate | Time: 2-3 hours
Remember those expensive serving trays you keep eyeing? You can build one. Create a base from wider scraps, add edge pieces for walls, attach handles, and finish with food-safe oil. Now you’ve got a tray that’ll impress at every brunch. And yes, people will ask where you bought it.
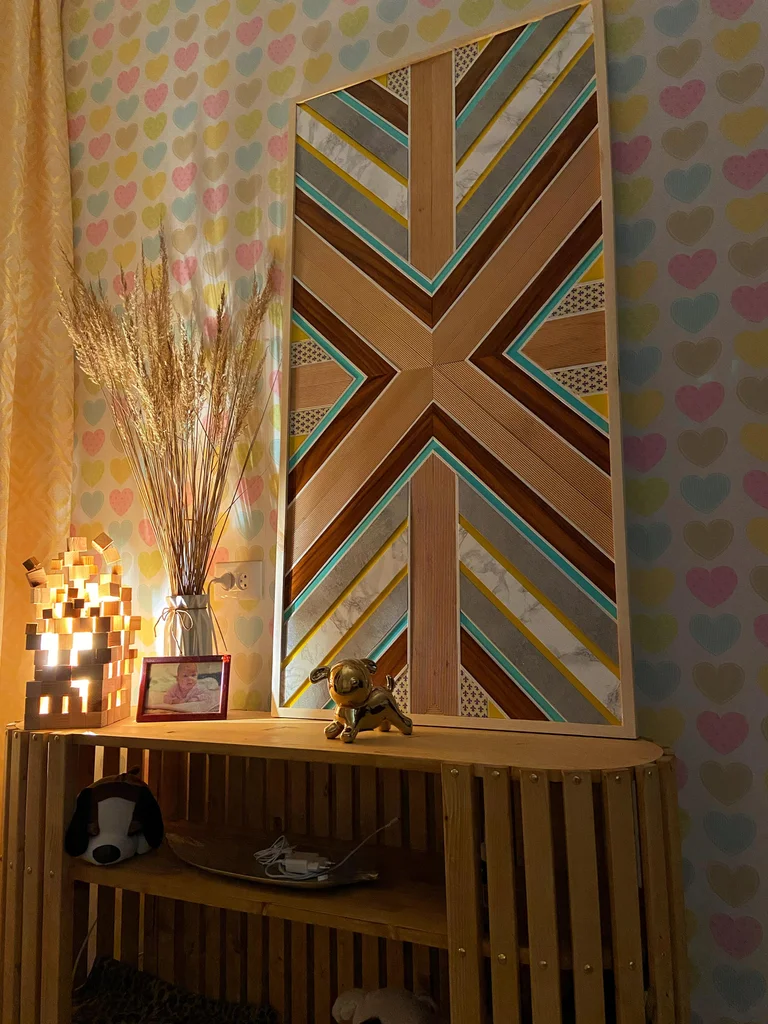
9. Wall Art/Geometric Designs
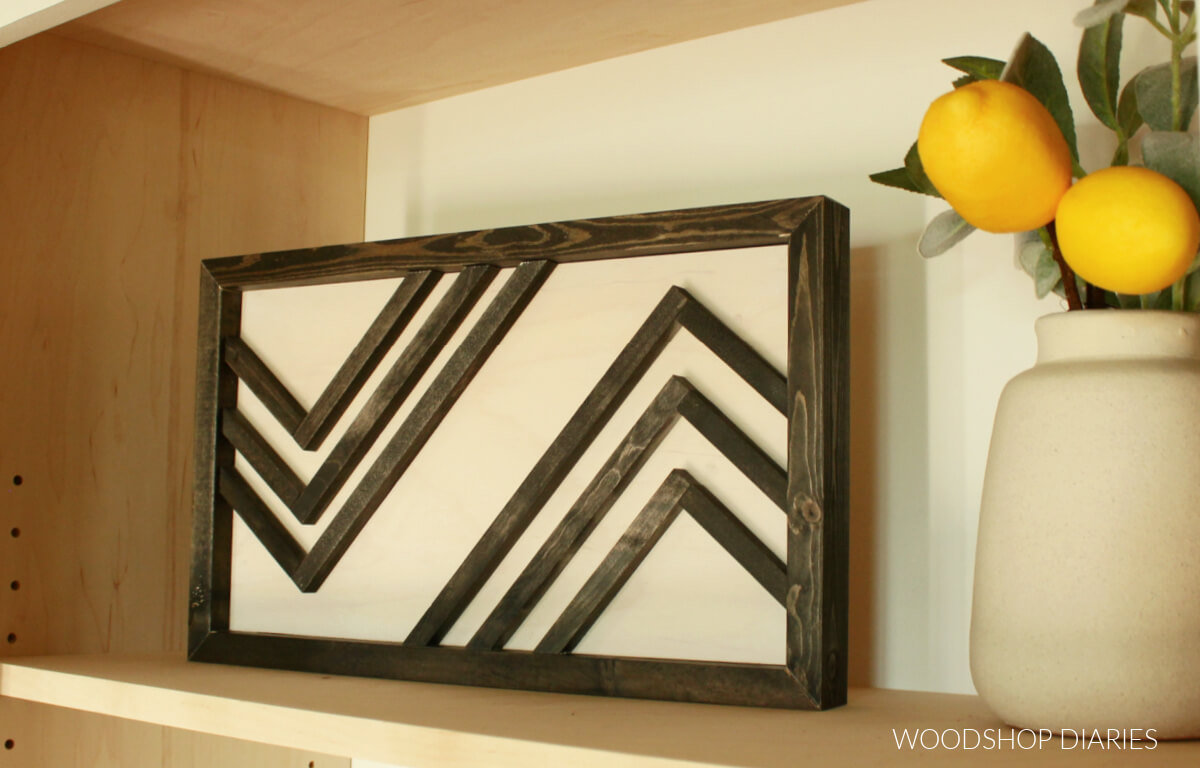
Credit : WoodShop Diaries
Materials: Various wood scraps, wood glue, paint or stain, mounting hardware
Difficulty: Beginner | Time: 1-2 hours
This is where weird shapes shine. Arrange scraps into geometric patterns, triangles, chevrons—whatever speaks to you. Glue them to a backing board, add some color, and you’ve created original wall art. No two pieces ever look the same, which is the whole point.
10. Tablet or Book Stands
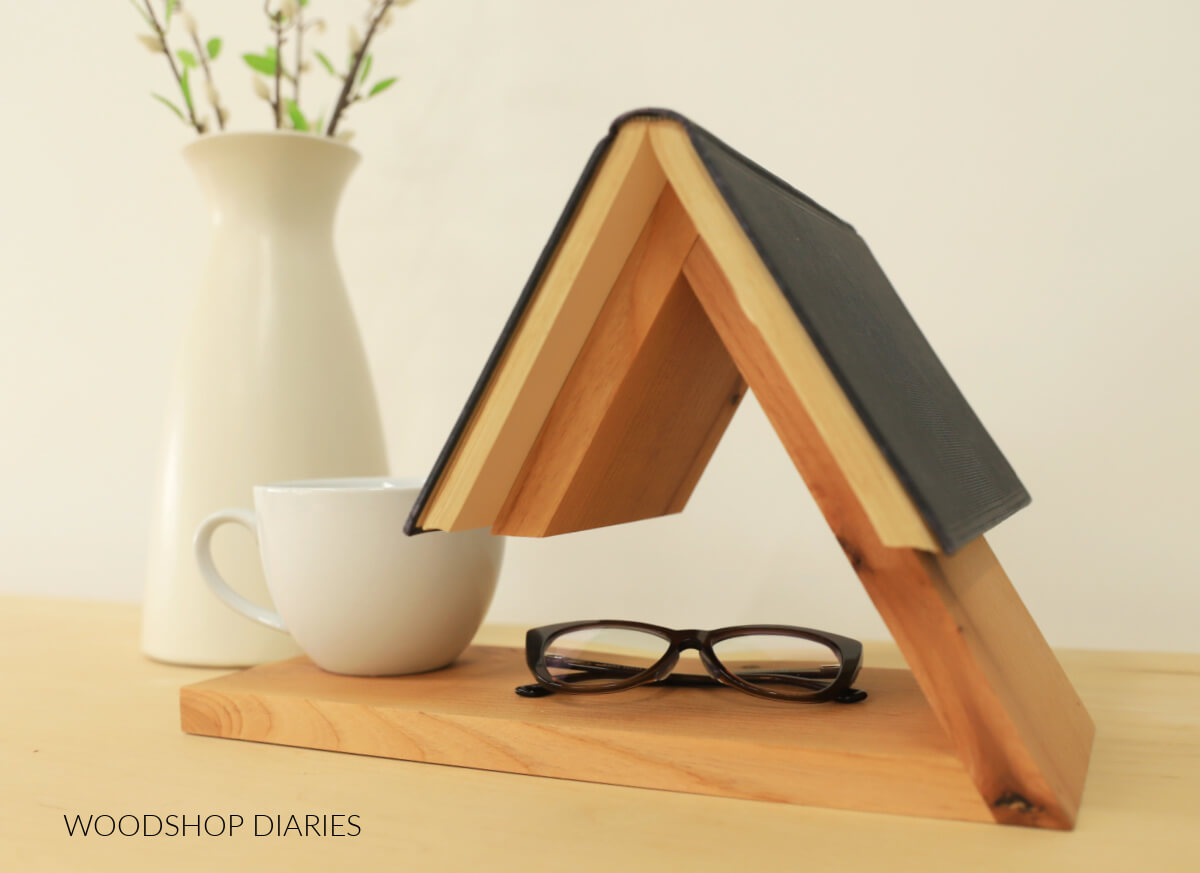
Credit : WoodShop Diaries
Materials: Wood scraps, wood glue, sandpaper, rubber pads
Difficulty: Intermediate | Time: 1.5 hours
Tired of propping your tablet against random objects while you cook? Build a stand. Cut a back support and base at an angle, add rubber pads so it doesn’t slide, and you’re set. Works for tablets, books, or even displaying small art pieces.
11. Small Storage Boxes
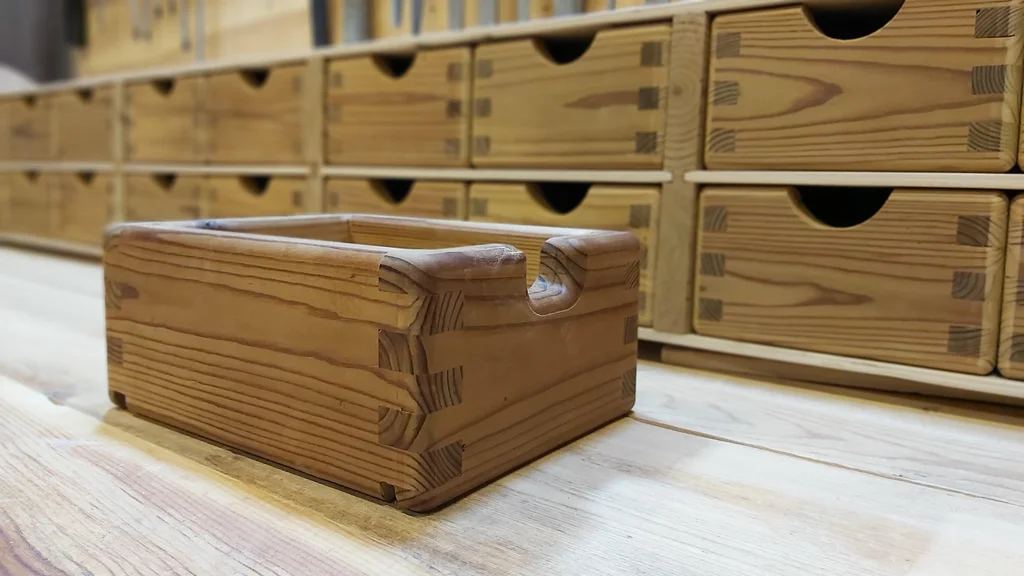
Credit : Instructables
Materials: Wood scraps for sides and bottom, wood glue, small nails or screws, sandpaper, finish
Difficulty: Intermediate | Time: 2-3 hours
Storage boxes from scraps just make sense. Cut pieces for the four sides and bottom, glue and nail them together, sand everything smooth, and finish. These work for desk supplies, remote controls, craft materials—basically anything that needs wrangling.
12. Wine Racks
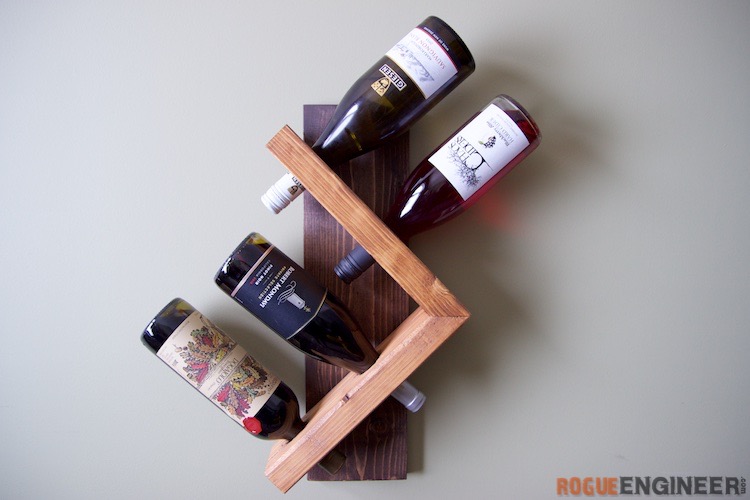
Credit : rogueengineer
Materials: Wood scraps, drill, sandpaper, wood finish, mounting hardware
Difficulty: Intermediate | Time: 2 hours
Wine bottles need homes too. Drill holes slightly larger than bottle necks into your wood, sand everything, finish it, and mount it on the wall. Holds bottles horizontally and looks sophisticated. Your wine collection just leveled up.
13. Candle Holders
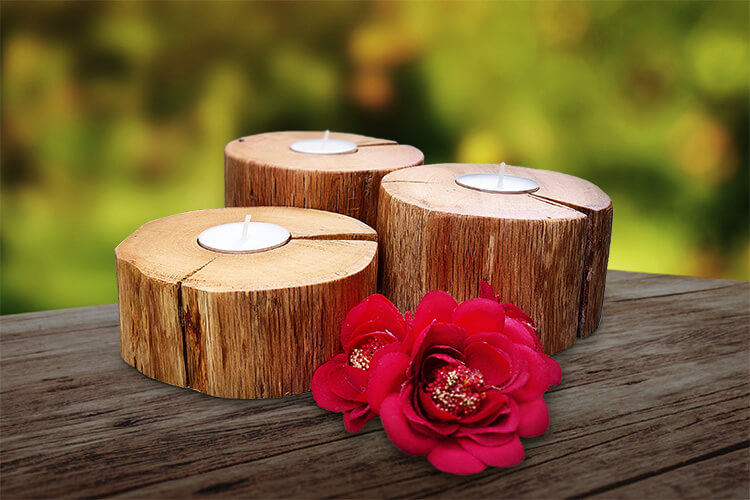
Credit : Belinka
Materials: Wood blocks, drill with spade bit, sandpaper, finish
Difficulty: Beginner | Time: 30 minutes
Quick, easy, and impressive. Drill holes sized for tea lights or votive candles into wood blocks, sand smooth, and finish. Group different heights together for a cozy tablescape. These also make great gifts when you need something handmade in a hurry.
Projects for Larger Scraps (24+ inches)
14. Side Tables
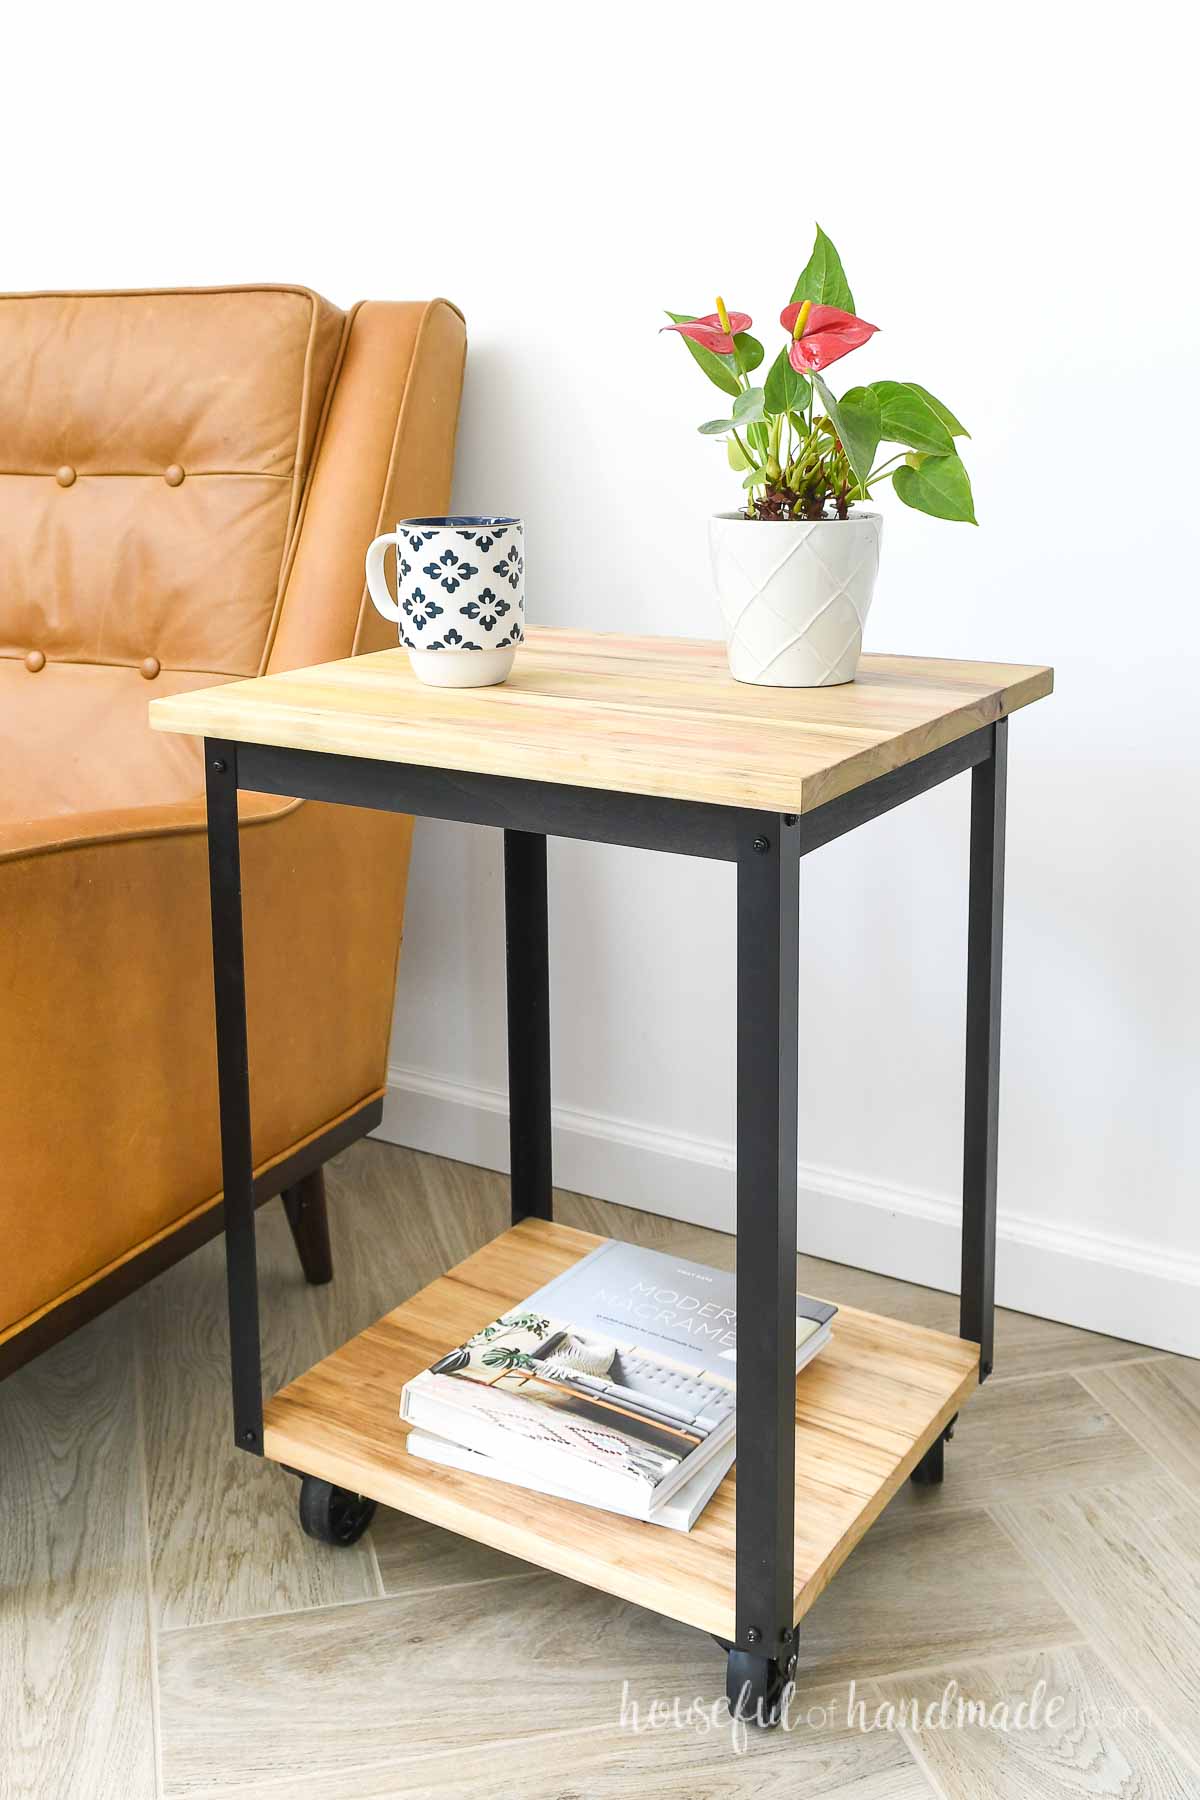
Credit : housefulofhandmade
Materials: Large wood scraps for top and legs, wood glue, screws, sandpaper, finish
Difficulty: Intermediate-Advanced | Time: 4-6 hours
A side table from scraps sounds ambitious, but hear me out. Use wider boards for the top, cut four legs from sturdy pieces, add cross-supports for stability, and assemble. Sand thoroughly, apply finish, and suddenly you’ve got furniture. Real furniture. From trash.
15. Wall-Mounted Coat Racks
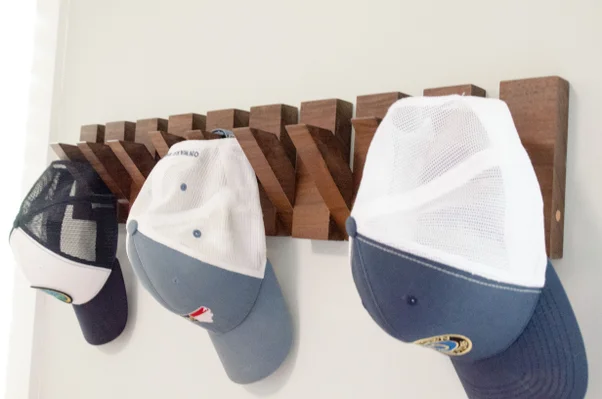
Credit : Instructables
Materials: Long wood board, coat hooks, sandpaper, wood stain or paint, mounting hardware
Difficulty: Intermediate | Time: 2 hours
Coats piling up by the door? Fix that. Take a long scrap, sand it down, add hooks at regular intervals, finish it however you want, and mount it. Functional, stylish, and it took you less time than driving to IKEA would’ve.
16. Cutting Boards
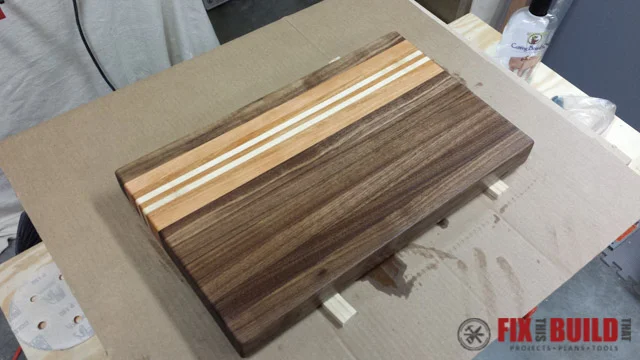
Credit : Instructables
Materials: Hardwood scraps (maple, walnut, cherry), wood glue, clamps, sandpaper, food-safe mineral oil
Difficulty: Intermediate | Time: 3-4 hours
Hardwood scraps are perfect for cutting boards. Arrange strips in interesting patterns, glue them together, clamp overnight, sand until smooth, and treat with mineral oil. The result? A cutting board that looks professional and costs nothing. Just make sure you use food-safe wood—pine won’t cut it here.
17. Planter Boxes
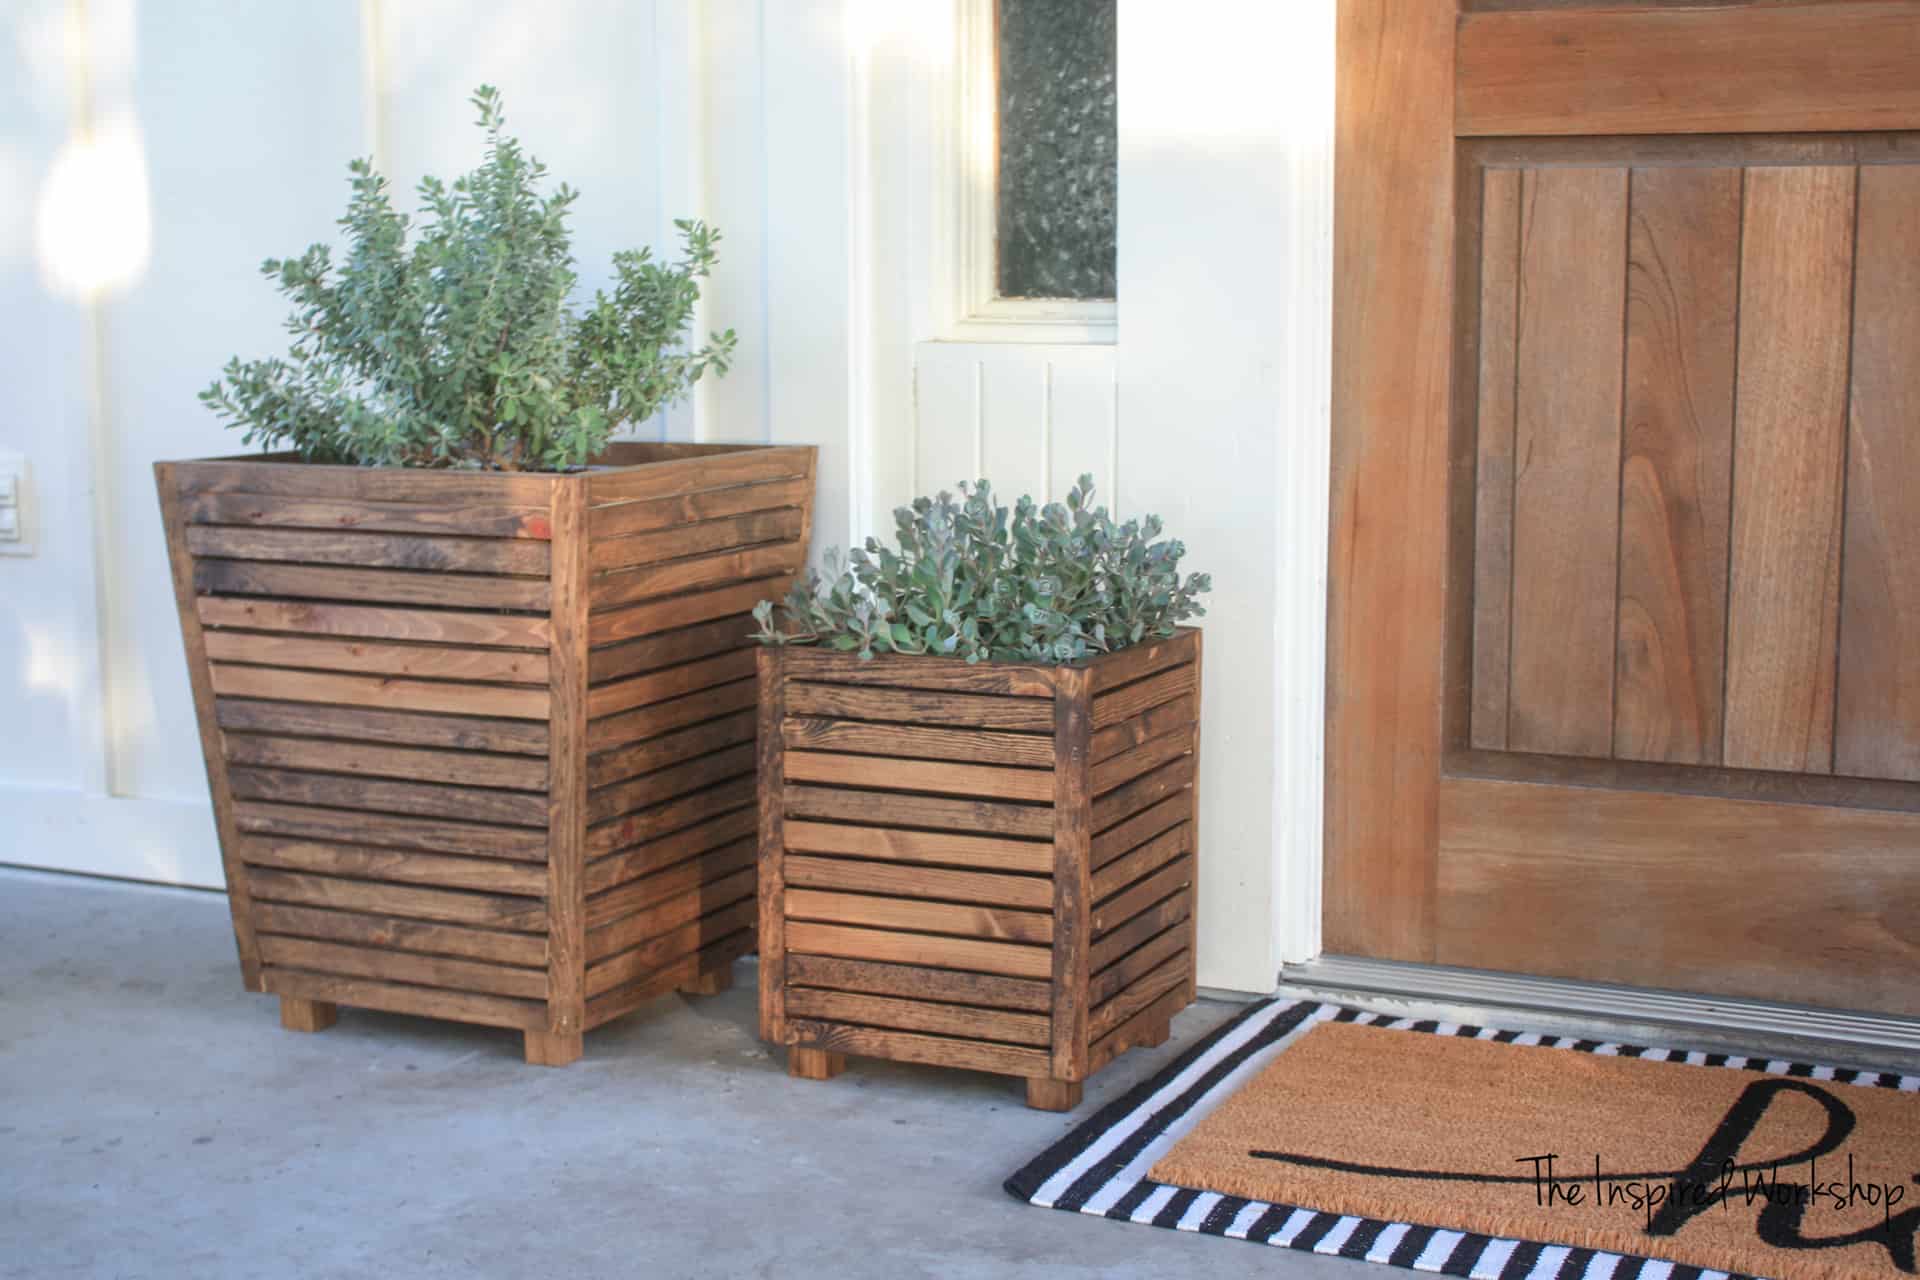
Credit : The inspired Workshop
Materials: Wood scraps for sides and bottom, wood glue, screws, exterior wood stain or sealant, drainage holes
Difficulty: Beginner-Intermediate | Time: 2-3 hours
Your plants deserve better than plastic pots. Build simple boxes from scraps, drill drainage holes, seal the wood for weather protection, and you’ve got planters with character. Line them with plastic if you’re worried about rot, or embrace the weathered look.
18. Bench Seating
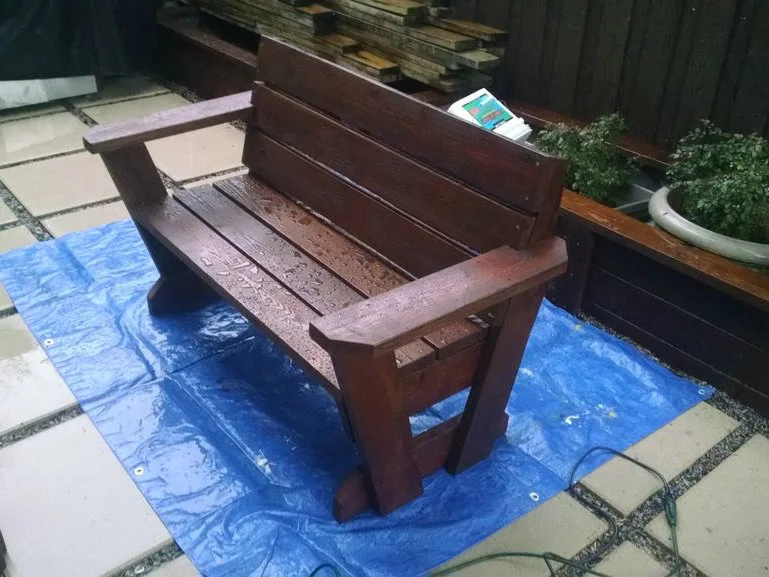
Credit : Instructables
Materials: Large wood scraps for seat and legs, wood glue, screws, sandpaper, durable finish
Difficulty: Advanced | Time: 6-8 hours
This one’s a commitment, but imagine having a bench you built from scraps. Create a sturdy base with legs and supports, attach seat boards across the top, reinforce everything, sand, and finish. You’ll use this thing for years, and every time someone sits on it, you’ll feel ridiculously proud.
19. Laptop Desk/Stand
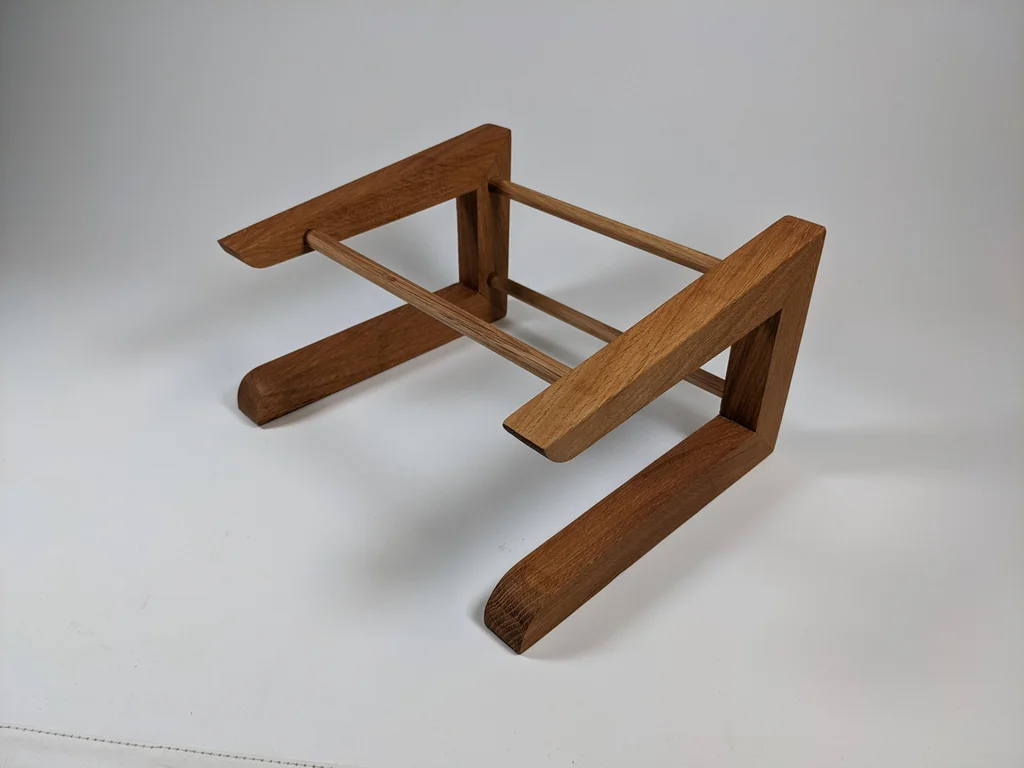
Credit : Instructables
Materials: Wood scraps for top and legs, hinges (for adjustable versions), wood glue, screws, finish
Difficulty: Intermediate | Time: 3-4 hours
Working from home? Build a laptop stand that actually fits your needs. Cut a top piece for the laptop, add angled legs or supports, sand smooth, and finish. You can make it adjustable with hinges or keep it simple. Either way, your neck will thank you for the better ergonomics.
20. Wall Organizers
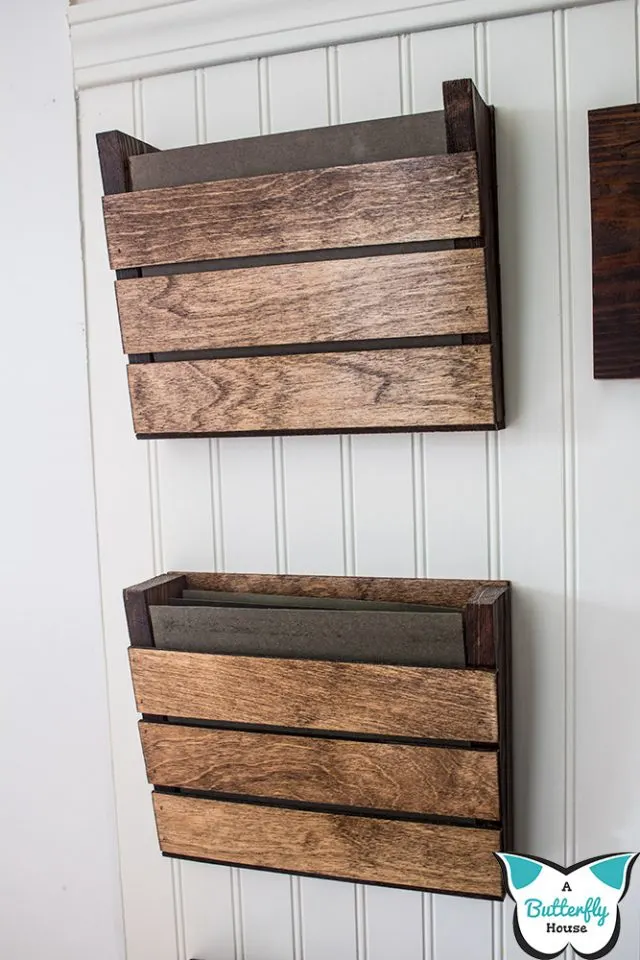
Credit : abutterflyhouse
Materials: Wood board for backing, smaller scraps for shelves and dividers, wood glue, screws, hooks, finish
Difficulty: Intermediate | Time: 2-3 hours
Command centers are having a moment, and scraps are perfect for them. Create a backing board, add small shelves, hooks for keys, clips for papers—customize it for your actual needs. Mount it by the door, and suddenly your life feels more organized. Magic.
Mixed Scrap Projects (Various Sizes)
21. Mosaic Wall Art
Credit : Instructables
Materials: Scraps of all sizes, backing board, wood glue, paint or stain, mounting hardware
Difficulty: Beginner | Time: 2-4 hours
This is where all those weird, oddly-shaped pieces finally shine. Arrange scraps in a mosaic pattern on a backing board, play with colors and grains, glue everything down, and frame it. Abstract art museums charge thousands for stuff that looks way less interesting than what you just made.
22. Hexagon Shelving
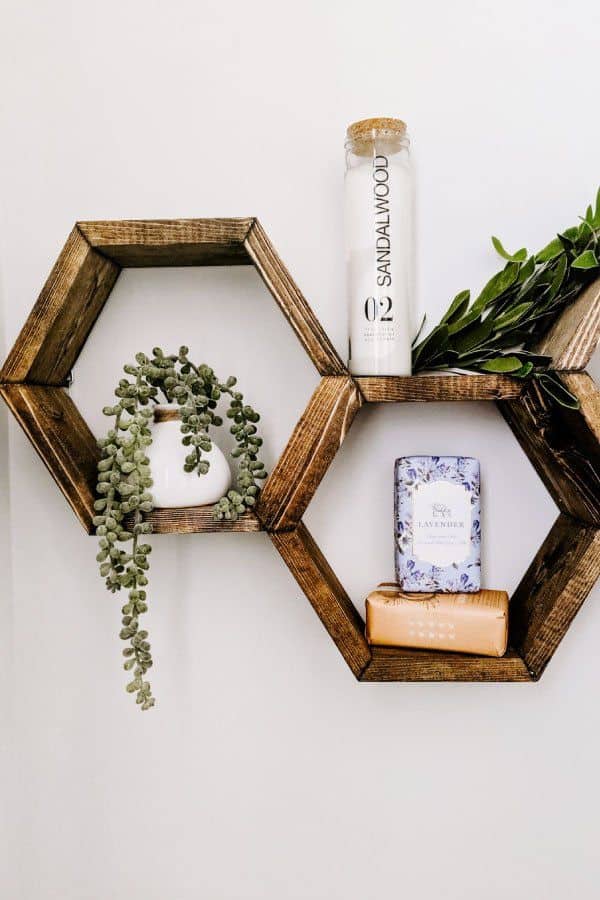
Credit : Pine and Poplar
Materials: Wood scraps cut into equal lengths, wood glue, mitre saw, sandpaper, finish, mounting hardware
Difficulty: Intermediate | Time: 4-5 hours
Hexagon shelves look complicated, but they’re just six pieces cut at 30-degree angles. Once you nail the first one, you can make a whole honeycomb wall. These are seriously Instagram-worthy and give you major design cred.
23. Wooden Signs with Quotes
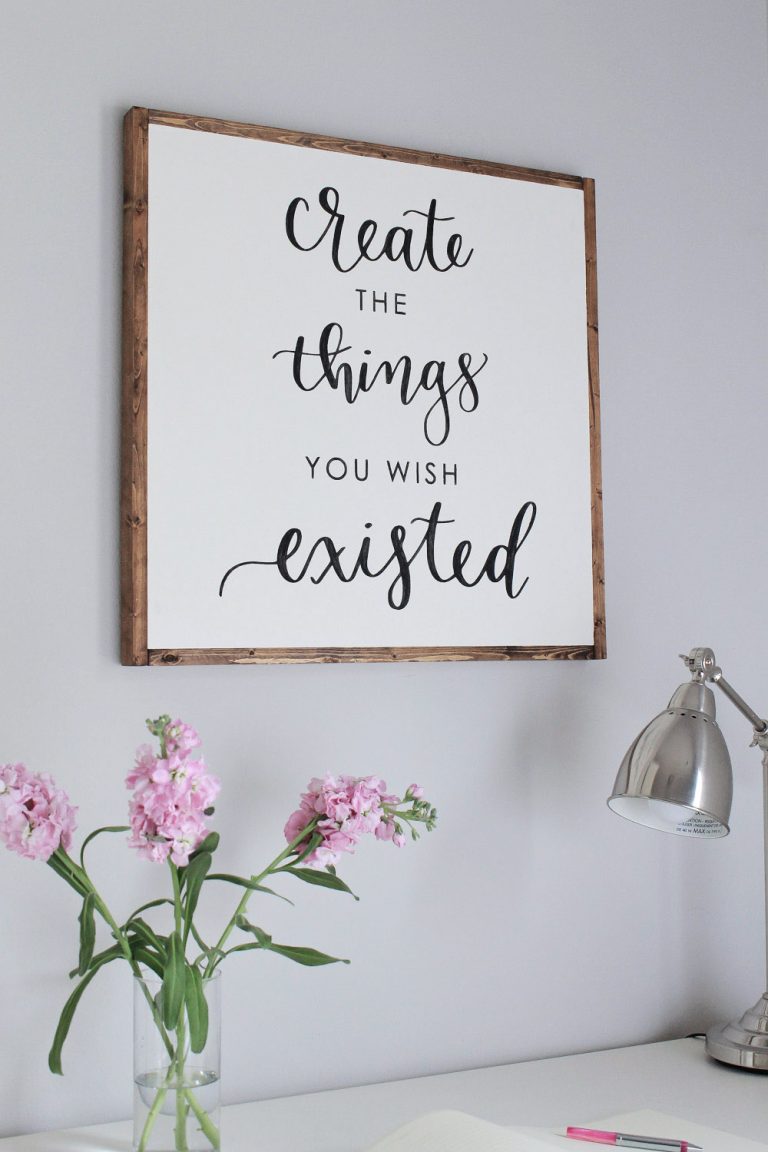
Credit : angelamariemade
Materials: Various wood scraps, wood glue (for multi-board signs), paint or stain, stencils or vinyl letters, sealant
Difficulty: Beginner | Time: 1-2 hours
Home decor stores charge ridiculous prices for wooden signs with sayings. Make your own. Arrange scraps into a sign shape, add your favorite quote using stencils or vinyl letters, distress it if you’re feeling rustic, and seal it. Farmhouse chic achieved.
24. Toy Organizer Bins
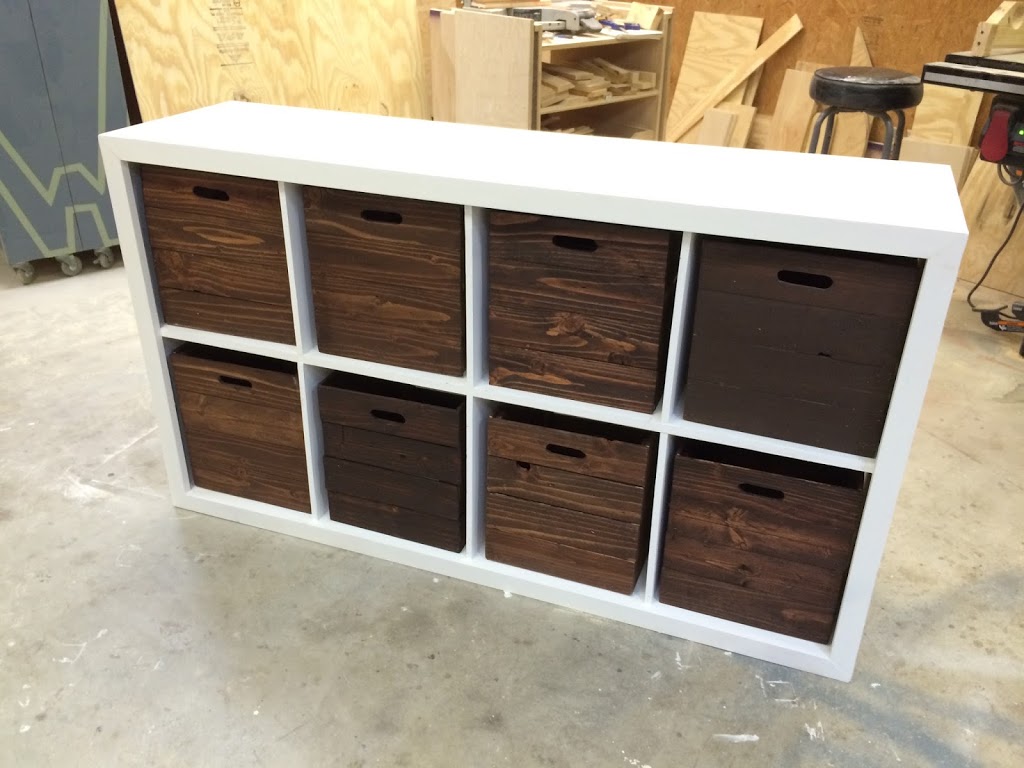
Credit : wilkerdos
Materials: Wood scraps for sides and bottom, wood glue, nails or screws, sandpaper, paint, rope handles (optional)
Difficulty: Intermediate | Time: 3-4 hours
Kids’ toys multiplying faster than you can contain them? Build organizer bins from scraps. Make them different sizes for different toys, paint them fun colors, add rope handles if you’re feeling fancy. Your kids probably won’t keep them organized, but at least you tried.
25. Christmas Ornaments/Seasonal Decor
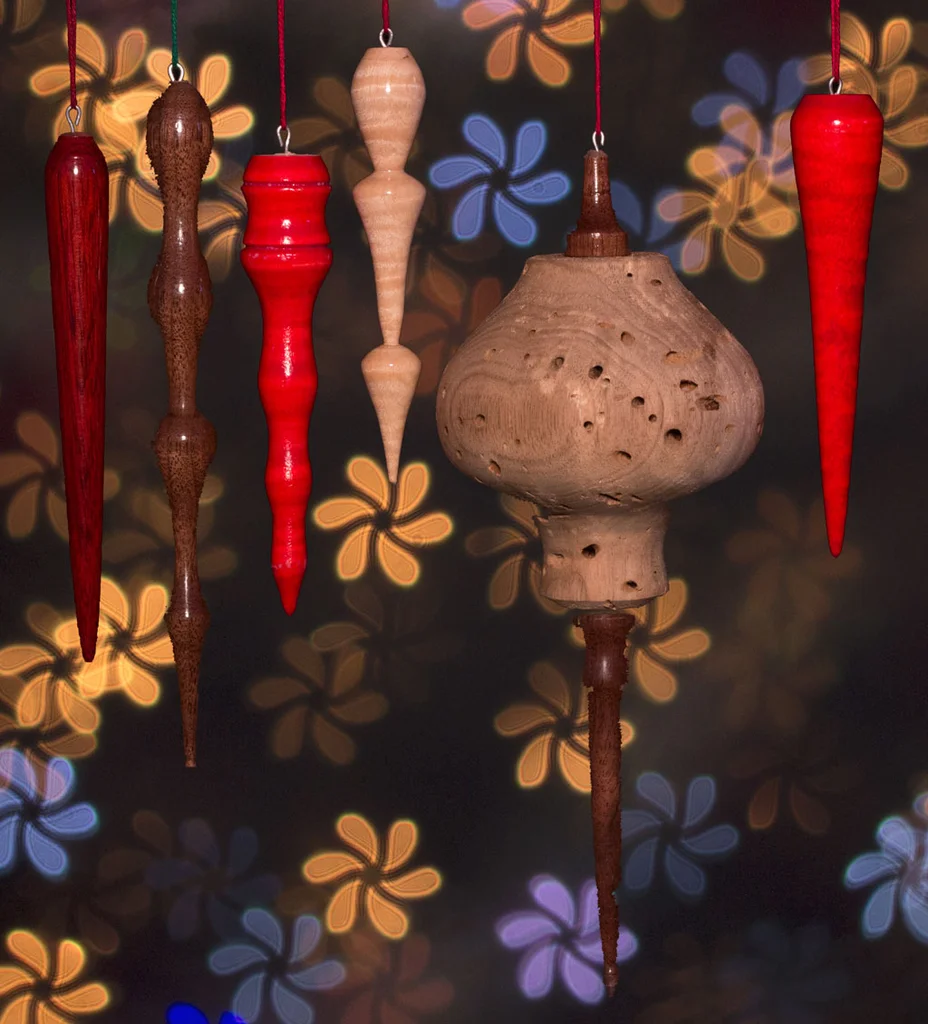
Credit : Instructables
Materials: Small wood scraps, saw, drill (for hanging holes), sandpaper, paint or stain, twine or ribbon
Difficulty: Beginner | Time: 30 minutes-1 hour
Seasonal decor doesn’t need to cost a fortune. Cut scraps into shapes—stars, trees, circles—drill small holes for hanging, decorate however you want, and add twine. These make fantastic gifts, and unlike most homemade gifts, people actually want them.
Essential Tools for Scrap Wood Projects
Let’s talk tools. You don’t need a fully stocked workshop, but a few key pieces make everything easier.
Basic hand tools are non-negotiable. A quality hand saw, hammer, tape measure, and various grits of sandpaper will carry you through most beginner projects. I started with just these and built probably 20 projects before upgrading.
Power tools level up your game. A miter saw makes clean, angled cuts effortless—seriously worth the investment if you plan to keep building. A cordless drill is your best friend for everything from pilot holes to driving screws. And a palm sander? It’ll save your arms from hours of hand-sanding misery.
Safety equipment isn’t optional. Safety glasses protect your eyes from flying debris. Ear protection saves your hearing when power tools get loud. A dust mask keeps sawdust out of your lungs. Don’t skip these. Your future self will appreciate it.
Finishing supplies complete the look. Wood stain brings out natural grain beautifully. Paint lets you customize colors to match your space. Polyurethane or sealants protect your projects from wear and water damage. Keep a variety on hand.
Here are some solid options to consider:
- CRAFTSMAN Hand Saw Set – Includes multiple saws for different cuts
- BLACK+DECKER 20V MAX Cordless Drill – Reliable, affordable, and versatile
- DEWALT Miter Saw – Industry standard for accurate cuts
- Makita Random Orbit Sander – Makes sanding actually tolerable
- Minwax Wood Finish Stain – Classic stains that never disappoint
- Varathane Water-Based Polyurethane – Easy cleanup, durable finish
Conclusion
Look, scrap wood projects aren’t just about saving money or being eco-friendly, though those are awesome bonuses. They’re about seeing potential where others see trash. They’re about creating something unique that nobody else will ever have. They’re about building skills while building actual things.
Start with one simple project. Those coasters sound good? Make them this weekend. Seriously, just pick one thing and start. You’ll mess up—we all do—but you’ll learn, and that second project will be better. Then the third will be even better.
You’re building more than projects here. You’re building a sustainable workshop practice where nothing goes to waste. Where creativity matters more than cash. Where every scrap has a purpose.
So next time you finish a project and look at those leftover pieces, don’t throw them away. Toss them in your organized scrap bins instead. Your future projects are hiding in there, just waiting for you to discover them.
Now go make something cool. And when you do, share it—seriously, we all need inspiration. The woodworking community thrives on sharing wins, fails, and everything in between.
Your scraps are waiting. What’ll you build first?
If these ideas sparked your interest and you’re craving even more inspiration, why not explore a treasure trove of woodworking plans? With Teds Woodworking Plans, you’ll gain access to 16,000 detailed blueprints covering projects of all sizes and styles. Whether you’re a beginner or a seasoned woodworker, these plans provide step-by-step guidance to turn your ideas into stunning creations.

Ready to take your woodworking journey to the next level? Click here to check out Teds Woodworking Plans and start building something extraordinary today!