
Look, I’m not going to sugarcoat it—there’s something almost magical about walking into a room that smells like fresh pine and wood shavings during the holidays. Maybe it’s nostalgia, or maybe it’s just that wooden decorations have a warmth that plastic snowmen and inflatable reindeer will never match (sorry, lawn decorations).
Here’s the thing: DIY wooden Christmas decorations aren’t just about saving money, though your wallet will definitely thank you. They’re about creating something with your hands, making memories with the kids (or just having a peaceful afternoon in the garage), and honestly? There’s something deeply satisfying about telling guests, “Yeah, I made that.” Plus, wooden decor is sustainable, timeless, and won’t end up in a landfill next January.
Ready to get your hands a little dusty? I’m going to walk you through 20 wooden Christmas projects that range from “I’ve never touched a drill” to “I own multiple saws and people fear me.” You’ll need some basic tools, a weekend or two, and the willingness to embrace imperfection. Trust me, the wonky ornament always becomes everyone’s favorite.
Essential Tools & Materials You’ll Need
Before we jump in, let’s talk gear. You don’t need a full workshop to pull these off—just a few basics:
Tools:
- A decent saw (hand saw, jigsaw, or miter saw)
- Cordless drill with basic bits
- Sandpaper (various grits—trust me, sanding matters)
- Hot glue gun (your secret weapon)
- Safety glasses (because eyeballs are important)
Wood Types:
- Pine: Budget-friendly and easy to work with
- Cedar: Smells amazing, naturally weather-resistant
- Birch: Beautiful grain, perfect for staining
- Plywood: Great for cut-out projects
Finishing Supplies:
- Wood stain in festive colors
- Acrylic paints (red, white, green, gold)
- Clear sealer for durability
- Wood glue and wood screws
Now let’s get building.
#20 Rustic Wooden Christmas Tree
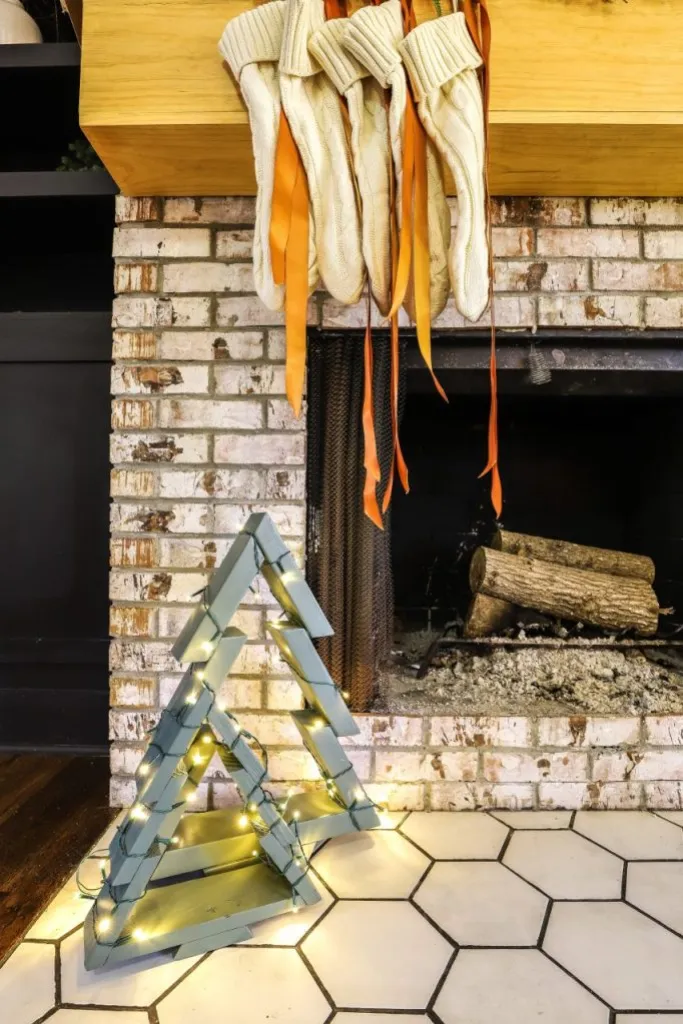
Difficulty: Easy | Time: 1-2 hours
Ever looked at a pile of scrap wood and thought, “That’s a Christmas tree waiting to happen”? No? Just me? This project uses reclaimed wood planks or even fallen branches arranged in a triangle shape. Stack them from longest to shortest, secure with screws, add a star on top, and boom—instant rustic charm.
Advertisement
Pro tip: Don’t stress about making it perfect. The beauty is in the imperfection. Paint it white for a farmhouse vibe or leave it natural for that “I found this in a vintage shop” look.
#19 Wooden Advent Calendar
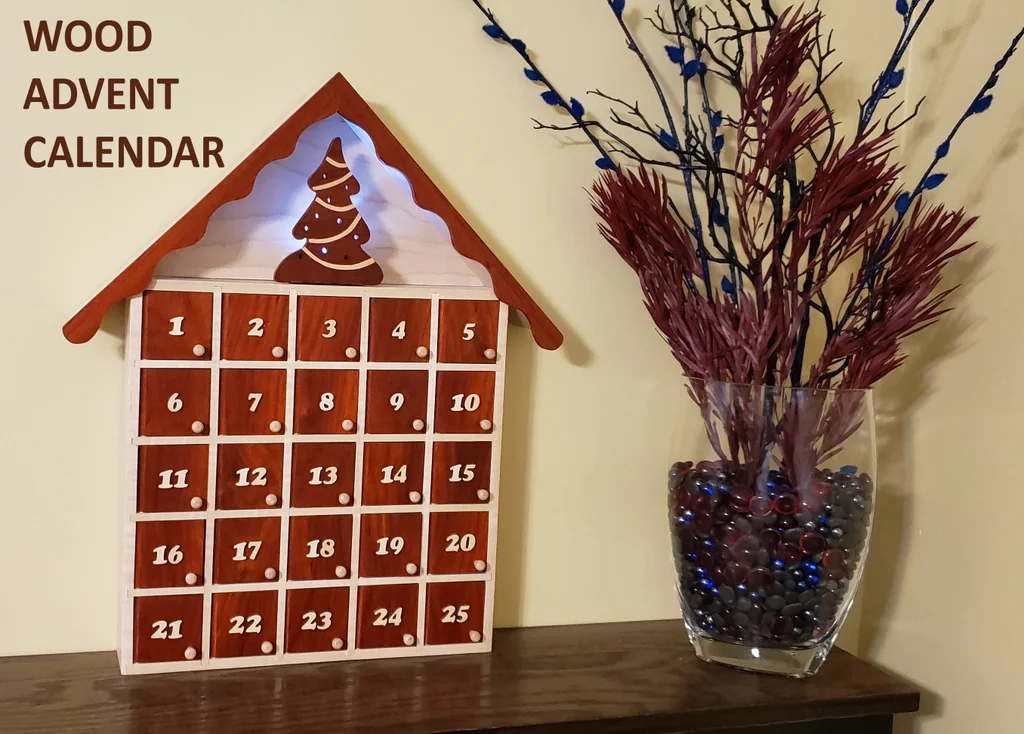
Difficulty: Moderate | Time: 3-4 hours
This one’s a commitment, but imagine your kid’s face when they open a little wooden drawer every morning in December. You’ll need 24-25 small wooden boxes or drawers, some number stencils, and a way to mount them (I like a simple pegboard backing).
Fill them with chocolates, tiny toys, or handwritten notes. The boxes themselves become keepsakes you’ll use for years. IMO, this beats those cardboard calendars that fall apart after one season.
#18 Pallet Wood Nativity Scene
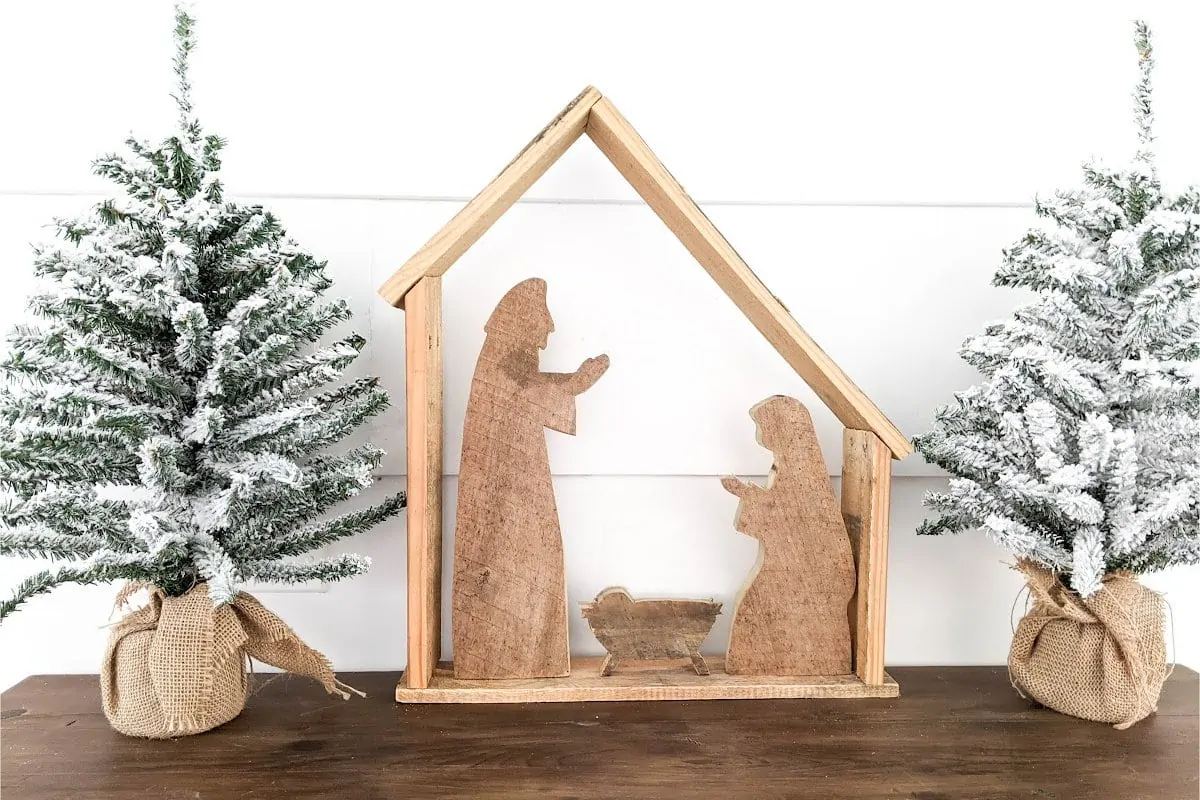
Difficulty: Easy | Time: 2-3 hours
Pallet wood is basically free holiday decor waiting to happen. Cut simple silhouettes—Mary, Joseph, baby Jesus, maybe a shepherd or two—from pallet boards. You can find templates online or just wing it (they’re silhouettes, not portraits).
Sand them smooth, stain or paint if you want, and arrange them on your mantel. The rough, weathered look of pallet wood gives this a timeless quality that expensive store-bought sets can’t touch.
#17 Wooden Snowflake Ornaments
Difficulty: Easy | Time: 30 minutes each
These are stupidly simple and addictive to make. Grab some wooden dowels, cut them into equal lengths, arrange them in a snowflake pattern, and glue. Add string for hanging and paint them white, silver, or leave them natural.
The best part? No two snowflakes look the same, so mistakes just become “design choices.”
#16 Log Slice Christmas Tree
Difficulty: Easy | Time: 1 hour
If you’ve got access to a tree branch (or know someone with a saw), you can make this in under an hour. Cut wood slices in graduated size. Thread them onto a dowel rod, secure with glue, and decorate with mini ornaments or paint.
This makes an amazing centerpiece or side table decoration. Plus, the natural wood grain means each one is unique.
#15 Wooden Reindeer Decoration
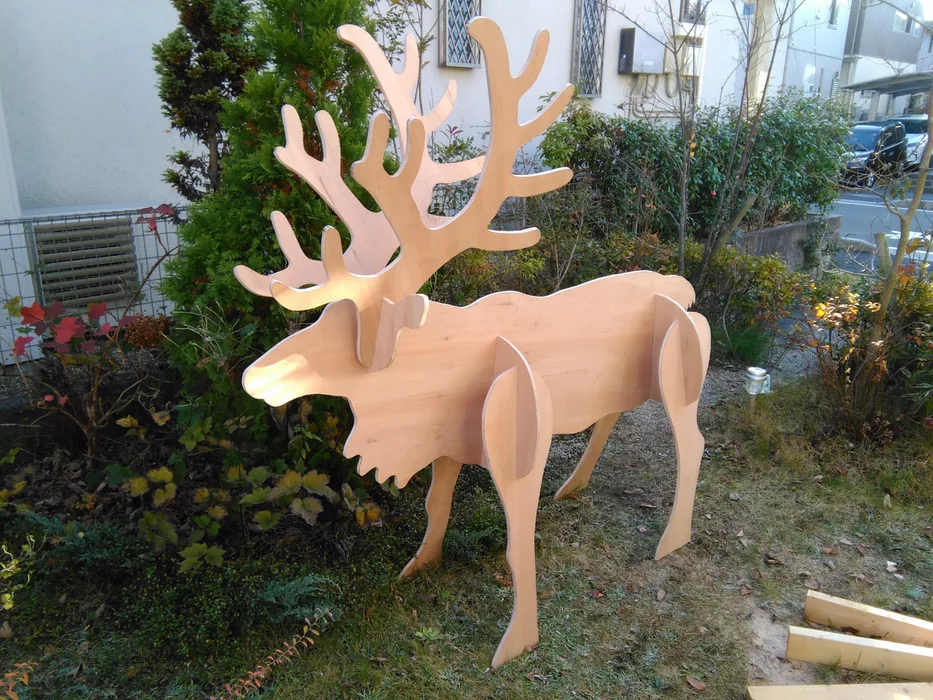
Difficulty: Moderate | Time: 2-3 hours
You’ll need a jigsaw or scroll saw for this one, but the result is gallery-worthy. Print or draw a reindeer silhouette onto plywood, cut it out, sand the edges smooth, and paint or stain.
Want it for outdoor display? Seal it with outdoor wood sealer to protect against weather. Add a red nose and you’ve got yourself a Rudolph that’ll last for decades.
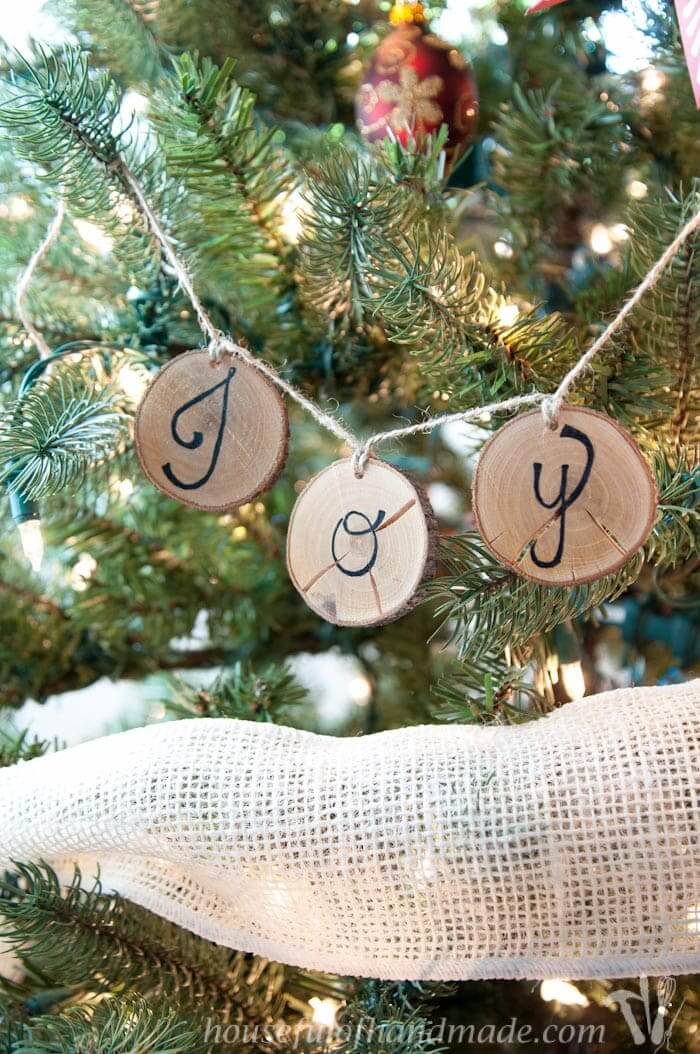
#14 Christmas Word Art Signs
Difficulty: Easy | Time: 1-2 hours
“JOY.” “NOEL.” “BELIEVE.” Pick your favorite Christmas word and turn it into art. Grab a wood board, some letter stencils, and paint. For that trendy distressed look, sand the edges after painting.
These signs are everywhere in boutiques for $40+, but you can make one for about $5 in materials. Just saying.
#13 Wooden Candle Holders
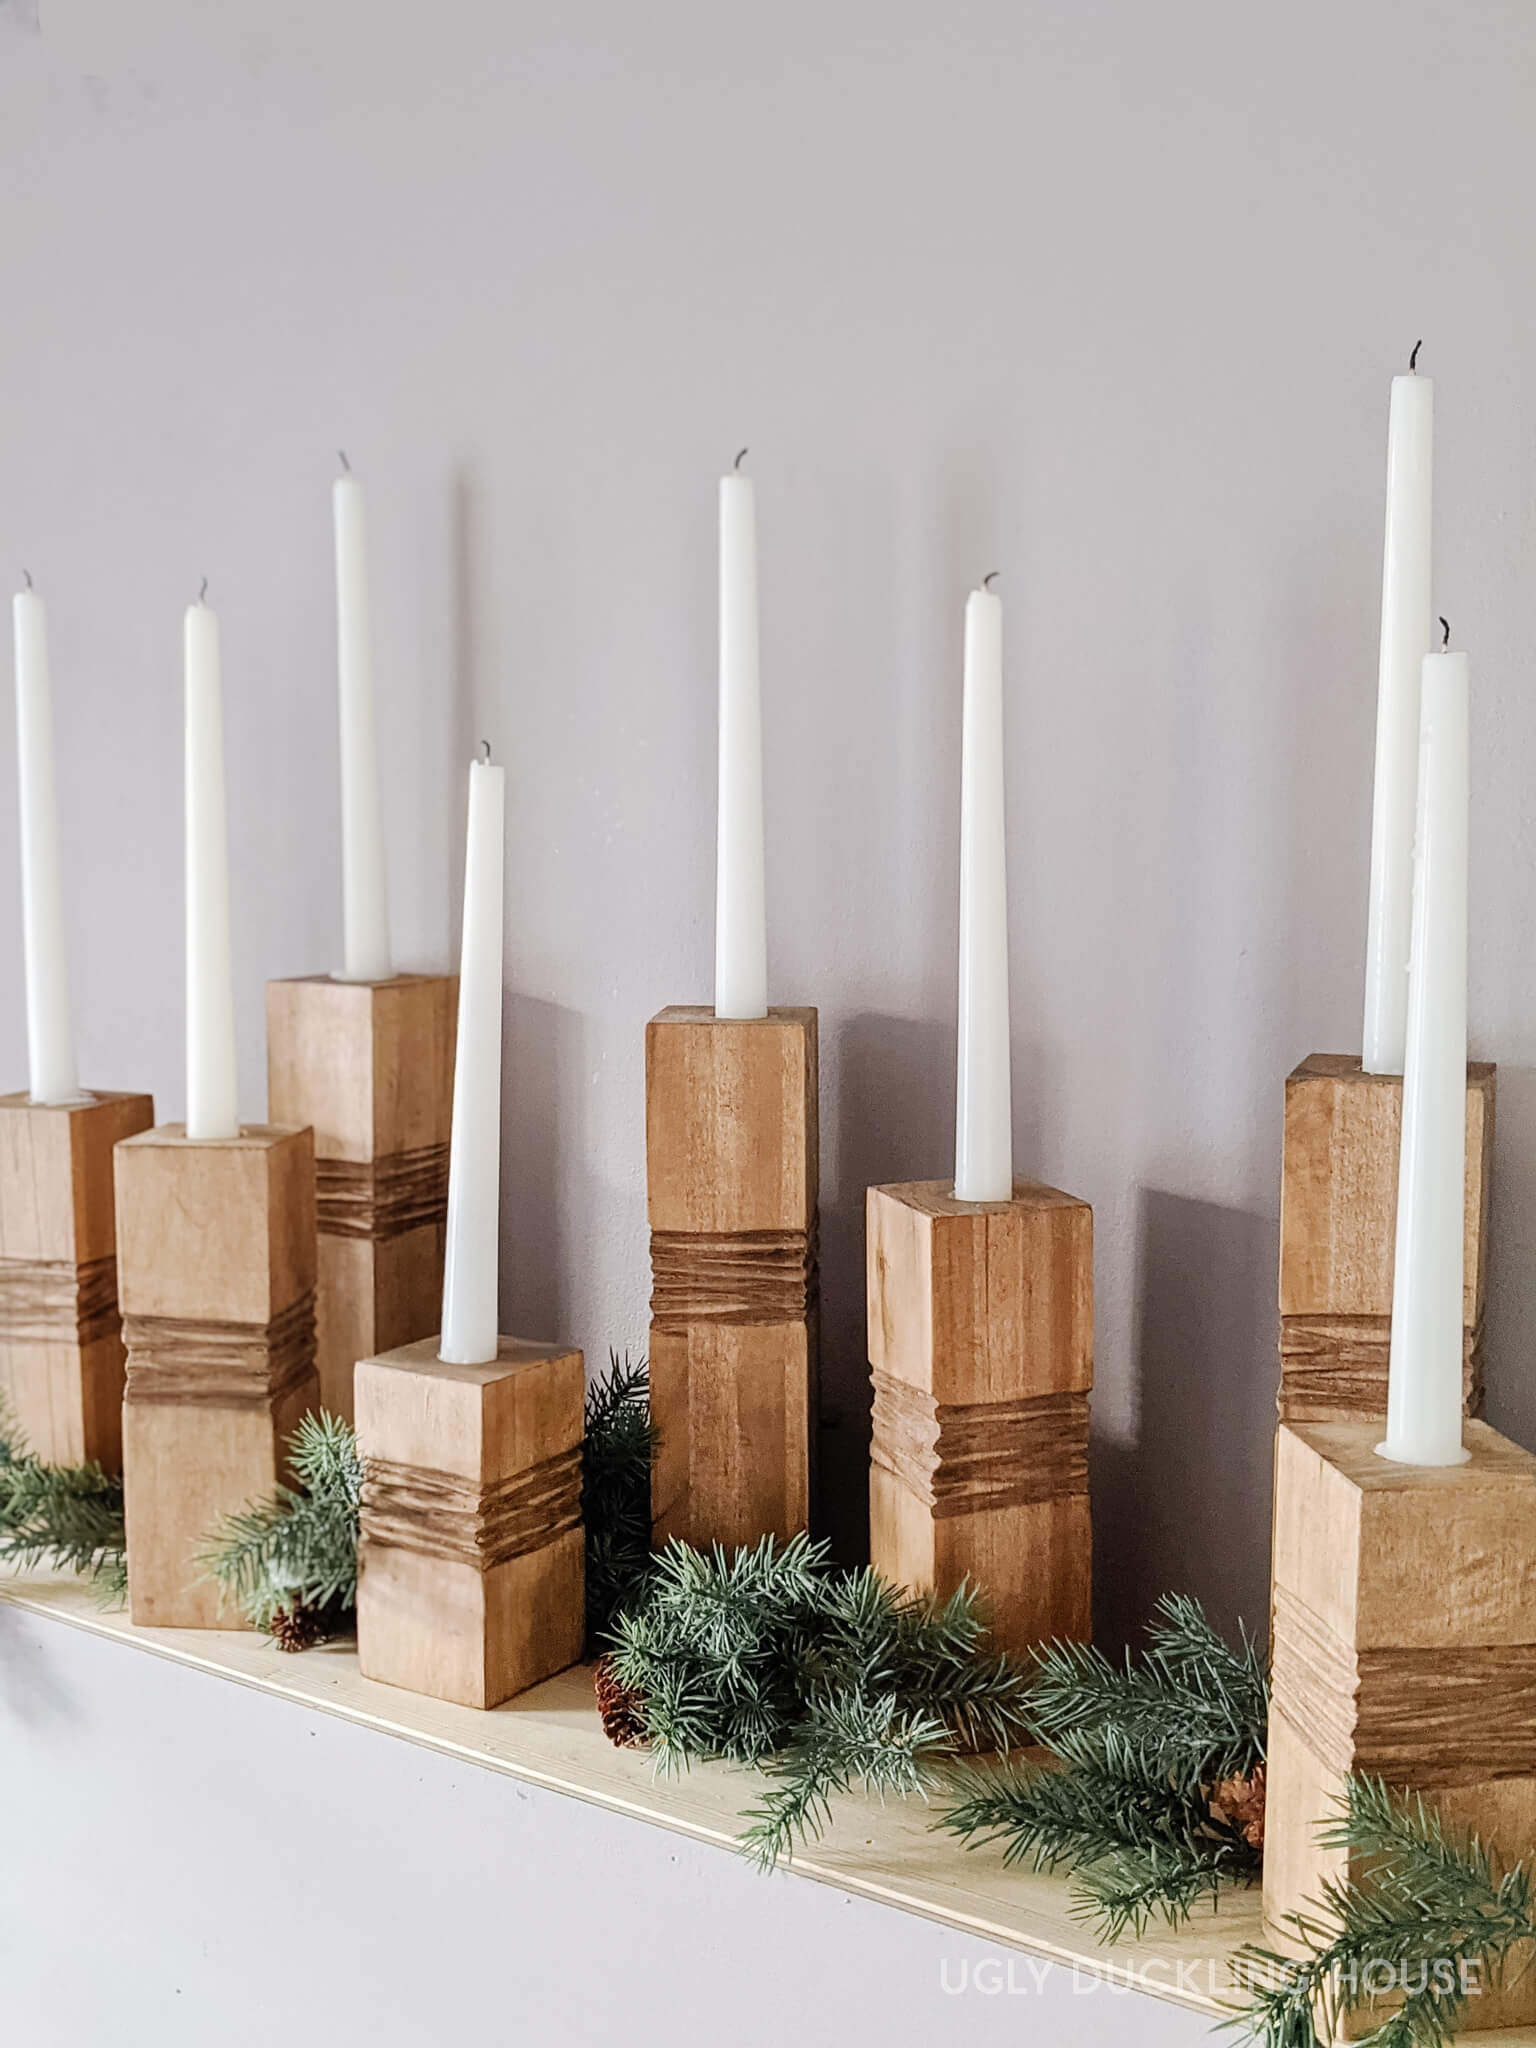
Difficulty: Easy | Time: 1 hour
Cut wood blocks to your desired height, drill holes in the top with a spade bit (sized for your candles), and finish with stain or paint. Super straightforward.
Safety note: Use LED candles if you’re worried about fire. I prefer real candles for that flickering ambiance, but LED tech has gotten pretty convincing these days.
#12 Branch Star Wall Hanging
Difficulty: Easy | Time: 45 minutes
This is my go-to project when I need something impressive but don’t have much time. Collect five straight branches of similar thickness, arrange them in a star shape, bind the intersections with twine, and wrap with battery-operated fairy lights.
Hang it on your front door or above the mantel. It’s the kind of decoration that makes people think you’re way craftier than you actually are.
#11 Wooden Bead Garland
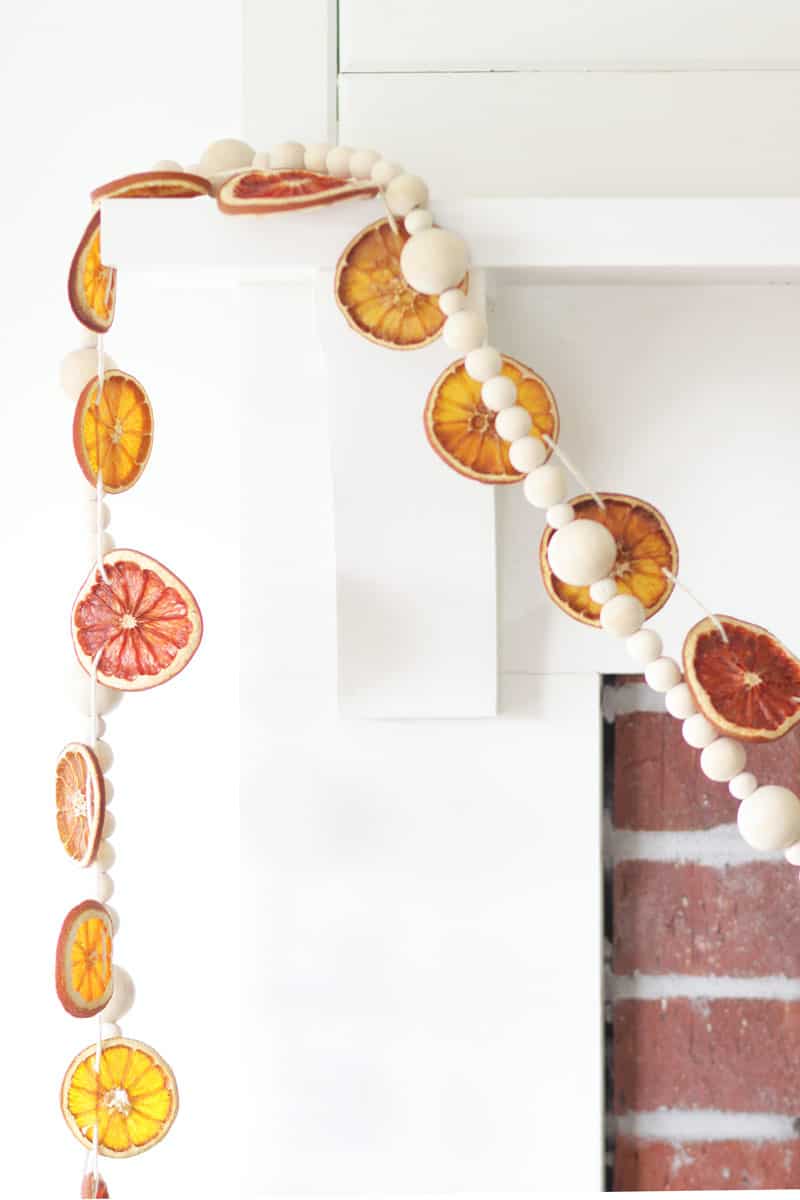
Difficulty: Easy | Time: 1-2 hours
Wooden bead garlands are having a serious moment right now. Thread natural wooden beads onto jute cord, add some tassels at the ends, and drape it on your tree, across a mantel, or along a staircase railing.
Make it as long or short as you need. The neutral wood tone works with literally any decor style—farmhouse, modern, traditional, you name it.
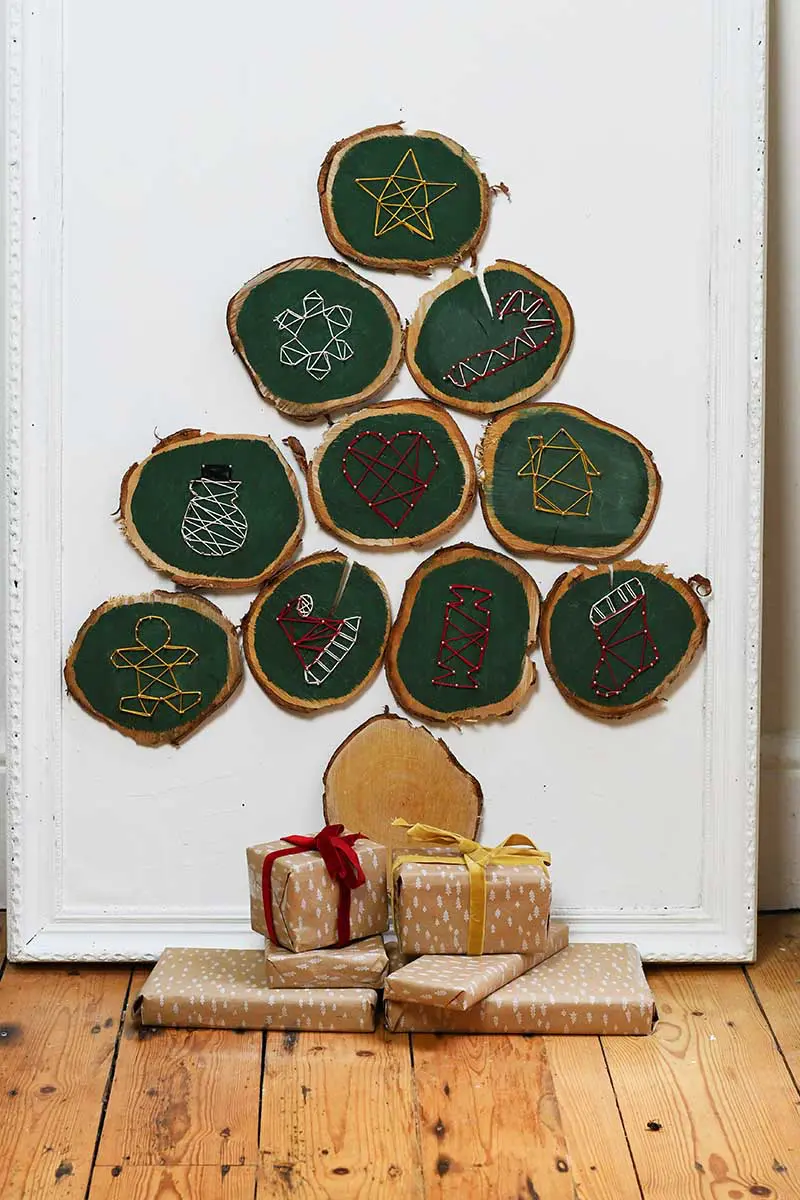
#10 Slice Wood Ornament Set
Difficulty: Easy | Time: 2-3 hours for a set
Buy a pack of pre-cut wood slice ornaments (or cut your own if you’re feeling ambitious) and get creative with paint markers. Draw snowflakes, write family names, add dates—whatever feels right.
These make amazing gifts, FYI. I made a set for my parents with all the grandkids’ names and I’m pretty sure my mom cried. Thread some ribbon through and you’ve got instant heirlooms.
#9 Christmas Card Holders
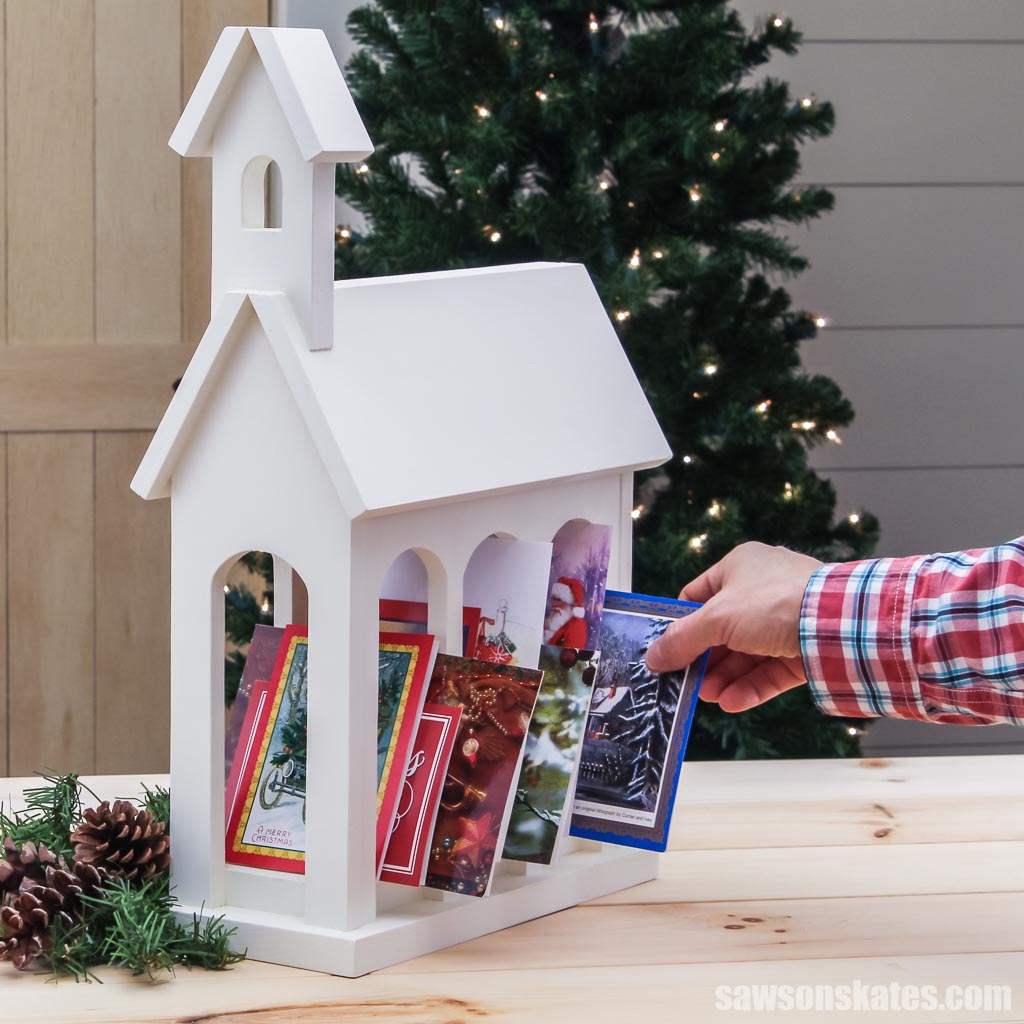
Difficulty: Moderate | Time: 2-3 hours
Everyone loves receiving Christmas cards, but where do you display them? A festive Christmas card holder keeps your cards organized and beautifully showcased for guests to admire.
Choose between wall-mounted or tabletop styles. A wall-mounted holder can be made from a simple board decorated with stenciled holiday greetings and clips for the cards—try fun shapes like a tree or candy cane! For a tabletop option, use a decorative box or a creative design like a tiny church.
#8 Tiered Wooden Tray Centerpiece
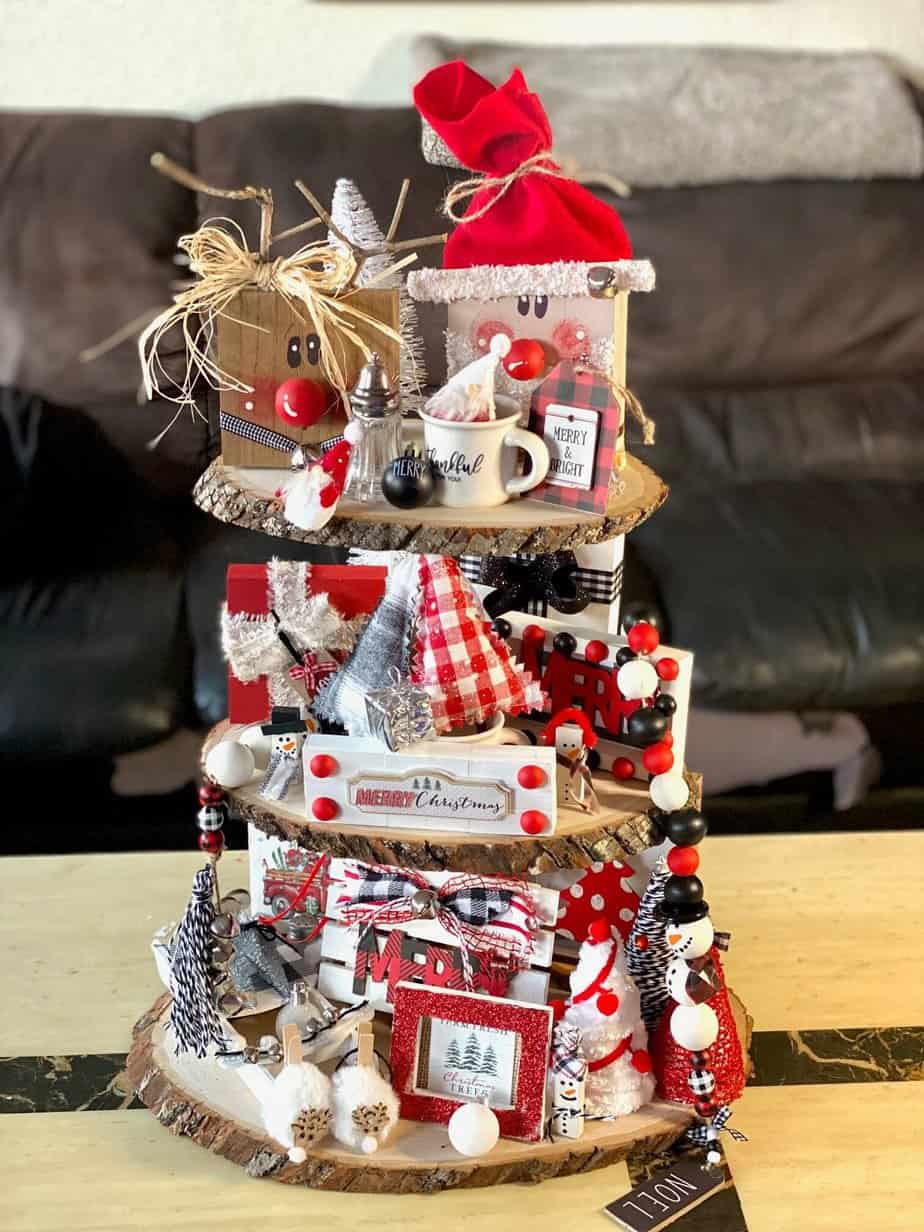
Difficulty: Moderate | Time: 2-3 hours
Glue wood rounds to candlestick holders to create a two or three-tier serving tray. This isn’t just for Christmas—you’ll use this thing year-round. But during the holidays, style it with pinecones, candles, ornaments, and greenery.
It’s the kind of centerpiece that makes your dining table look like it belongs in a magazine. (Does anyone else set up elaborate tablescapes when no one’s coming over, or is that just me?)
#7 Clothespin Wreath
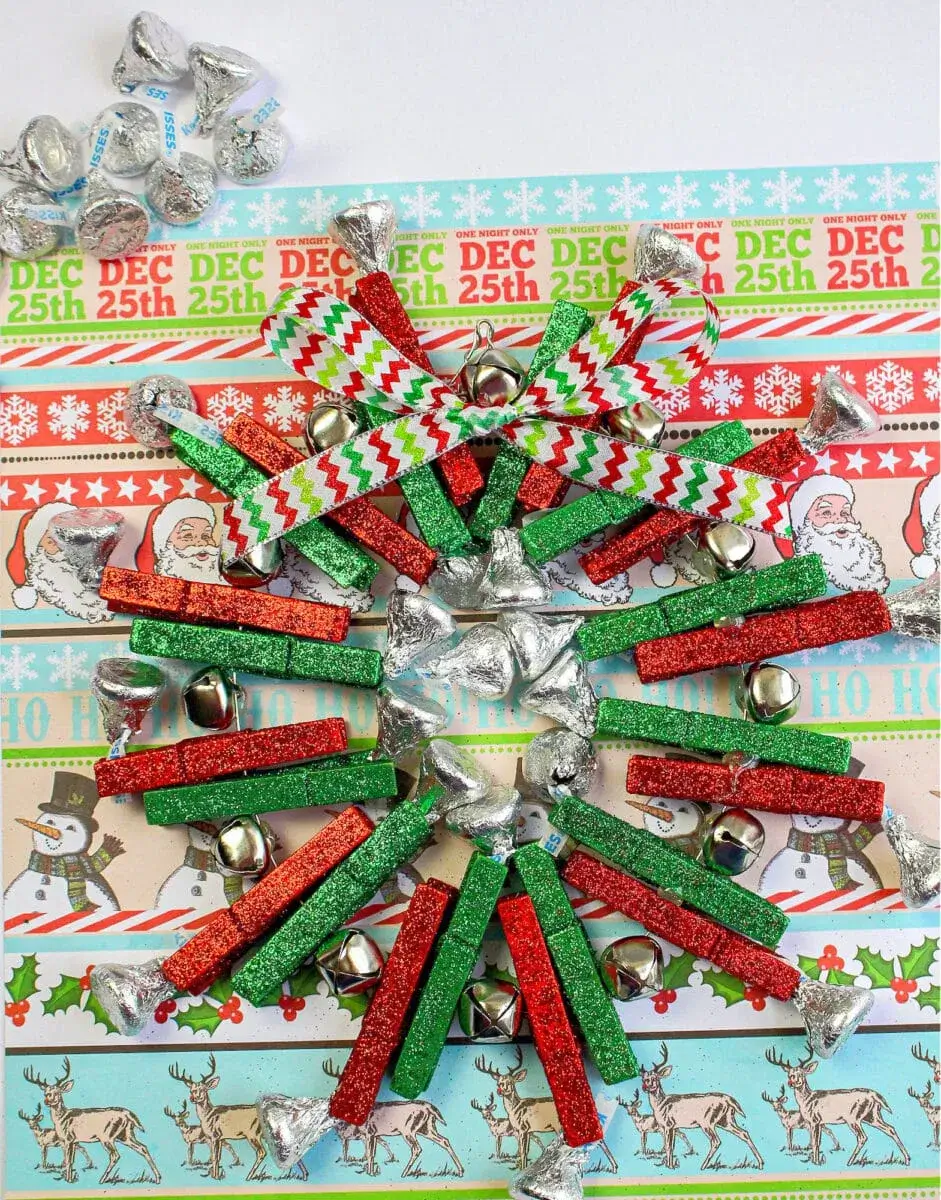
Difficulty: Easy | Time: 1-2 hours
Clip wooden clothespins around a wire wreath frame (overlapping slightly), then tuck in mini ornaments, berries, or greenery between the pins. Spray paint the whole thing gold, white, or leave it natural.
This is one of those projects that sounds weird until you see it, and then you’re like, “Oh. That’s actually really cute.”
#6 Wooden Truck with Christmas Tree
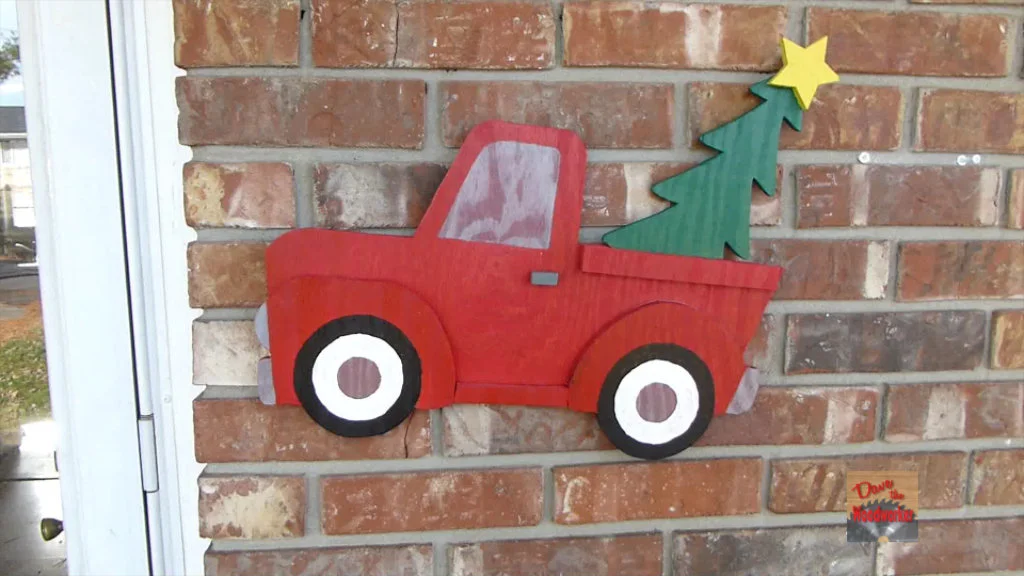
Difficulty: Moderate | Time: 3-4 hours
These vintage-style trucks hauling Christmas trees are all over Pinterest, and for good reason—they’re adorable. You’ll need to cut several wood pieces for the truck body, attach wooden wheels, and secure a bottle brush tree in the bed.
Templates are readily available online if you don’t want to design your own. Paint it red for classic vibes or keep it rustic with natural wood and distressing.
#5 Popsicle Stick Ornaments
Difficulty: Easy | Time: 15-30 minutes each
Okay, hear me out—popsicle stick crafts aren’t just for kindergarteners. Arrange jumbo craft sticks into snowflakes, Christmas trees, sleds, or stars, glue them together, and paint. Add glitter if you’re feeling extra (I’m always feeling extra during the holidays).
These are perfect projects to do with kids. They’re basically foolproof, and even the wonky ones turn out charming.
#4 Wooden Candle Bridge

Difficulty: Moderate | Time: 3-4 hours
This Swedish-inspired piece features an arched “bridge” made from wood boards with wooden spindles as candle holders. It’s elegant and traditional—the kind of decoration your grandmother would approve of.
Use LED taper candles if you don’t want to worry about wiring real lights. Place it in a window and watch it glow.
#3 Tree Branch Christmas Tree
Difficulty: Easy | Time: 2 hours
Collect branches in graduated lengths, tie them together with jute rope at one end, and fan them out. Hang on the wall with Command hooks (because who wants drill holes?) and decorate with lightweight ornaments.
This minimalist approach is perfect if you don’t have space for a full tree or if you just want something different. Plus, it’s basically free if you’ve got trees nearby.
#2 Wooden Gift Tag Set
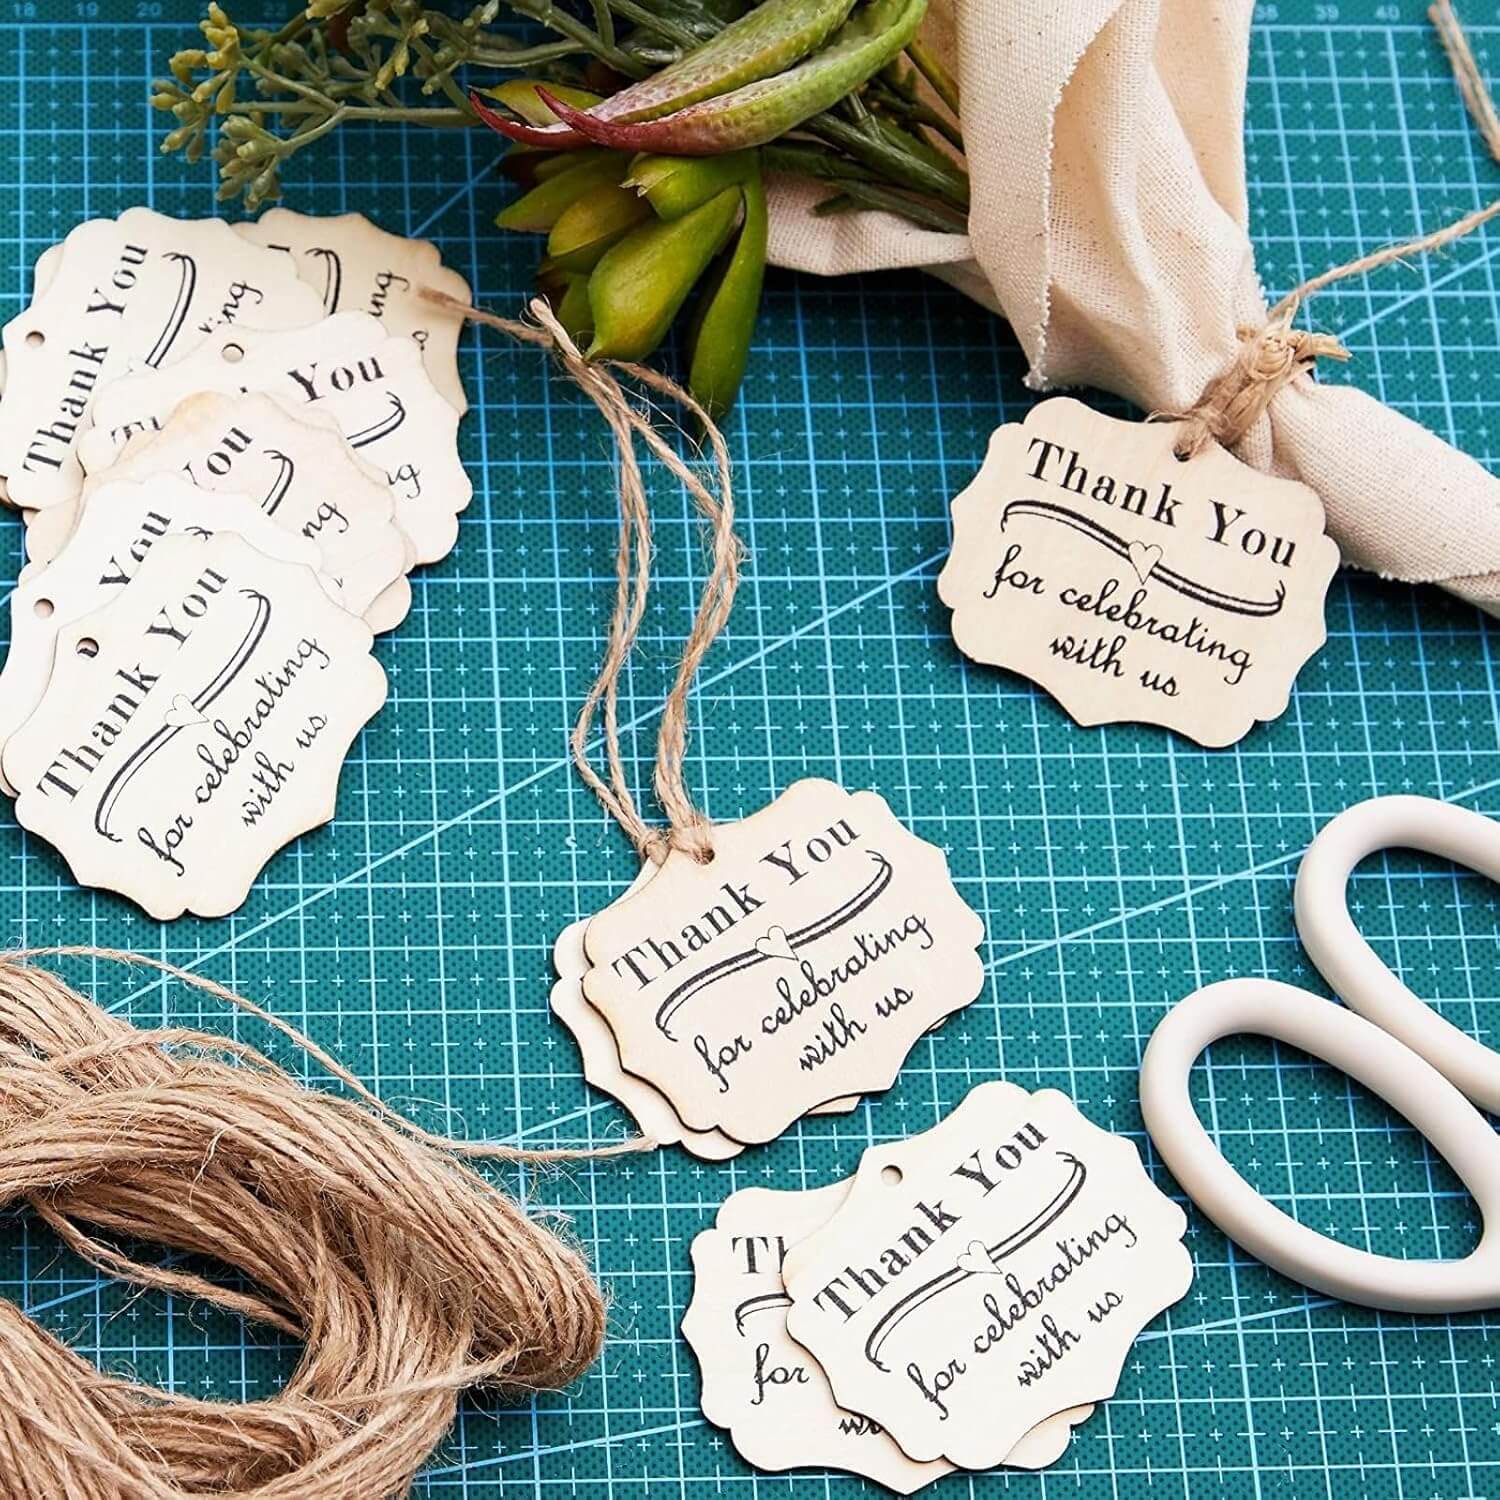
Difficulty: Easy | Time: 1 hour
Cut thin wood veneer into small rectangles, punch a hole in the corner, and stamp names or designs with alphabet stamps. These tags are reusable year after year, unlike paper ones that get shredded with the wrapping paper.
Your recipients might even save them—they’re that nice. Attach with twine for that handcrafted aesthetic.
#1 Mantel Wooden Block Set (NOEL, JOY, etc.)
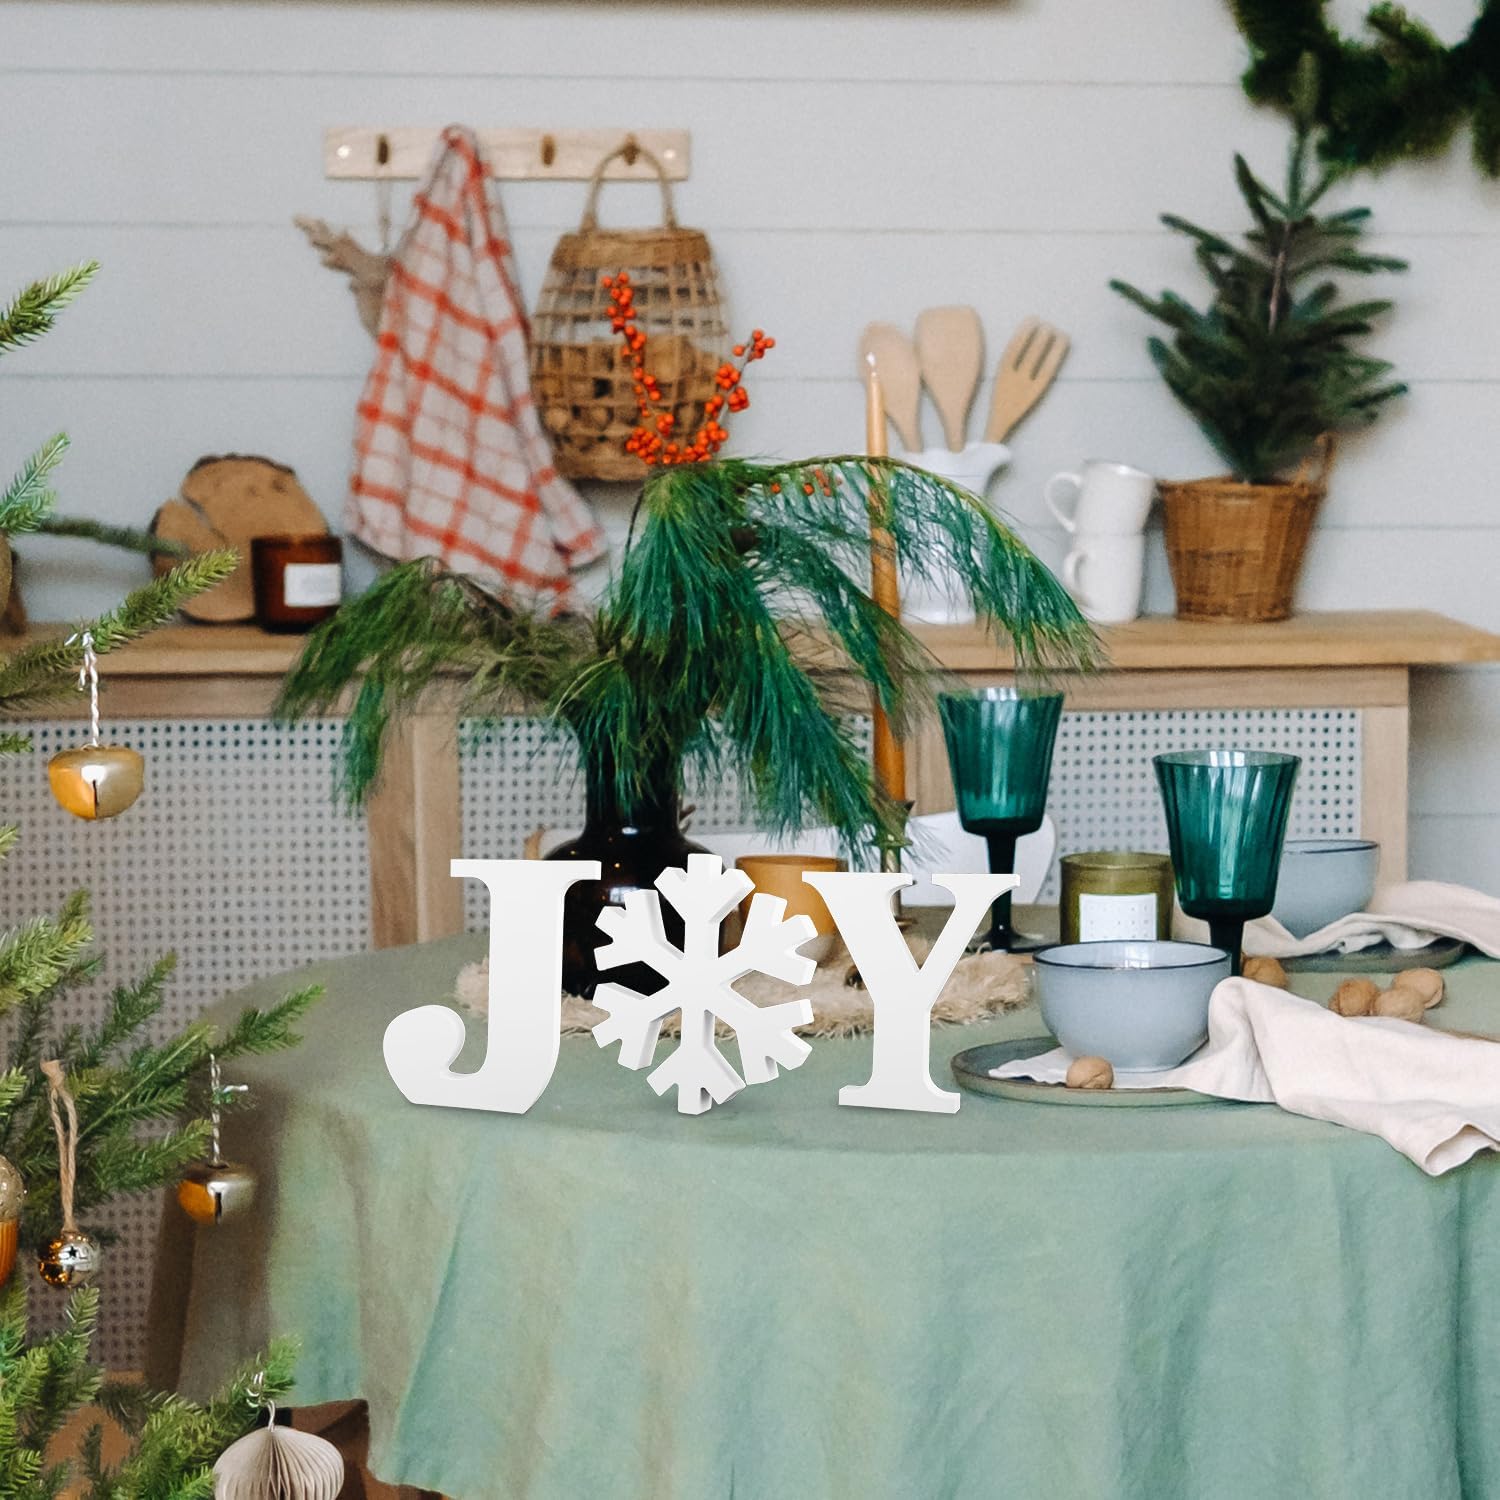
Difficulty: Easy | Time: 2-3 hours
Cut 4×4 posts into blocks (one per letter), sand them smooth, and add letters using vinyl decals or paint. Arrange them on your mantel, mix up the colors, maybe distress the edges a bit.
These are hefty, substantial pieces that anchor your holiday decor. Rearrange the letters to spell different words throughout the season if you’re feeling playful.
Tips for Success with DIY Wooden Projects
Choose the Right Wood: Not all wood is created equal. Pine is great for beginners because it’s soft and forgiving. Cedar smells incredible. Avoid really hard woods unless you’re experienced—they’re tough to work with.
Sand Everything: I cannot stress this enough. Sand your projects thoroughly, especially if kids will handle them. Start with rough grit (80-100) and work your way to fine (220). Your hands will thank you.
Prime Before Painting: If you want vibrant colors, prime your wood first. Otherwise, you’ll need three coats to get decent coverage (ask me how I know).
Store Smart: Keep your wooden decorations in a dry place. Basements can get damp, which warps wood. A closet or attic works better.
Embrace Imperfection: The handmade look is the point here. Those little quirks and imperfections make your decorations special, not flawed.
Making It Personal
Want to know the secret to making these projects truly special? Personalization. Add your family name to that wooden sign. Write the year on those ornaments. Use your favorite color palette instead of traditional red and green.
Maybe you’re into modern minimalism—stick with whites, grays, and natural wood tones. Love rustic farmhouse? Go heavy on the distressing and add burlap accents. Traditional? Embrace those reds, greens, and golds.
The beauty of DIY is that you’re not limited to whatever Target decided was trendy this year. You create what resonates with you.
Let’s Build Something Beautiful
Here’s what I love about wooden Christmas decorations: they get better with age. That paint chips a little? Character. The wood takes on a patina? Charm. These aren’t disposable decorations you’ll toss in five years—they’re pieces you’ll pull out every December, and they’ll carry memories with them.
Start with something easy—maybe those wood slice ornaments or a simple sign. Get comfortable with the process. Then tackle something more ambitious. Before you know it, you’ll have a collection of handmade decorations that tell your family’s story.
Grab your saw, put on some Christmas music (yes, in October—I don’t make the rules :/) and create something. Your future self, unpacking boxes next December, will be so glad you did.
Now go make some sawdust and memories. And hey, when you finish a project, snap a photo—I’d love to see what you create. Drop it in the comments or tag it on social media. There’s nothing better than seeing these ideas come to life in different homes.
Happy building, friends. May your cuts be straight and your ornaments perfectly wonky.