Let’s face it: even the most skilled woodworkers struggle with inconsistent cuts, wobbly joints, or projects that take way too long to finish. But what if I told you there’s a secret weapon to eliminate these headaches? Enter woodworking jigs—simple, customizable tools that act like a “third hand” in your workshop. They’re the unsung heroes of precision, speed, and repeatability.
In this guide, we’ll walk through 11 must-have woodworking jig plans that’ll transform your projects from “good enough” to “flawless.” Whether you’re a weekend DIYer or a seasoned pro, these jigs will save time, reduce waste, and make your workflow smoother. Let’s dive in!
Why Jigs Are a Woodworker’s Best Friend
- Consistency: Repeat cuts, holes, or joints with machine-like precision.
- Safety: Keep your fingers away from blades and bits.
- Cost-effective: Build them from scrap wood!
- Skill multiplier: Tackle advanced techniques with confidence.
Woodworking Jigs to Revolutionize Your Workshop
1. Taper Jig for Table Saws

credit : 3x3custom
What it does: Cut elegant, uniform tapers for table legs, chair legs, or decorative pieces without guesswork.
Why you need it: Hand-cutting tapers freehand is risky and inconsistent. This jig locks your workpiece at a precise angle for repeatable, professional results.
Materials:
- 1/2″ plywood (for the base)
- Hardwood strip (for the sliding fence)
- Wood screws
- Hinges or adjustable clamps
Build it:
- Cut a plywood base slightly wider than your table saw’s surface.
- Attach a hardwood fence diagonally across the base at your desired taper angle (e.g., 5 degrees for subtle tapers).
- Secure the fence with hinges or clamps so you can adjust the angle later.
- Add a toggle clamp or stop block to hold your workpiece firmly against the fence.
How to use:
- Place your workpiece (e.g., a table leg) against the fence.
- Adjust the jig so the tapered edge aligns with the saw blade.
- Push the jig and workpiece through the saw together.
Pro tip:
- Mark common angles (like 3°, 5°, or 10°) directly on the jig for quick setups.
- Use a sacrificial board under the workpiece to prevent tear-out.
2. Router Edge-Guide Jig
Advertisement
What it does: Create smooth, straight edges or decorative profiles (like round-overs or chamfers) with your router.
Why you need it: Freehand routing often leads to wobbles. This jig acts as a guided track for flawless edges.
Materials:
- Straight hardwood board (longer than your workpiece)
- Clamps or double-sided tape
Build it:
1. Choose a straight, sturdy board as your guide (avoid warped wood!).
2. Attach it to your workpiece using clamps or double-sided tape, offsetting it by the router’s baseplate distance.
o Example: If your router base is 3″ wide, set the guide 3″ away from your cut line.
How to use:
- Set the router bit depth.
- Run the router’s base along the guide board to trim or shape the edge.
Pro tip:
- For curved edges, use a flexible strip of PVC or thin plywood as a bendable guide.
- Label the guide board with the router bit it’s paired with (e.g., “1/4″ Round-Over”).
3. Box Joint Jig
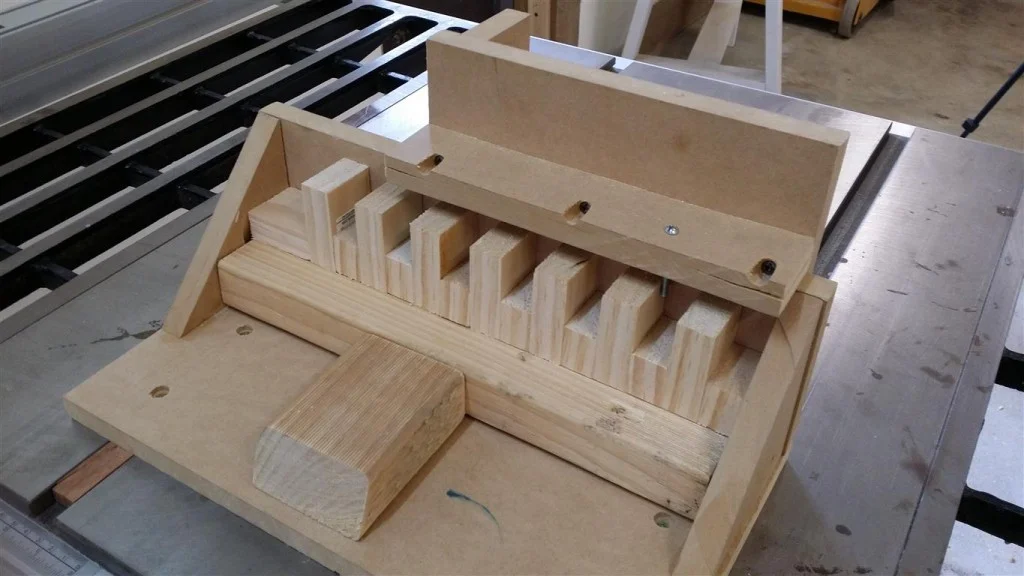
What it does: Cut perfect finger joints for boxes, drawers, or decorative joinery.
Why you need it: Box joints are strong and stylish but require precise spacing. This jig ensures every notch aligns perfectly.
Materials:
- Plywood sled that fits your table saw’s miter slots
- Hardwood “comb” with evenly spaced teeth
- Wood glue and screws
Build it:
1. Build a simple sled that slides in your table saw’s miter slots.
2. Attach a hardwood comb to the sled’s front edge, spacing the teeth to match your desired joint width (e.g., 1/4″ gaps).
3. Align the comb so it sits directly over the saw blade.
How to use:
- Clamp your workpiece vertically against the comb.
- Cut the first notch, then slide the workpiece over one tooth to cut the next. Repeat!
Pro tip:
- Test the spacing on scrap wood first.
- Use a dado stack blade for cleaner, wider cuts.
4. Dovetail Template Jig
What it does: Cut dovetail joints effortlessly with a router and template.
Why you need it: Hand-cutting dovetails is time-consuming. This jig lets you mass-produce them with machine precision.
Materials:
- 1/4″ acrylic or plywood (for the template)
- Router with a dovetail bit
- Guide bushing
Build it:
- Cut a template with the exact dovetail shape you want (use a CNC or print a paper guide and trace it).
- Attach the template to your workpiece with double-sided tape.
How to use:
- Install a guide bushing on your router that matches the template’s width.
- Route along the template to carve out the dovetail shape.
Pro tip:
- Start with half-blind dovetails for drawers—they hide the end grain for a cleaner look.
- Label templates for different sizes (e.g., “1/2″ Dovetails”).
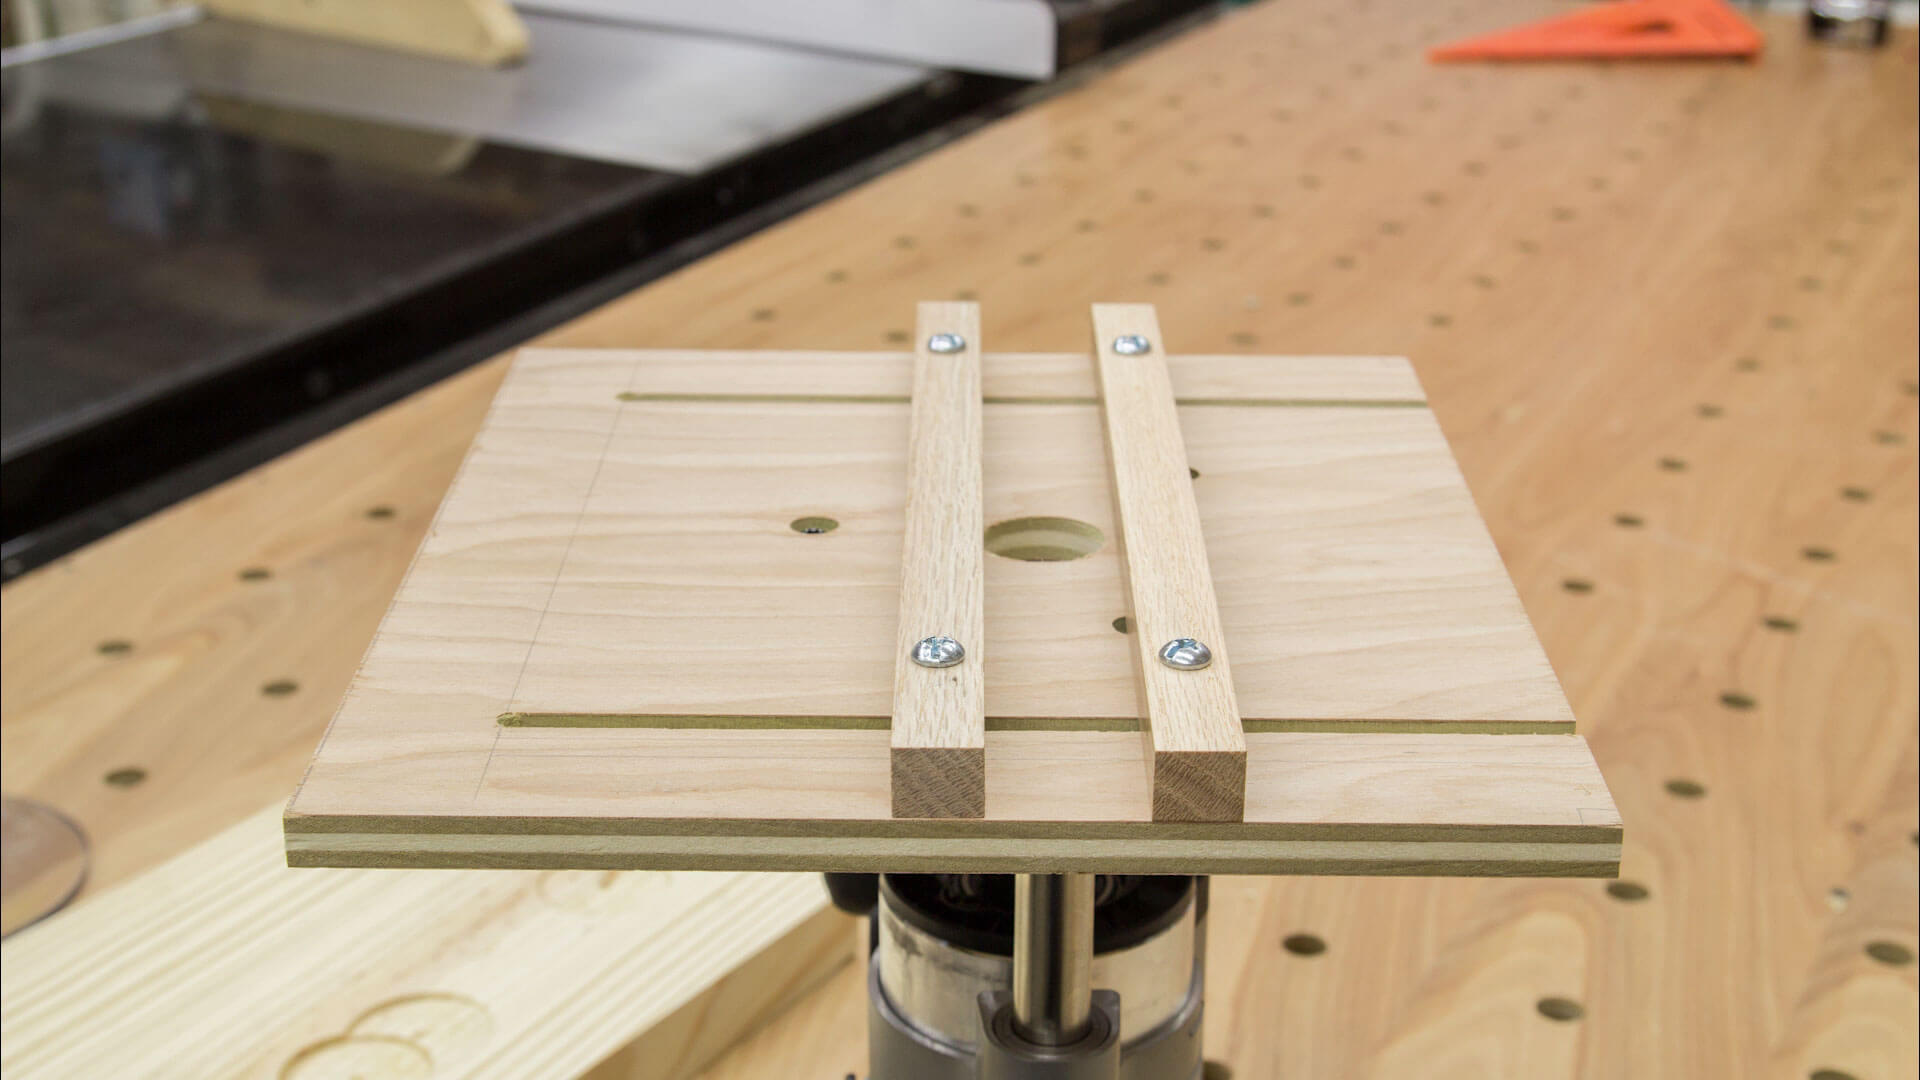
5. Adjustable Drill Press Table

What it does: Drill perfectly angled holes, hold small parts, or add clamping slots for stability.
Why you need it: The default drill press table is limited. This upgrade adds versatility for complex projects.
Materials:
- 3/4″ plywood or MDF (for the table)
- T-track rails
- Knobs or clamps
Build it:
1. Cut a plywood circle or square larger than your drill press’s original table.
2. Attach T-track rails in a grid pattern for clamping.
3. Drill a center hole to align with the drill bit.
How to use:
• Secure your workpiece to the table with clamps in the T-tracks.
• Rotate or tilt the table for angled drilling.
Pro tip:
• Add a sacrificial board under the workpiece to prevent drill bit tear-out.
• Install a built-in measuring tape along the table’s edge.
6. Miter Saw Stop Block
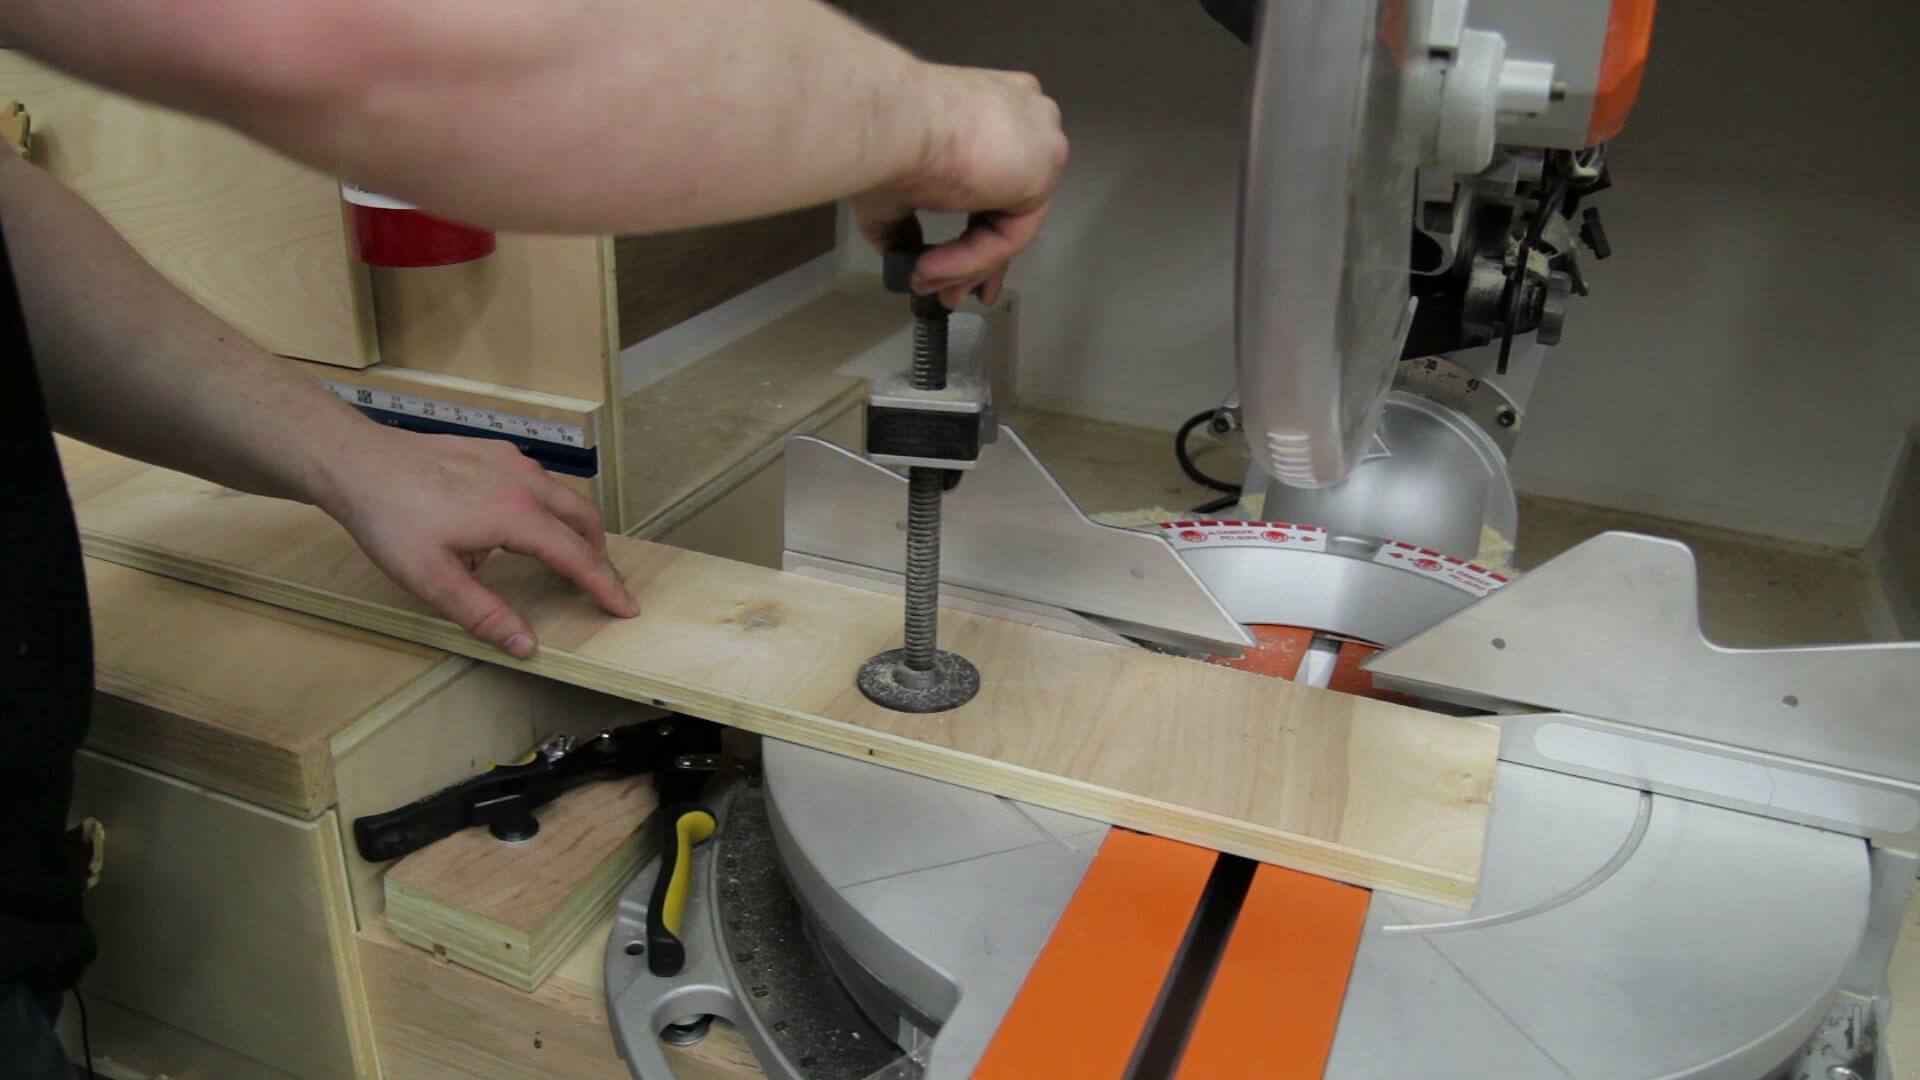
What it does: Cut multiple pieces to the exact same length without measuring each time.
Why you need it: Saves hours on repetitive cuts for projects like picture frames, trim, or decking.
Materials:
- Hardwood block
- Bolts or clamps
- Measuring tape
Build it:
- Cut a hardwood block slightly taller than your miter saw’s fence.
- Drill holes to attach it to the saw’s fence with bolts or clamps.
How to use:
- Set the block at your desired length (e.g., 12″ from the blade).
- Butt your workpiece against the block for each cut.
Pro tip:
- Add sandpaper to the block’s face to prevent workpieces from slipping.
- Use a magnetic block for quick removal and storage.
7. Panel-Cutting Jig
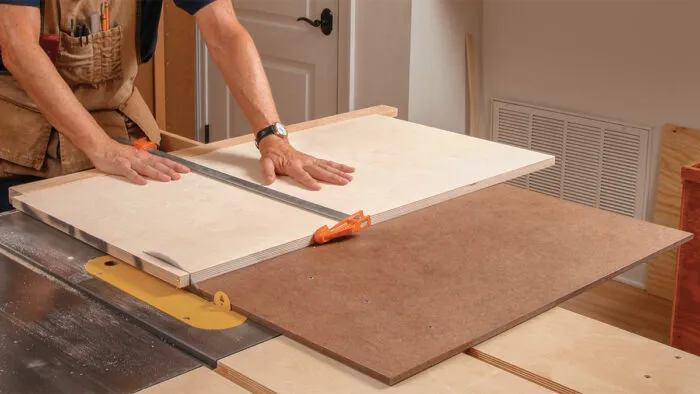
What it does: Safely cut large sheets of plywood or MDF with a circular saw.
Why you need it: Balancing full sheets on sawhorses is wobbly and dangerous. This jig acts as a guided track.
Materials:
- 8′ straight hardwood board or aluminum guide
- Clamps
Build it:
1. Attach a straight board to your workpiece with clamps, offsetting it by the saw’s baseplate-to-blade distance.
2. Ensure the board is parallel to your cut line.
How to use:
• Run the circular saw’s base along the guide board for a straight cut.
Pro tip:
- Add non-slip rubber pads to the guide to prevent shifting.
- Label the guide with the offset distance (e.g., “4″ Offset for DeWalt Saw”).
8. Spindle Sander Jig
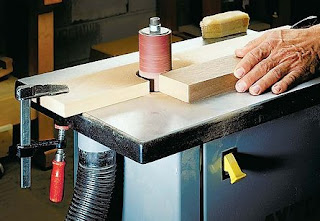
Credit : World-of-wood.blogspot
What it does: Turn your drill press into a spindle sander for smoothing curves or edges.
Why you need it: Spindle sanders are expensive—this hack costs under $5!
Materials:
- Wooden dowel (matching your drill chuck size)
- Sandpaper (60–120 grit)
- Spray adhesive
Build it:
1. Cut a dowel to 6″–8″ long.
2. Wrap sandpaper around it, securing it with spray adhesive.
How to use:
• Chuck the dowel into your drill press.
• Turn on the drill and sand your workpiece against the spinning dowel.
Pro tip:
• Use coarse grit for shaping and fine grit for finishing.
• Keep a vacuum nearby to collect dust.
9. Angle-Guide Jig for Bandsaws
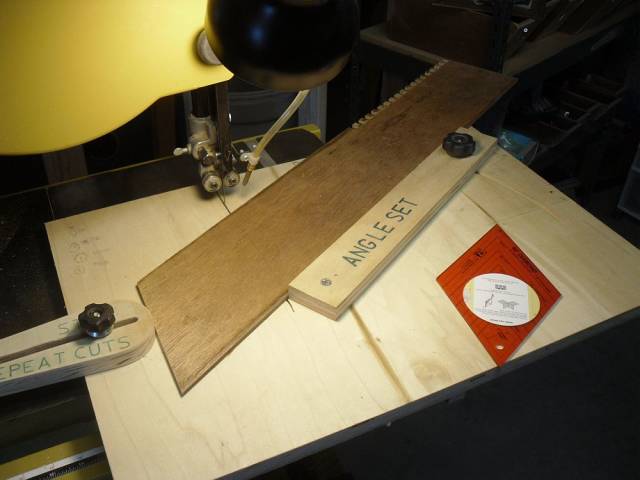
What it does: Cut precise angles for resawing wood or creating wedges.
Why you need it: Bandsaw angles are tricky to eyeball. This jig acts as a visual guide.
Materials:
• Plywood triangle cut to common angles (e.g., 15°, 30°, 45°)
• Clamps
Build it:
1. Cut a plywood triangle with your desired angle.
2. Attach it to your bandsaw table with clamps.
How to use:
• Align your workpiece with the triangle’s edge before cutting.
Pro tip:
• Mark angle measurements on the jig with a permanent marker.
• Use a featherboard to hold the workpiece against the guide.
10. Picture Frame Clamping Jig

What it does: Glue up picture frames with perfect 90-degree corners.
Why you need it: Even small gaps ruin a frame’s look. This jig ensures tight, square joints.
Materials:
• Plywood base
• 4 corner blocks (cut at 45°)
• Strap clamps
Build it:
1. Nail or glue 45° corner blocks to a plywood base.
2. Add strap clamps around the blocks.
How to use:
• Place frame pieces into the jig’s corners.
• Tighten the straps to hold everything square while the glue dries.
Pro tip:
• Wax the corner blocks to prevent glue from sticking.
• Use a small square to verify alignment before clamping.
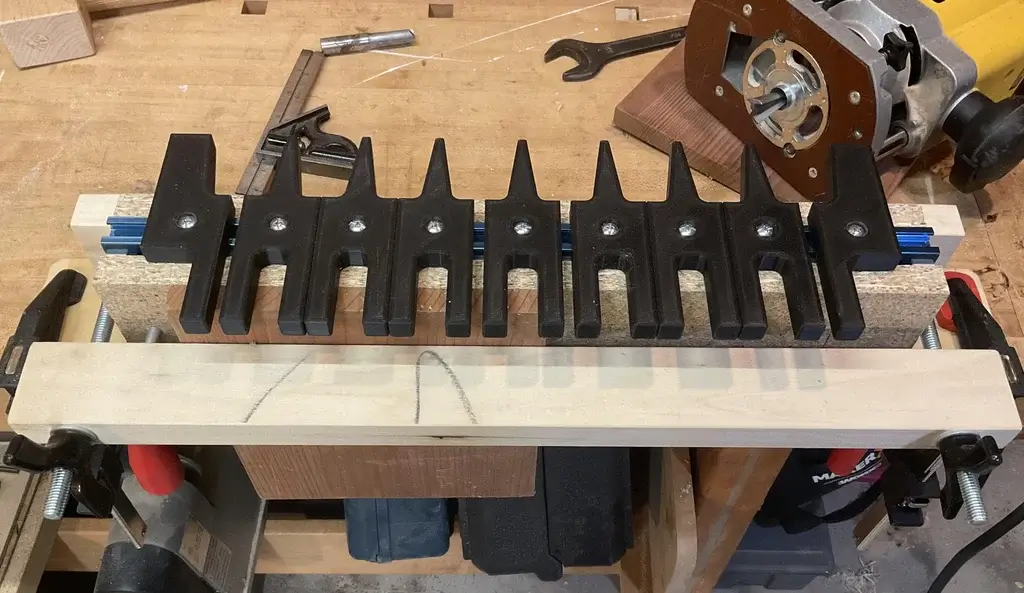
11. Router Mortising Jig
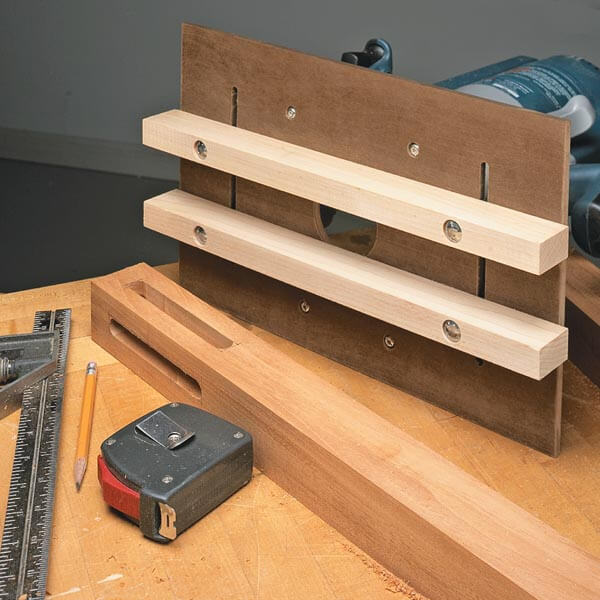
What it does: Cut clean, consistent mortises for tenon joints.
Why you need it: Hand-chiseling mortises is slow. This jig turns your router into a mortising machine.
Materials:
• Plywood sled with guide rails
• Clamps
• Spiral router bit
Build it:
1. Build a sled with rails that match your router’s base width.
2. Add adjustable stops to control the mortise length.
How to use:
• Clamp the sled to your workpiece.
• Plunge the router into the wood and move it along the rails to carve the mortise.
Pro tip:
• Make multiple shallow passes to avoid overheating the router bit.
• Label the sled with compatible router bit sizes (e.g., “1/4″ Mortises”).
Keep the Momentum Going!
These jigs are just the beginning. With each one you build, you’ll save time, reduce frustration, and unlock new project possibilities. Stay tuned for Part 2, where we’ll tackle jigs #16–25, including specialty jigs for curves, joinery, and more!
What’s next: Share a photo of your favorite jig in the comments, and let us know which project you’re tackling first!
Pro Tips for Jig Mastery
• Label jigs with their purpose and date.
• Use Baltic birch plywood for stability.
• Test on scrap wood before committing to a project.
Supercharge Your Skills with Ted’s Woodworking Plans!

Now that you’ve got these 25 jig plans, imagine pairing them with 16,000+ professional blueprints for furniture, outdoor projects, and more. Ted’s Woodworking Plans gives you:
✅ Step-by-step instructions for every project.
✅ Detailed materials lists and cutting diagrams.
✅ Lifetime access to a massive library of plans.
👉 Click Here to Get Ted’s Woodworking Plans Today!
Final Thoughts
With these jigs, you’ll spend less time fixing mistakes and more time building heirloom-quality pieces. Start with the crosscut sled or pocket hole jig, then work your way up!
Your Turn: Which jig are you excited to try? Share your progress in the comments—and don’t forget to check out Ted’s Woodworking Plans for projects that put your new jigs to work!
Happy building!