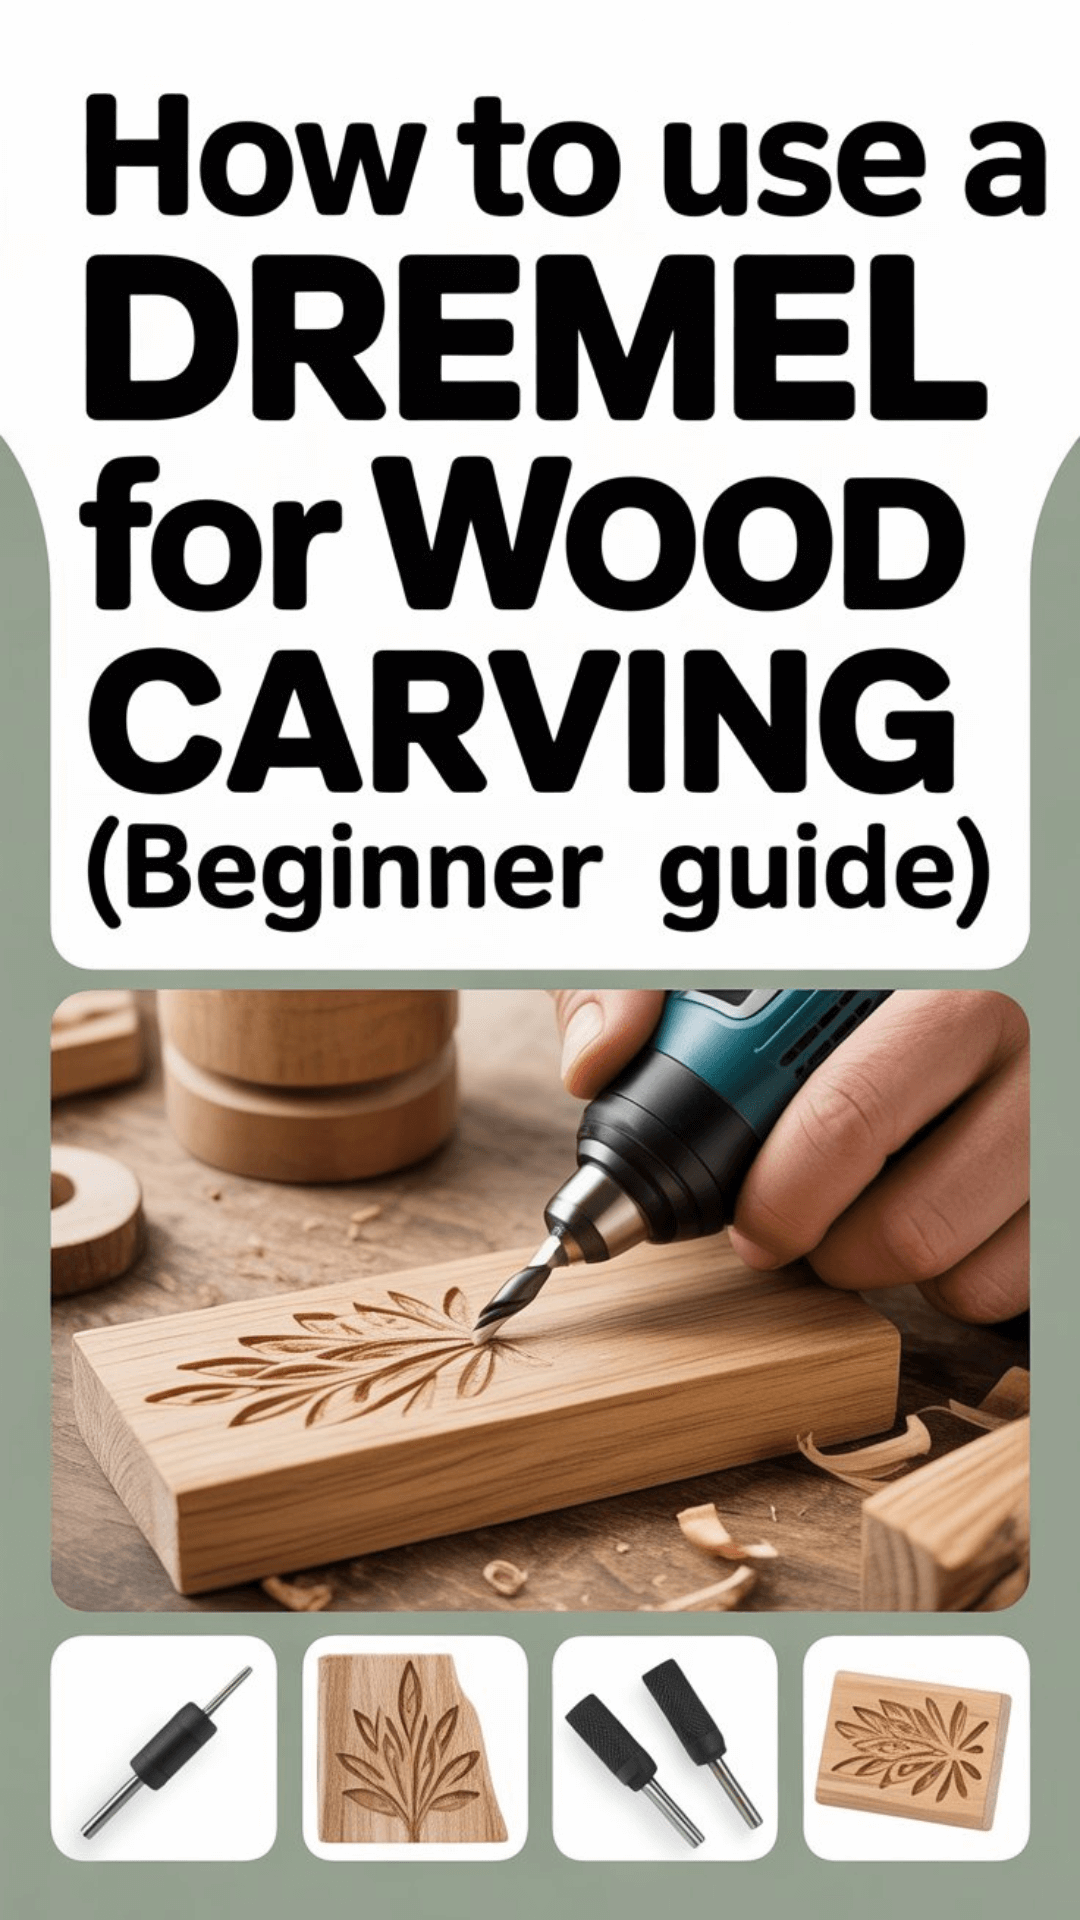
Let me guess — you picked up a Dremel, stared at it for ten minutes, and then put it back in the box because you had no idea where to start. Been there. The good news? Dremel tools are genuinely one of the most beginner-friendly carving tools out there, and you don’t need professional training or a fancy workshop to get going.
In this guide, you’ll learn everything you need: how to set up your tool, which bits to use, how to actually carve, and how to stay safe while doing it. By the end, you’ll be ready to carve your first piece — no experience required.
In this guide, you’ll learn everything you need: how to set up your tool, which bits to use, how to actually carve, and how to stay safe while doing it. By the end, you’ll be ready to carve your first piece — no experience required, and you’ll understand how to use a dremel for wood carving.
What Is a Dremel Rotary Tool?
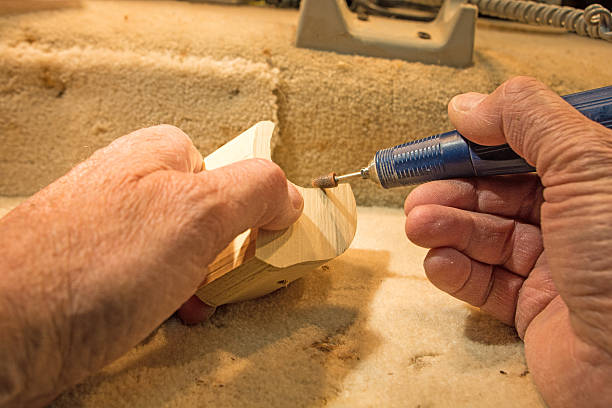
A Dremel is a high-speed rotary tool — basically a small motor with a spinning tip that you swap out depending on what you need to do. It can cut, grind, engrave, sand, and of course, carve. Think of it as the Swiss Army knife of hobby tools.
For wood carving specifically, the Dremel shines because it gives you speed and precision that hand carving tools simply can’t match. Where traditional chisels require significant hand strength and years of technique, a Dremel does the heavy lifting — you just guide it.
The main difference between hand carving and rotary carving? Control style. Hand carving is about force and angle. Rotary carving is about patience and pressure — you let the spinning bit do the work, not your arm.
Check out our Best Dremel Wood Carving Projects post for inspiration!
Best Dremel Models for Beginners
Before you grab the first Dremel you see at the hardware store, let’s make sure you get the right one. Not all models are equal, and the wrong choice can make your first carving session more frustrating than fun.
Dremel 3000 — Best Budget Pick
If you’re just testing the waters, the Dremel 3000 is your friend. It’s corded, reliable, and won’t break the bank. It runs up to 32,000 RPM and handles most beginner carving tasks without complaint. IMO, it’s the smartest starting point for most people.
Advertisement
Dremel 4000 — Best Overall
The Dremel 4000 is the sweet spot. More power, higher RPM ceiling (35,000), and compatible with a huge range of attachments. If you’re serious about learning, invest a little more and get this one — you won’t outgrow it quickly.
Dremel 8220 — Best Cordless Option
Love freedom of movement? The Dremel 8220 is fully cordless and runs on a 12V battery. The power is comparable to the corded models, and you can carve anywhere without wrestling with a cord. Great for outdoor projects too.
Quick comparison:
| Model | Type | Speed Range | Best For |
| Dremel 3000 | Corded | 5,000–32,000 RPM | Budget pick |
| Dremel 4000 | Corded | 5,000–35,000 RPM | Best overall |
| Dremel 8220 | Cordless | 5,000–35,000 RPM | Freedom of movement |
Best Dremel Bits for Wood Carving
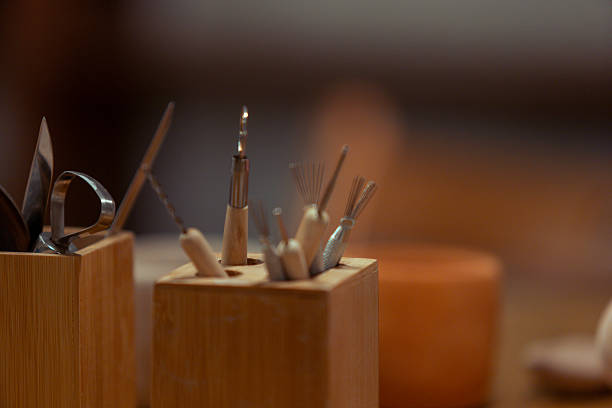
Here’s where things get fun — and a little overwhelming if you’re staring at a wall of accessories at the store. Don’t panic. You only need a few key bits to start.
High-Speed Cutter Bits
These are your go-to bits for removing bulk material fast. They’re made of high-speed steel and work great for rough shaping and outlining. Start here before moving to detail work.
Carbide Burr Bits
Carbide burrs are tougher and last longer. They’re ideal for detailed carving and sculpting once you’ve roughed out your shape. They come in different shapes — ball, cone, cylinder — each suited to a different task.
Sanding Drums
Once your carving is done, sanding drums help you smooth out rough spots and prep the surface for finishing. They’re also great for refining curves and hard-to-reach areas.
Engraving Bits
Want to add fine details, text, or patterns? Engraving bits give you pinpoint precision for surface-level work. They’re perfect for adding texture or decorative lines to your piece.
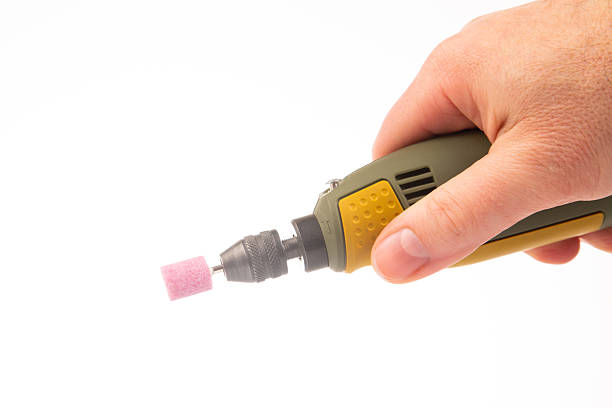
How to Set Up Your Dremel for Carving
Setting up a Dremel takes less than two minutes once you know the steps. Here’s the no-nonsense breakdown:
- Choose your bit — pick the right bit for the task (rough shaping = high-speed cutter, detail = carbide burr).
- Insert the bit — push the bit shank into the collet at the front of the tool.
- Tighten the collet — hold the shaft lock button and tighten the collet nut with the wrench until snug.
- Adjust the speed — use the speed dial to set your RPM.
Pro tip: Always start at a low speed and increase gradually. Running at full blast right away on soft wood is a great way to tear up your workpiece :/ Find the sweet spot for your material and bit type.
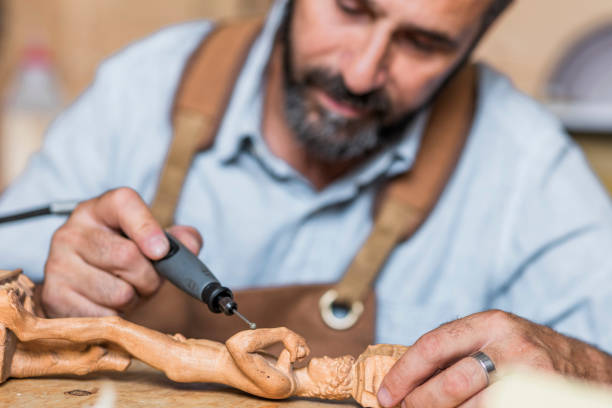
How to Use a Dremel for Wood Carving (Step-by-Step)
Alright, this is the section you came for. Let’s walk through the actual carving process, step by step.
Understanding how to use a dremel for wood carving can unlock a world of creativity. By following these steps, you will see how easy it is to start your journey in wood carving.
Step 1: Secure the Wood
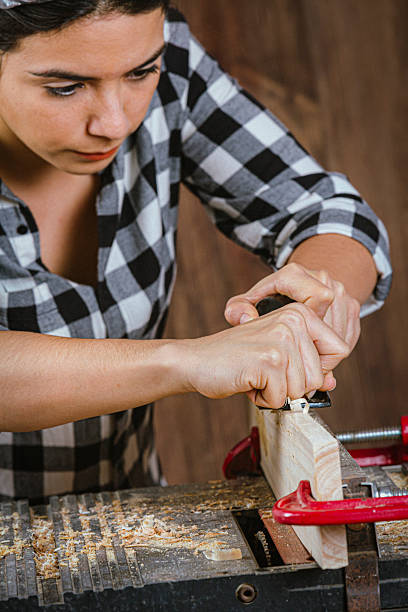
This is non-negotiable. A piece of wood that moves while you’re carving is dangerous and ruins your work. Use a clamp, a vise, or a non-slip mat to hold your wood firmly in place before you even turn the tool on.
Step 2: Outline the Design
Sketch your design on the wood with a pencil first. Then use a low-speed setting and a high-speed cutter to trace the outline lightly. This gives you a guide to follow and helps prevent accidental cuts outside your design area.
Step 3: Remove Bulk Material
Now you start carving inside your outline. Use your high-speed cutter or carbide burr to remove larger chunks of material. Work in controlled passes — don’t try to dig deep in one go. Think of it like sculpting: remove a little, assess, remove a little more.
Step 4: Add Details
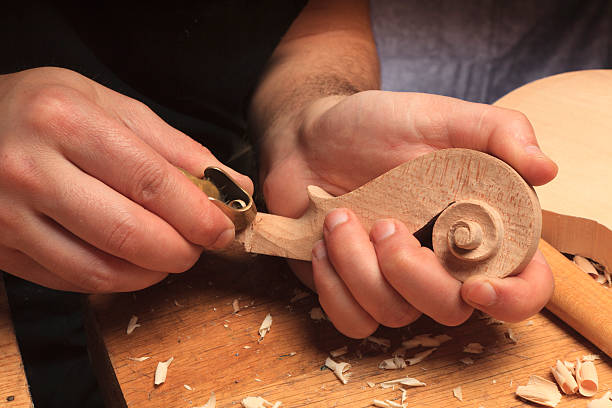
Switch to a carbide burr or engraving bit for finer work. This is where your piece really comes to life. Take your time here — detail work is where patience pays off. Use a lighter touch and let the tool do the cutting, not your hand.
Step 5: Sand & Finish
Swap in a sanding drum and smooth out any rough edges. Work through progressively finer grits if needed. Once the surface feels clean, wipe off the dust and apply your finish of choice — stain, paint, sealant, or oil, depending on the look you’re going for.
Always remember, the key to mastering how to use a dremel for wood carving is practice and patience. Enjoy the process and learn as you go.
Best Wood Types for Dremel Carving
Not all wood is created equal. As a beginner, your choice of wood can make or break your first carving experience.
Best Woods to Start With
- Basswood — The gold standard for beginner carving. It’s soft, consistent, and easy to work with. Highly recommended.
- Pine — Affordable and widely available. A bit more grain to navigate, but still very manageable.
- Butternut — Slightly harder than basswood but still beginner-friendly. Beautiful grain too.
Woods to Avoid (and Why)
- Oak — Too dense. Your bits will slip and struggle, and you’ll burn through them quickly.
- Maple — Very hard, which causes your bits to overheat fast. Save this one for when you’ve leveled up.
- Walnut — Gorgeous wood, but tough for beginners. It’s harder to control and can fight back on your carving.
Common Beginner Mistakes to Avoid
Everyone makes these mistakes at first. Knowing them in advance saves you a lot of frustration.
- Using too much pressure: The Dremel is designed to cut with the speed of the bit, not the force of your hand. Let the tool work — pressing harder just damages the wood and tires you out.
- Running the tool too fast: High RPM on soft wood can tear the grain instead of cutting cleanly. Start slow and find the right speed for your material.
- Not securing the wood: A piece that shifts mid-carve ruins your design and can send the spinning bit somewhere you don’t want it to go.
- Skipping safety gear: FYI, wood dust is no joke. Skipping eye protection and a mask might seem fine for “just a few minutes” — until it isn’t.
Safety Tips for Dremel Wood Carving
Let’s keep this short and non-preachy: a few simple habits protect you and keep carving fun.
- Eye protection: Always wear safety glasses. Tiny wood chips move fast.
- Dust mask: Wood dust irritates your lungs over time. A basic N95 mask does the job.
- Secure workspace: Keep your work surface clear and your wood clamped. Good lighting helps too — you want to see exactly what you’re doing.
- Unplug when changing bits: Obvious? Sure. But worth repeating.
Easy Dremel Projects to Try First
Now that you have the basics down, the best thing you can do is just start. Here are some simple projects that are perfect for your first few sessions:
- A simple name sign or word plaque
- A small animal silhouette (owl, fish, or bear are classics)
- A decorative coaster with a simple geometric pattern
- A wooden pendant or keychain
For more ideas, check out our full project lists: 14 Best Dremel Wood Carving Projects and 10 Best Wood Carving Projects for Beginners.
Frequently Asked Questions
Can a Dremel replace traditional carving tools?
For most beginners and hobbyists, yes — a Dremel handles the vast majority of carving tasks you’ll want to do. Where it falls short is in large-scale relief carving or very broad material removal, where a proper gouge or chisel is faster. But for detail work, decorative carving, and small projects? The Dremel wins.
What speed setting should I use for wood carving?
A good starting point is around 15,000–20,000 RPM for most softwood carving. Go lower (5,000–10,000 RPM) for very soft woods or when doing delicate detail work. Bump it up for harder materials or when bulk-removing with a larger bit. Always test on a scrap piece first.
How long does it take to learn Dremel carving?
You can carve your first recognizable piece in an afternoon — seriously. Building real control and consistency takes a few projects, maybe a few weeks of casual practice. The learning curve is gentle compared to traditional carving.
Do I need a flex shaft attachment as a beginner?
Not at all. The flex shaft attachment is a useful upgrade for long sessions (it reduces hand fatigue) and tight detailed work, but it’s not essential to start. Get comfortable with the basic tool first, then consider adding it later.
Can I use a Dremel on any type of wood?
Technically yes, but practically no. A Dremel can cut through hardwoods, but it’s slower, harder on your bits, and more difficult to control. Stick to softer woods while you’re building your skills. Once you have a feel for the tool, you can experiment with harder species.
Conclusion
You now have everything you need to start your first carving. Grab a piece of basswood, pick a simple design, clamp it down, and just start moving the tool. That’s genuinely all it takes to begin.
Start small. Practice. Don’t fear mistakes — every rough edge and uneven line teaches you something the next piece benefits from. The people who get good at this aren’t the ones who waited until they felt ready. They’re the ones who just made a lot of imperfect things.
If you carve your first piece using this guide, drop a comment and share how it went — I’d love to see what you made. And if you’re already thinking about your next project, our project lists are a great place to find inspiration. Happy carving!
Why Not Save This Pin For Later?