

Tired of Messy Piles of Shoes Near Your Door?
Let me guess—you walk in the door, kick off your shoes, and suddenly you’re wading through a sea of sneakers, boots, and those one sandals you swear you didn’t even buy. Sound familiar? Yeah, I’ve been there too. But trust me, the solution is easier (and more fun) than you think.
A wooden shoe rack isn’t just a stylish fix for your cluttered entryway—it’s also durable, customizable, and totally DIY-friendly. Whether you’re a beginner with a hammer or a seasoned weekend warrior, these 7 wooden shoe rack plans are affordable, simple, and can be knocked out in a weekend.
Ready to give your hallway a glow-up? Let’s dive in.
Why Choose a Wooden Shoe Rack?
Alright, so why go wood instead of grabbing another sad plastic shelf from the dollar store?
- Natural and timeless: Wood never goes out of style. It blends beautifully with any decor—from boho to modern minimalist.
- Budget-friendly: You can make most of these using scrap wood or reclaimed lumber. Yep, even those leftover 2x4s from your last failed birdhouse project 😉
- Sturdy and long-lasting: Wooden racks hold up way better than flimsy wire or plastic ones. Your winter boots won’t buckle these shelves.
- Customizable: Want a rustic stained look? Go for it. Prefer a clean white-painted finish? Totally doable. Make it your own.
Plus, there’s something oddly fulfilling about making something with your hands.
IMO, it beats assembling IKEA furniture any day.
7 Simple Wooden Shoe Rack Plans
Let’s get to the good stuff. Here are seven wooden shoe rack ideas you can actually build at home—no fancy workshop required.
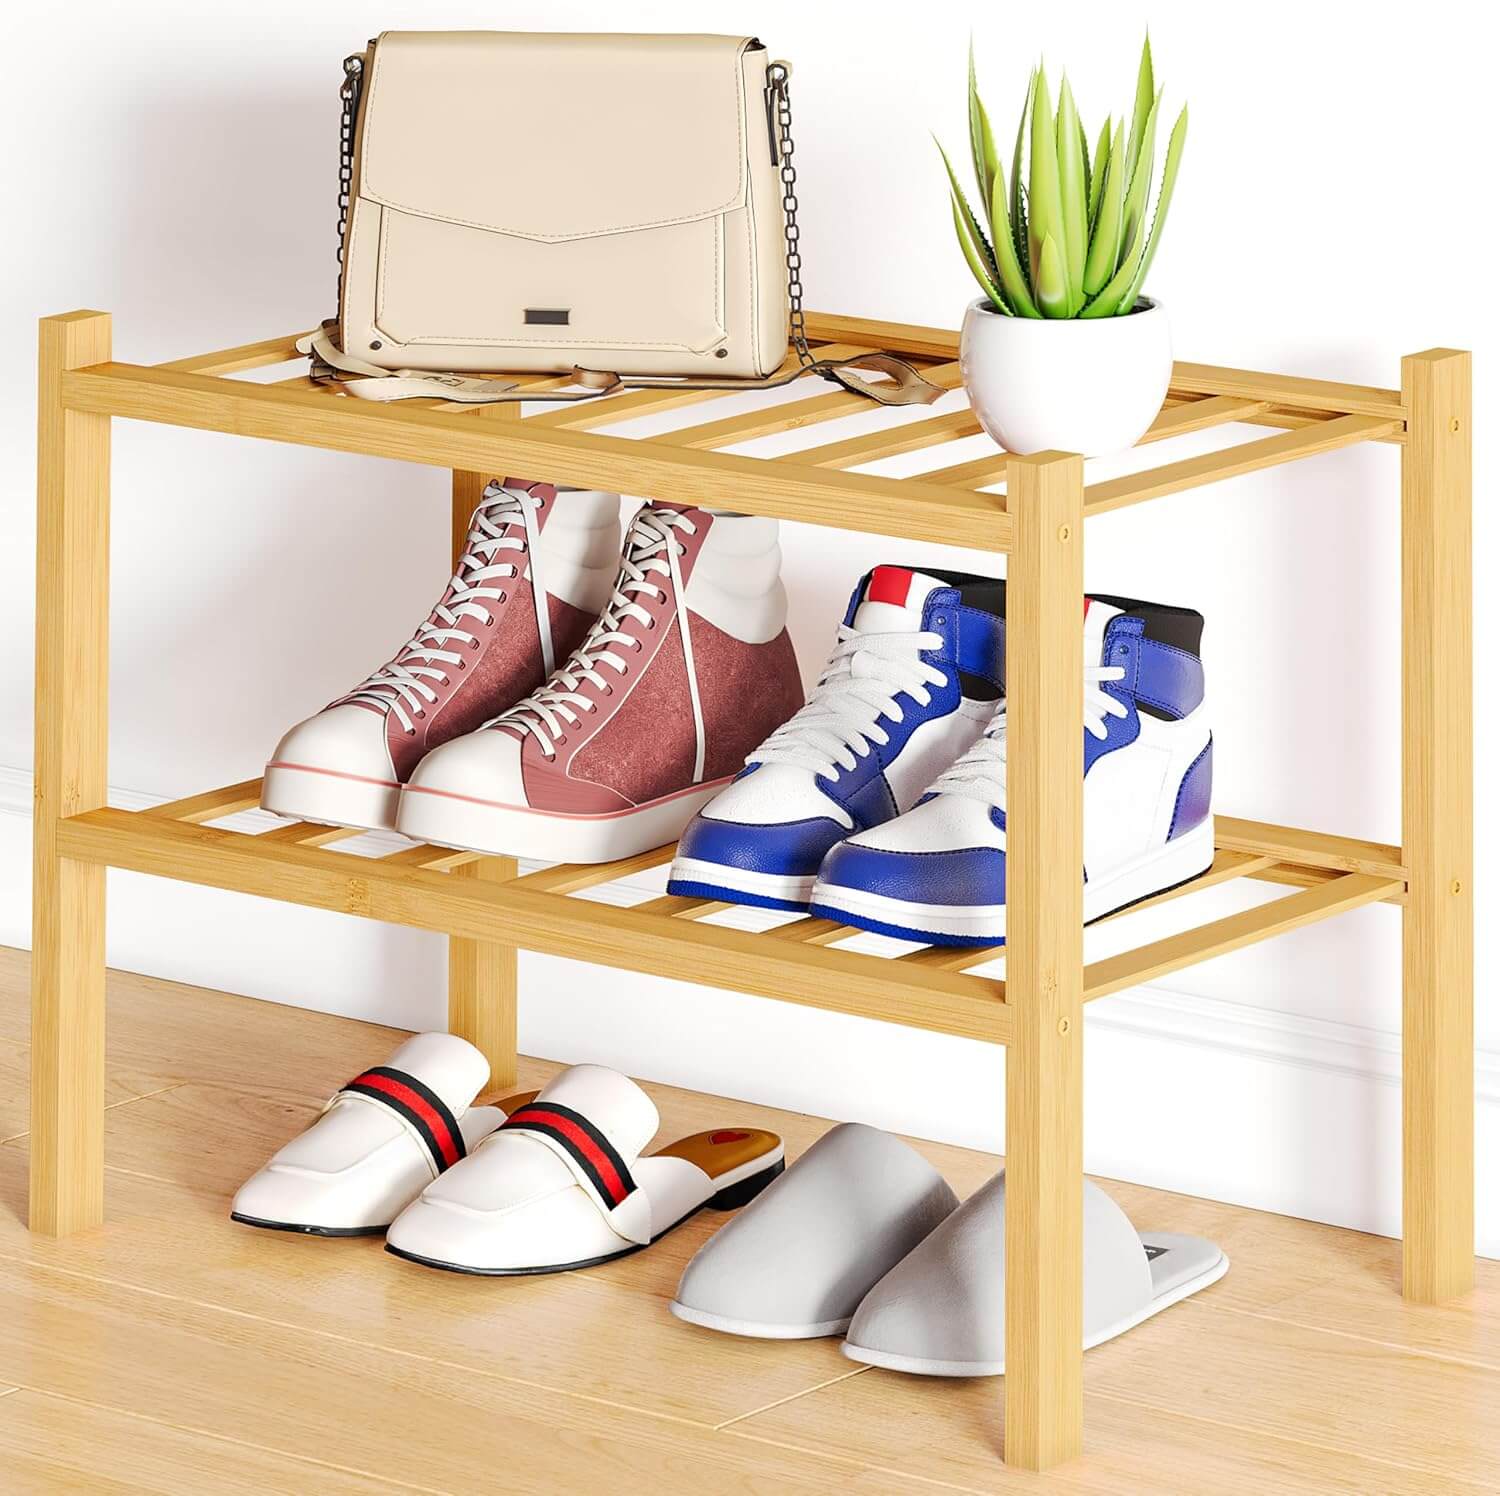
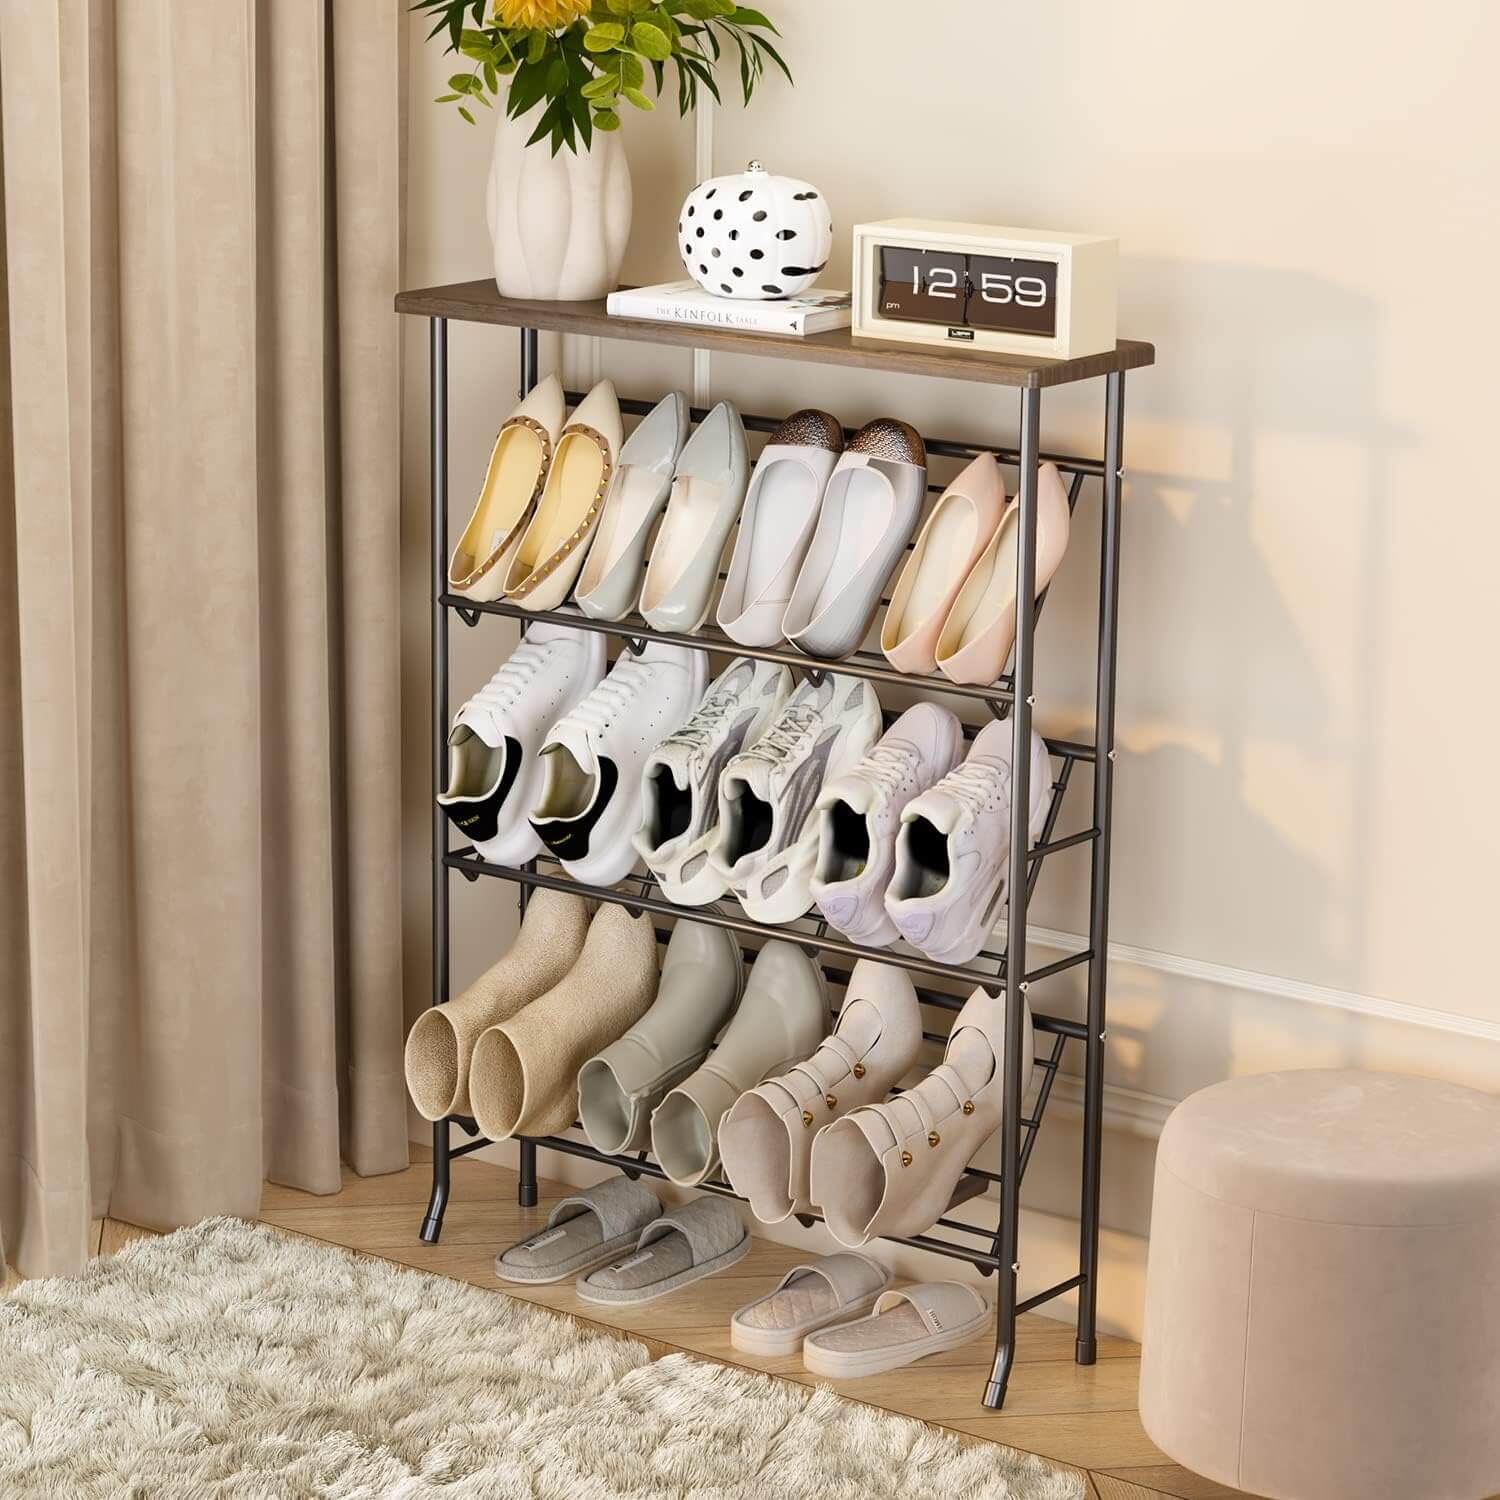
1. Basic Two-Tier Rack
Advertisement
This one’s the MVP of shoe storage. Clean, simple, and perfect for tight entryways or inside closets.
- Use 1x4s for the slats and 2x2s for the legs.
- Easy to cut and screw together.
- Paint it, stain it, or leave it raw wood—whatever floats your boat.
Why I love it: You can whip this one up in under two hours. And bonus—it fits adult and kids’ shoes alike.
2. Vertical Ladder-Style Shoe Rack
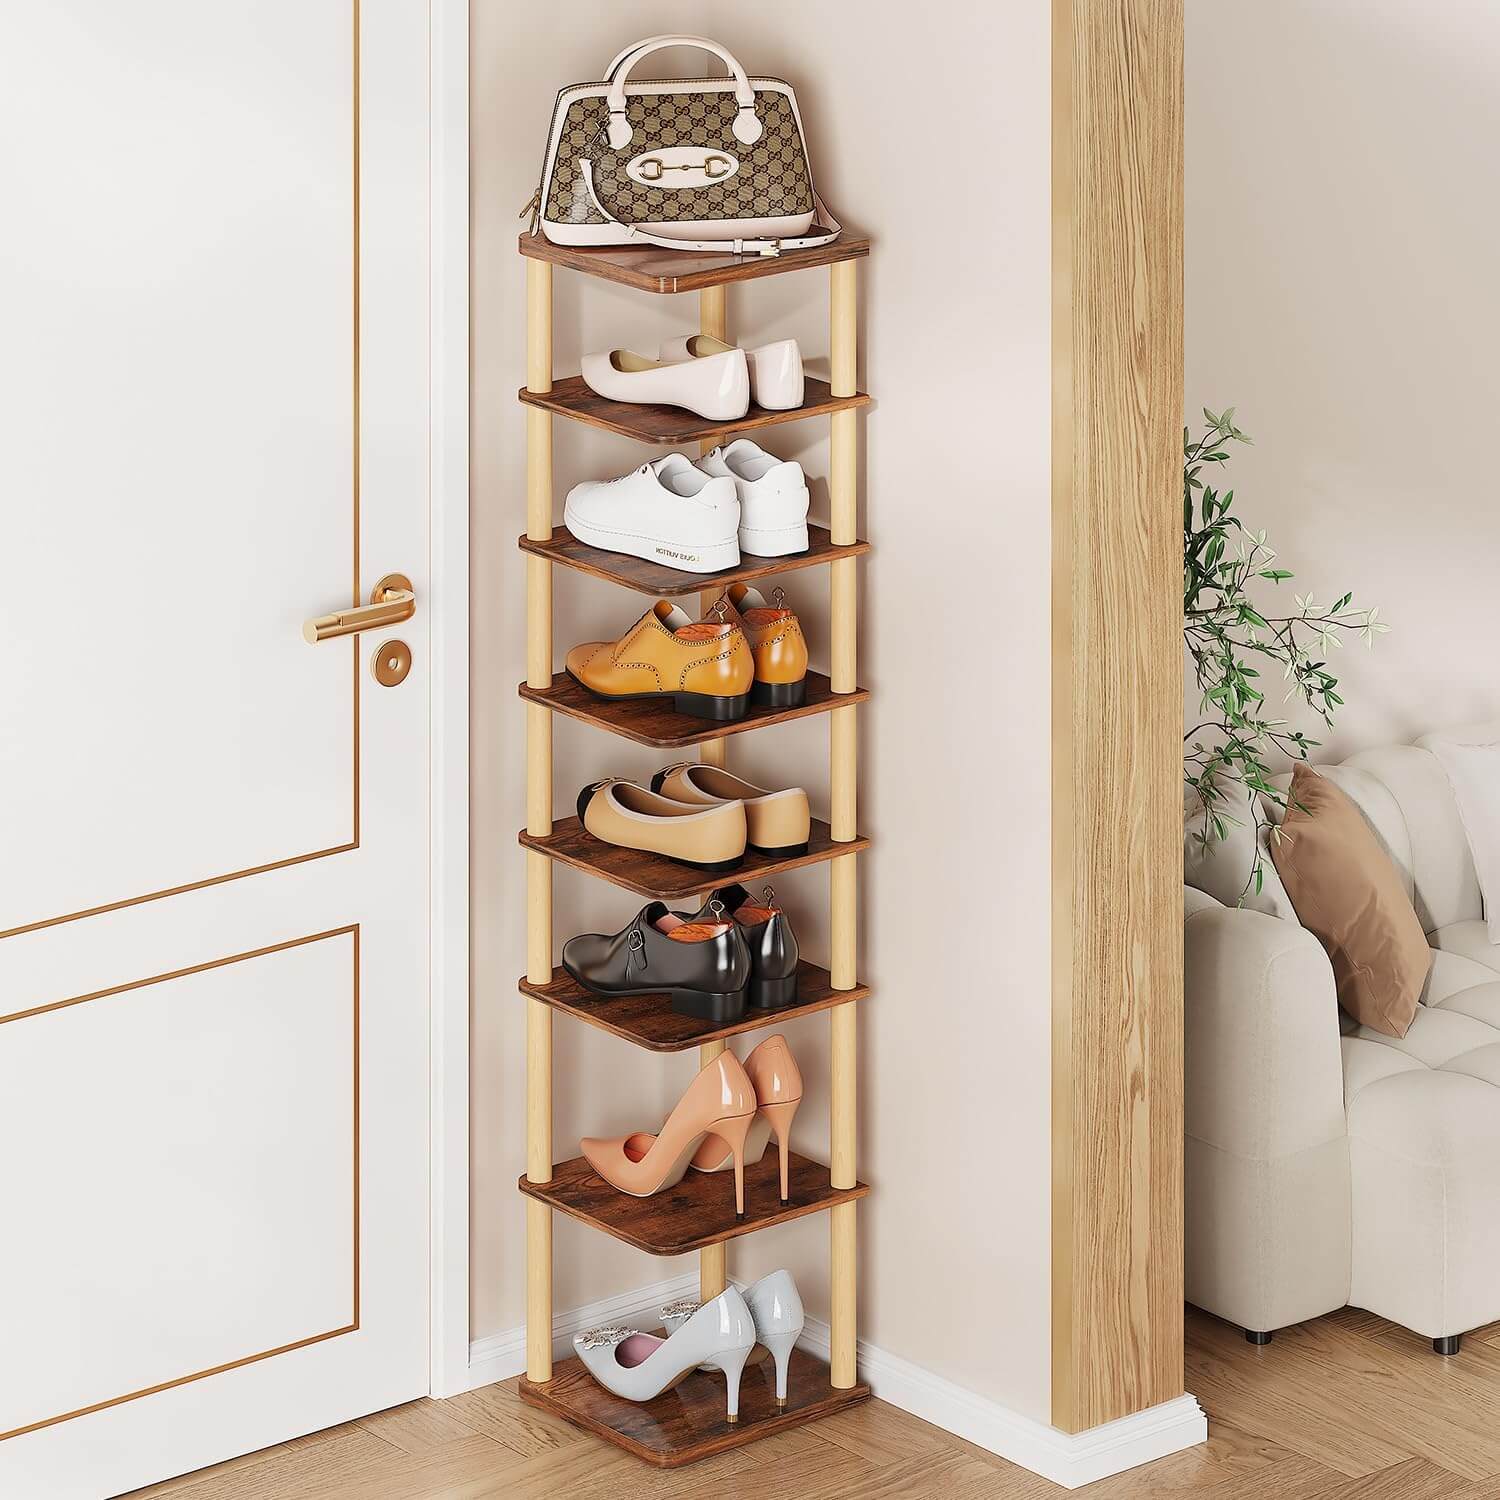
Got more shoes than square footage? Say hello to this leaning ladder-style rack.
- Takes up way less floor space.
- Simply build a ladder frame and add horizontal slats for shoes.
- Leans stylishly against the wall like it’s cooler than the rest of your furniture (because it kinda is).
Best for: Sneakers, sandals, or flats.
Pro tip: Stain it dark walnut for a super modern vibe.
3. Crate-Style Rustic Shoe Storage
Think farmhouse vibes on a budget. This one uses basic wooden crates or custom box-style modules you stack.
- Totally modular—build two, three, or ten. (I won’t judge.)
- Easy to move or rearrange.
- Great weekend project with the kids if you want to sneak in some quality time.
Why it rocks: Adds serious character to your hallway. Rustic + functional = chef’s kiss.
4. Bench + Shoe Rack Combo
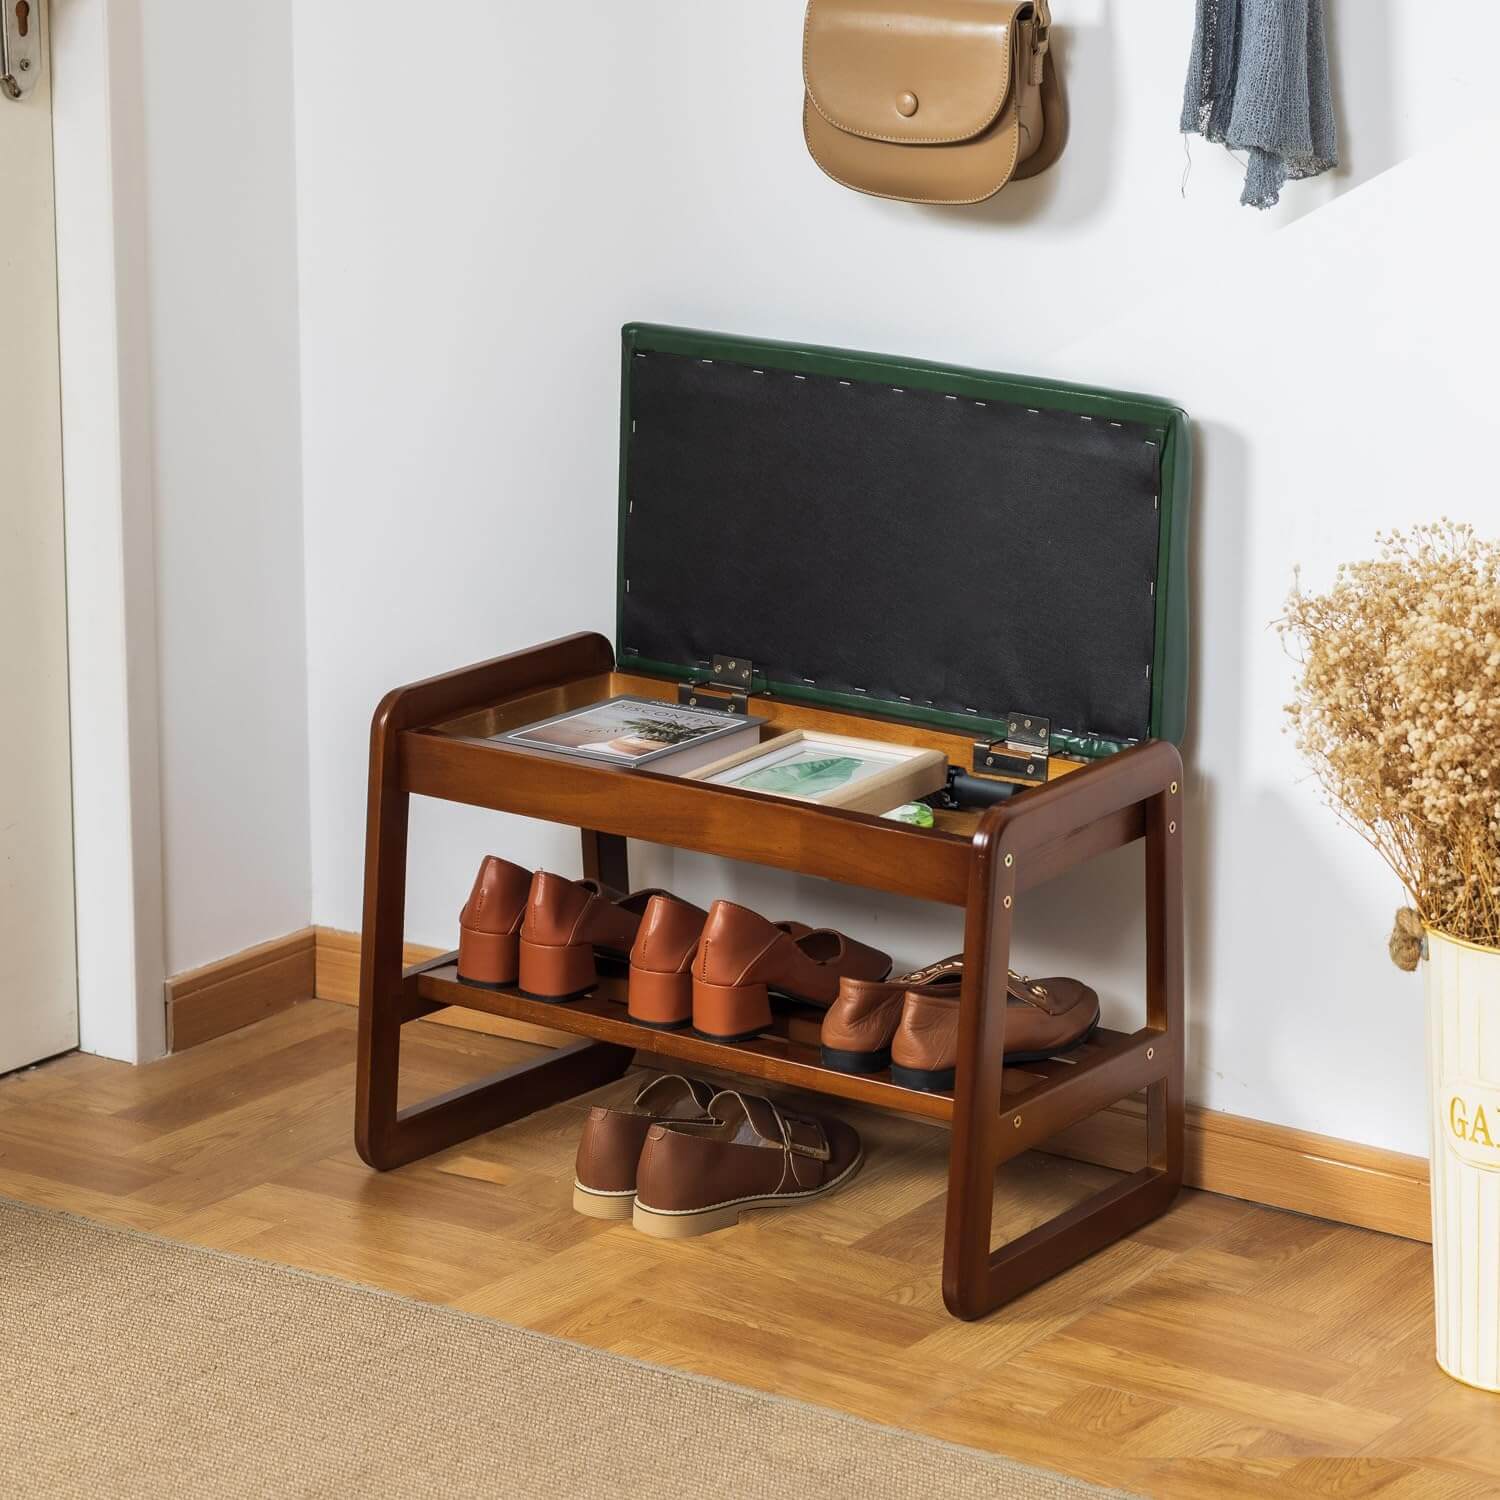
Who doesn’t love a 2-in-1? This bench doubles as a comfy seat and shoe organizer.
- Build a sturdy wooden bench with a slatted or cubby-style bottom shelf.
- Perfect for mudrooms, porches, or entryways.
- Customize the top with a padded cushion or live-edge plank.
Bonus: You can actually sit down while putting your shoes on. Wild, right
5. Wall-Mounted Wooden Shoe Shelf
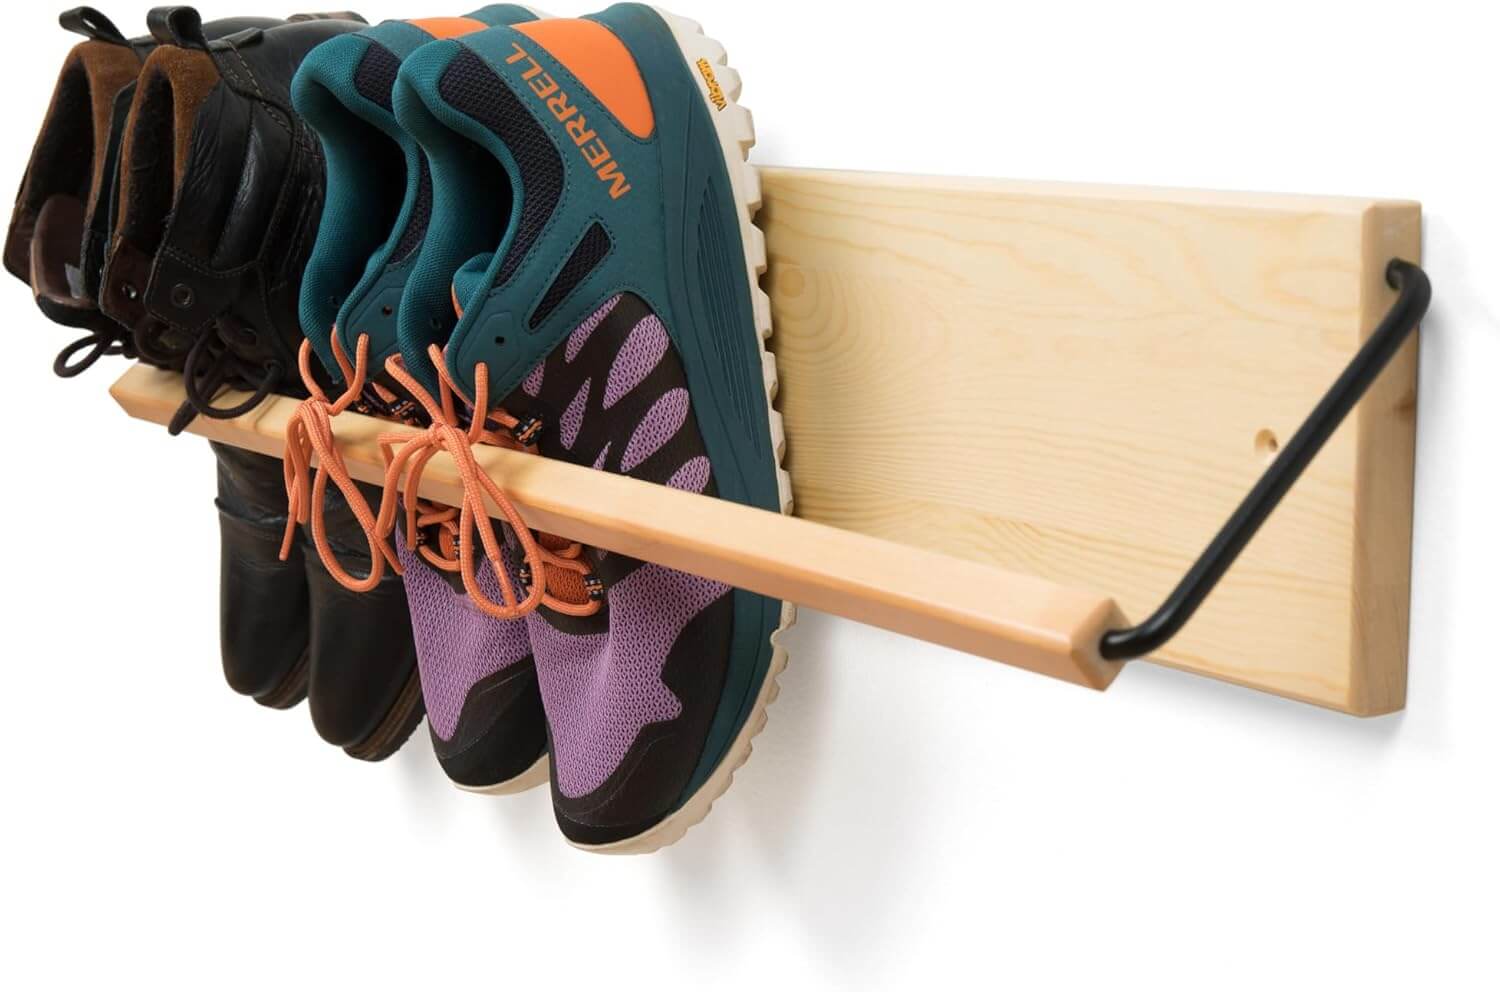
Running out of floor? No worries. Go vertical with wall-mounted shelves.
- Works great in small apartments or minimalist homes.
- Use strong brackets and a couple of wood planks.
- Can be a single long shelf or multiple smaller tiers.
IMO: This is the cleanest, most modern look. Go for pine, oak, or birch depending on your style.
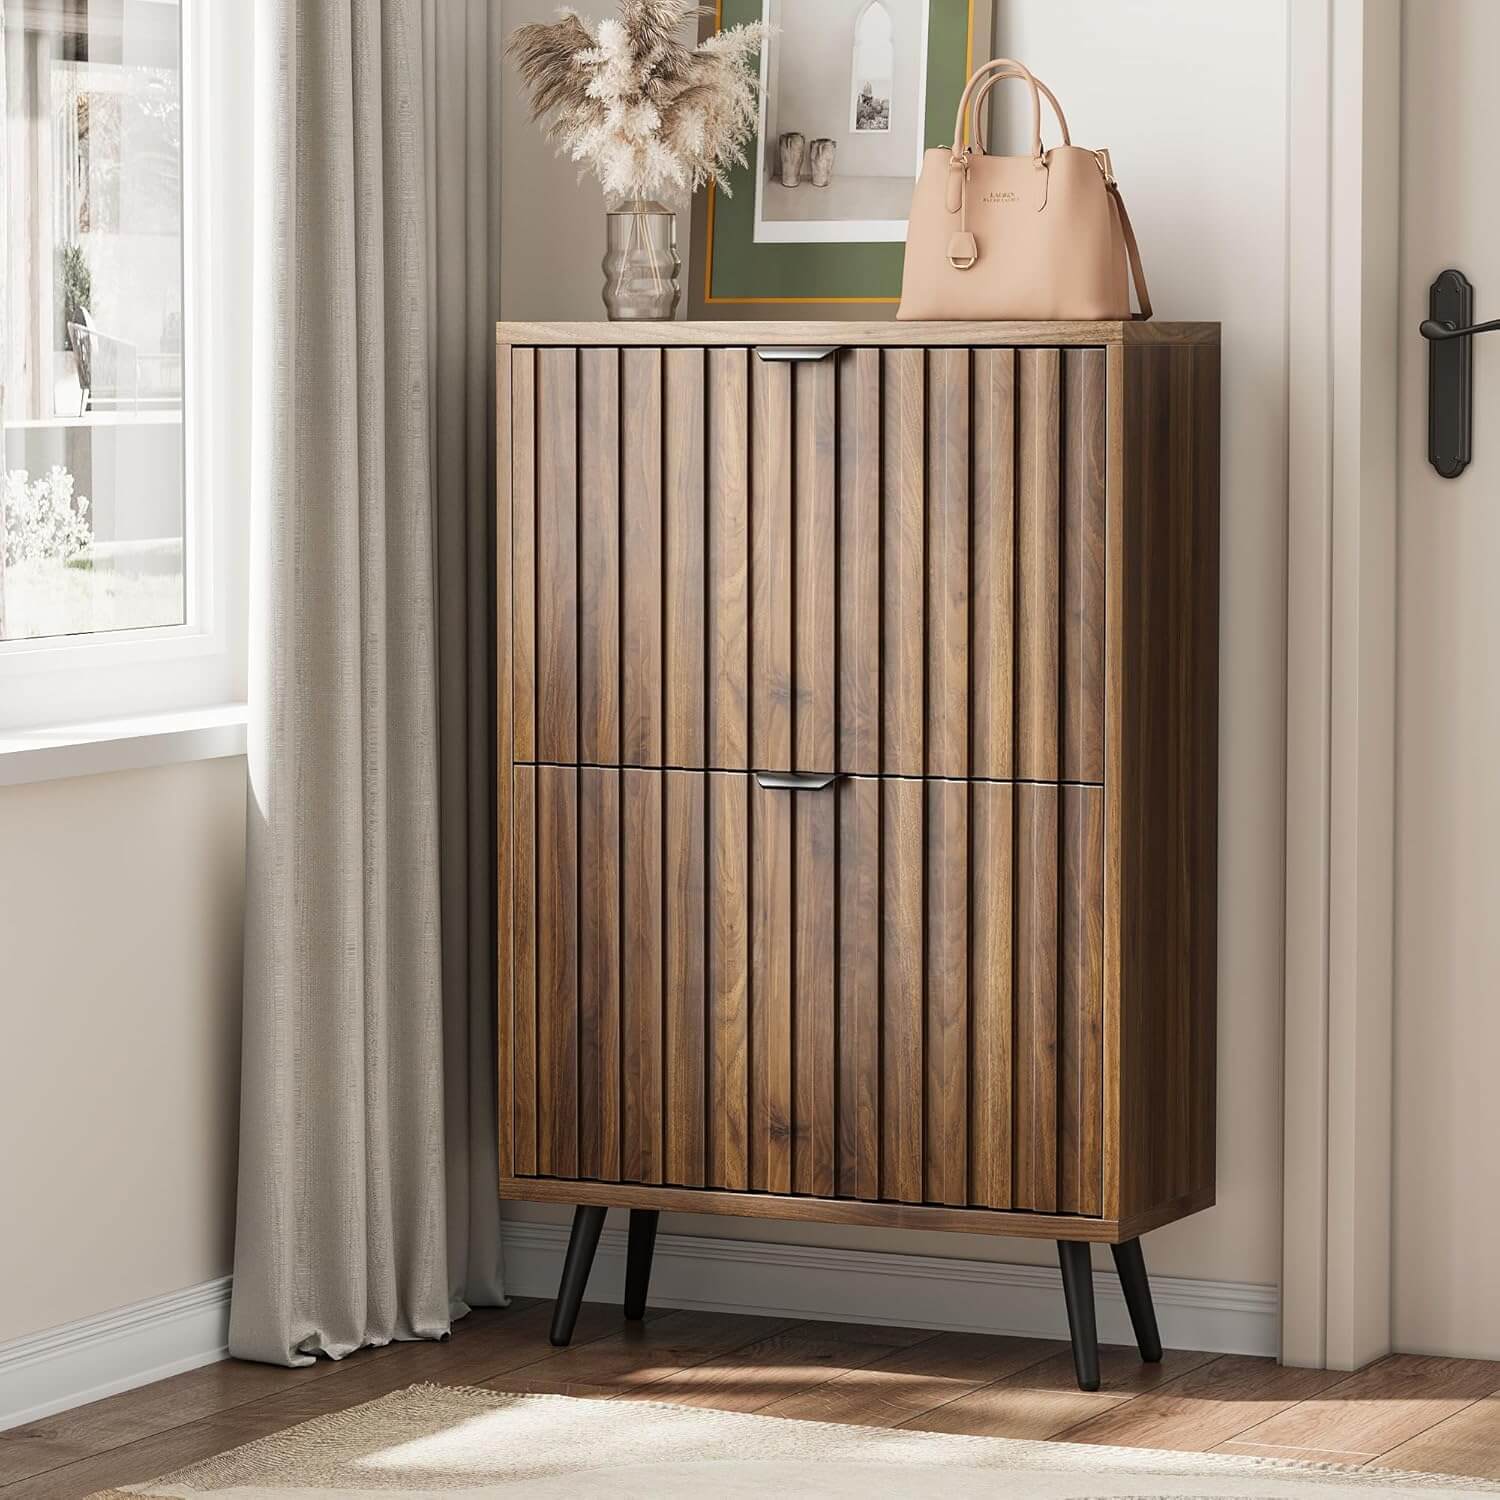
6. Hidden Storage Shoe Rack

Don’t want to see the mess? Just hide it.
- Build a box-style bench with a hinged lid or sliding drawers.
- Shoes go inside. The top stays neat and tidy.
- Great for living rooms or bedrooms where you want the space to look polished.
Extra tip: Use soft-close hinges for that fancy feel.
7. Pallet Shoe Rack
Ah yes, the classic DIY pallet project. Cheap, easy, and ridiculously charming.
- Use reclaimed wood pallets—just be sure they’re heat-treated (look for the HT stamp).
- Cut them down and reconfigure into simple racks.
- Sand thoroughly to avoid splinters (trust me, your heels will thank you).
Why it’s awesome: This one’s beginner-friendly and 100% eco-conscious. Feel good while looking good.
Tools & Materials You’ll Need
No need for a full woodshop here. Just grab a few essentials:
- Saw (hand saw, jigsaw, or circular saw)
- Drill + screws
- Wood glue (because who doesn’t like extra hold?)
- Sandpaper or power sander
- Paint, stain, or sealer to finish
- Optional but helpful: pocket hole jig, nail gun, clamps
Pro tip: Keep a clean workspace. It helps prevent “oops” moments… not that I’ve ever drilled into my workbench or anything. :/
Tips for DIY Success
Want your DIY shoe rack to last longer than your New Year’s resolutions? Keep these in mind:
- Measure twice, cut once. Always double-check before slicing into your beautiful lumber.
- Pre-sand your wood—edges, surfaces, all of it. It makes the finish smoother and prevents splinters.
- Use wood glue in joints for extra stability. Screws alone sometimes wiggle loose over time.
- Add felt pads under the legs if your rack’s sitting on hardwood floors. (Unless you like scratches. No judgment.)
And most importantly: have fun with it. Don’t stress about every little imperfection. That’s part of the DIY charm. 😉
Final Thoughts: Which One Will You Build?
So there you have it—7 awesome wooden shoe rack ideas that you can build without losing your sanity (or your paycheck).
Whether you’re into modern, rustic, compact, or multifunctional, there’s something on this list for you. And honestly? You’ll feel pretty darn proud every time someone compliments your rack (yes, I said it).
Which one are you planning to try first? Let me know in the comments!
FYI: I’ve linked some beginner woodworking plans and tool kits below to help you get started faster.
Now go reclaim your entryway. Your shoes—and your toes—will thank you.