
Wait — Easter Is Almost Here (And Your Home Isn’t Ready)
Let’s be honest. Easter has this sneaky way of appearing out of nowhere. One day you’re still recovering from Valentine’s Day, and the next thing you know, pastel colors are everywhere and you’re panicking about decorations. Sound familiar? 😅
Here’s the thing though — store-bought Easter decor is fine, but it’s also fine. Forgettable. Plastic. Gone by next year. Wood projects, on the other hand, are the kind of Easter decorations that stick around. They age beautifully, they’re endlessly customizable, and frankly, there’s something deeply satisfying about saying “yeah, I made that” when someone compliments your bunny shelf.
So I put together 15 Easter wood projects sorted from beginner-friendly to a little more involved — and every single one is doable even if you’ve never picked up a jigsaw before. Whether you have a full workshop or just a kitchen table and a hand saw, there’s something on this list for you.
(New to woodworking entirely? Before you get started, check out The Ultimate Beginner’s Guide to Woodworking — it’ll give you a solid foundation before we get into the fun stuff.)
Tools & Materials You’ll Need First
Before we jump in, let’s quickly cover what you’ll actually need. I promise this won’t be a 45-minute rabbit hole — just the essentials.
The Basic Toolkit
- Jigsaw — your best friend for curved cuts (bunnies, eggs, you name it)
- Scroll saw — more precise than a jigsaw, great for detailed silhouettes
- Sander or sanding block — don’t skip this; smooth edges make everything look professional
- Drill — needed for a handful of projects on this list
- Paintbrushes — a variety pack covers you for most finishes
- Wood glue — grab a good PVA or carpenter’s glue
No power tools yet? No problem. A hand saw and a coping saw will get you through most beginner projects. Many of these projects work with pre-cut boards from the hardware store, so you can skip the cutting entirely if needed.
Best Wood Choices for Easter Wood Projects
- Pine — affordable, easy to cut, takes paint beautifully
- Plywood — great for flat cutouts and signs
- Balsa wood — ultra-light and beginner-safe for small ornaments
Need help picking out your first tools? Best Woodworking Tools for Beginners (2026 Guide) breaks down exactly what to buy without overspending.
The 15 Easter Wood Projects (From “Total Beginner” to “Look What I Can Do”)
Beginner Easter Wood Projects — Start Here
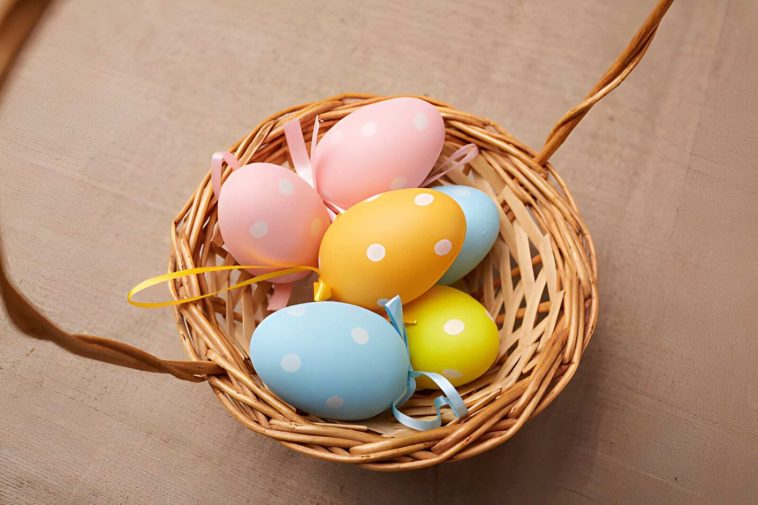
Project 1: Wooden Easter Egg Cutouts
Credit : scavengerchic
Difficulty: Easy Time to complete: 1–2 hours Materials needed: Plywood, jigsaw or hand scroll saw, acrylic paint, foam brushes
Advertisement
Egg shapes are forgiving, the cuts are smooth curves with no sharp angles, and the decorating options are basically endless.
Steps:
- Trace an egg shape onto plywood (use a bowl or template)
- Cut out with your jigsaw along the outside of your line
- Sand edges smooth with 120-grit sandpaper
- Base coat with white paint, then go wild with patterns — stripes, florals, geometric designs
- Seal with a matte or satin varnish
Pro tip: Cut a whole batch at once. They’re great as standalone decor, garland pieces, or gift tags.
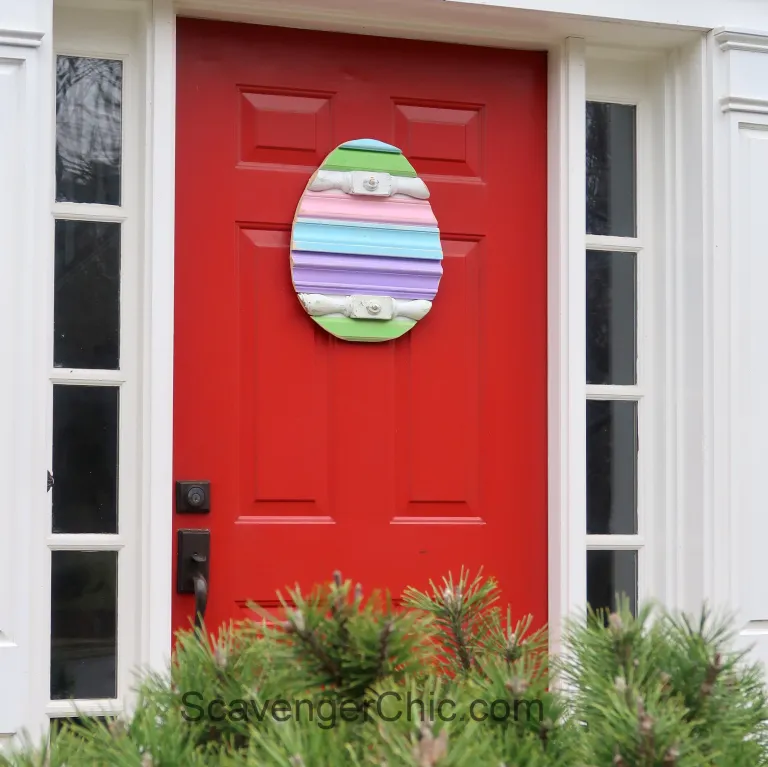
Project 2: Rustic “Happy Easter” Sign
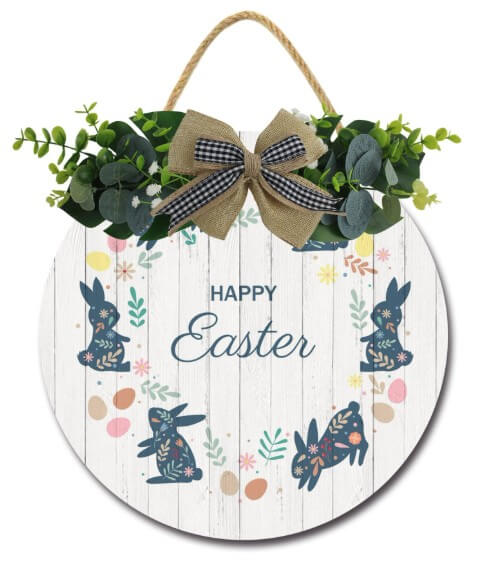
Credit : Walmart
Difficulty: Easy Time to complete: 1–3 hours Materials needed: Pine board or pallet wood, stencil, acrylic or chalk paint, sandpaper
This is genuinely one of those projects where no power tools are required — just grab a pre-cut board from your local hardware store. IMO, a slightly distressed, rustic finish looks way better than something too polished on this one.
Steps:
- Sand your board lightly to smooth any rough spots
- Apply a base coat (white, cream, or wood stain)
- Position your “Happy Easter” stencil and paint over it
- Remove stencil, let dry, then lightly sand edges for a vintage look
- Add twine or ribbon for hanging
Pro tip: Use chalk paint for that farmhouse finish that never goes out of style.
Project 3: Easter Bunny Silhouette Stake
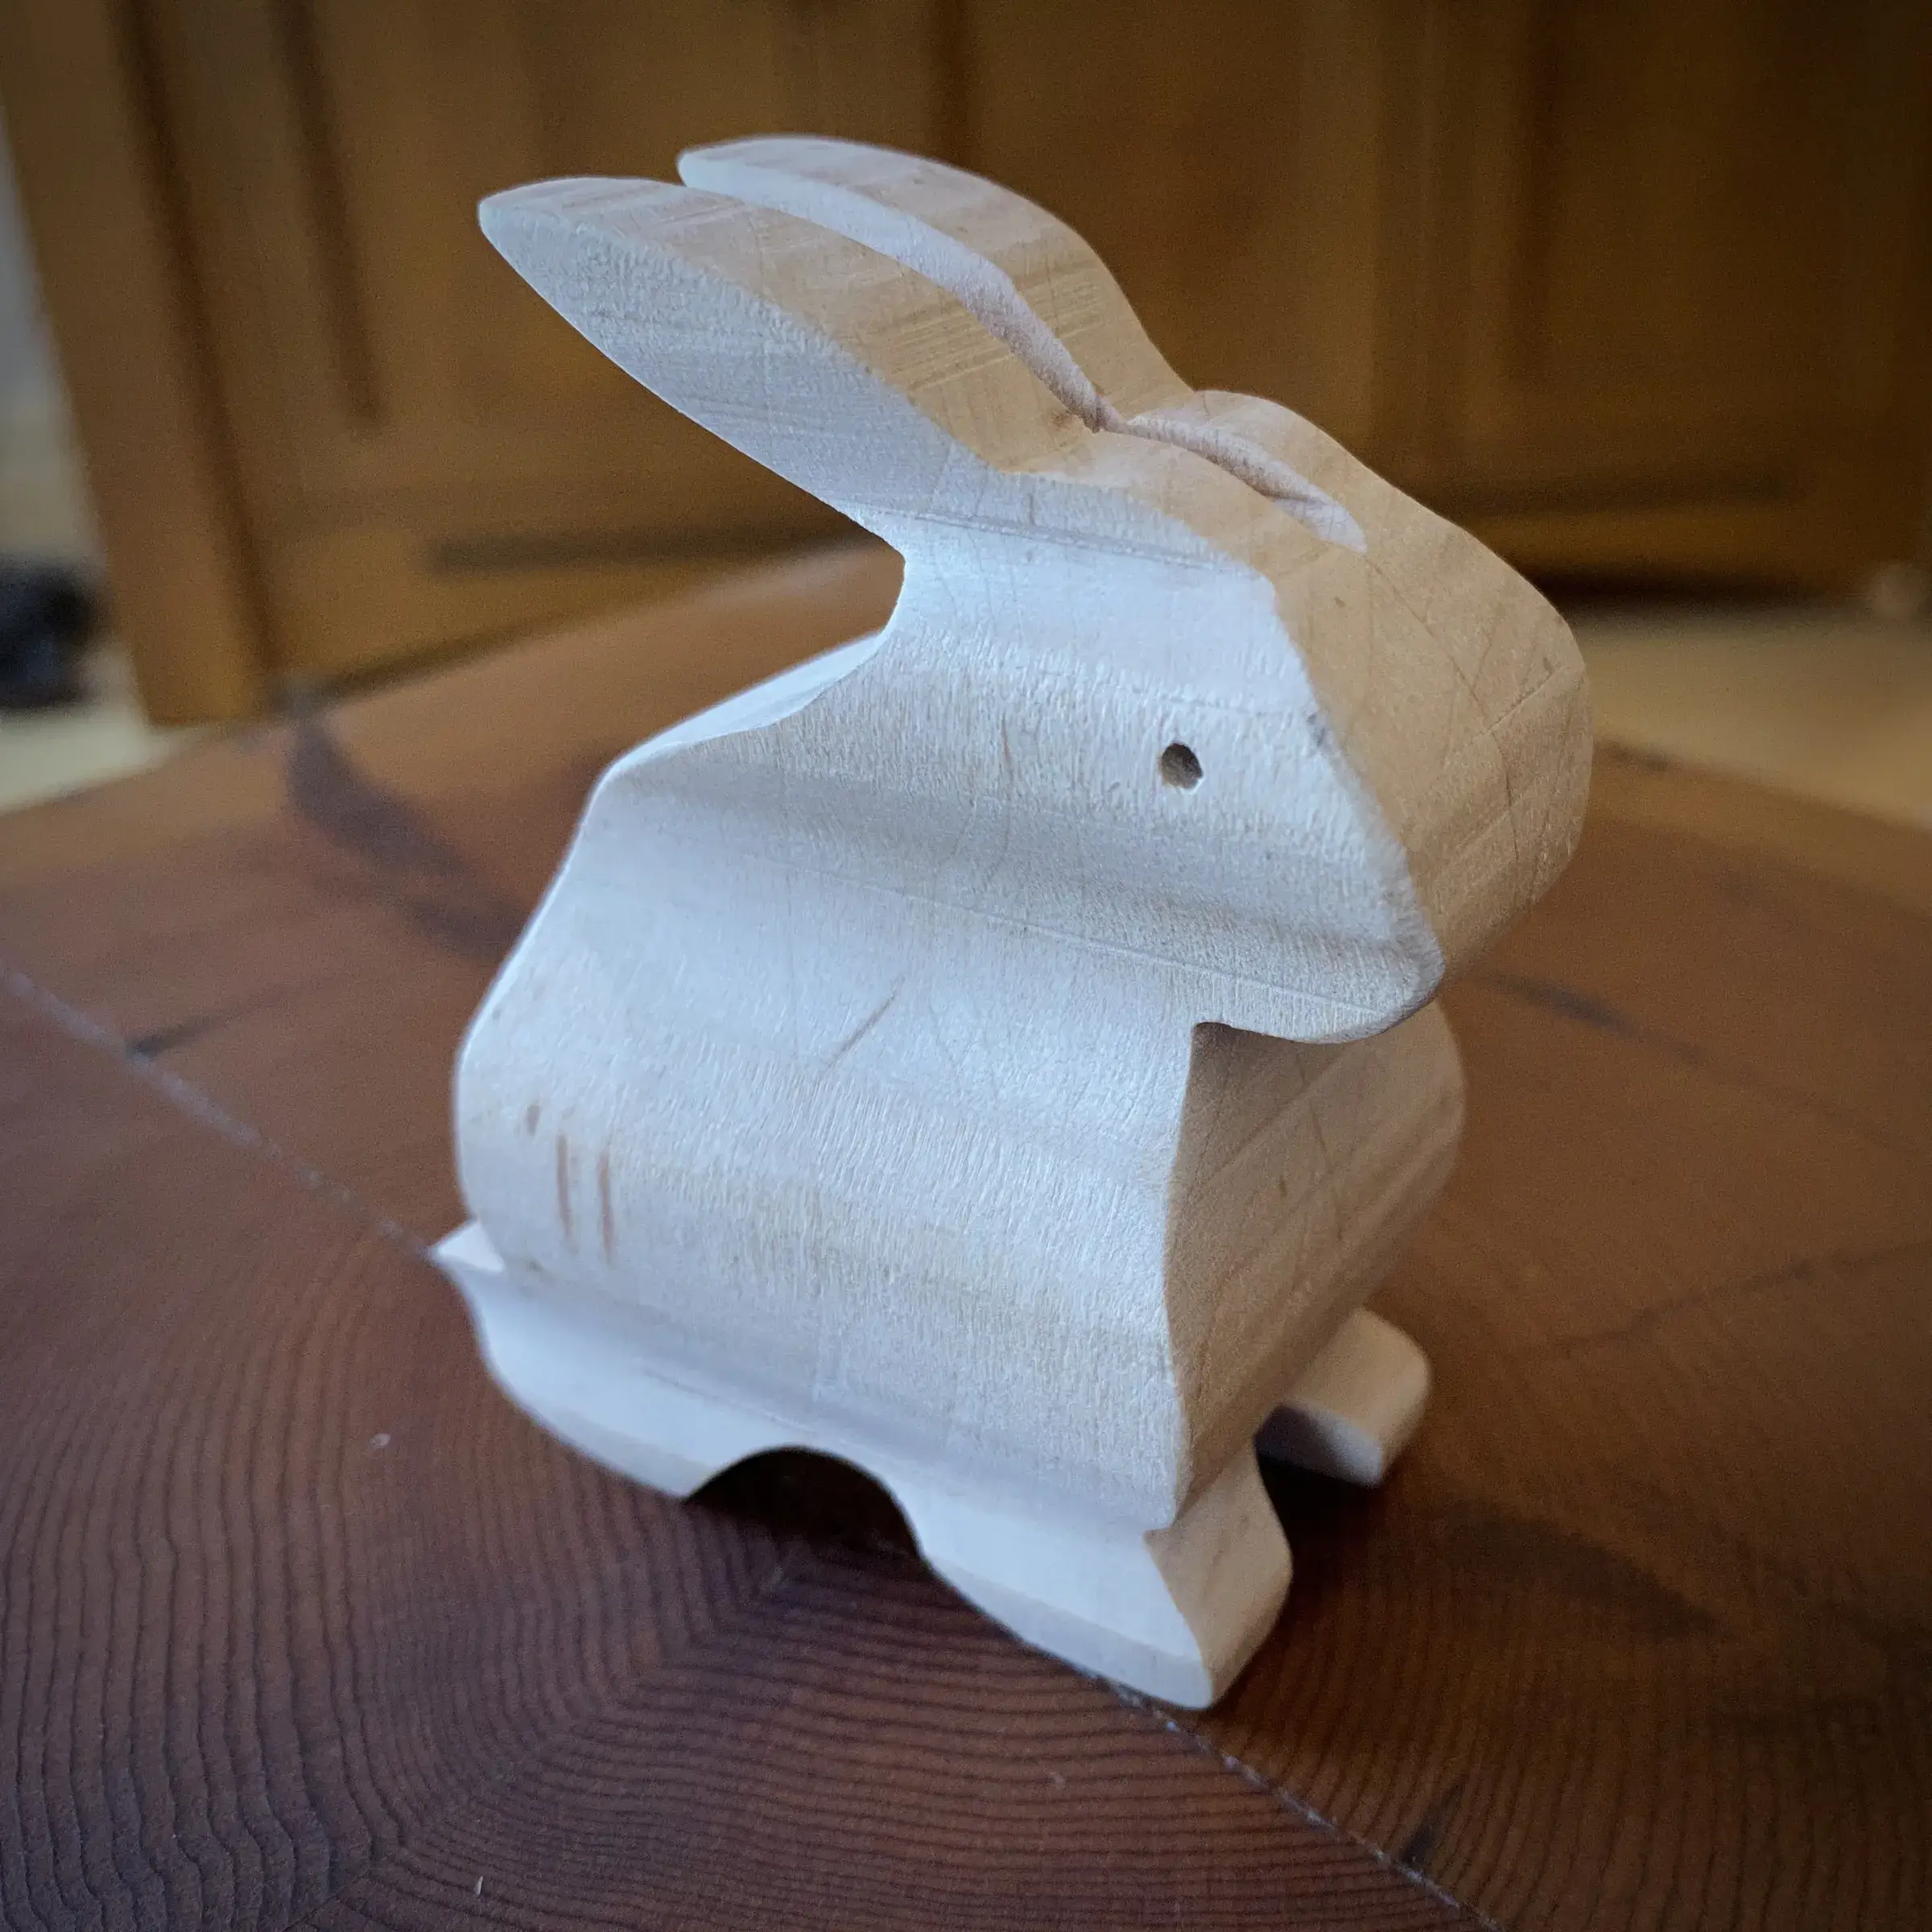
Credit : Instructables
Difficulty: Easy Time to complete: 1–2 hours Materials needed: Plywood, jigsaw, wooden dowel or stake, paint
Stick these in your garden, porch planter, or flower bed and watch the neighborhood lose it. Bunny stakes are ridiculously charming and take almost no time to make.
Steps:
- Print a simple bunny silhouette and transfer it to plywood
- Cut out with a jigsaw
- Sand smooth and paint (white with a black eye works perfectly)
- Attach to a pointed wooden dowel with wood glue and a screw from the back
- Seal with outdoor-safe varnish if going outside
Project 4: Wooden Egg Stand
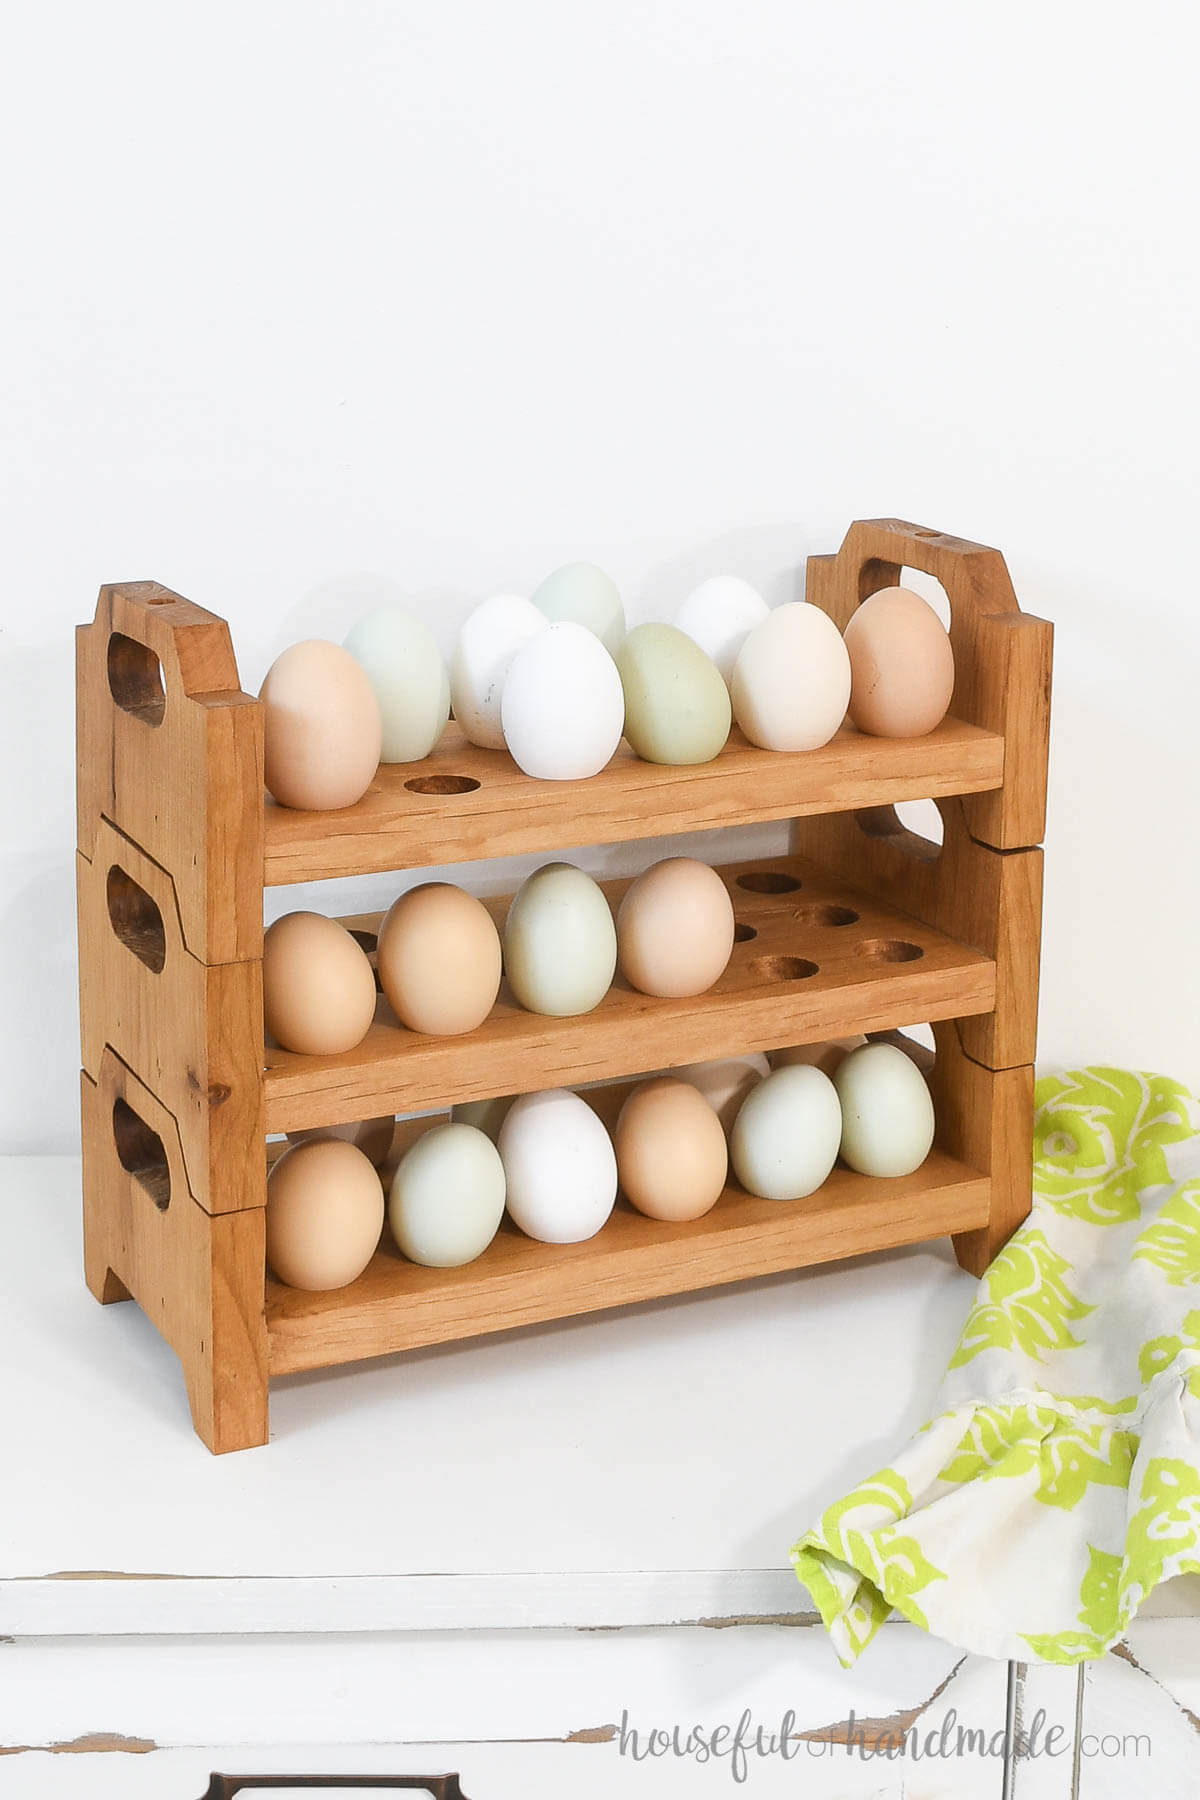
Credit : houseful of handmade
Difficulty: Easy Time to complete: 1–2 hours Materials needed: Pine board, wooden dowel rods, drill, wood glue
Ever done a gorgeous job decorating Easter eggs only to have nowhere to display them? Yeah, that’s what this solves. A simple wooden base with dowel rod pegs holds real eggs, wooden eggs, or even those plastic fillable ones.
Steps:
- Cut a rectangular or oval pine board for the base
- Mark evenly spaced drill points across the surface
- Drill holes slightly smaller than your dowel diameter
- Apply wood glue and press dowels in firmly
- Sand, paint, or stain to match your decor
Project 5: Scrap Wood Chicken Shelf Ornament
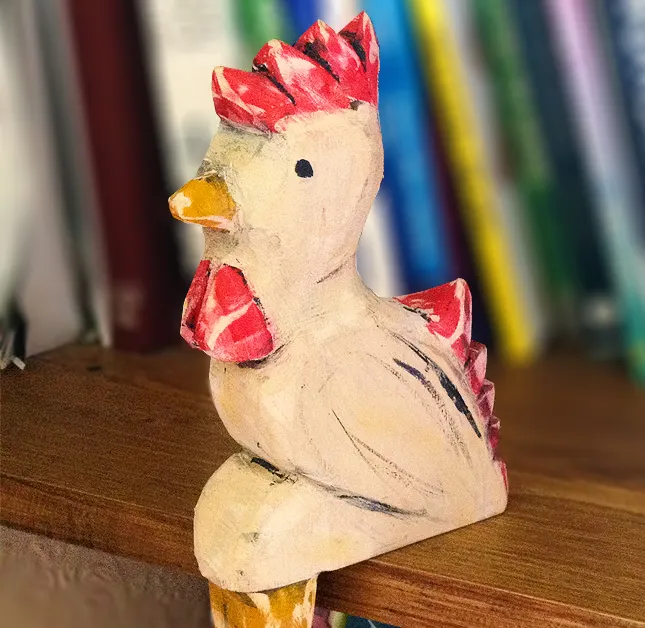
Credit : Instructables
Difficulty: Easy Time to complete: 1–2 hours Materials needed: Scrap wood pieces (pine offcuts work great), jigsaw or coping saw, sandpaper, acrylic paint, wood glue
This one is perfect if you’ve got a pile of scrap wood sitting around doing absolutely nothing — which, let’s be honest, most of us do. You cut a simple chicken silhouette and layer it with a tiny flat shelf piece across the body, so your little hen can actually perch on a windowsill, mantle, or Easter display shelf and hold things. Functional and adorable. The dream.
Steps:
- Sketch or trace a simple chicken profile onto your scrap wood (fat body, round head, a little tail)
- Cut out the silhouette with a jigsaw or coping saw
- Cut a small rectangular shelf piece from another scrap — this sits flush against the chicken’s belly
- Sand all pieces smooth, then glue and pin the shelf piece to the front of the body
- Paint your chicken however you like — classic white with a red comb, or go full Easter mode with pastel colors
- Let dry completely, then stand her up on any flat surface and load the mini shelf with tiny eggs, a sprig of flowers, or whatever makes you smile
Intermediate Easter Wood Projects — Ready to Level Up?
Project 6: Easter Egg Basket (Wood Slat Style)
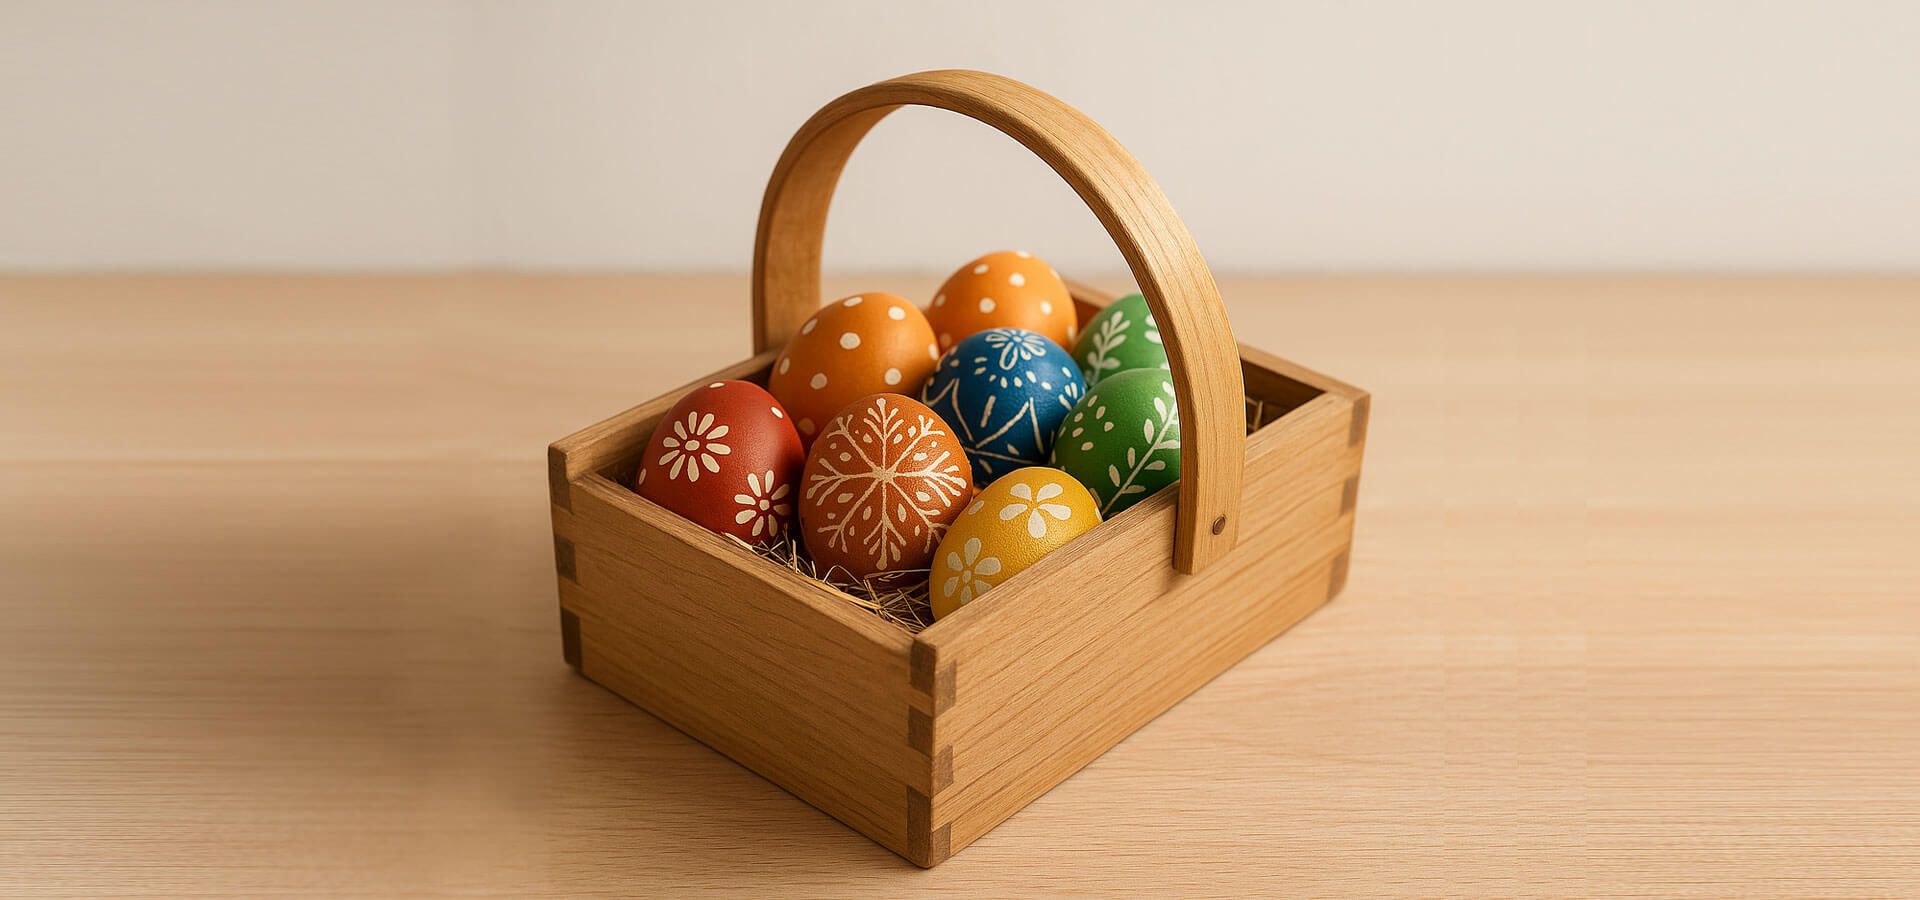
Credit : popar
Difficulty: Medium Time to complete: 3–4 hours Materials needed: Thin wood strips (1/4″ pine), wood glue, clamps, handle dowel, paint
Okay, this one takes a bit more patience but the result is genuinely stunning. A slatted wood basket looks so much better than plastic, and you can reuse it every single year.
Steps:
- Cut thin wood strips to uniform lengths for the basket sides
- Build a simple rectangular base frame from slightly thicker wood
- Glue slats vertically around the frame, using clamps to hold while drying
- Sand any rough edges once fully dry
- Attach a curved dowel handle with screws and wood glue
- Paint or stain to finish
Pro tip: This is your Pinterest goldmine right here. Photograph the process — people love seeing these come together.
Project 7: Bunny Shaped Shelf
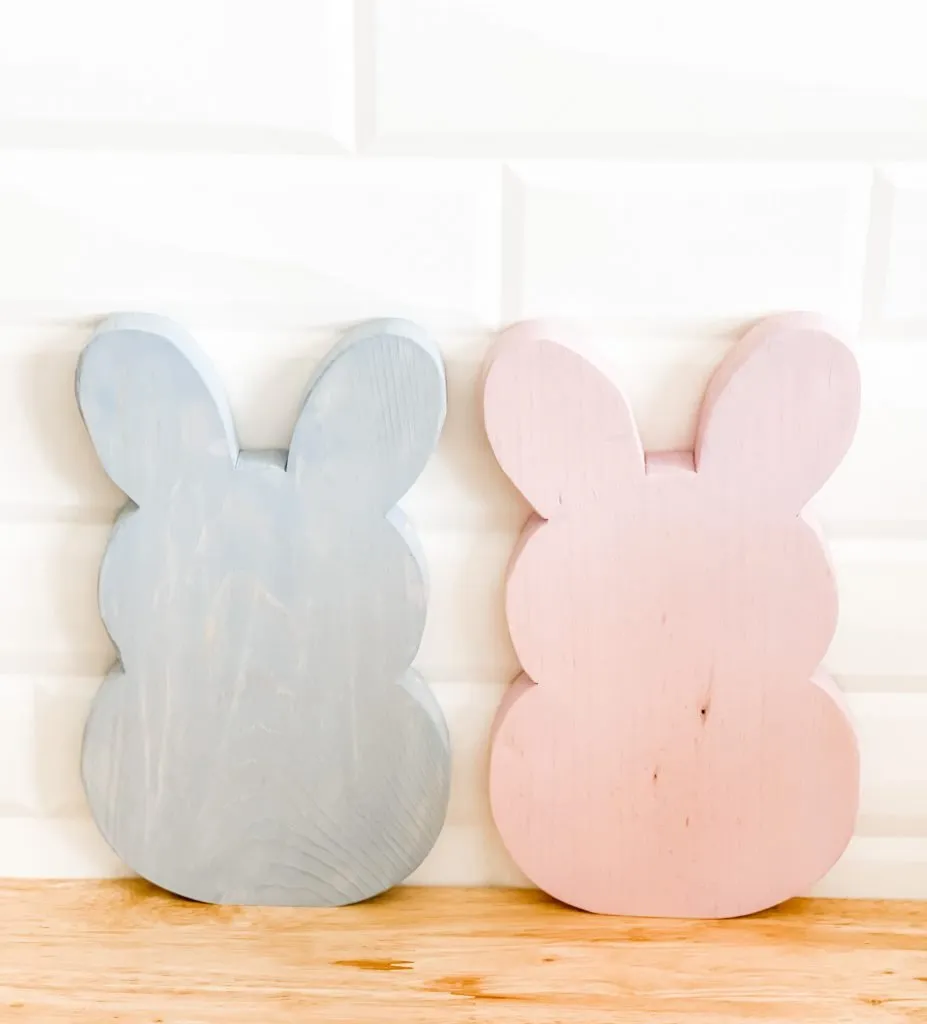
Credit : wood craft blueprint
Difficulty: Medium Time to complete: 3–5 hours Materials needed: 3/4″ pine or plywood, jigsaw, sander, wall mount hardware, paint
A functional Easter decoration that stays useful after the holiday? Yes please. Cut a bunny silhouette with a flat bottom shelf across the belly — mount it on the wall and use it for small plants, figurines, or Easter trinkets.
Steps:
- Sketch your bunny profile onto plywood (head + ears above, flat shelf surface in the middle)
- Cut out the full silhouette with a jigsaw
- Sand all edges thoroughly — especially the curves
- Paint in your choice of finish (white + pink ears is classic)
- Attach a keyhole bracket to the back for wall mounting
Project 8: Spring Flower Planter Box
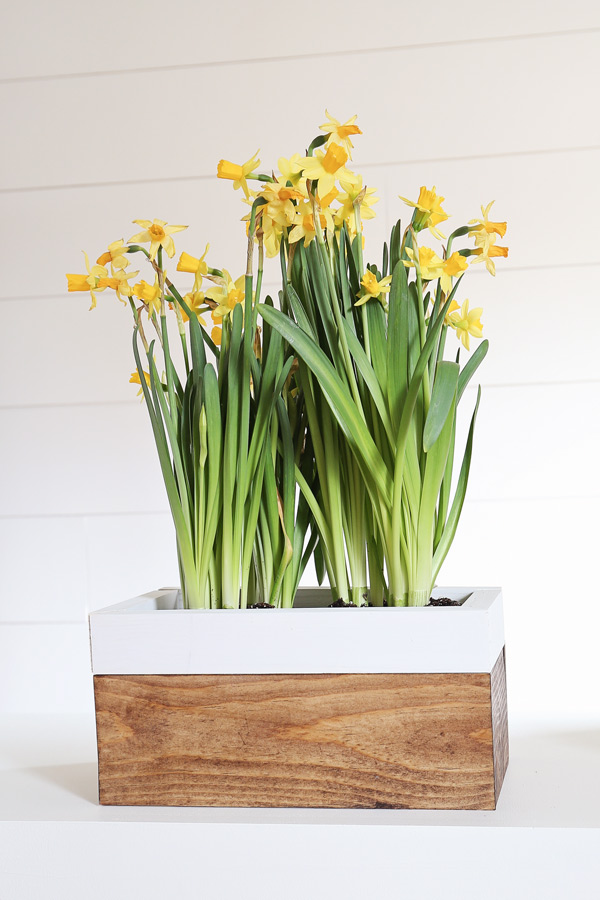
Credit : angela marie made
Difficulty: Medium Time to complete: 2–4 hours Materials needed: Cedar or pine boards, wood screws, drill, sander, outdoor sealant
This one bridges Easter and spring decor beautifully. A simple rectangular planter box with angled sides and a few Easter-themed painted accents works for the whole season.
Steps:
- Cut four side pieces and a bottom panel from cedar boards
- Drill pilot holes to prevent splitting, then screw the sides together
- Attach the bottom, leaving a small gap for drainage
- Sand exterior surfaces smooth
- Paint with Easter-themed designs or keep it natural with a stain
- Apply outdoor sealant before planting
Project 9: Easter Table Centerpiece with Arch
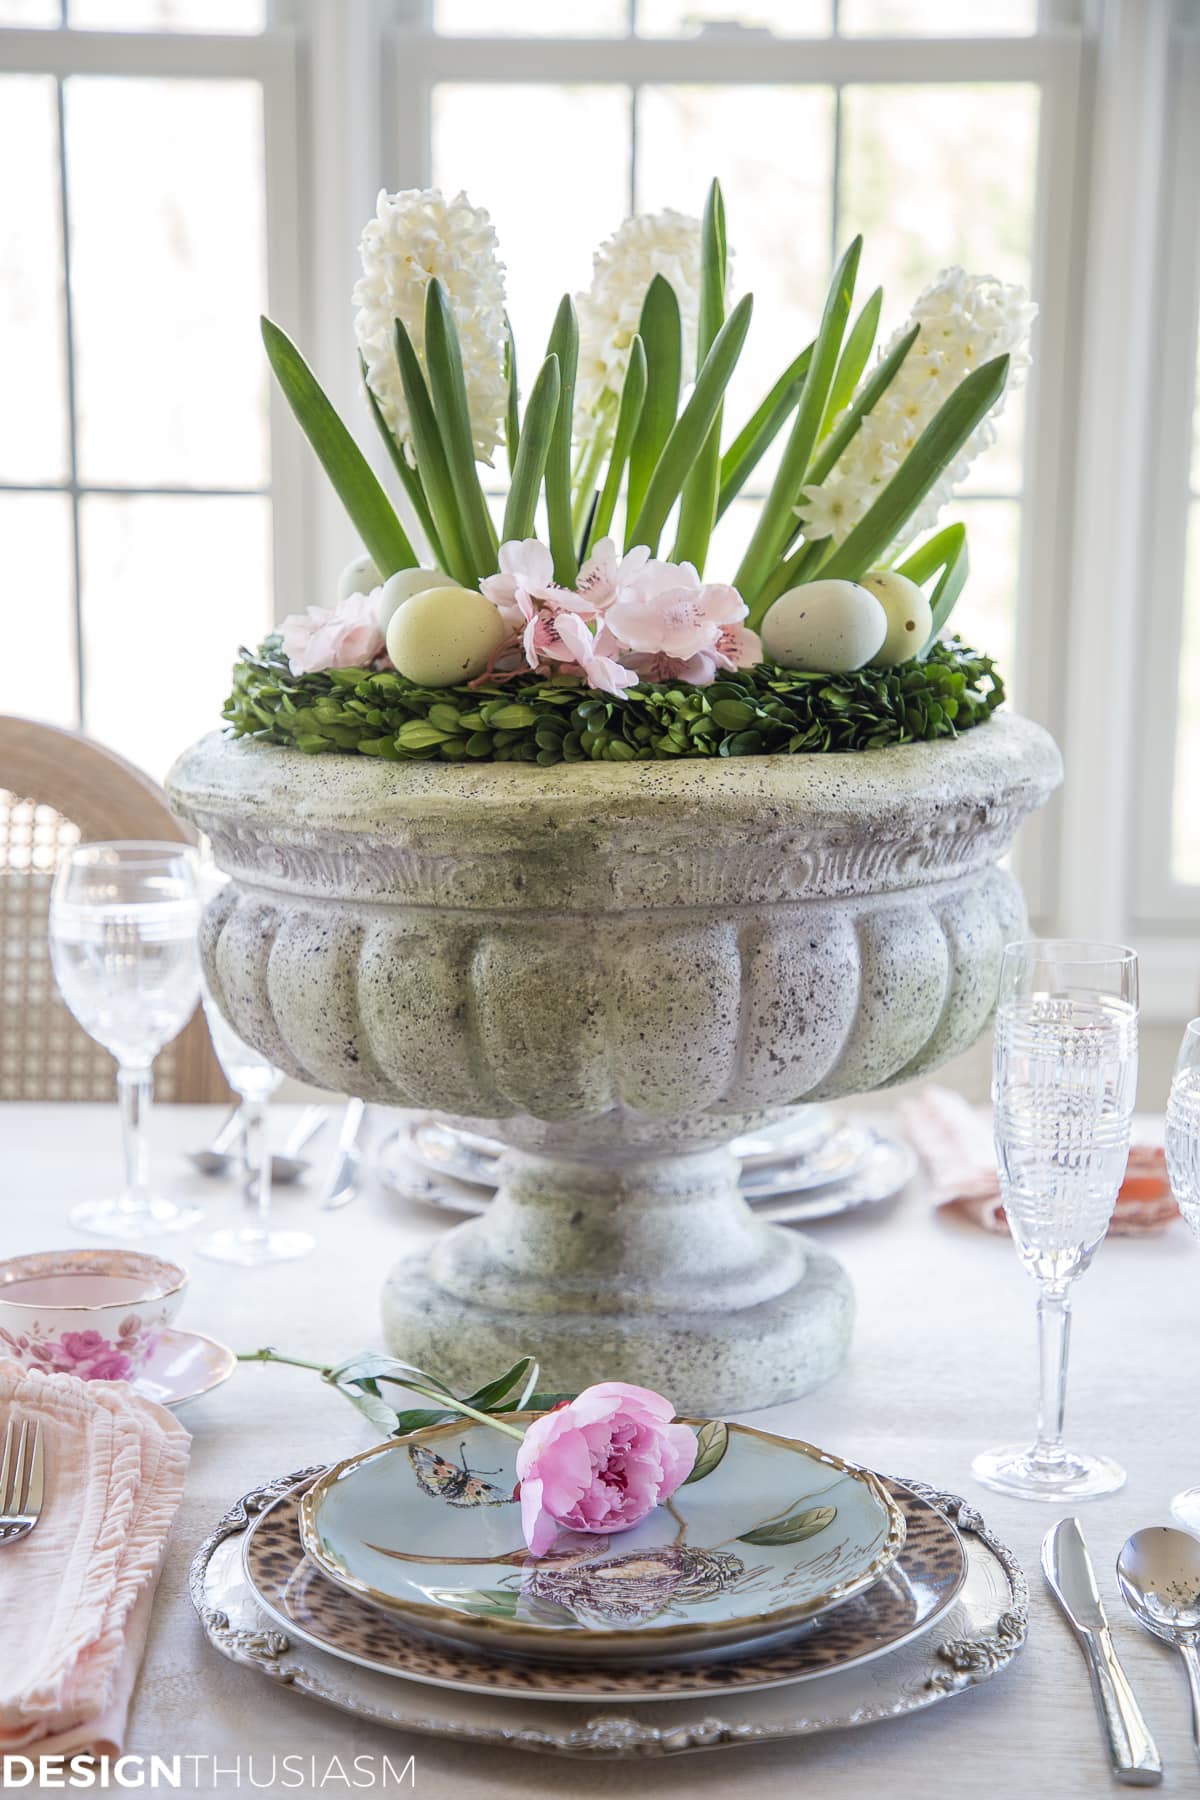
Credit : designthusiasm
Difficulty: Medium Time to complete: 3–4 hours Materials needed: Thin pine or birch, jigsaw, drill, wood glue, moss, decorative eggs
This one looks like it came from an expensive boutique — but you built it. An arched wood frame as the backdrop, with moss, wooden eggs, and tiny flowers arranged in front. Table goals.
Steps:
• Cut an arch shape from thin pine board (trace a large circular object for the curve)
• Cut two small base feet to support the arch upright
• Sand and paint or stain the arch
• Glue base feet to the bottom of the arch
• Arrange moss, small egg cutouts, and faux flowers in front of the base
Project 10: Personalized Easter Name Blocks
Credit : craftcuts
Difficulty: Medium Time to complete: 2–3 hours Materials needed: Square wood blocks, stencils or wood burning tool, paint, sandpaper
These make incredible personalized gifts too. Cut or buy wood blocks in uniform sizes, then add individual letters to spell out names, “HOP,” “EGG,” or whatever fits your vibe.
Steps:
- Sand all faces of your wood blocks smooth
- Apply a base coat of paint or stain
- Use letter stencils and paint, or burn letters in with a wood burner
- Add Easter motifs to the remaining faces (small eggs, flowers, bunnies)
- Seal with matte varnish
More Advanced Easter Wood Projects — Show Off a Little
Project 11: Freestanding Easter Bunny Decoration (3D)
Credit : Amazon
Difficulty: Intermediate Time to complete: 4–6 hours Materials needed: 3/4″ plywood, jigsaw, scroll saw, sander, wood glue, clamps, paint
This is the one that makes people stop and stare. A 3D freestanding bunny built from multiple interlocking pieces — it can stand on a porch, mantle, or entry table and it looks absolutely show-stopping.
Steps:
- Design or download a 3D interlocking bunny pattern (front, back, and cross-support pieces)
- Transfer all pieces to plywood and cut carefully with jigsaw
- Sand each piece thoroughly before assembly
- Cut interlocking slots where pieces connect
- Dry-fit everything before gluing to check alignment
- Paint in white with details, or leave as natural wood with a sealant
Project 12: Easter Egg Shaped Serving Board
Credit : midwest life and style
Difficulty: Intermediate Time to complete: 3–5 hours Materials needed: Hardwood (maple, walnut, or cherry), jigsaw, router, orbital sander, food-safe oil
A functional piece of art. An egg-shaped charcuterie or serving board in a beautiful hardwood makes an incredible Easter gift and becomes a keepsake. The router work is what elevates this one.
Steps:
- Trace a large egg shape onto your hardwood board
- Cut out with a jigsaw, staying just outside your line
- Use a router with a roundover bit to soften all edges
- Sand through progressively finer grits (80 → 120 → 220)
- Finish with food-safe mineral oil or beeswax
Before you hit the finishing stage, check out Wood Finishing Techniques Every Beginner Should Know — it’ll make a serious difference in how this turns out.
Project 13: Bunny Tic-Tac-Toe Game
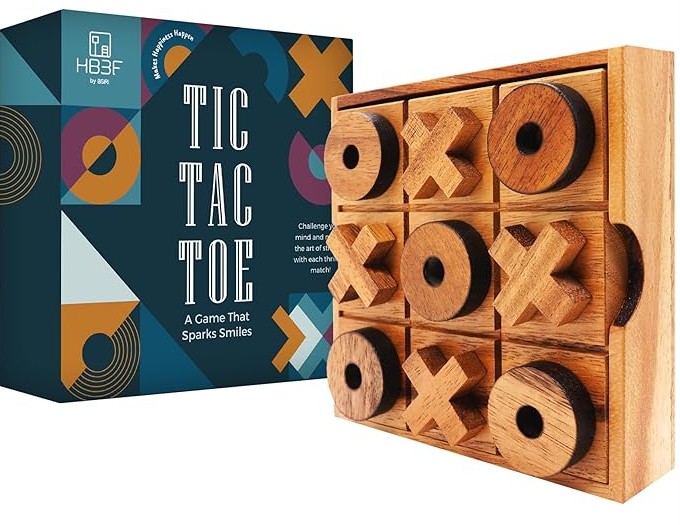
Credit : Amazon
Difficulty: Intermediate Time to complete: 3–4 hours Materials needed: Pine board, wood rounds, drill, wood burning tool, sander, wood stain
Kids (and adults, let’s be real) absolutely love this. A wood-burned tic-tac-toe grid on a pine board, with bunny and egg symbols on wood round game pieces. It’s interactive Easter decor. FYI, this also makes a gift that gets used year-round.
Steps:
- Cut and sand a flat square pine board for the game base
- Use a ruler and pencil to mark the tic-tac-toe grid lines
- Burn the grid lines in with a wood burning tool
- Cut 10 small wood rounds for game pieces (5 each for two players)
- Burn bunny faces on one set and egg patterns on the other
- Sand and oil the finished board
Project 14: Spring Welcome Door Sign
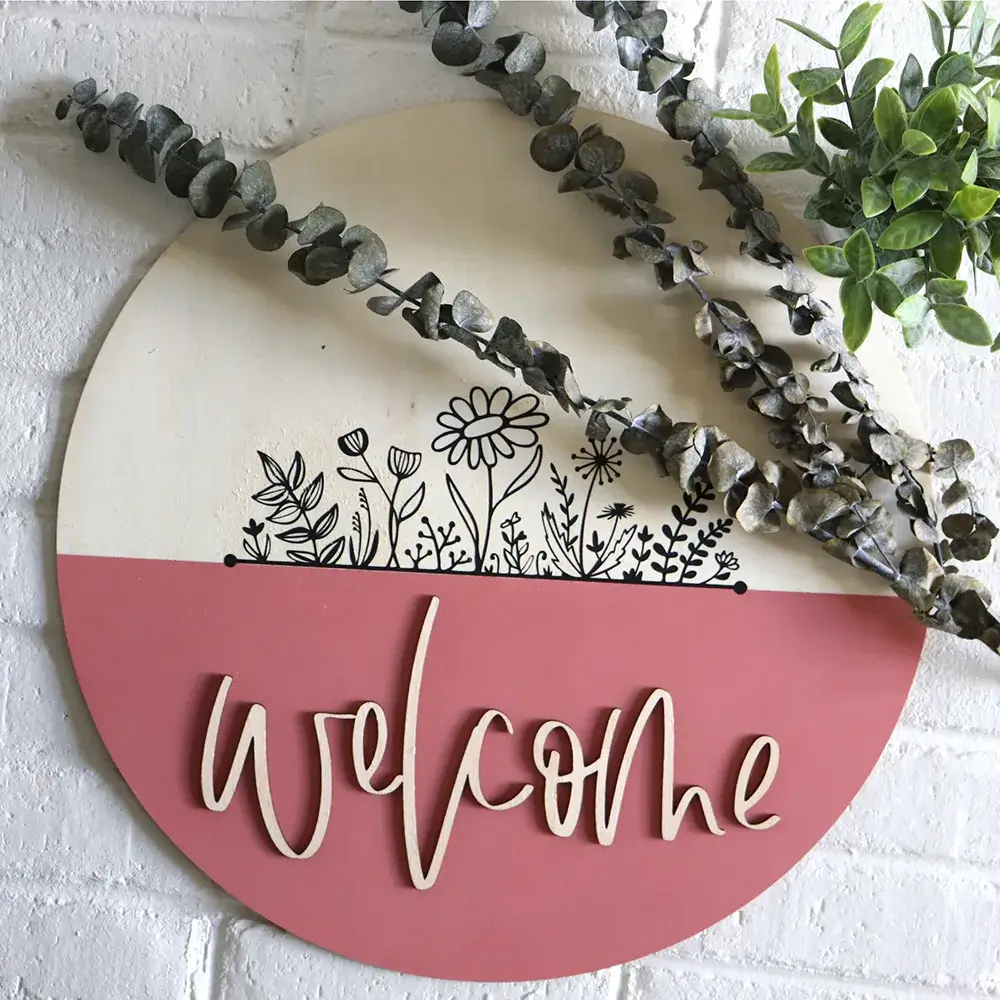
Credit : poofycheeks
Difficulty: Intermediate Time to complete: 4–6 hours Materials needed: Wide pine board, jigsaw, router, vinyl or stencils, outdoor paint, hanging hardware
Your front door deserves better than a foam wreath. A handcrafted wood welcome sign with compound cutout shapes, painted lettering, and Easter motifs sends a very different message — specifically: “someone who is good at things lives here.”
Steps:
- Cut a large rectangular or shaped board from pine
- Use a jigsaw to add decorative edge profiles or cutout shapes
- Route the edges for a refined finish
- Apply base coat and use vinyl cut letters or stencils for the welcome message
- Add hand-painted Easter details (eggs, flowers, bunny silhouettes)
- Seal with exterior-grade varnish and add D-ring hangers on the back
Project 15: Easter Egg Marquee Light
Credit : Amazon
Difficulty: Intermediate Time to complete: 4–6 hours Materials needed: 3/4″ plywood, jigsaw, drill press or handheld drill, fairy lights, sander, paint
This is the showstopper. An oversized egg shape cut from plywood with holes drilled through in a pattern, backlit by fairy lights. It glows. It’s magical. It photographs beautifully. Worth every minute.
Steps:
- Cut a large egg shape from 3/4″ plywood (think 18″ × 24″ or bigger for impact)
- Mark a grid of evenly spaced dots across the egg face in your desired pattern
- Drill through each mark with a 3/8″ or 1/2″ bit
- Sand the surface and edges smooth
- Paint the front in your chosen color (navy, forest green, and white all look stunning)
- Thread fairy light strings through the holes from the back and secure with tape or staples
FAQ — Your Easter Wood Project Questions, Answered
What wood is best for Easter wood projects?
Pine and plywood are your best starting points for most Easter wood crafts. They’re affordable, widely available, and easy to cut and paint. For something more upscale like a serving board, go for hardwoods like maple or walnut. Balsa works great for small ornaments since it’s ultra-light and cuts with minimal effort.
Can beginners make Easter wood decorations?
Absolutely — and they should. Projects 1 through 5 on this list require only basic tools and beginner-level skills. Many can even be done with pre-cut boards, so the only “woodworking” is painting and decorating.
How long do Easter wood projects take to make?
Most beginner projects on this list take 1–3 hours, including drying time. Intermediate projects run 3–5 hours, and the more advanced builds like the marquee light or serving board might take a full day if you’re taking your time and letting finishes cure properly.
What tools do I need for simple Easter wood crafts?
For the beginner projects, you can get by with just a hand saw, sandpaper, paintbrushes, and wood glue. A jigsaw opens up way more options and is worth the investment if you’re planning to do more projects going forward.
Can I sell Easter wood projects on Etsy?
Yes, and they sell well! Personalized items (name blocks, custom signs) and functional pieces (serving boards, planter boxes) tend to perform best. Price your materials plus at least $15–25/hour for your labor — don’t undersell your work. Listing with strong photos and clear dimensions goes a long way on Etsy.
Go Make Something — Easter Is Closer Than You Think
Here’s the reality: Easter has a hard deadline, and wood glue needs time to dry. If there’s one message I want you to leave with, it’s that you don’t need a fully equipped workshop or years of experience to make something genuinely beautiful this season.
There’s a project on this list for every skill level — from painting egg cutouts at your kitchen table to building a glowing marquee light that becomes the centerpiece of your Easter display. Start where you are. Use what you have.
Save this article on Pinterest so you can reference it while you work. And seriously — which project are you making first? Drop it in the comments. I’m genuinely curious whether the marquee light or the bunny shelf wins out this year.
Need some project plans to get started? Grab the Free Beginner Woodworking Plans (Printable) — they’ll save you the measuring headaches and get you straight to the fun part.
Now go make something .
