
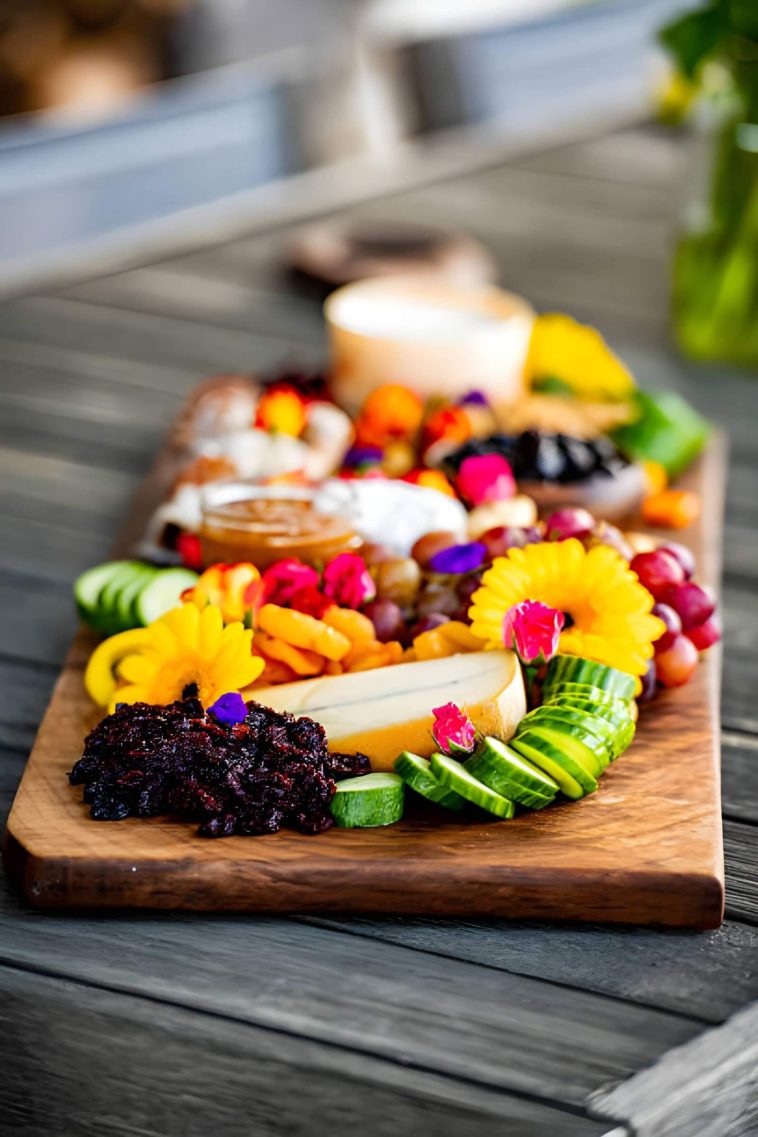
You’ve seen them everywhere — at dinner parties, holiday spreads, and those “casual” gatherings where someone clearly spent three days planning. The charcuterie board has become the ultimate centerpiece. But here’s the thing: most people skip right past the most satisfying part. Building the actual board.
Yes, I mean the wooden board itself. Not sourcing artisan salami or figuring out which cheese pairs with which jam. I mean getting out a piece of wood, shaping it with your own hands, and ending up with something genuinely beautiful. And honestly? It’s way easier than you think.
Whether you’re a total beginner or someone who’s dabbled in woodworking before, this guide walks you through everything — from picking the right wood to applying a food-safe finish. By the end, you’ll have a board that looks like it came from a boutique shop. For, like, ten bucks.
Why Build Your Own Charcuterie Board?
Let’s be real — you can buy a charcuterie board at any home goods store. So why bother making one? Because store-bought boards are often made from cheap, unfinished wood, and they look exactly as generic as they are.
When you build your own, you control the size, the shape, the wood species, and the finish. Want a long, narrow board for a dinner table? Done. Want one shaped like a state or a guitar? Go for it.
There’s also something deeply satisfying about putting out a spread on something you made with your hands. IMO, that’s worth more than any store-bought version ever could be.
What You’ll Need Before You Start
Good news: you don’t need a workshop full of power tools to make a solid charcuterie board. Here’s the basic list.
Wood Options
The wood you choose matters — both for looks and for food safety. Some woods are naturally more resistant to moisture and bacteria, which is exactly what you want when cured meats are involved.
- Maple: Hard, tight-grained, and food-safe. The classic choice.
- Walnut: Rich, dark color. A bit pricier but absolutely stunning.
- Cherry: Gets more beautiful over time as it develops a deep patina.
- Teak: Naturally resistant to moisture — great for boards that will see heavy use.
- Avoid: Pine, cedar, or any softwood. They absorb too much moisture and can harbor bacteria.
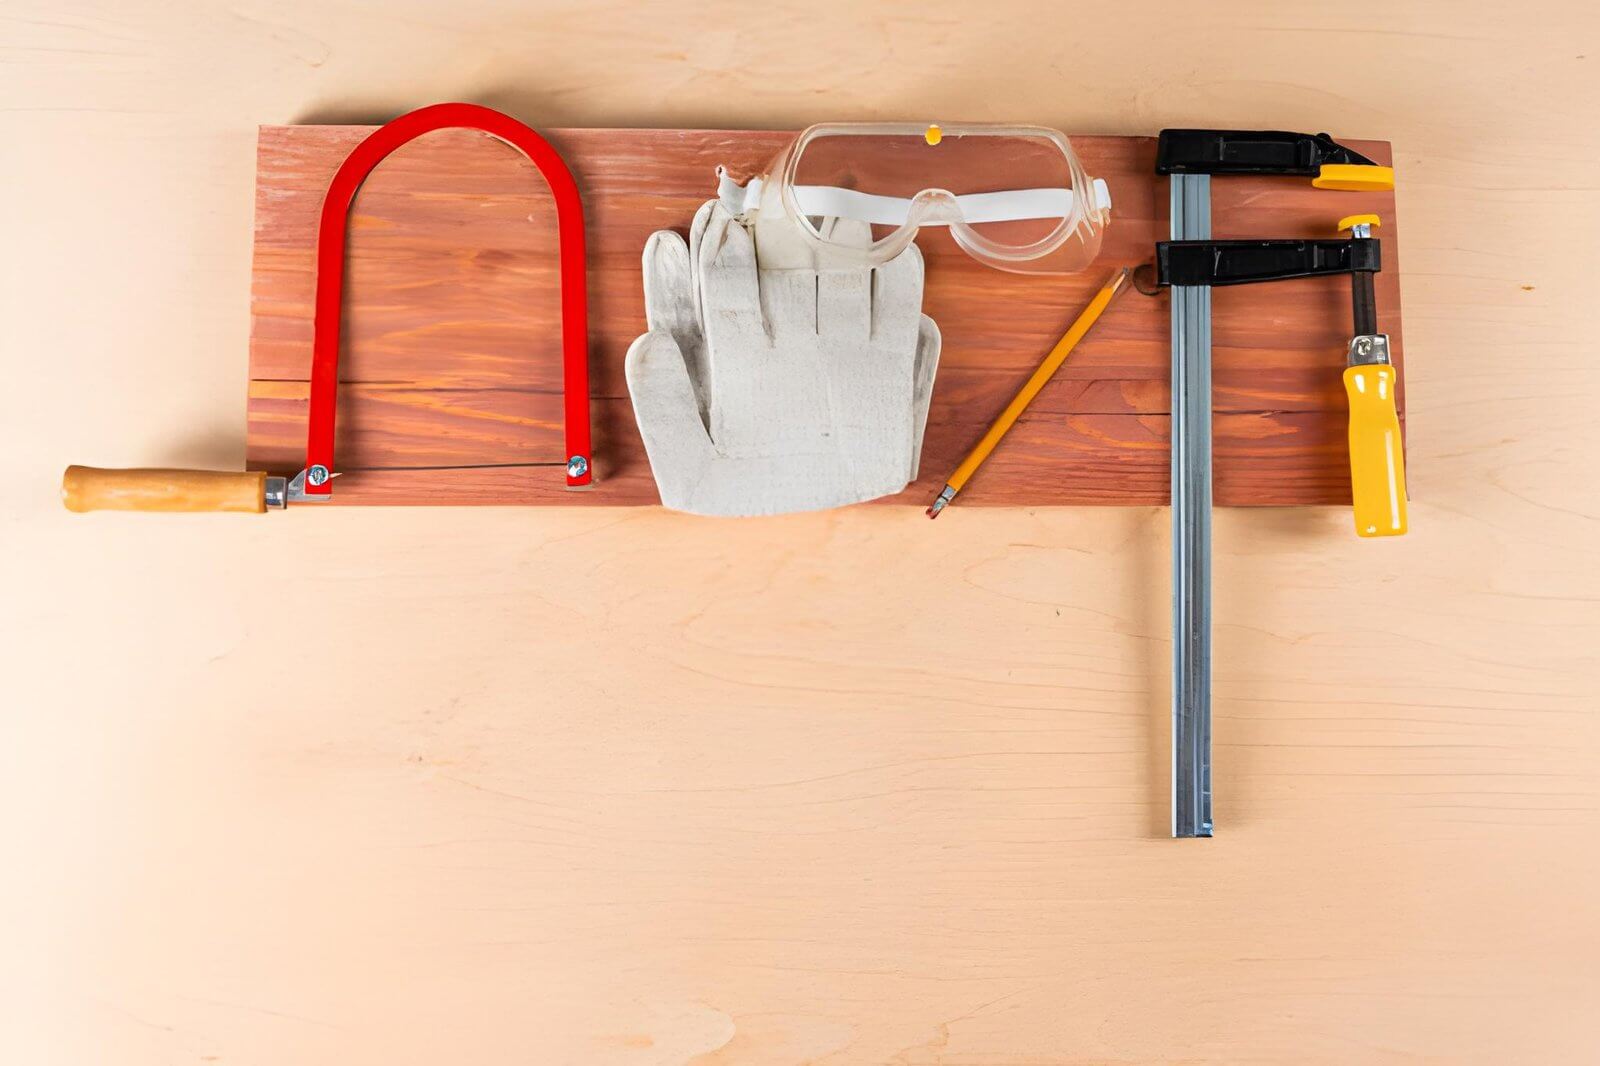
Tools You’ll Need
You can get away with surprisingly little here. Here’s a minimal setup:
Advertisement
- Jigsaw or band saw (for shaping)
- A random orbital sander (or sandpaper, if you enjoy suffering)
- Clamps (optional but helpful)
- A router with a roundover bit (for edges — highly recommended)
- Food-safe wood oil or beeswax finish
If you have access to a planer, great. But it’s not essential. Many beautiful boards start from a rough-cut board straight from the lumber yard.
Choosing the Right Wood for Your Board
Walk into any lumber yard and you’ll face a wall of options. Don’t overthink it. For a first board, grab a piece of hard maple — it’s affordable, widely available, and it looks gorgeous with the right finish.
Make sure the board is at least ¾ inch thick. Thinner than that and it warps over time, especially with oils and moisture from food. You also want the grain to run lengthwise, not across the board — it’s stronger and less prone to splitting.
Check for knots, cracks, and cupping before you buy. A small knot can add character, but a large one near the center might crack under heavy use. Run your hand across the surface and make sure it’s reasonably flat before committing.
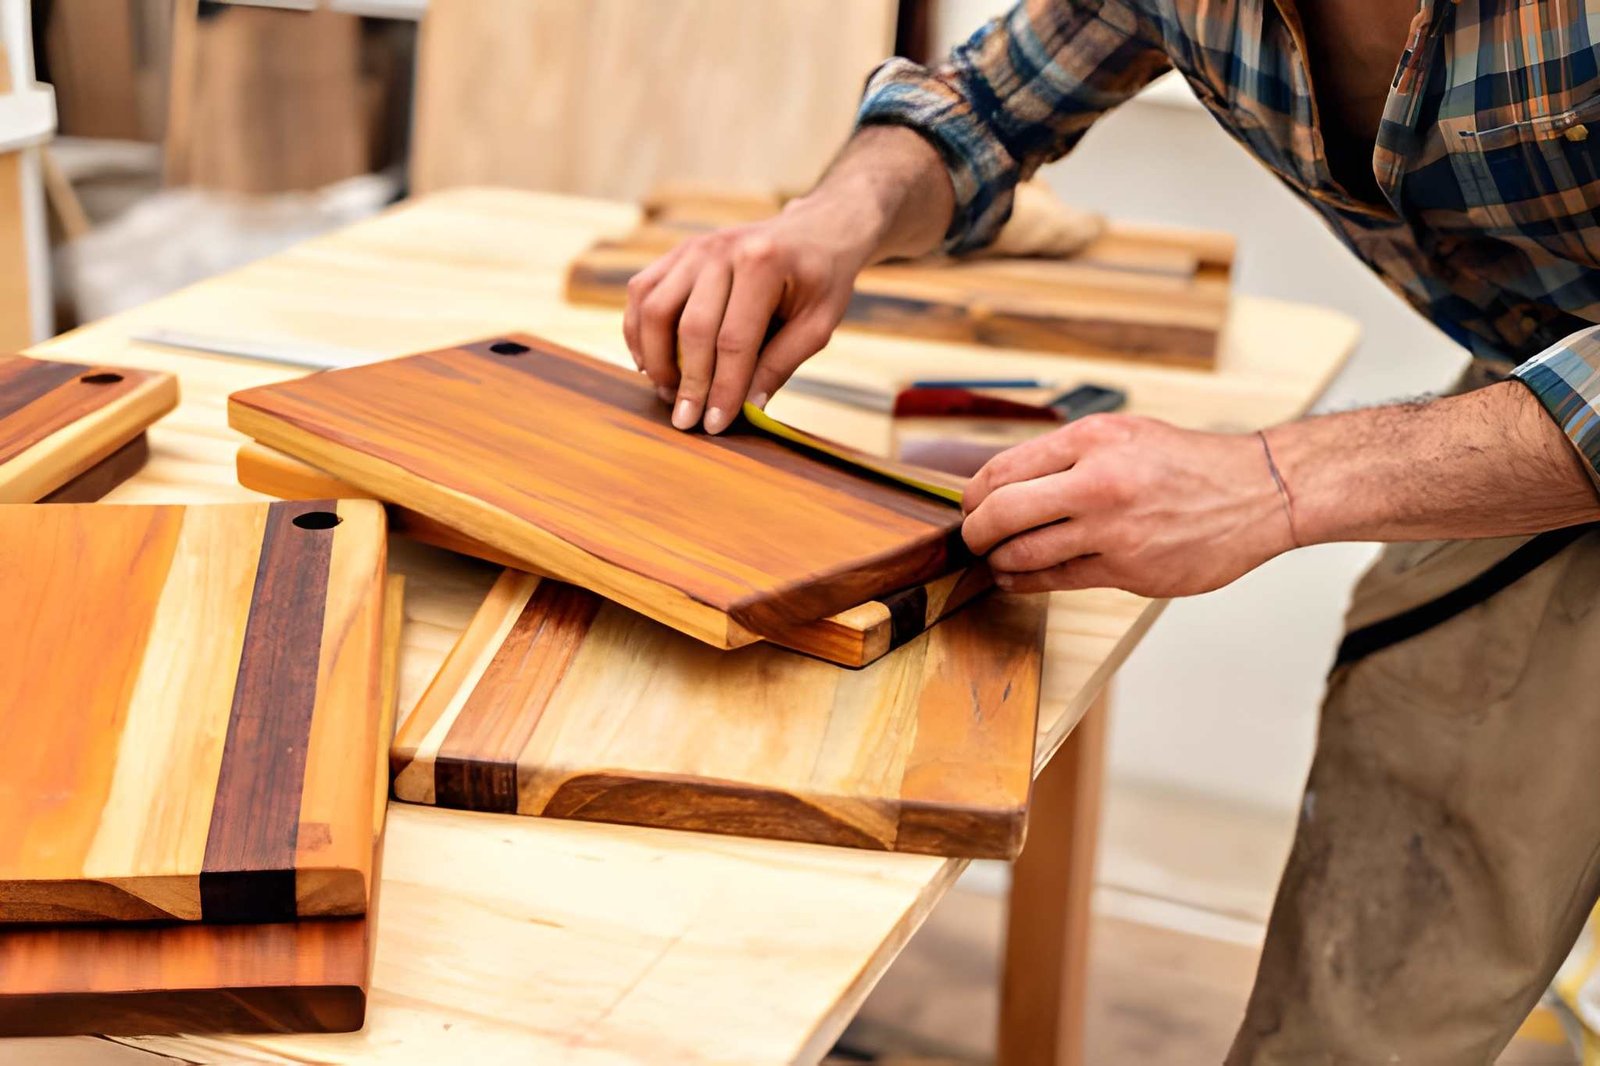
Cutting and Shaping Your Board
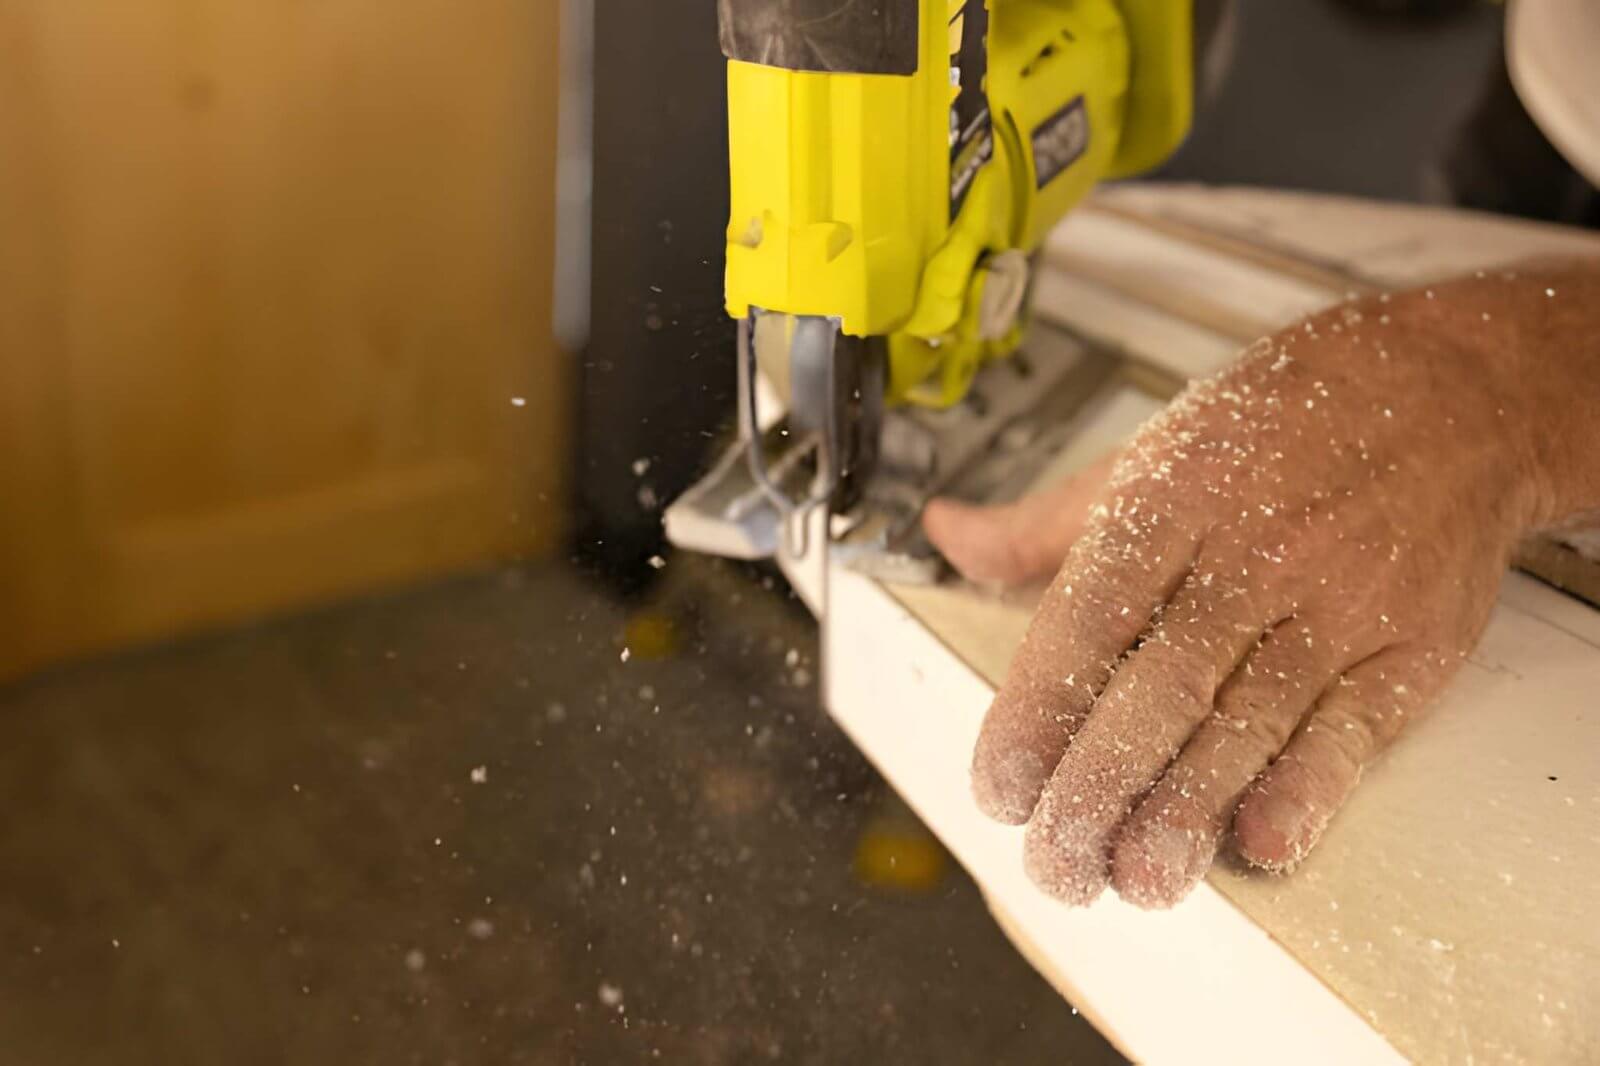
Here’s where it starts to get fun. Once you have your wood, decide on your shape. A simple rectangular board is a classic — but an oval or organic free-form shape adds real visual interest.
If you want a custom shape, draw it out on the wood with a pencil first. Then use a jigsaw to cut it out. Don’t stress about perfection — slight imperfections give handmade boards their charm. That’s not me just saying that to make you feel better; it’s genuinely true.
Adding a handle makes your board both practical and polished. You can cut a simple paddle shape, drill a hole near one end for hanging, or even attach a separate handle using a dowel or bolt. It’s your board — make it yours.
Once you’ve cut the shape, do a rough cleanup with your jigsaw or a spokeshave. You want smooth curves and no jagged edges before you move to sanding.
Sanding — The Step Everyone Skips (Don’t)
Here’s some real talk: sanding is the difference between a board that looks homemade and one that looks handcrafted. Those are very different things. One gets put in a drawer. The other gets Instagram photos.
To level the surface and get rid of any saw marks, start with 80-grit sandpaper. Next, progress to 120, 180, and ultimately 220 grit.Every pass eliminates the scratches from the one before it. It shows if you skip the grits.
Pay special attention to the edges. If you have a router with a roundover bit, now’s the time to use it. Run it along all edges and the handle cutout. It softens the board visually and prevents splinters. A ⅛-inch roundover is usually perfect — subtle enough not to look clunky.
Wipe the board down with a damp cloth after your final sanding pass, let it dry completely, then give it one final light sand with 220-grit. This raises and then removes the grain fibers, leaving an incredibly smooth surface.
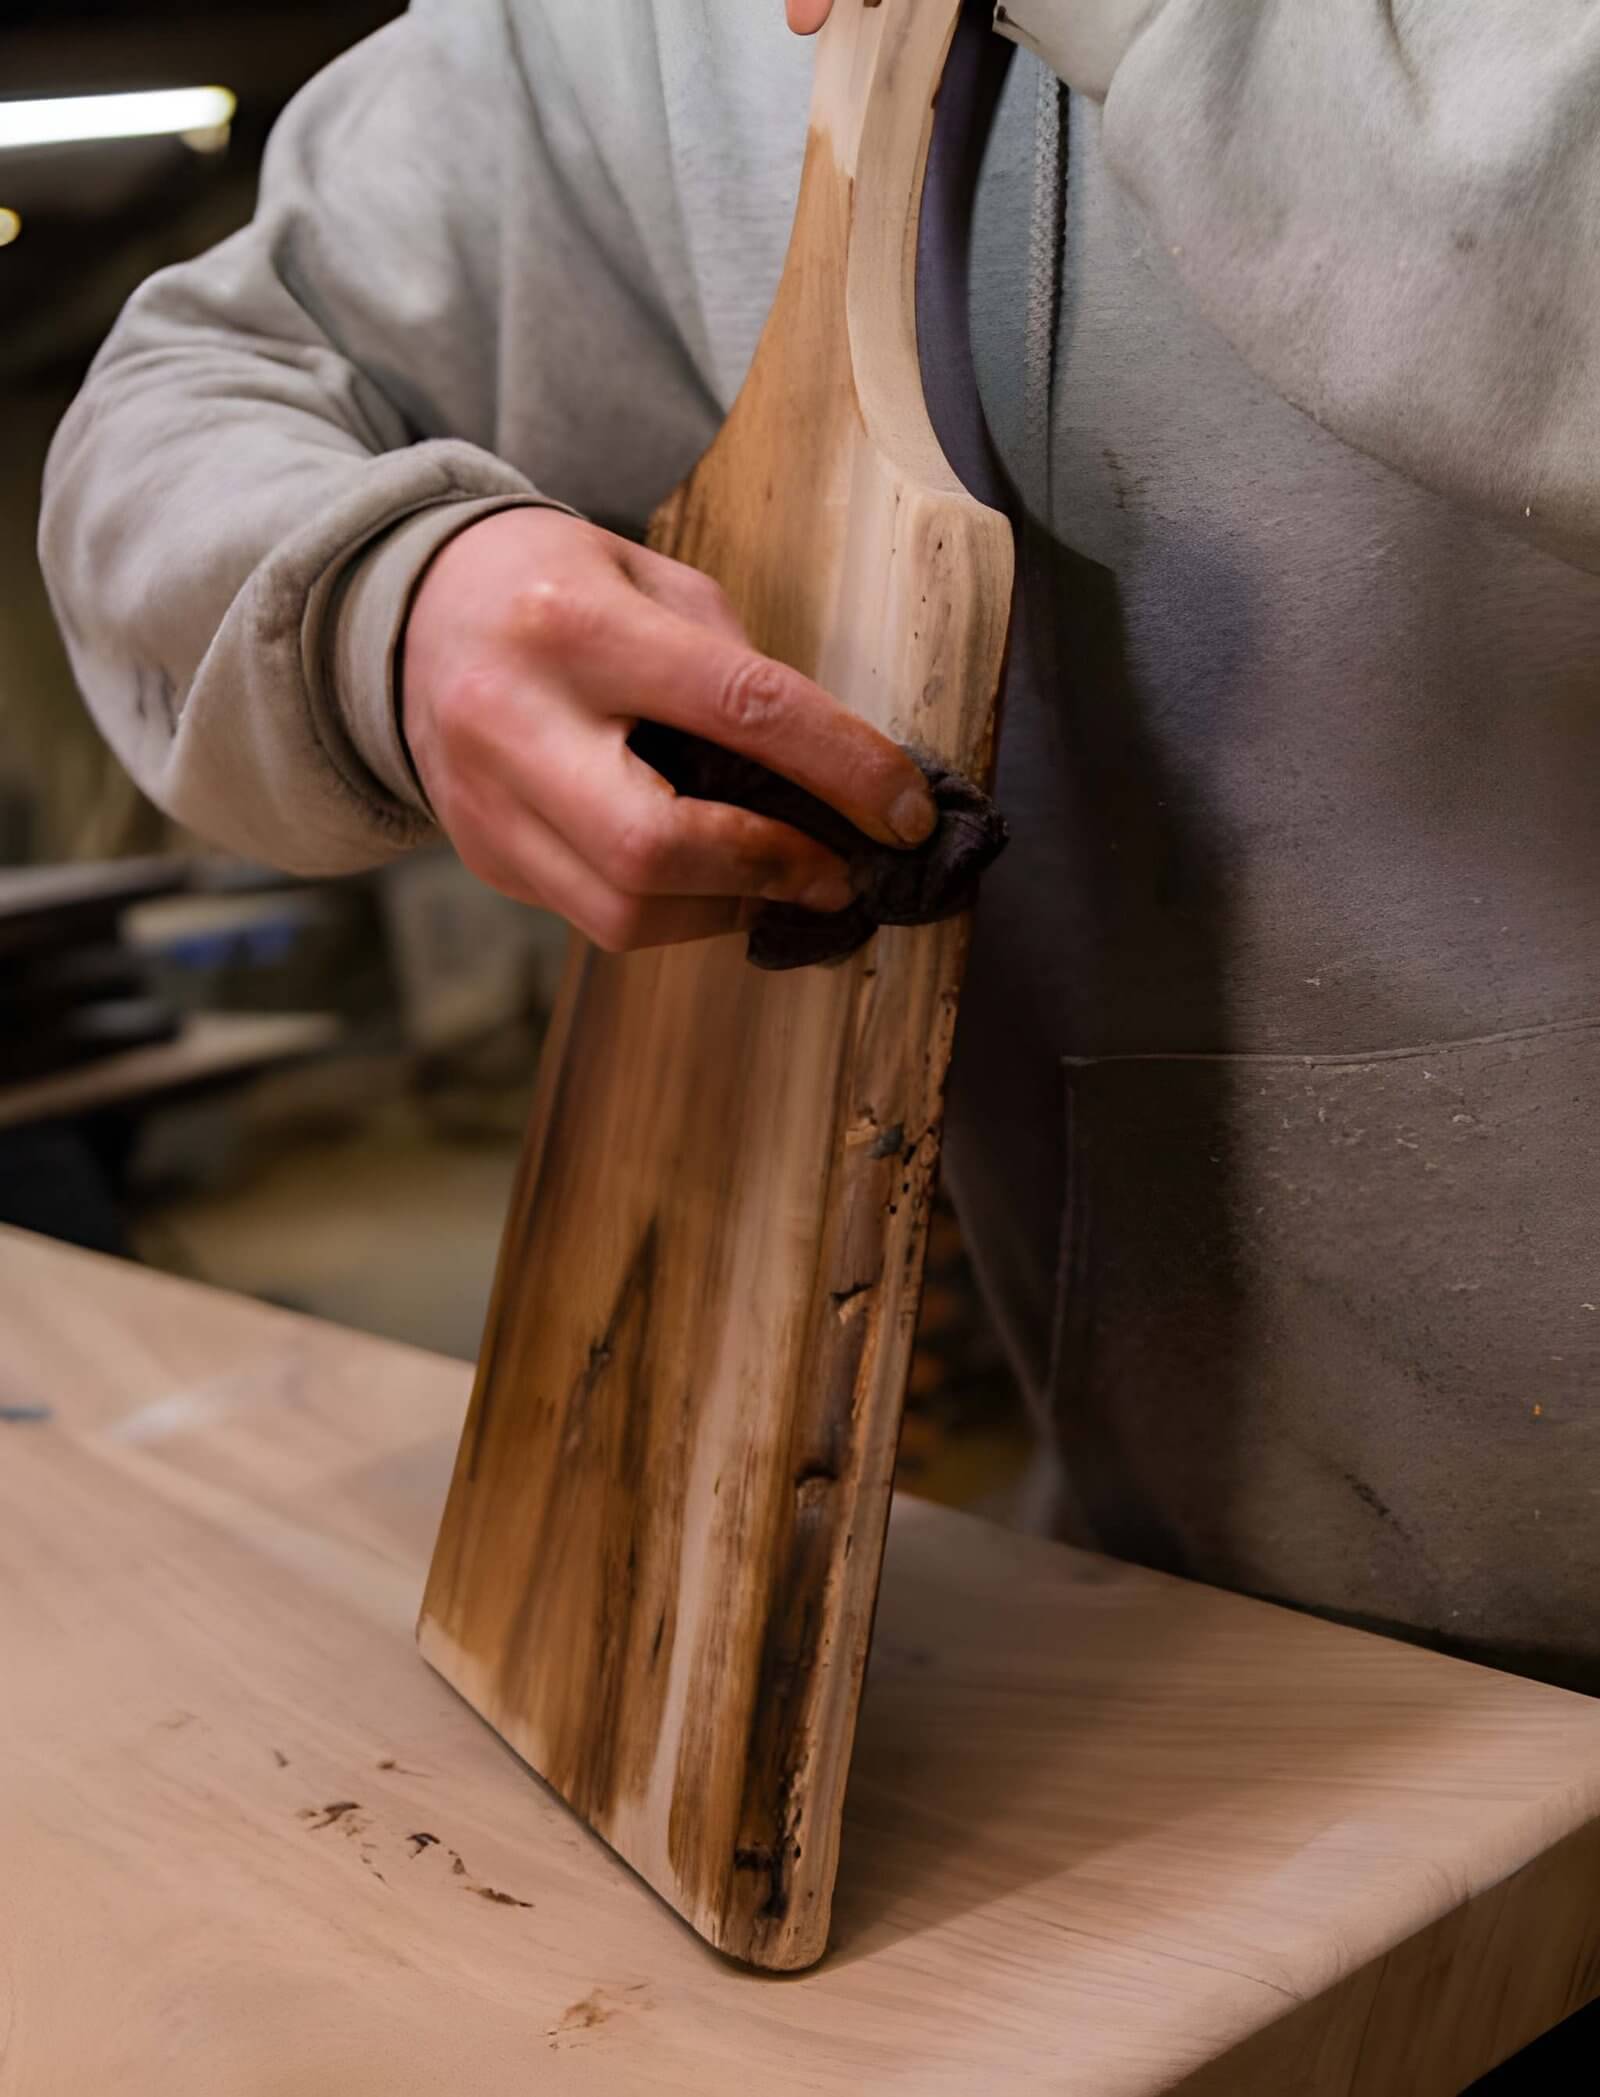
Food-Safe Finishing: What to Use and What to Avoid
This step is non-negotiable. Any finish you put on this board needs to be food-safe once cured. No polyurethane. No varnish. No lacquer. Those look great on furniture, but you don’t want them anywhere near your brie.
The best options are:
- Food-grade mineral oil: Cheap, effective, and widely available. Apply liberally, let it soak in for 20 minutes, then wipe off the excess.
- Beeswax finish: Great for a water-resistant top coat after oiling. Gives the board a soft sheen.
- Board cream: Usually a blend of mineral oil and beeswax. A one-step solution that works really well.
- Raw linseed oil: Also food-safe, but takes longer to dry — give it 24 hours between coats.
Apply at least three coats of oil, letting each one soak in fully before the next. The wood will look richer and darker with every coat. You’ll know it’s fully saturated when the surface stops absorbing oil and starts looking almost wet even after wiping.
Adding Handles, Grooves, and Personal Touches
Want to take your board to the next level? A few small details make a huge difference.
Liquids are prevented from running off the board by juice grooves, which are shallow channels carved around the edge. Additionally, most people will notice them right away as a sign of high-quality craftsmanship. They can be cut with a chisel or a router. Aim for a depth of ⅛ inch and a width of ¼ inch.
Consider adding a live edge if your slab of wood has a natural bark edge. Leave it raw (after a good sanding and sealing) for a beautiful organic look. Live-edge boards look expensive. They’re also just cool.
Wood burning looks great on maple and cherry if you want to customize the board. You can choose a straightforward design, a family name, or a monogram. FYI — a basic wood-burning kit costs about $15 and opens up a whole world of personalization options.
Caring for Your Board
A well-made board lasts for decades — but only if you treat it right. Here are the golden rules:
- Never put it in the dishwasher. Ever. The heat and water will warp and split even the best wood.
- To hand-wash it, use warm water and mild soap. After a brisk rinse, dry immediately.
- Re-oil it regularly — once a month if you use it often, or whenever the wood starts looking dry.
- Store it upright or flat, away from direct heat sources.
Do those four things and your board will outlast most of your kitchen gadgets. Possibly your kitchen remodel, too.
Ready to Build Your First Board?
A DIY charcuterie board is one of those projects that gives back more than you put in. A few hours of work, a piece of quality wood, and some finishing oil — and you’ve got a showpiece that people will genuinely compliment every single time you bring it out.
And the best part? Once you build one, you’ll never stop. You’ll want to make them as gifts, experiment with different wood species, try new shapes.
If you’re ready to take your woodworking further — and trust me, one charcuterie board is only the beginning — then you need a solid set of plans to work from. That’s where Ted’s Woodworking Plans comes in.
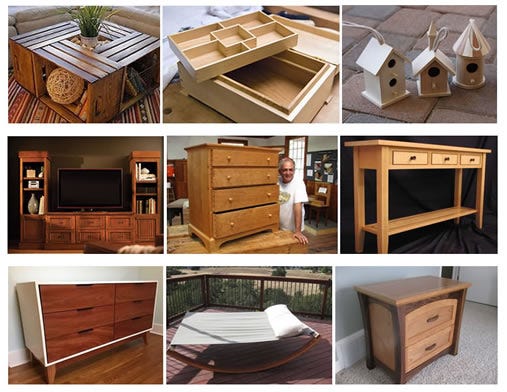
Ted’s Woodworking is the most comprehensive woodworking plan library available online, with over 16,000 step-by-step plans covering everything from beginner cutting boards to full furniture builds. Every plan comes with detailed diagrams, cut lists, and material specifications — so you spend more time building and less time guessing.
Whether you’re just getting started or looking to upgrade your skills, Ted’s plans make the entire process easier, faster, and way more satisfying. Check out Ted’s Woodworking Plans here and see what you’ll build next.