
You don’t need a full workshop or expensive tools to create stunning handmade pieces. Seriously. Wood burning — or pyrography as it’s technically called — is one of those crafts that looks impressive but is genuinely approachable from day one.
Whether you’ve seen a gorgeous personalized cutting board on Pinterest and wondered “how did they do that?” or you’re a woodworker looking to add a creative finishing touch to your projects, this guide has you covered.
Save this guide to your Pinterest boards so you can come back to it anytime. You’re going to want it.
By the end of this article, you’ll know exactly what tools to grab, which wood to use, how to master the basic techniques, and how to complete your first project — even if you’ve never held a burning pen before.
Already itching to get started on a specific project? Check out our wood burning projects for beginners for step-by-step tutorials you can jump into right away.
What Is Wood Burning (Pyrography)?

Pyrography literally means ‘writing with fire’ — from the Greek words pyro (fire) and graphos (writing). In practice, it means using a heated metal pen to burn designs, patterns, text, or images directly onto a wood surface.
It’s been around for centuries. Ancient cultures used hot embers and heated metal tools to decorate wood long before purpose-built burning pens existed. Today, it’s a full-on craft movement with a passionate community of artists, hobbyists, and woodworkers.
What can you make? Think home décor (wall art, signs, frames), personalized gifts (cutting boards, spoons, keychains), craft projects (bookmarks, ornaments), and even detailed portrait art. The range is wide — and that’s part of the appeal.
Is Wood Burning the Same as Pyrography?
Yes, completely. “Wood burning” and “pyrography” refer to the same craft. “Pyrography” is the more formal/artistic term, while “wood burning” is the everyday name most beginners use. You’ll see both terms used interchangeably online — now you know they mean the same thing.
Advertisement
Why Wood Burning Is Perfect for Beginners
There are a lot of crafts that promise to be beginner-friendly and then hit you with a steep learning curve. Wood burning is genuinely different. Here’s why:
- Low cost to start: A solid beginner kit costs between $15–$40. That’s it.
- Minimal tools: You need a pen, some wood, sandpaper, and a pencil. No power tools, no workshop.
- No dedicated space: A kitchen table with ventilation works perfectly. No garage required.
- Relaxing and meditative: The slow, deliberate pace of burning actually makes it calming — almost like drawing.
- Natural next step for woodworkers: If you already work with wood, pyrography adds a creative finishing dimension to every project.
💡 Quick comparison: Wood Burning vs. Wood Carving — Wood carving requires sharper tools, more physical effort, and a higher skill ceiling. Wood burning is gentler, more forgiving, and easier to control for beginners. That said, they pair beautifully together — check out our [Wood Carving Projects →] once you’re ready to level up.
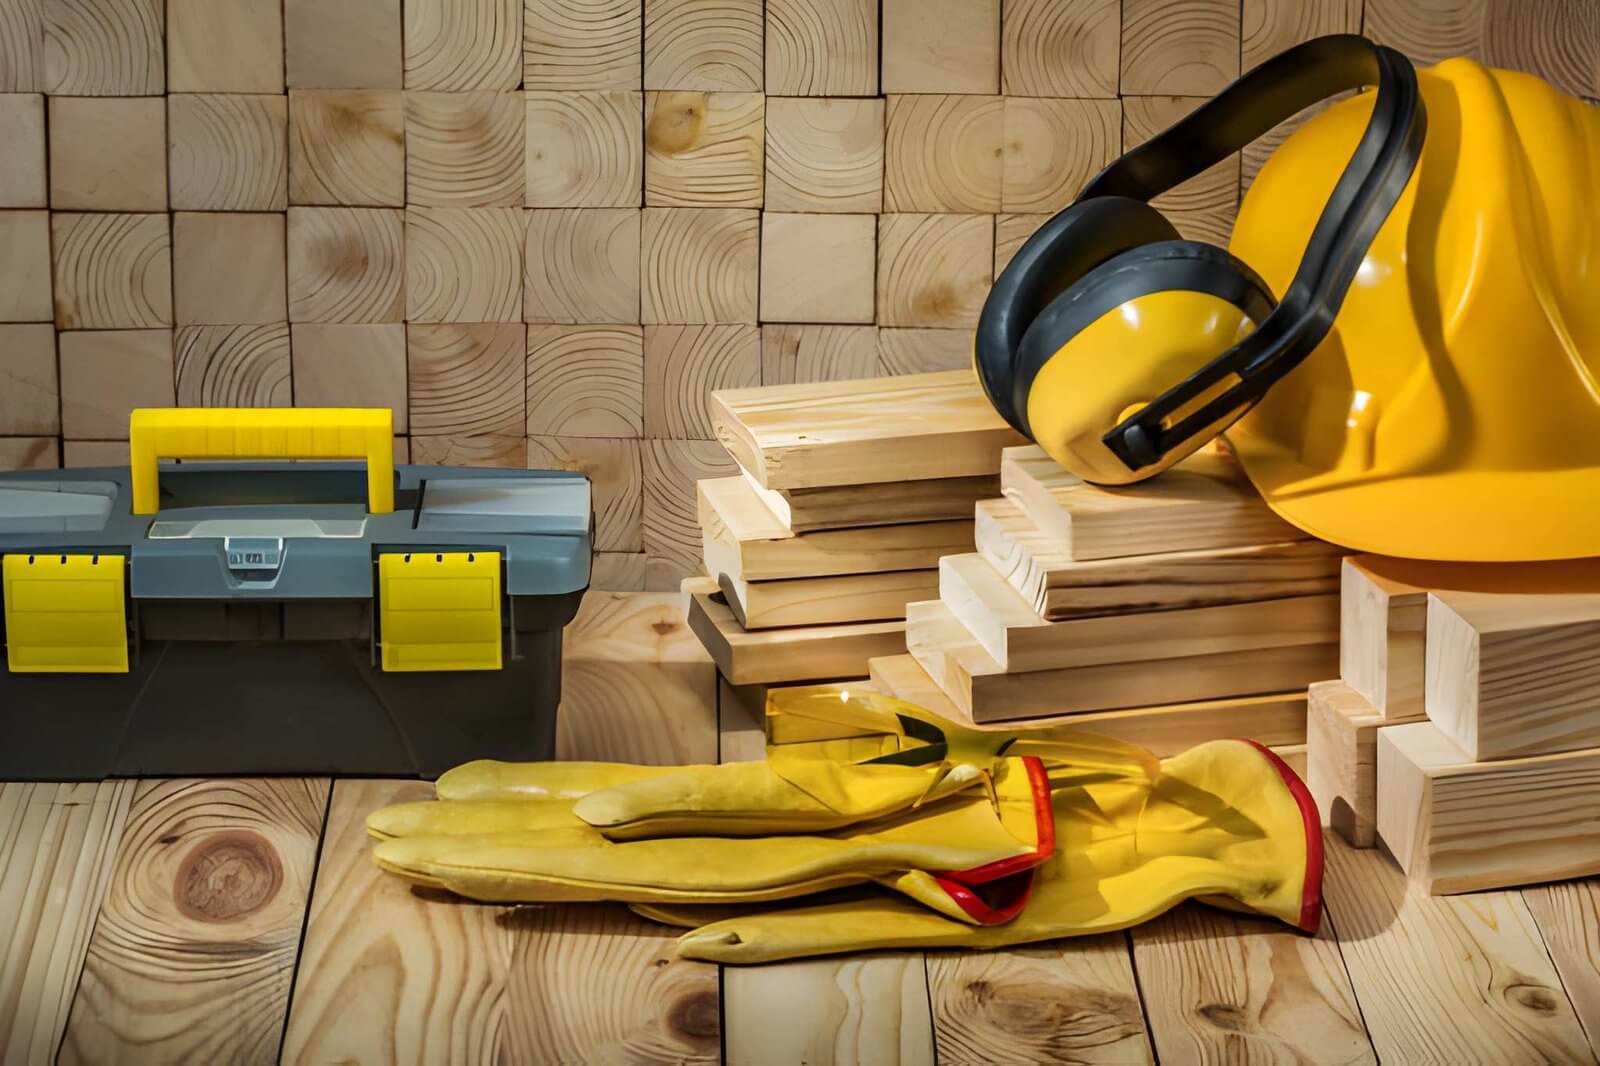
Wood Burning Tools You’ll Need to Start
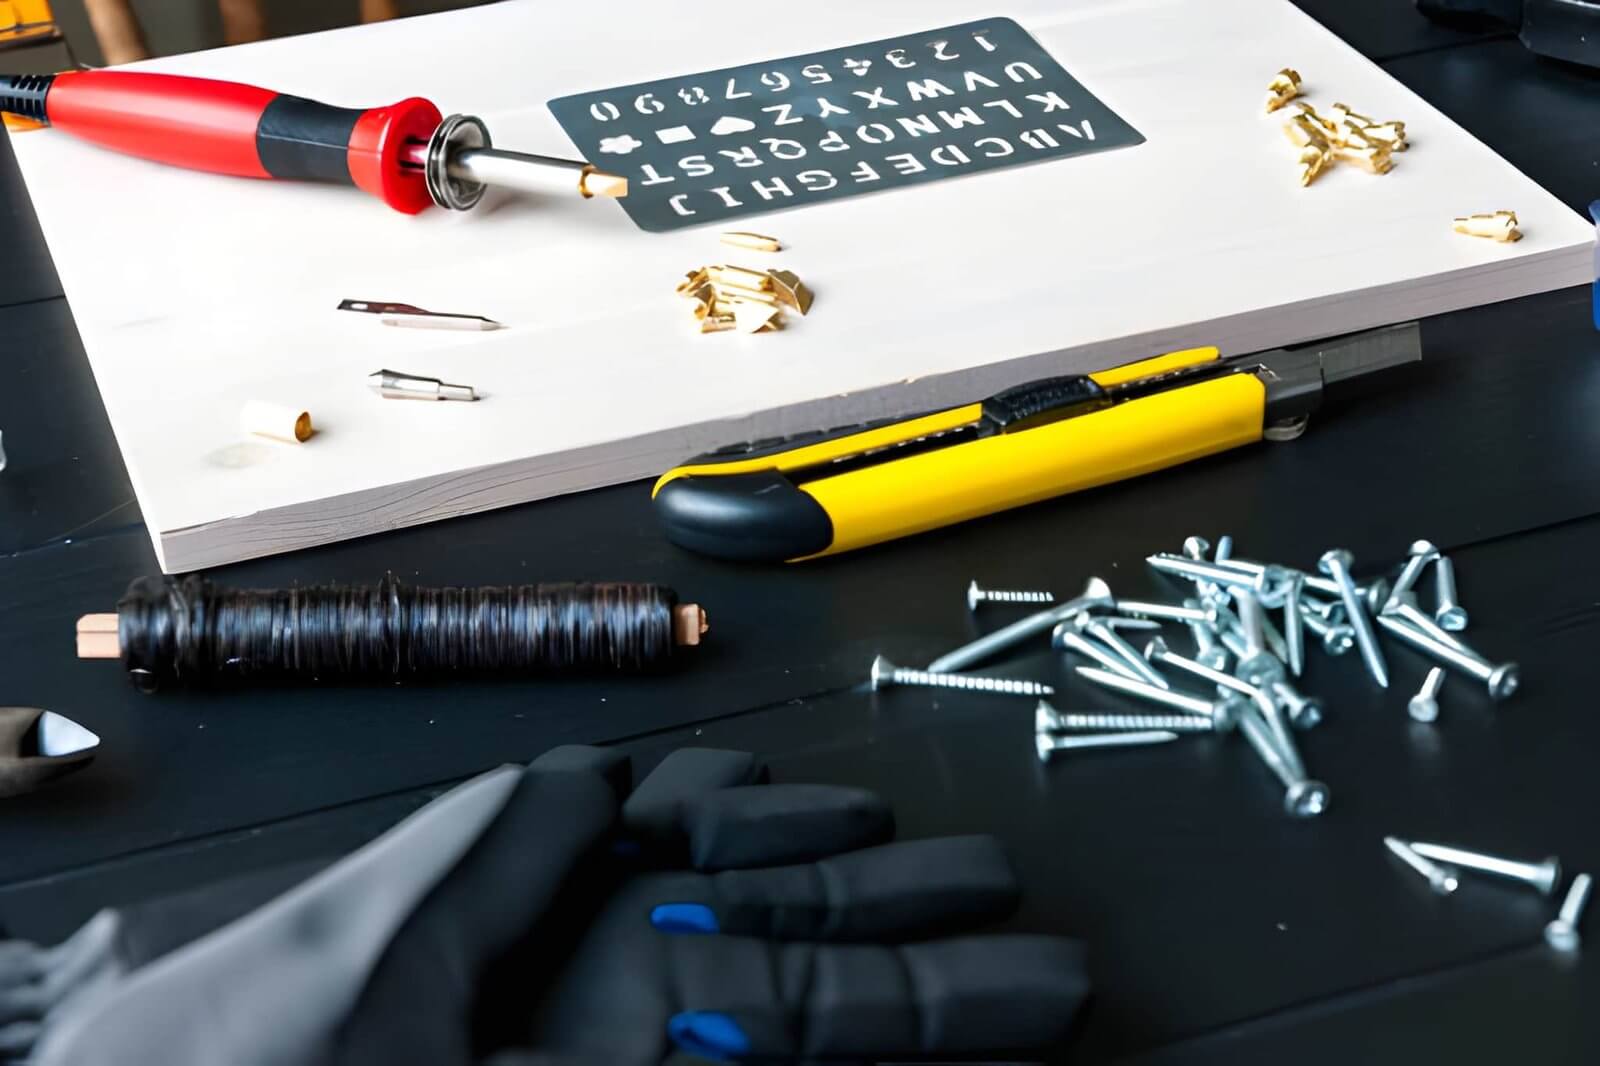
Good news: the list is short. Here’s everything a beginner actually needs — no fluff.
The Wood Burning Pen
This is your main tool, and there are two types:
- Fixed-tip pens: Cheaper ($10–$20), great for beginners, tip heats to a set temperature. Simple, reliable.
- Variable temperature pens: More control, better for shading and detail work. Worth the upgrade once you’ve got the basics down.
For your first pen, look for something in the 20–30 watt range with a comfortable grip. You’ll be holding it for a while, so ergonomics matter more than you’d think.
Interchangeable Tips
Most starter kits come with a few tips. Here’s what they do:
- Writing/detail tips: Fine point for outlines, small text, and precise lines.
- Shading tips: Flat or spoon-shaped for filling in areas with smooth gradients.
- Calligraphy/lettering tips: Angled edge for elegant text and script work.
FYI — a tip guide image pinned to your workspace is genuinely helpful when you’re starting out. Label them clearly so you’re not guessing mid-project.
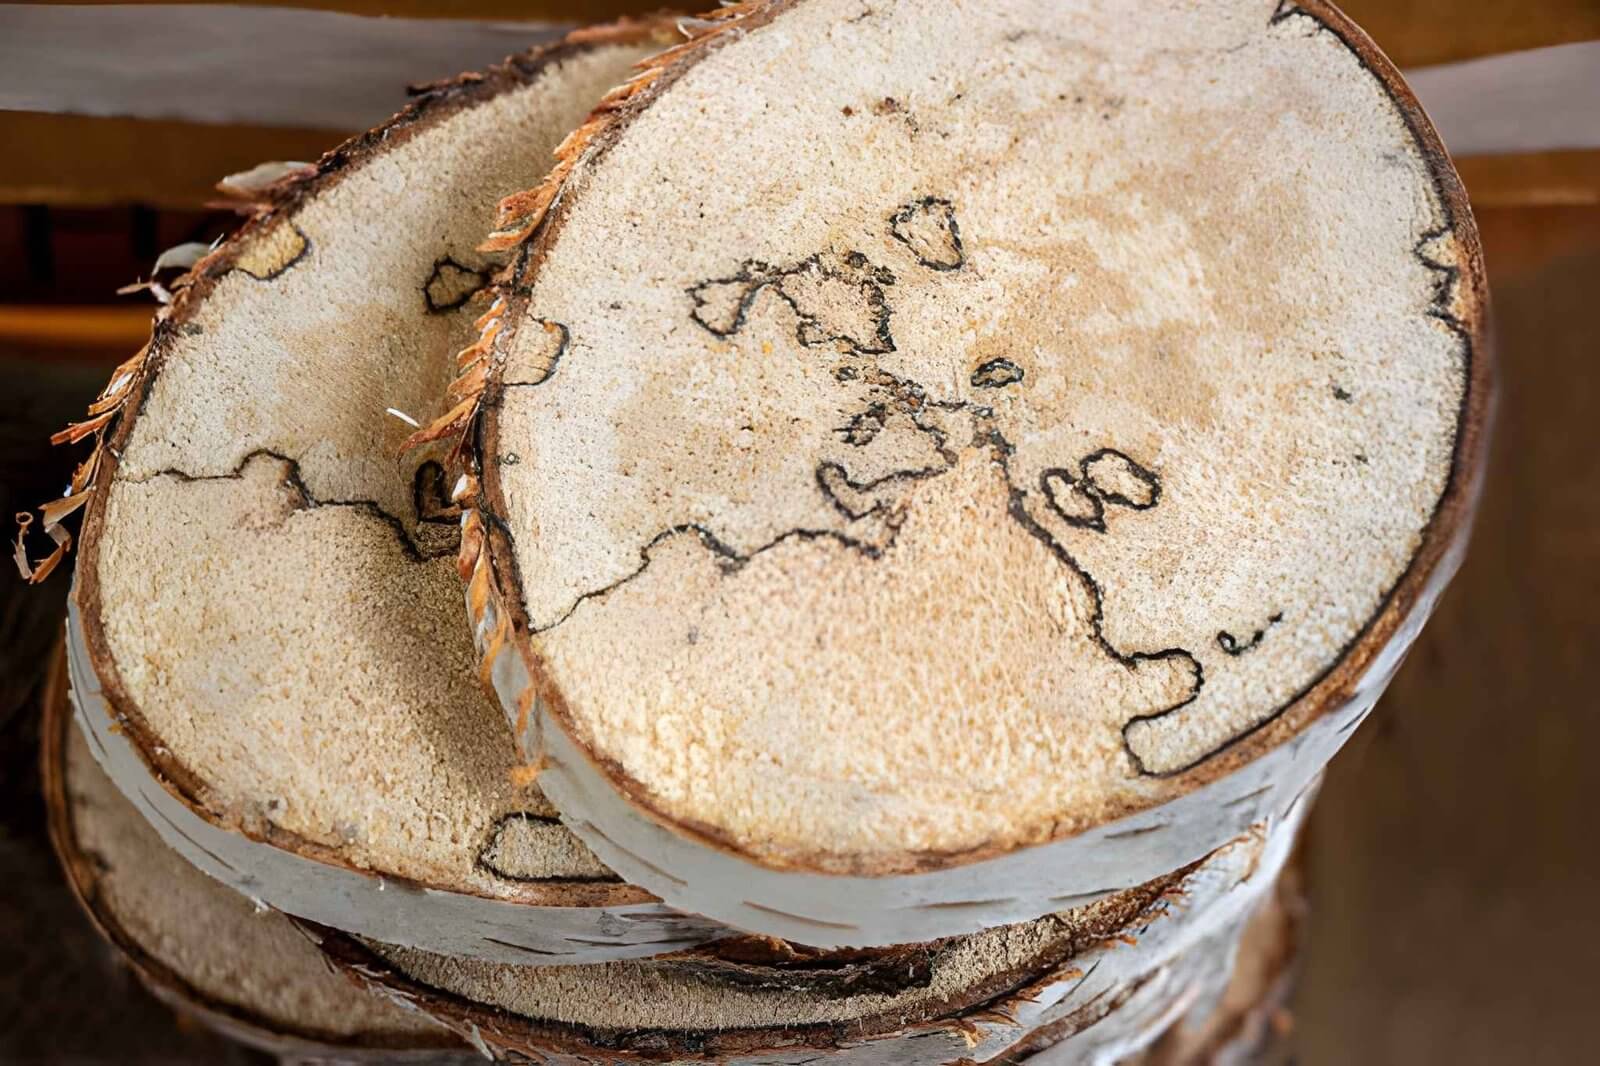
Wood Pieces
Beginner-friendly wood comes in pre-cut ‘blank’ forms — flat pieces sized perfectly for coasters, spoons, signs, and keychains. You can find them at:
- Craft stores like Hobby Lobby or Michaels
- Amazon (search ‘wood burning blanks’)
- Local lumber yards for larger pieces
Other Essentials
- Sandpaper: Start with 120 grit, finish with 220 grit. Smooth wood = cleaner burns.
- Pencil + transfer paper: Sketch your design first, or use transfer paper for detailed patterns.
- Heat-resistant stand or pad: Keeps your hot pen safe between strokes. Non-negotiable.
Best Wood for Wood Burning
The wood you choose has a huge impact on your results. Soft, smooth, light-colored woods burn evenly and show up beautifully. Here’s the breakdown:
- Basswood (best for beginners): Smooth grain, soft, consistent burn. This is the gold standard for pyrography. Start here.
- Birch plywood: Flat, stable, and great for signs and wall art. Affordable in sheet form.
- Poplar: Budget-friendly, consistent grain, widely available at hardware stores.
- Pine: Easy to find, but uneven grain can cause the burn to look patchy. Manageable with practice and a lower temperature.
Woods to avoid: Treated lumber, MDF, plywood with dark laminate, oily woods like teak — these release toxic fumes when burned. More on that in the safety section.
Here’s a quick comparison table to keep handy:
| Wood Type | Grain | Hardness | Best For |
| Basswood | Fine, smooth | Soft | Beginners – best overall |
| Birch Plywood | Smooth | Medium | Signs & flat projects |
| Poplar | Consistent | Medium-soft | Budget-friendly option |
| Pine | Uneven / knotty | Soft | Widely available, trickier |
Basic Wood Burning Techniques

Here’s the key mindset shift: you’re not drawing, you’re controlling heat. The slower and steadier you move, the darker and more defined the burn. The faster you move, the lighter and softer the line.
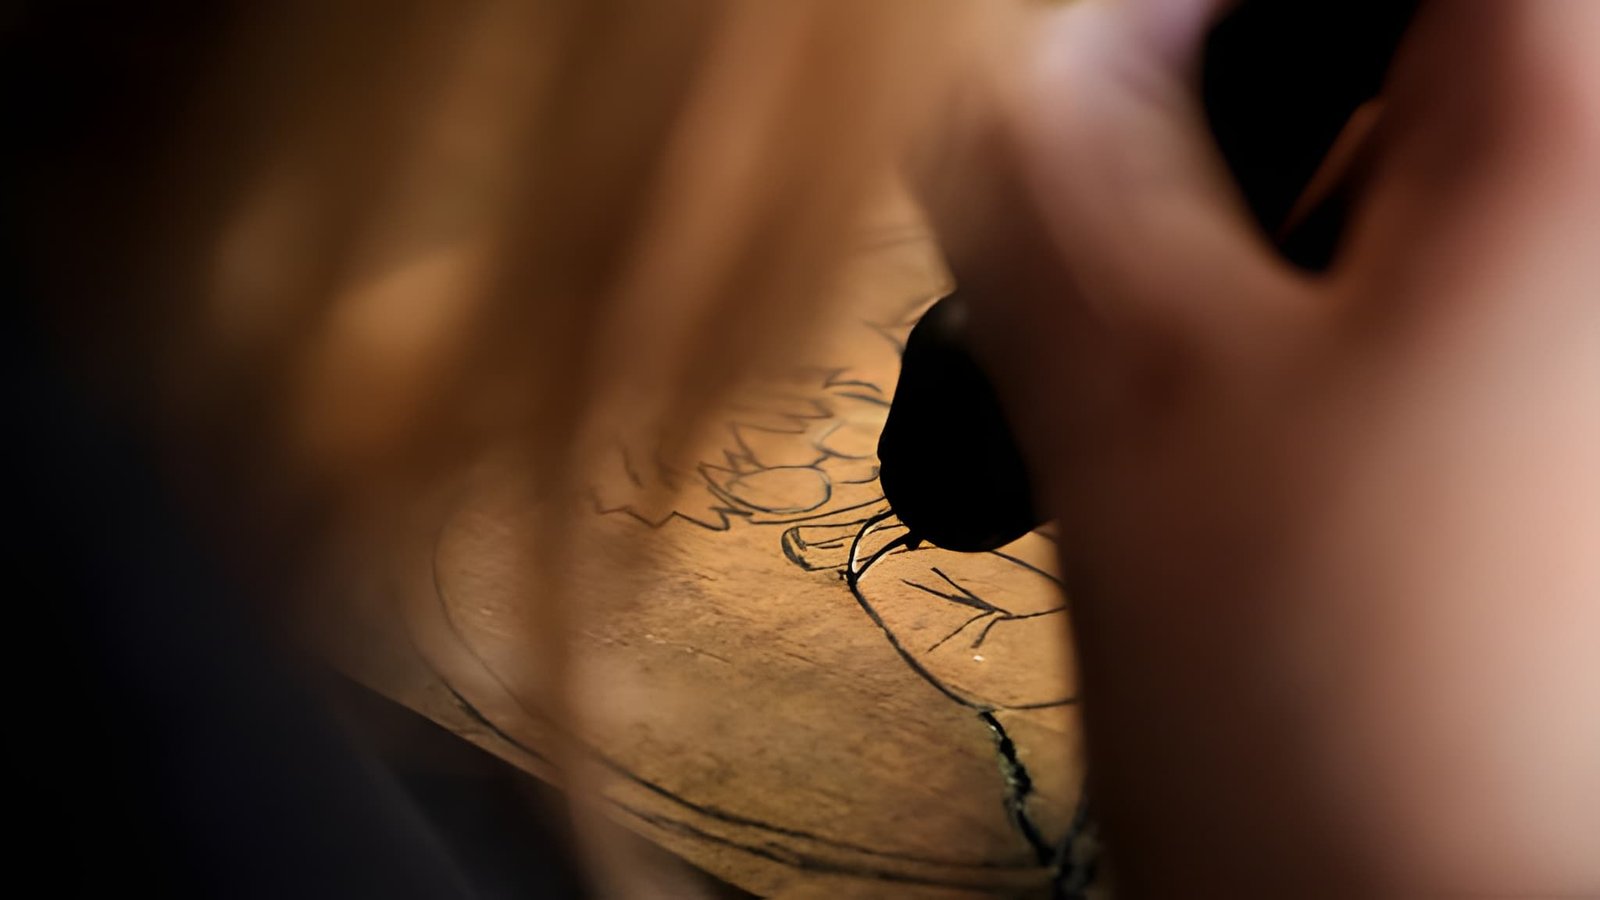
Outline / Tracing
Start every project here. Trace the edges of your design at a steady, medium pace. Think of it like inking a sketch. This is the foundation — everything else layers on top.
Shading
Use a shading tip and work in layers. Start light, then build up darker tones gradually. Moving the tip in small circular or back-and-forth motions creates a smooth gradient effect.
Stippling / Dotting
Touch the tip briefly to the wood to create dots. Clustered dots create dark texture; spaced-out dots create lighter areas. Great for backgrounds, animal fur, or rustic textures.
Lettering
Slow down even more here. Burn each letter with consistent pressure and speed. Calligraphy tips help, but a fine writing tip works too. Practice your letters on scrap wood first — every time.
Continuous Line Technique
Popular for minimalist designs — think single-line animal portraits or geometric patterns. One unbroken line creates the entire image. This style is huge on Pinterest right now and surprisingly satisfying to do.
Pro tip: Before you touch your actual project piece, burn a full ‘practice sheet’ on scrap wood. Test each tip, practice your speed, and get a feel for how dark your pen burns at different settings. This single habit will save your best projects.
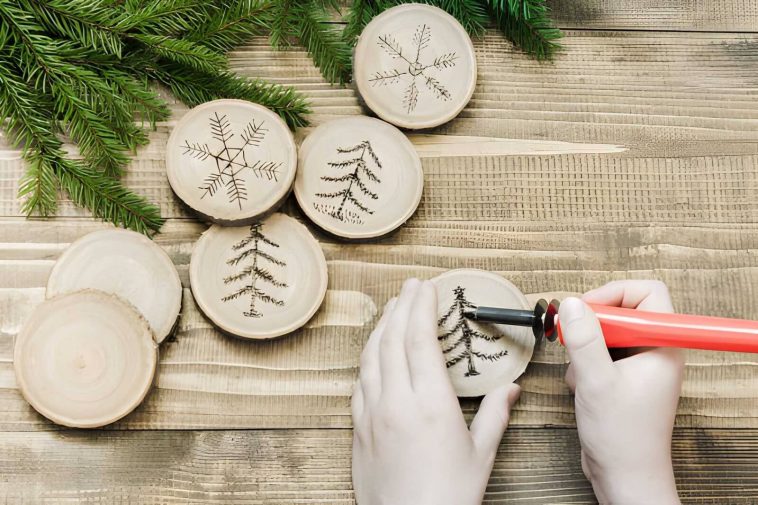
Easy Wood Burning Projects for Beginners
Here’s where it gets fun. These projects are low-stakes, quick to complete, and genuinely impressive when done well:
- Wooden coasters — perfect starter project, small and forgiving
- Personalized wooden spoons — great gifts, easy to find blanks
- Cutting boards — flat, stable surface, ideal for lettering
- Keychains and tags — tiny canvas, quick wins
- Rustic wall signs — great for quotes and minimal designs
- Bookmarks — thin wood strips, perfect for fine detail practice
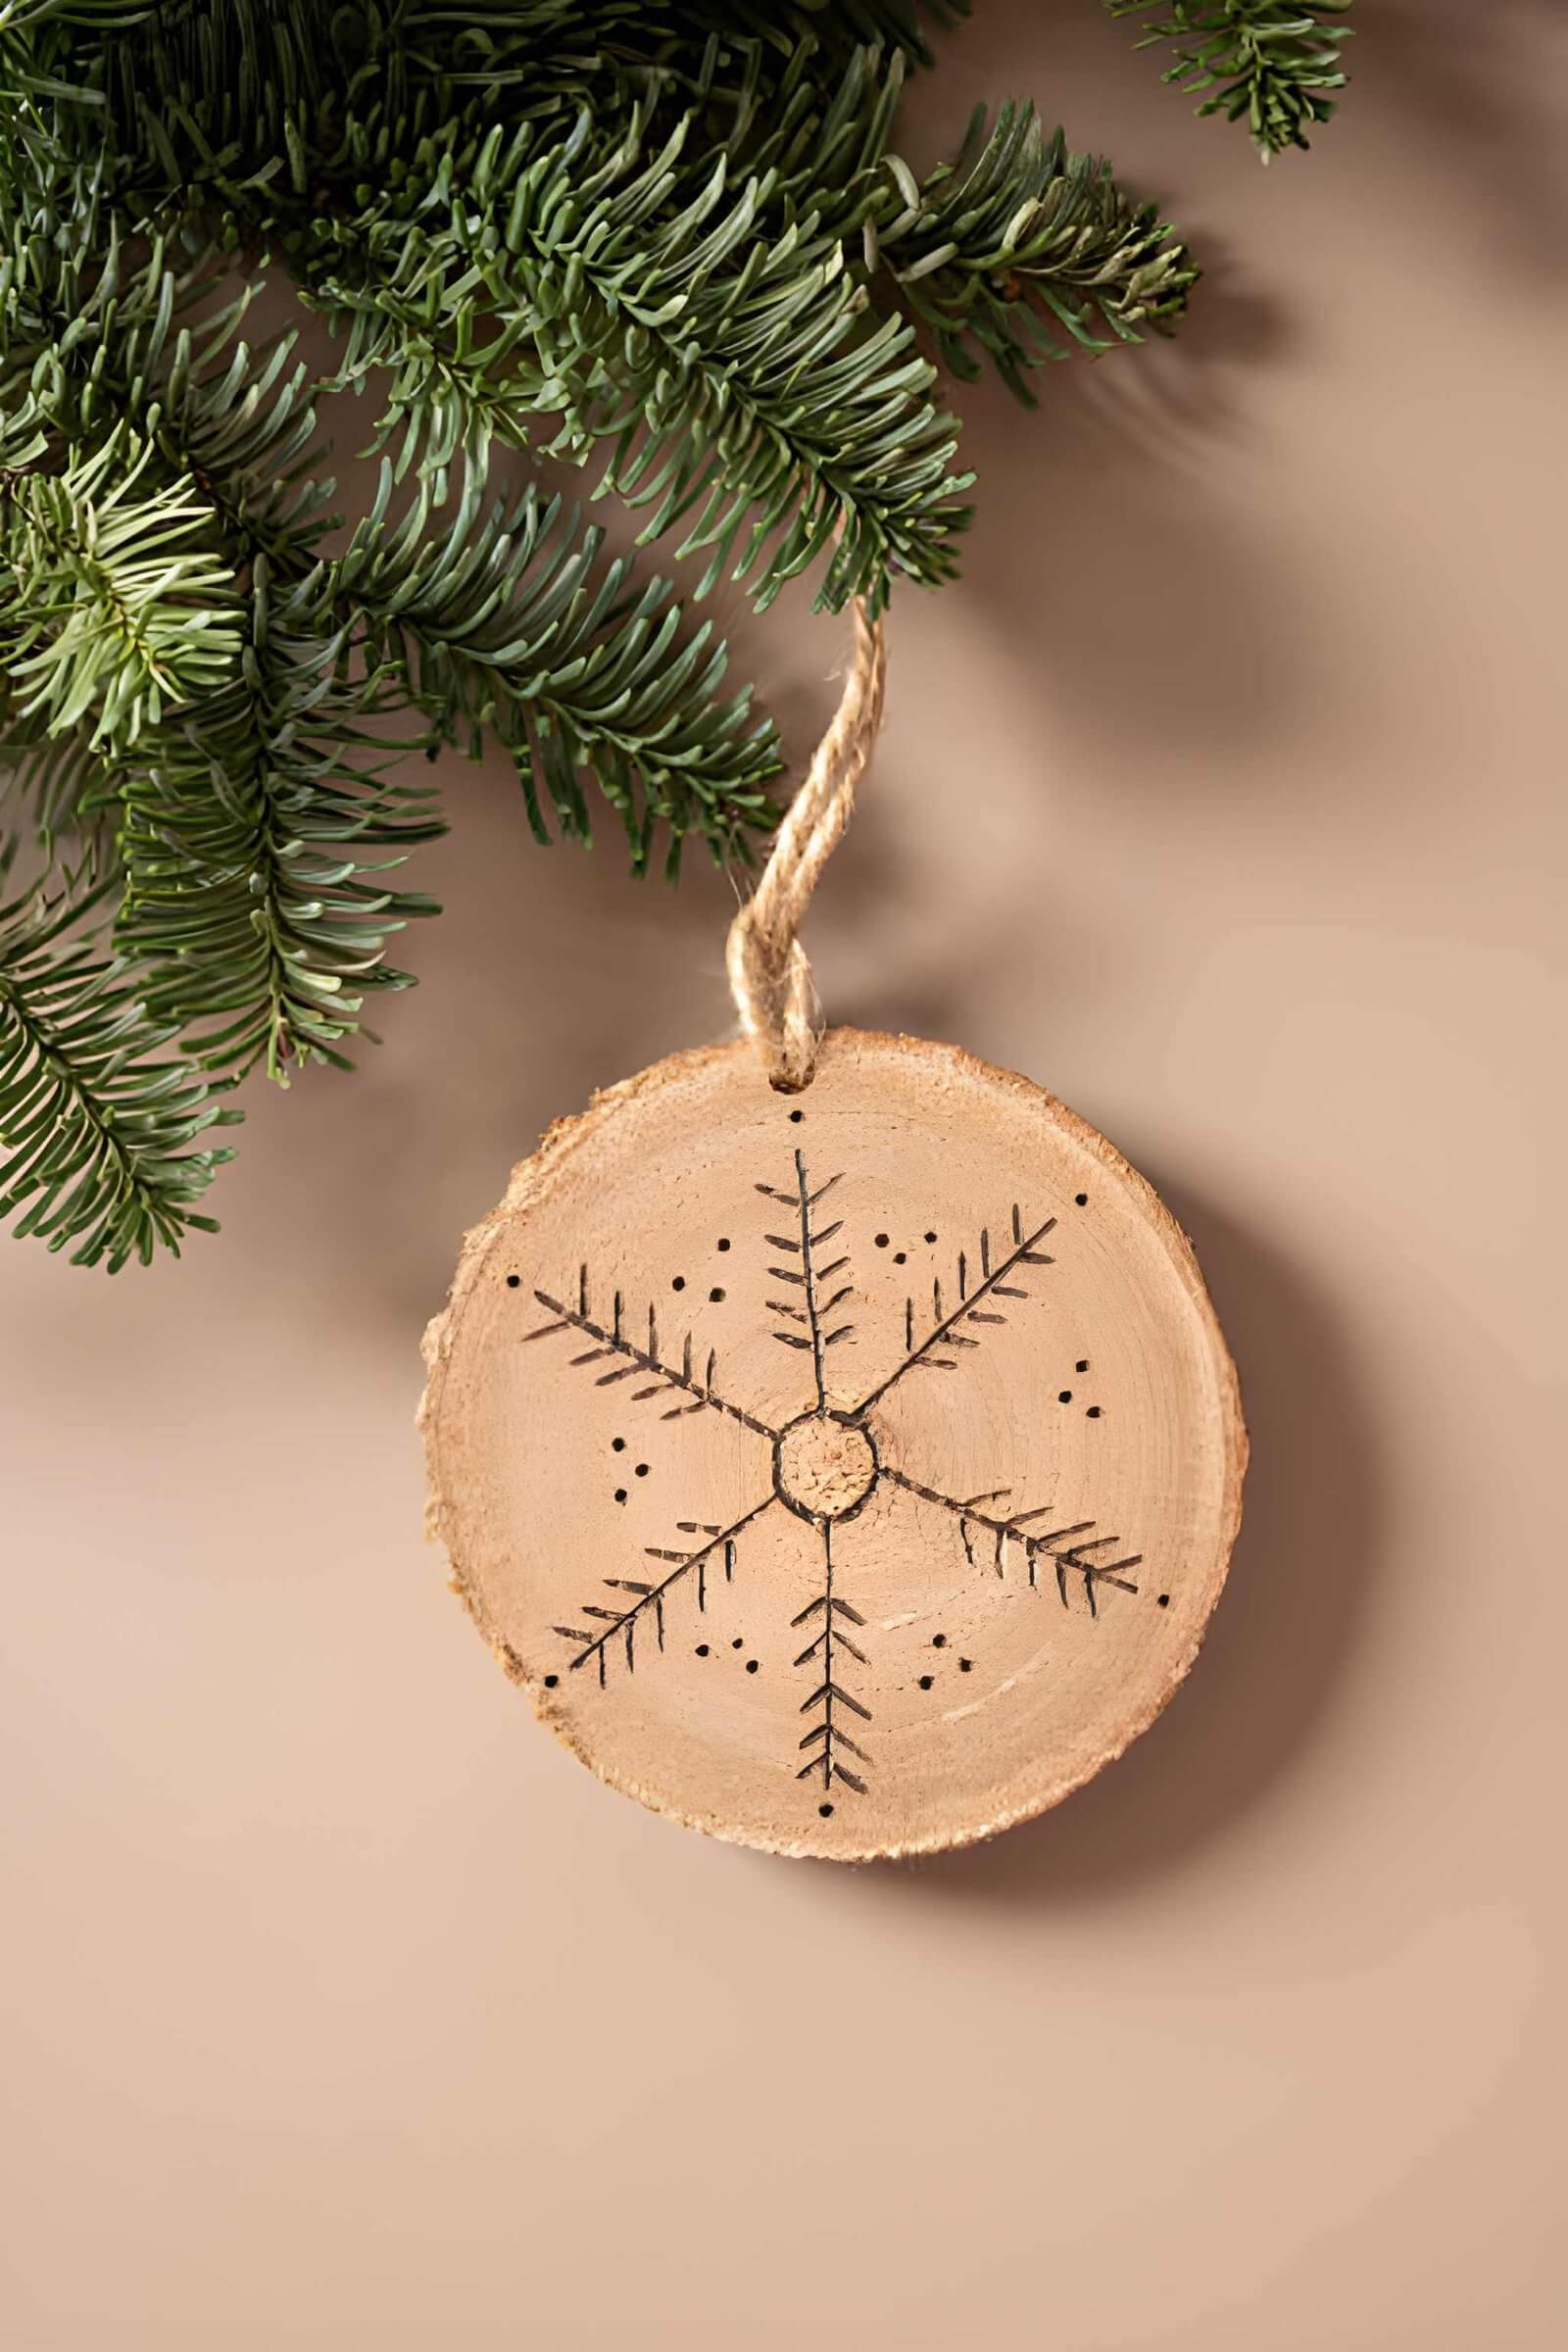
- Ornaments and gift tags — seasonal projects with huge Pinterest reach
- Pet portrait plaques — one of the most popular pyrography projects online, and once you’ve practiced shading, totally doable
Want full step-by-step tutorials for any of these? Browse our wood burning projects for detailed guides on every project listed here.
Step-by-Step Beginner Project: Simple Wood Burned Coaster
Estimated time: ~45–60 minutes. Perfect for your very first session.
- Sand the wood. Start with 120 grit to remove roughness, then finish with 220 for a silky surface. Run your fingers over it — it should feel smooth like paper.
⚠️ Beginner mistake: Skipping this step. Rough grain creates uneven burns and ragged lines. Always sand.
- Sketch or transfer your design. Use a pencil for a freehand sketch, or trace from printed paper using transfer paper. Keep it simple — a leaf, a geometric shape, or initials work great.
⚠️ Beginner mistake: Jumping in without a guide. Even experienced pyrographers plan their design first.
- Heat your pen. Give it 3–5 minutes to fully heat up. Test it on a scrap piece first to check the temperature before touching your project.
⚠️ Beginner mistake: Starting while the pen is still warming up — inconsistent heat creates inconsistent lines.
- Trace the outline slowly and steadily. Move at a pace that gives you a clean, dark line without burning too deep. If you need to go darker, do a second pass rather than slowing down even more.
⚠️ Beginner mistake: Pressing down with extra force. Pressure doesn’t help — heat and speed control everything.
- Build up shading in layers. Start lighter than you think you need to. You can always go darker; you can’t go lighter. Work in the same direction for smooth, consistent shading.
⚠️ Beginner mistake: Over-shading too fast and ending up with a flat, muddy burn rather than depth.
- Seal the finished piece. Let it cool completely, then apply a coat of food-safe mineral oil, beeswax finish, or matte sealant. This protects the burn, enhances contrast, and gives it a polished look.
⚠️ Beginner mistake: Skipping the sealant. Unfinished wood burns can fade or pick up grime over time.
Safety Tips for Wood Burning
Wood burning is safe — as long as you take a few basic precautions. None of these are complicated, but skipping them is how accidents happen.
- Ventilate your workspace: Always work near an open window or with a small fan directing smoke away from your face. Burning wood releases particles you don’t want to inhale.
- Use a pen stand: Never set a hot pen down on any surface without a proper stand. It stays hot long after you stop using it.
- Avoid toxic woods: Never burn treated wood, painted wood, MDF, or oily exotic woods. The fumes from these can be genuinely harmful.
- Unplug when stepping away: Even for five minutes. This is the single easiest safety habit to build.
- Keep water nearby: Not for the pen — for you, and for any unlikely fire concerns.
A note on fume safety for indoor crafters: If you’re working in a small room, a basic carbon filter mask is a worthwhile investment. Especially important if kids are nearby or you plan to burn for extended sessions.
Common Beginner Mistakes to Avoid
Every beginner makes these. Knowing about them in advance puts you ahead of the curve.
- Pressing too hard: You’re controlling heat, not force. Heavy pressure just digs into the wood without improving the burn.
- Skipping sanding: Rough surfaces create uneven, unpredictable burns. Sand every time, no exceptions.
- Using wrong wood: Knotty, resinous, or treated wood fights back. Start with basswood or birch and make your life easier.
- Rushing: The more you rush, the lighter and less consistent the burn. Slow wins.
- Not practicing on scrap first: This is free insurance. Burn a test piece before every project, especially with a new tip or temperature setting.
- Overheating the pen: Too much heat causes blotchy, uncontrolled burns. Medium settings are your friend.
What If You Make a Mistake?
Good news — wood is surprisingly forgiving. Light burns can sometimes be sanded away with fine-grit paper (320 or 400 grit). For darker mistakes, incorporate them into the design, fill an area with extra shading, or lean into it as a texture element. Seriously, some of the best-looking projects started with a mistake that became a creative decision.
Frequently Asked Questions
How long does it take to learn wood burning?
Most beginners can complete a simple, clean project within their first session. Comfortable control over shading and detail usually comes within 3–5 hours of practice. Advanced techniques and fine art-level work take longer, but the basics are genuinely fast to pick up.
Can kids do wood burning?
Older kids (12+) can try wood burning under close adult supervision. The pen gets very hot and doesn’t cool quickly. For younger children, there are battery-powered ‘cool tip’ wood burning pens designed for kids that are much safer, though they produce lighter, less detailed burns.
Do I need a special pen, or can I use a soldering iron?
Technically, a soldering iron will burn wood — but it’s not designed for it. Soldering irons heat unevenly, often get too hot, and lack the fine tips needed for clean pyrography work. A dedicated wood burning pen gives you far better control and results for the same price range.
How do I seal a wood burning project?
It depends on the end use. For decorative items, matte polyurethane or lacquer spray works great. For food-contact items (spoons, cutting boards, coasters), use food-safe mineral oil or beeswax finish. Apply after the piece has fully cooled.
Is wood burning expensive to start?
Not at all. A solid beginner kit (pen, basic tips, a few wood blanks) runs $20–$40. A stack of wood blanks for practice costs another $10–$15. Total startup cost: under $60, and most of that reusable.
Final Thoughts
Wood burning is one of the most satisfying crafts you can pick up. The entry barrier is low, the results are tangible and beautiful, and every project teaches you something new. The only real requirement is patience — this craft rewards people who slow down.
Start with a simple coaster. Mess up, learn from it, and try again. Within a few sessions, you’ll be the person whose friends are asking, “Wait — you made that?”
Ready for your first project? Check out these wood burning project ideas to get inspired and pick the one that excites you most. Go make something.
And hey — share your first project. The pyrography community is genuinely one of the most encouraging crafting communities out there. You’re going to love it.