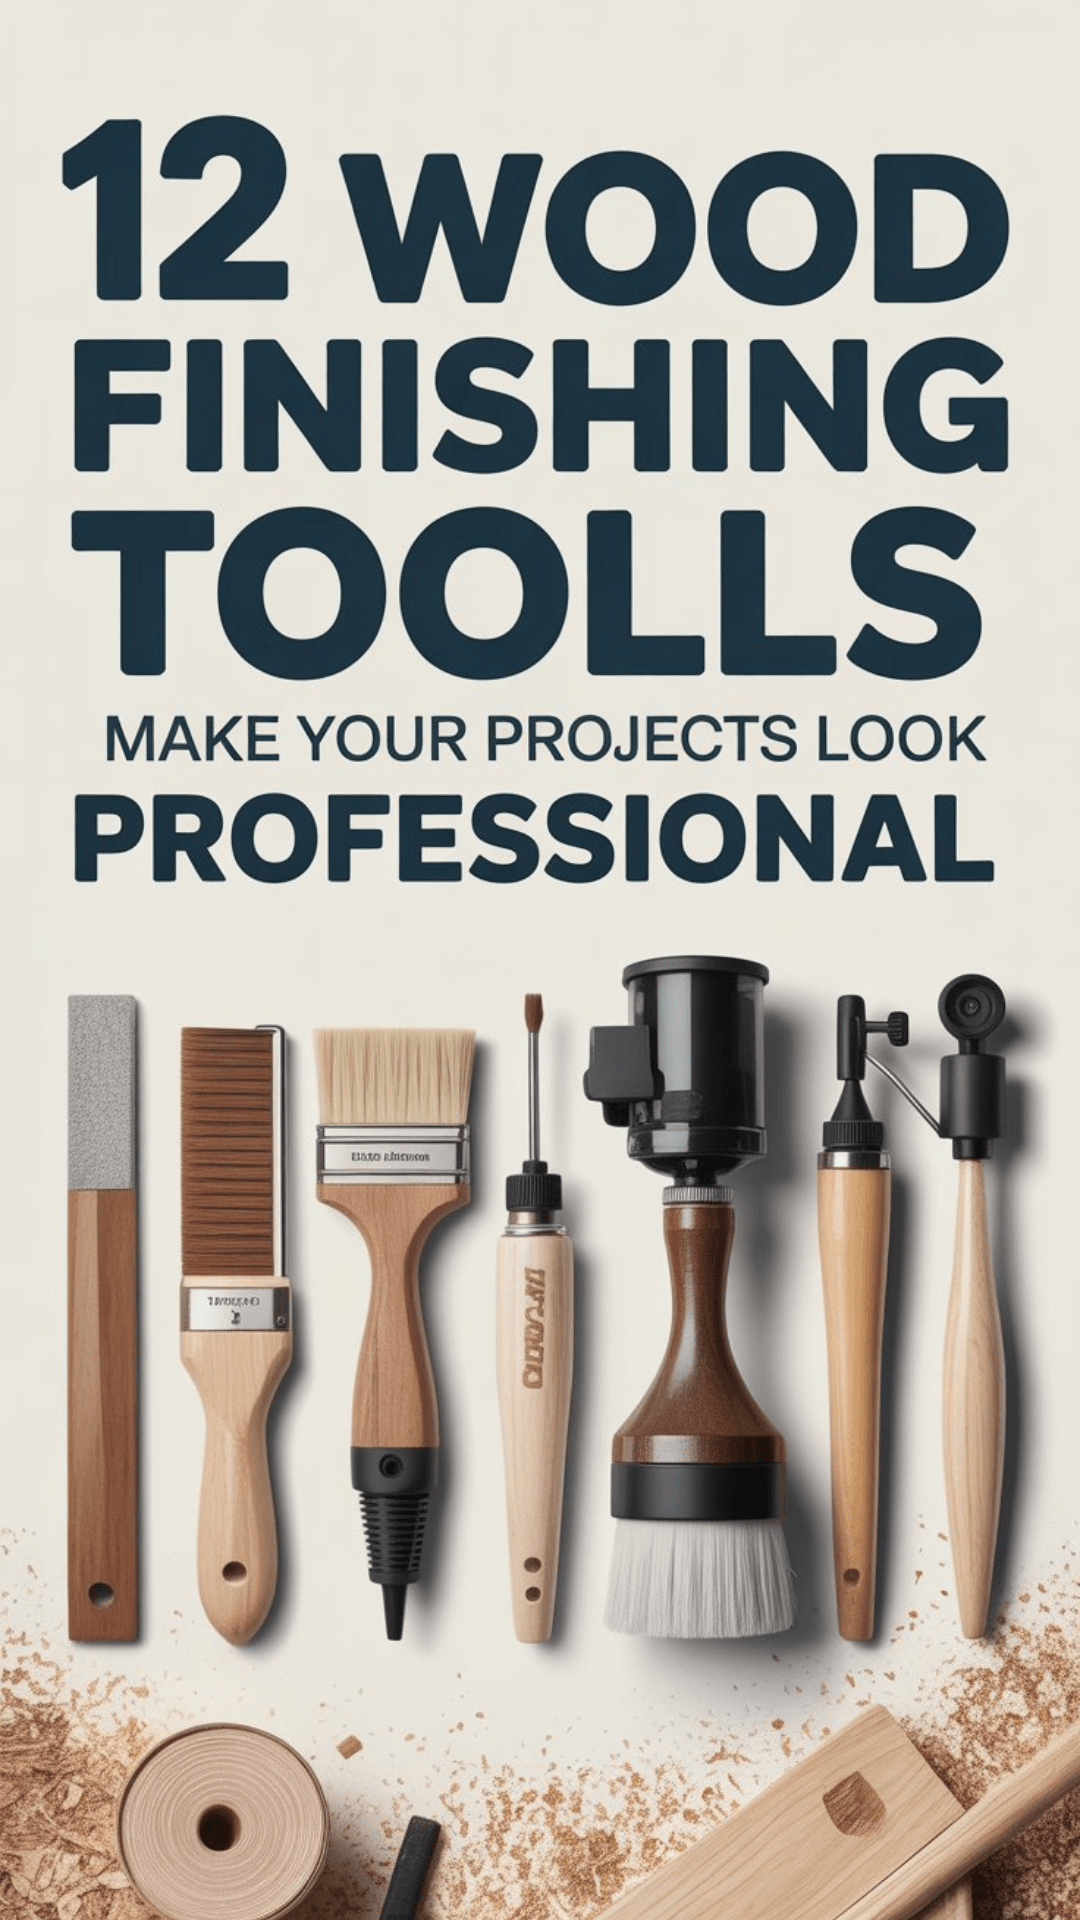
The Finishing Stage Almost Broke Me — And I Bet It’s Got You Too
Ever spent hours building something only to ruin it at the finishing stage? Yeah, me too. You sand everything perfectly, feel like an absolute woodworking genius, and then you slap on a coat of finish — and suddenly your beautiful piece looks like it was painted by a raccoon with a grudge. Blotchy. Streaky. Sticky in weird spots. It’s brutal.
Here’s the thing most beginner guides won’t tell you: finishing is the most overlooked phase of woodworking. Everyone talks about joinery, cuts, and the perfect dovetail. But the finish is literally the first thing people see. Mess it up and nothing else matters.
The good news? Most finishing disasters aren’t about technique — they’re about using the wrong tools. Get the right tools in your hands, and suddenly you look like you’ve been doing this for years. By the end of this post, you’ll know exactly which 12 tools to buy — and which ones to skip entirely.
To achieve the best results, it’s crucial to invest in the right wood finishing tools for beginners.
Why Wood Finishing Tools for Beginners Matter
Wood finishing isn’t just about looks — though yes, it matters a lot for looks. A good finish protects your wood from moisture, UV damage, and the wear of daily use. Skip it or do it poorly, and that beautiful oak coffee table you built starts warping and staining within a year. Not ideal.
The problem is that most beginners treat finishing like an afterthought. They rush it, use whatever brush is lying around, and wonder why the result looks amateur. Here’s the honest truth: having the right tools is just as important as having the right technique. You wouldn’t frame a house with a butter knife, right?
Bad tools lead to brush marks, uneven coats, lifted grain, and wasted product. Good tools make the whole process faster, cleaner, and way more satisfying. Before we get into the list, though — make sure your project is actually ready to finish.
“Before you finish your project, make sure you have the right shop tools.
The 12 Must-Have Wood Finishing Tools for Beginners
Alright, let’s get into it. These are the tools I wish someone had handed me a list of when I was starting out.
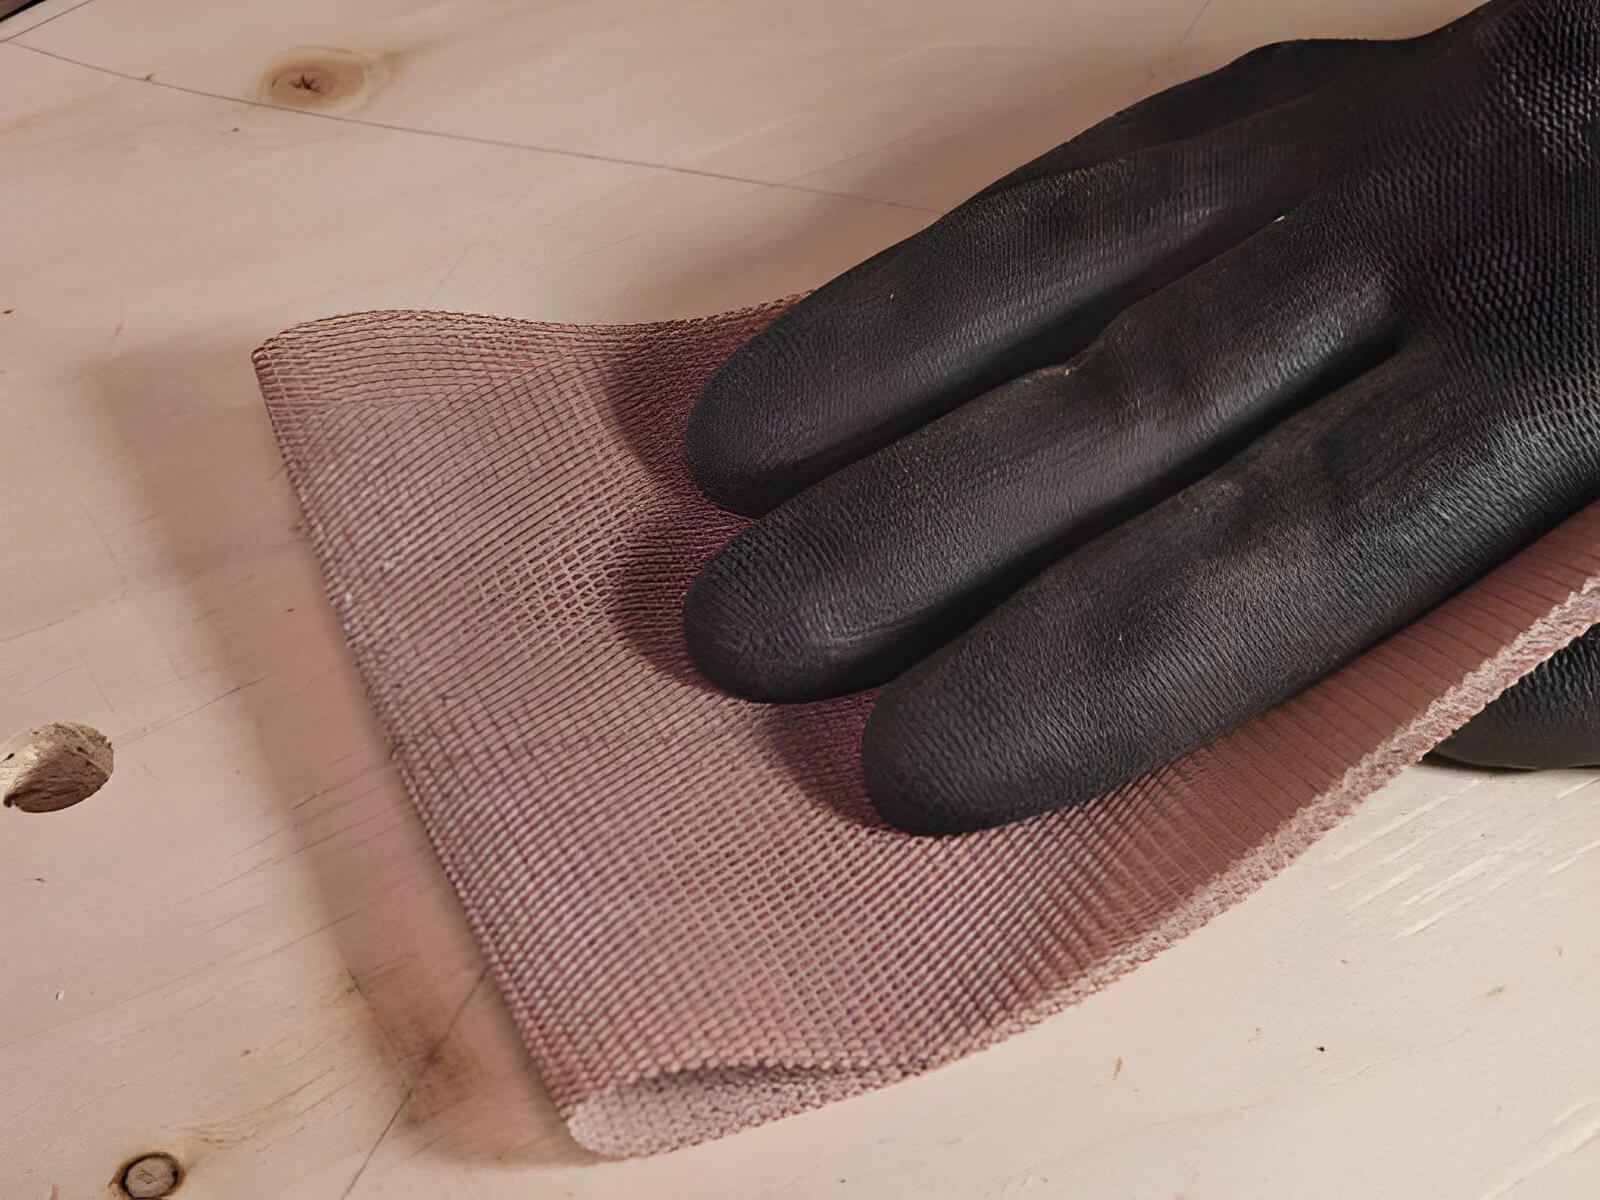
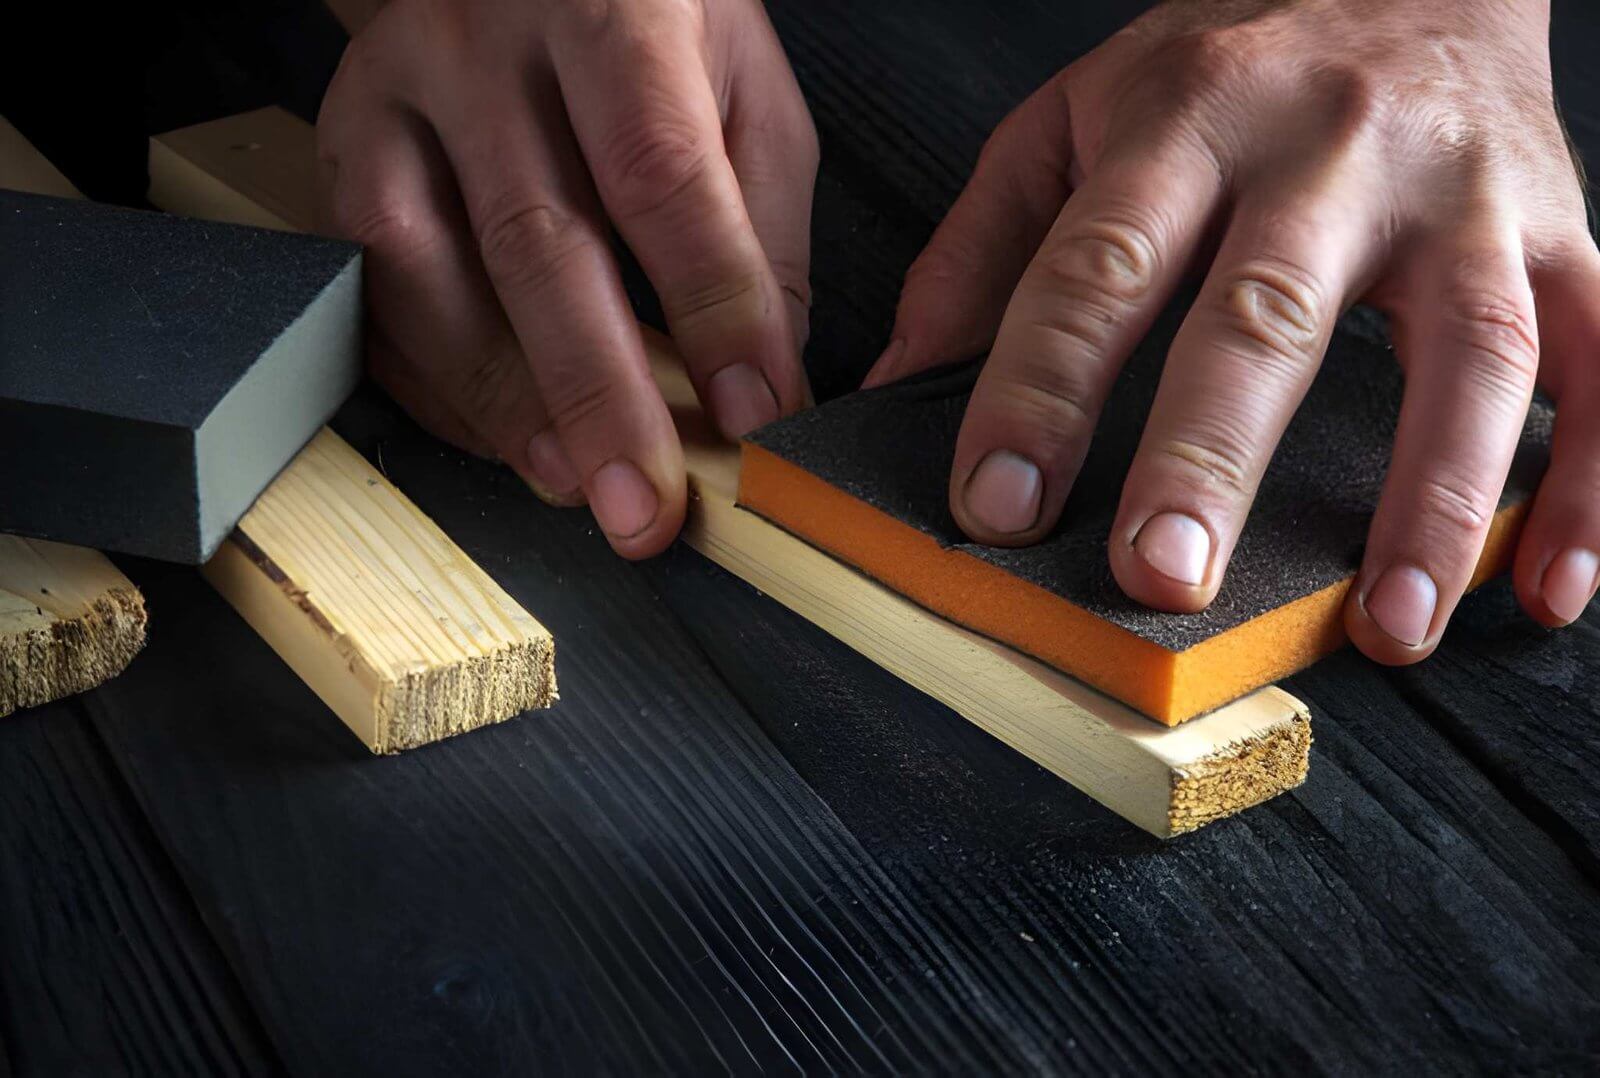
1. Sanding Block / Sanding Sponge
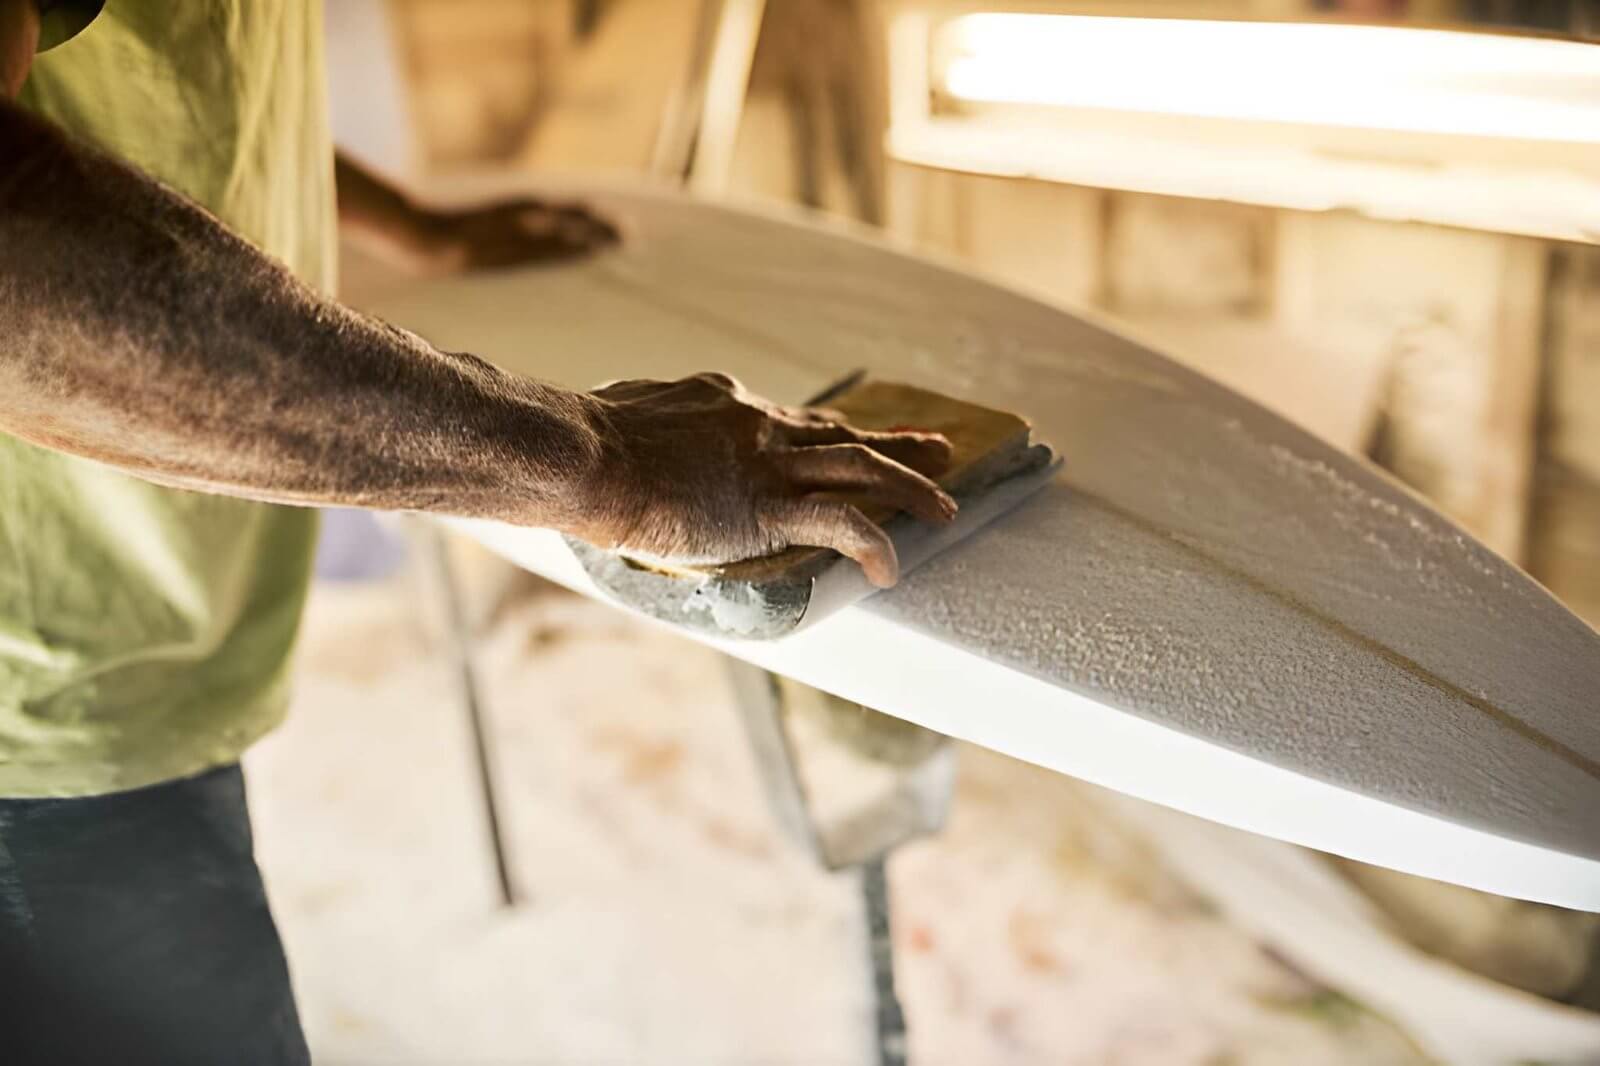
Why it matters: Sanding by hand without a block is asking for an uneven surface. Your fingertips apply pressure in tiny spots, which means you end up with low and high areas that catch the finish differently — and it shows. A sanding block distributes pressure evenly across the surface, giving you a flat, consistent result every single time.
When buying, look for a rubber or cork-faced block — they grip sandpaper well and have a bit of flex. For grit progression, start at 80 if your surface is rough, then work up through 120, 180, and finish at 220. Going straight to 220 on rough wood is a rookie mistake that wastes time and paper.
PRO TIP: Always sand with the grain — never across it. Cross-grain scratches catch stain and finish like a trap, and they’re nearly impossible to hide once you apply your first coat.
2. Random Orbital Sander
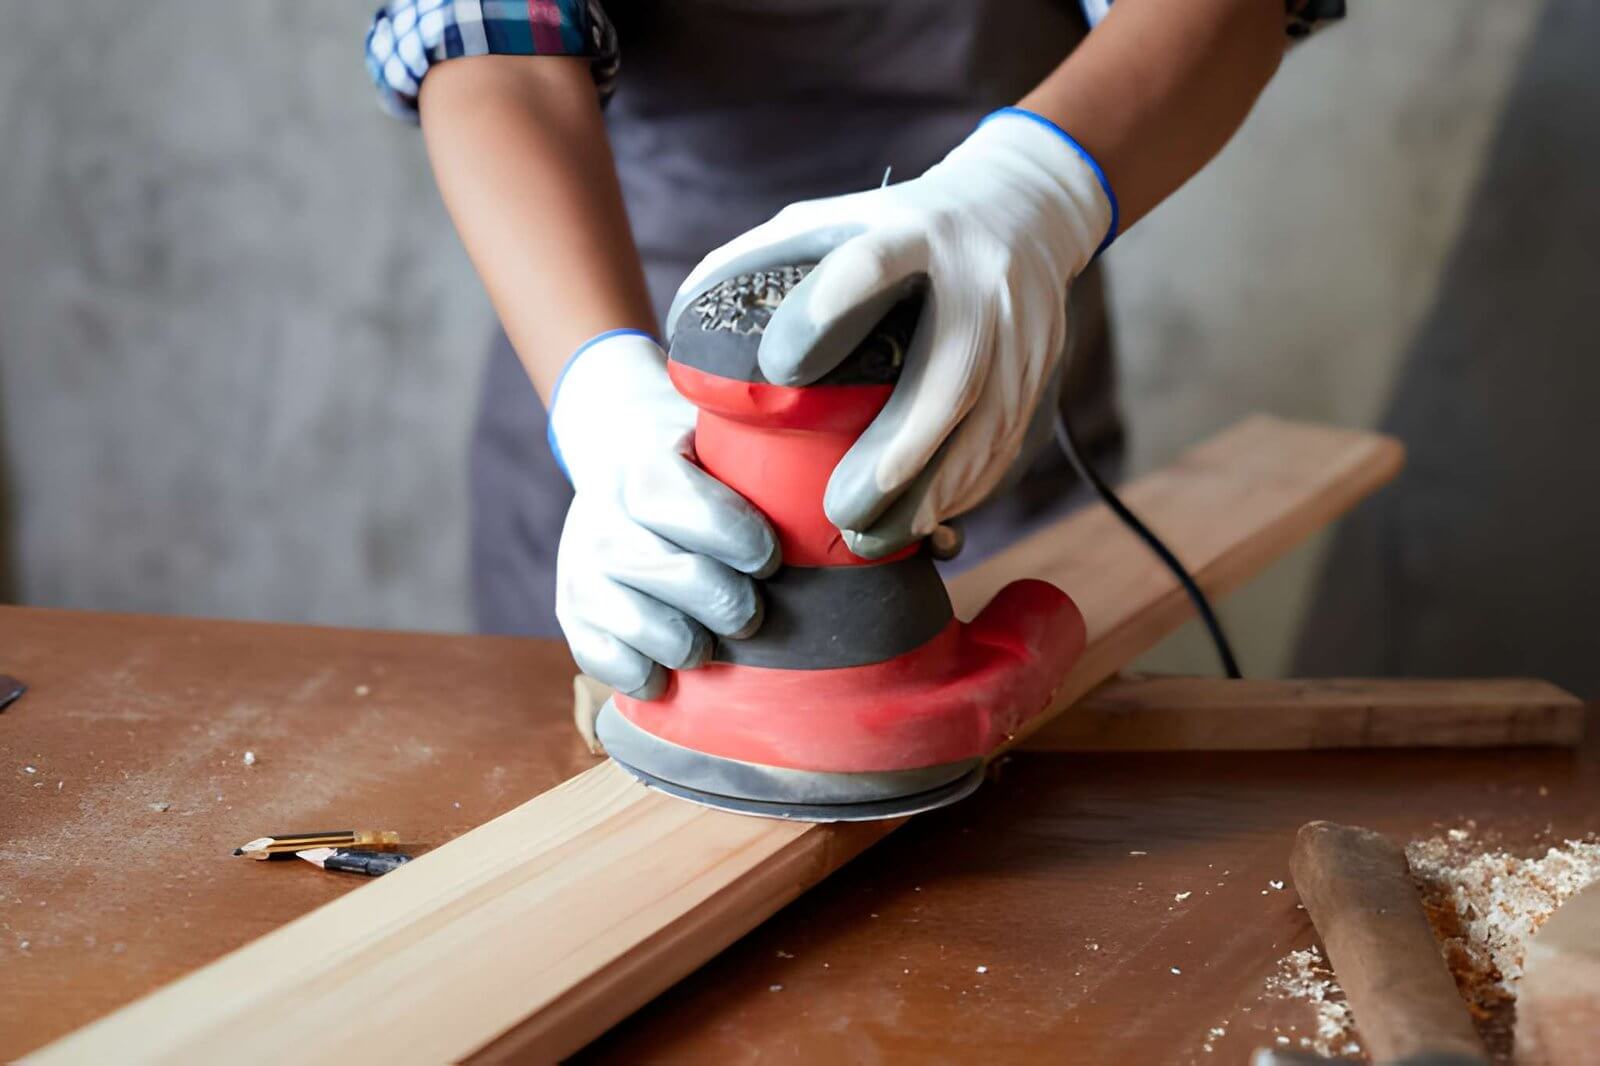
This is the tool that will save you the most time out of anything on this list. A random orbital sander moves in tiny, random circles so it doesn’t leave swirl marks the way a standard disc sander does. It’s the go-to for surface prep, and once you use one, you’ll never want to go back to hand sanding an entire panel.
Look for one with a variable speed dial (slower speed for finer grits near the end) and a dust collection port — either built-in bag or hook-up for a shop vac. Dust control isn’t just about keeping your shop clean; fine sanding dust that settles back onto your surface before finishing is a nightmare.
Want to make sanding even easier? These 11 woodworking jigs will save you time and effort.
3. Tack Cloth
IMO, this is the most underrated tool on this entire list. A tack cloth is a slightly sticky cheesecloth that picks up every last speck of fine sanding dust from your surface before you apply finish. Sounds boring, I know. But skip this step and you’ll be applying finish over a layer of dust particles — which gives you a gritty, rough finish that you’ll have to sand back down anyway.
You can find tack cloths at any hardware store for almost nothing. Use one between every single coat of finish. Trust me on this one.
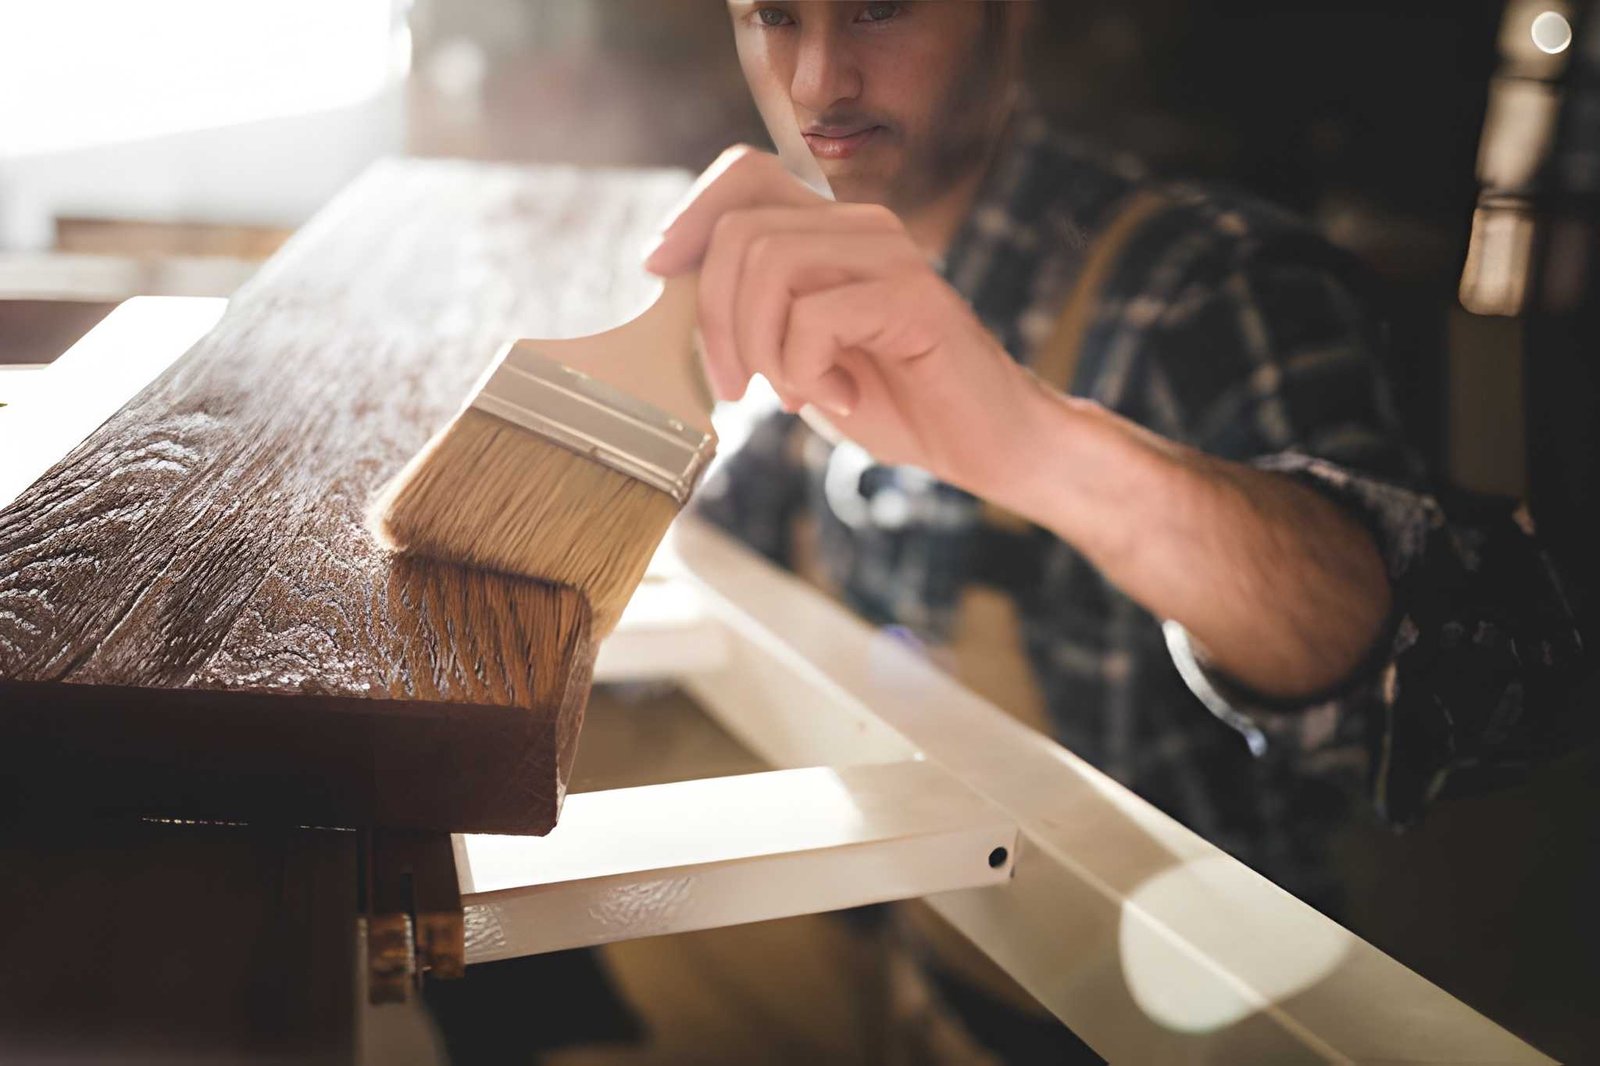
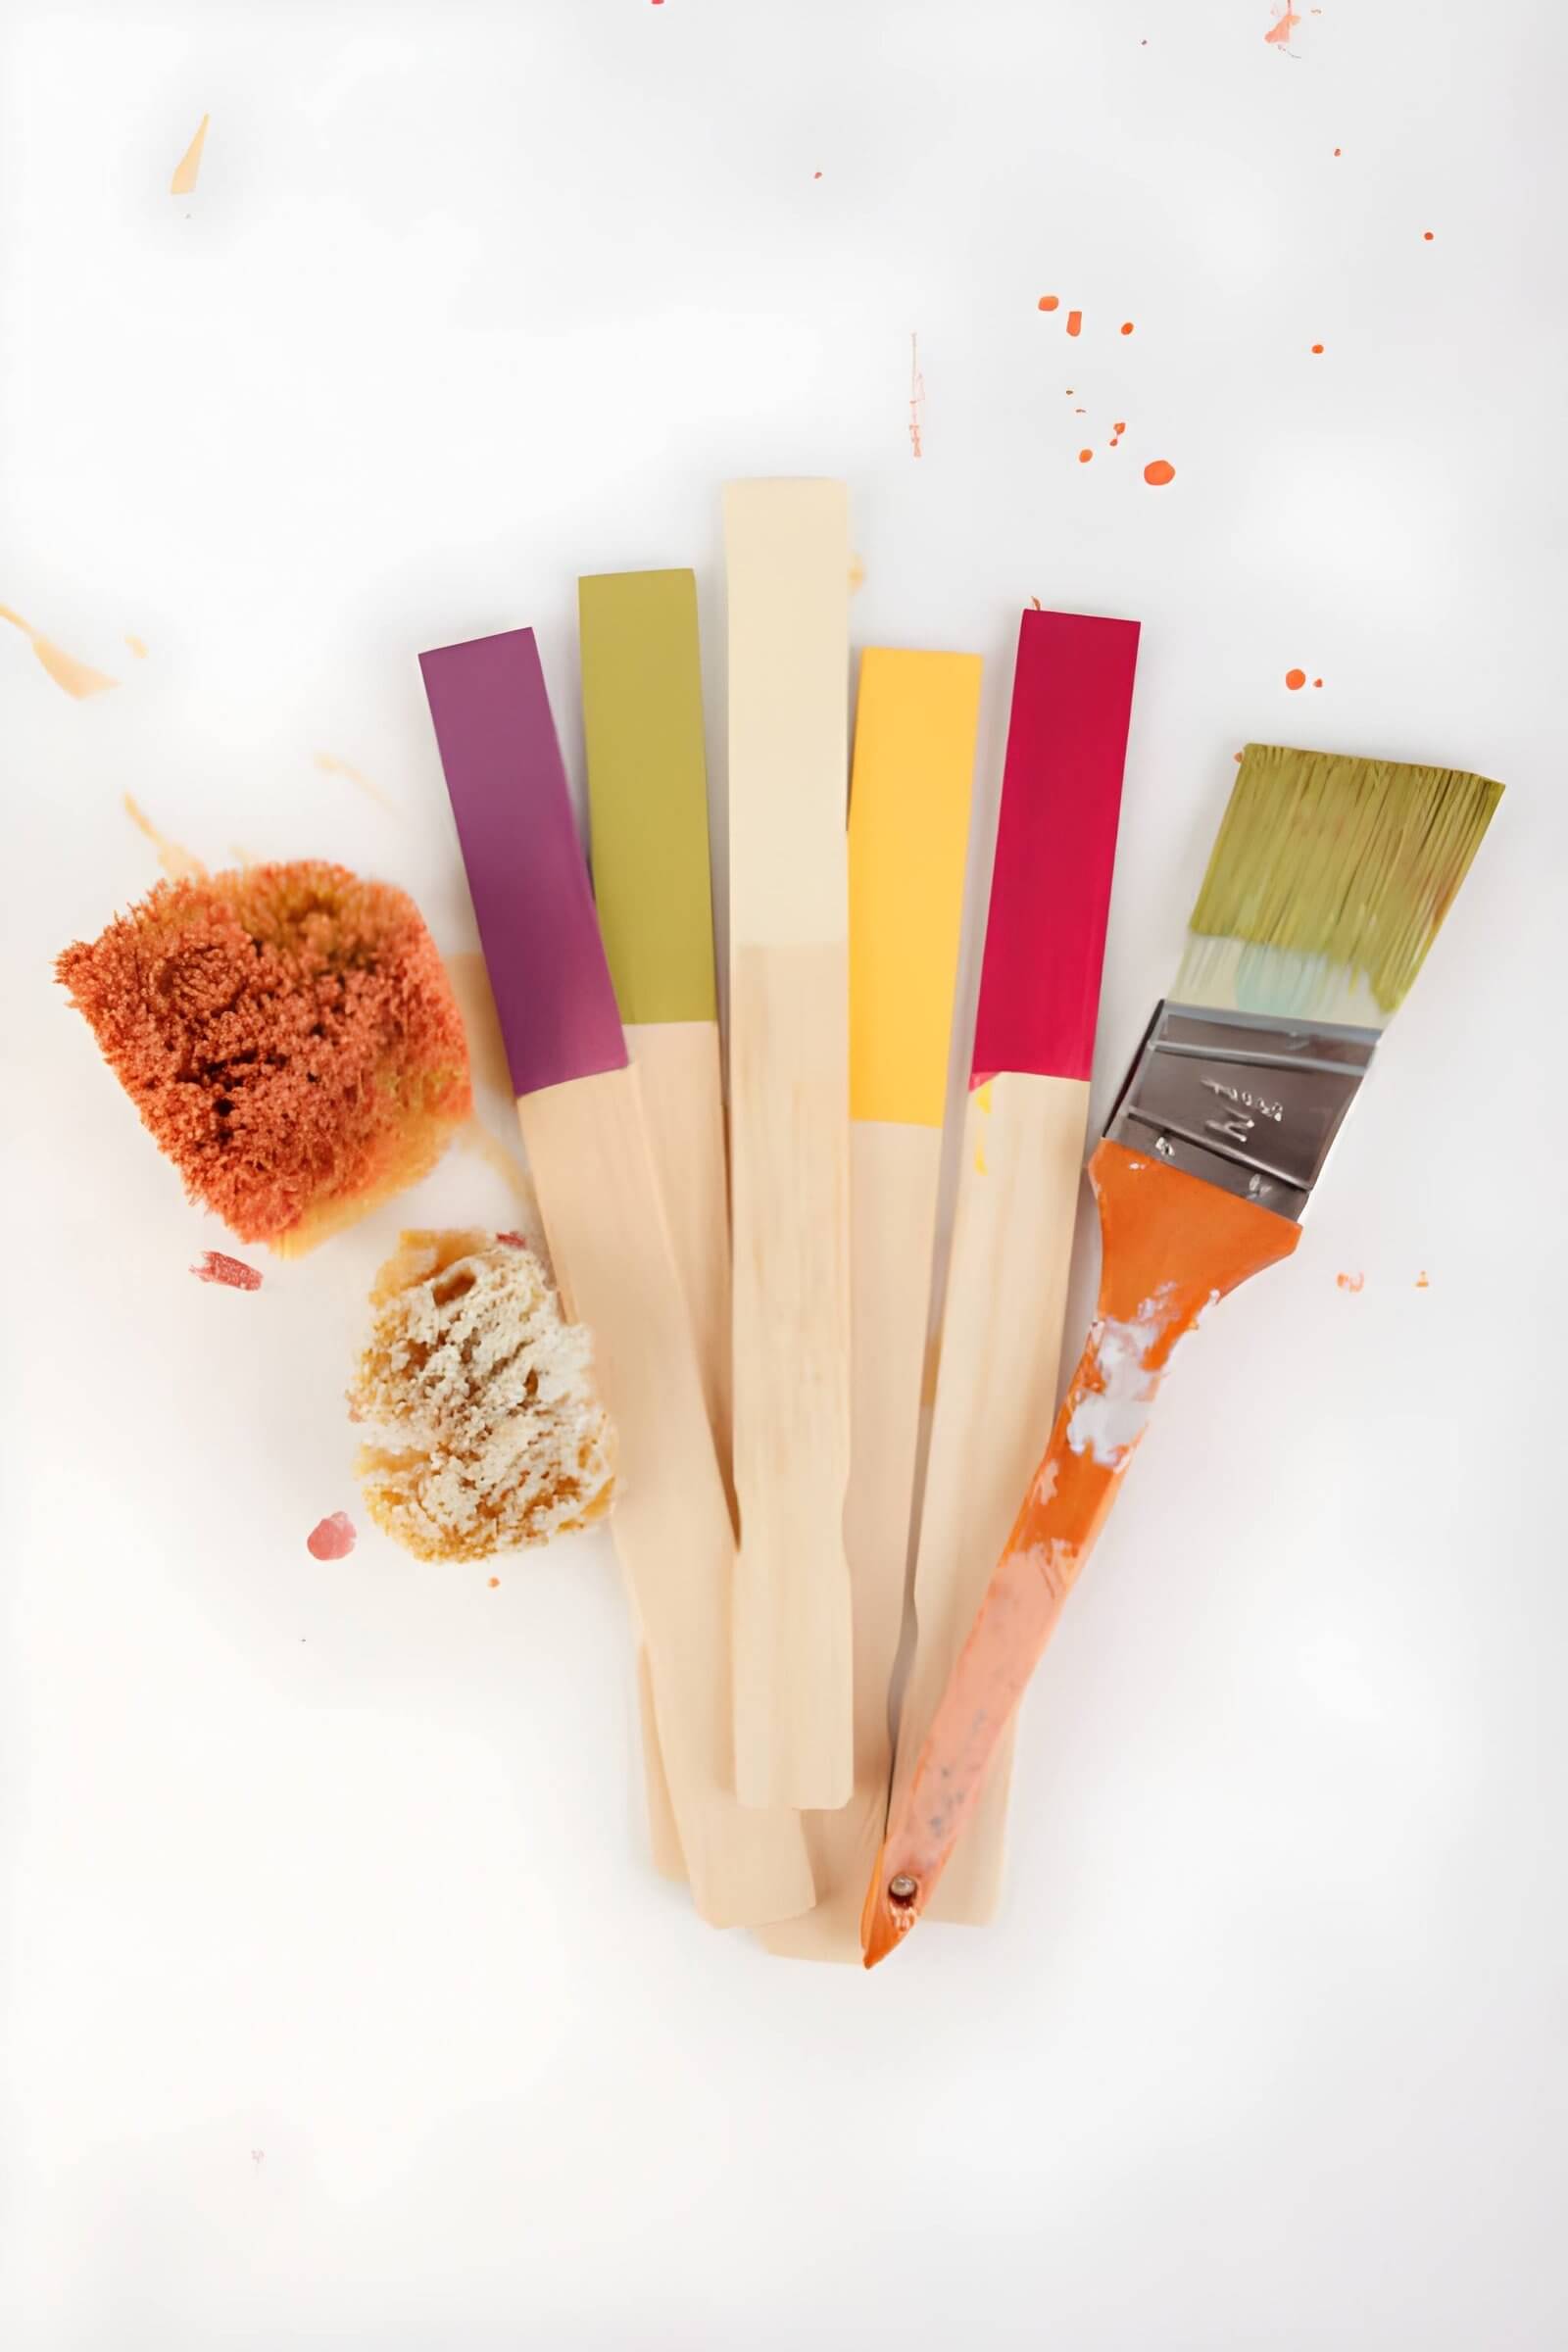
4. Natural Bristle Brushes
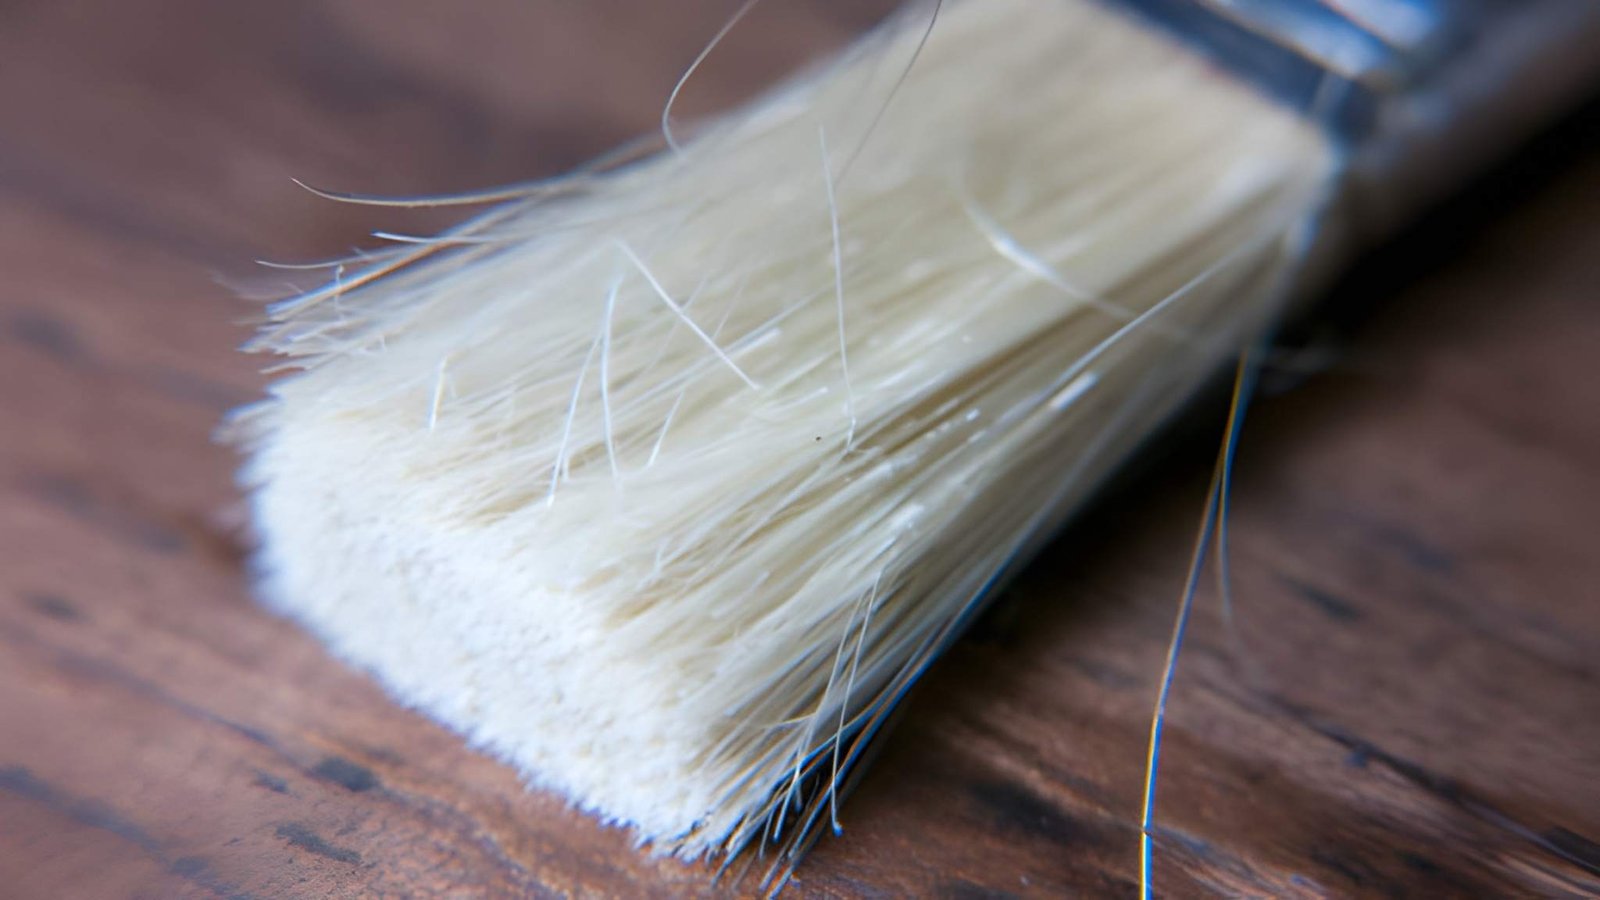
Not all brushes are created equal — and using the wrong type will wreck your finish. Use natural bristle brushes for oil-based finishes (polyurethane, oil-based stains, varnish). Natural bristles absorb and release oil-based products beautifully. For water-based finishes, switch to synthetic bristles — natural bristles absorb water, go limp, and give you brush marks everywhere.
Stock up on a 2-inch brush for most surfaces and a 1-inch brush for edges, trim, and detail work. Don’t cheap out on brushes either — a $3 brush will leave bristles behind in your finish. :/ Spend a bit more on a quality brush and it’ll pay off every coat.
5. Foam Rollers (Small)
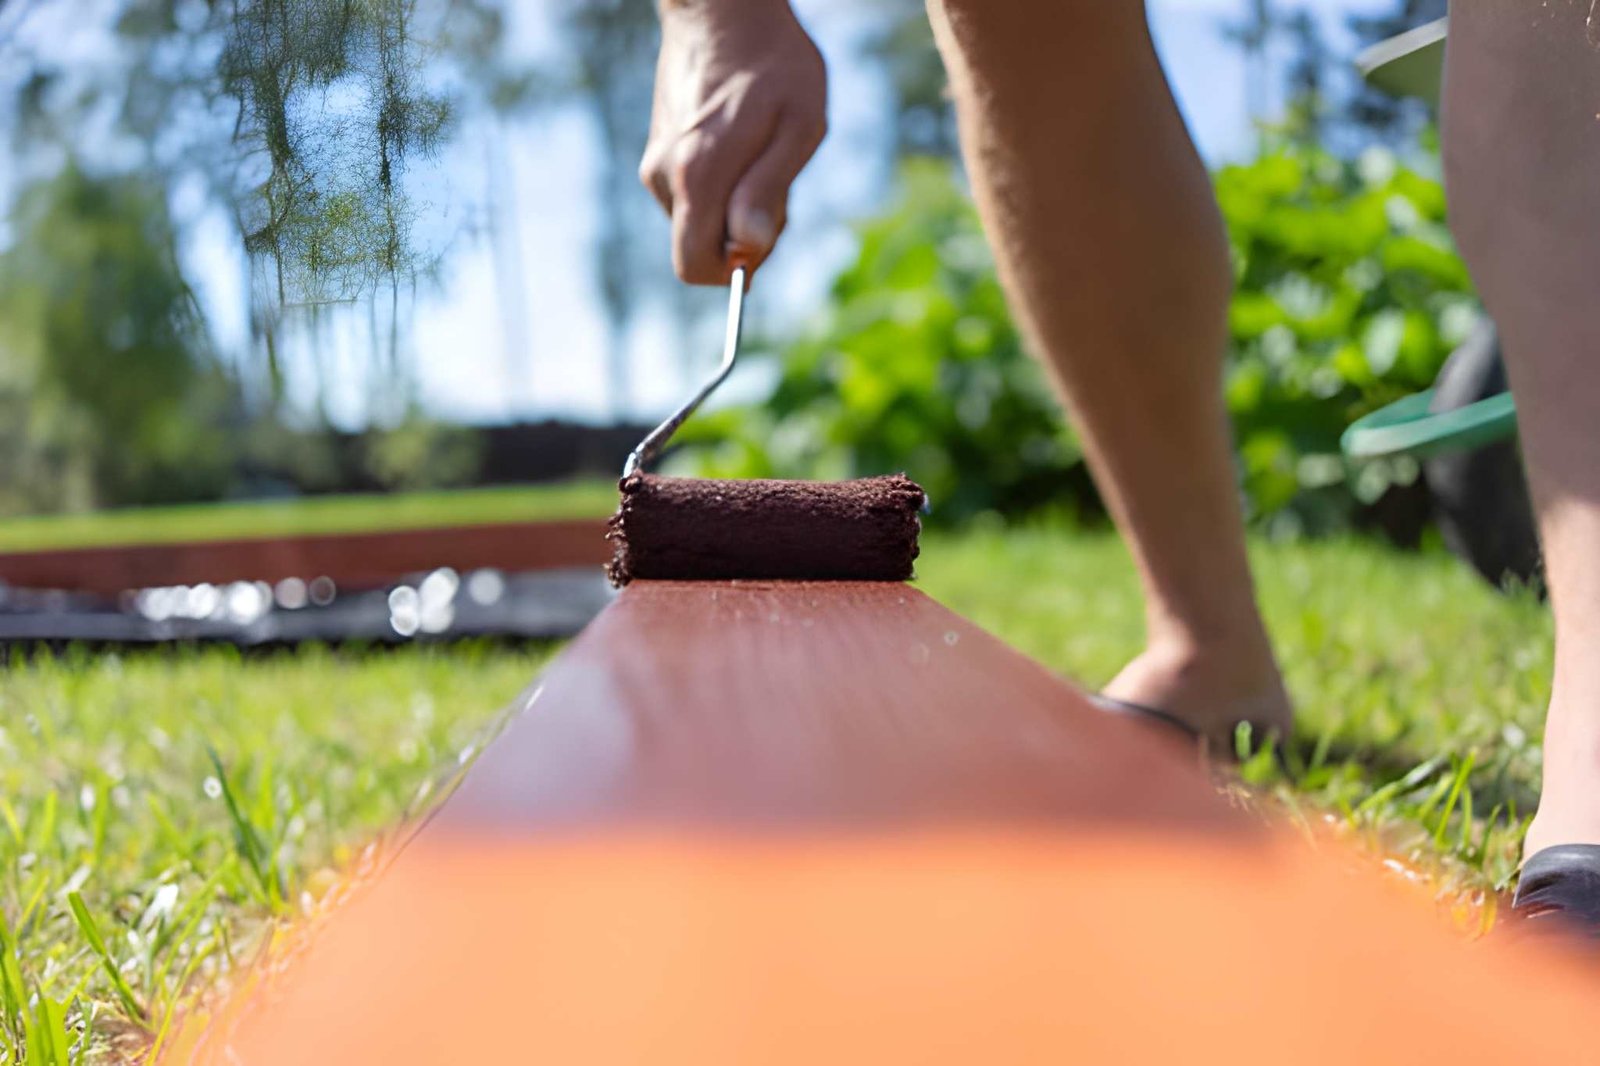
For large, flat surfaces — think tabletops, cabinet doors, wide panels — a small foam roller is your best friend. No brush marks, no lap lines, and you cover surface area way faster than a brush. The finish goes on in a thin, even coat that self-levels beautifully.
Use 4-inch foam mini rollers — the small size gives you more control than a full-sized wall roller. They work especially well with water-based poly and water-based lacquer. After rolling, you can lightly tip off (drag a clean brush lightly across the surface) to eliminate any tiny bubbles the roller leaves behind.
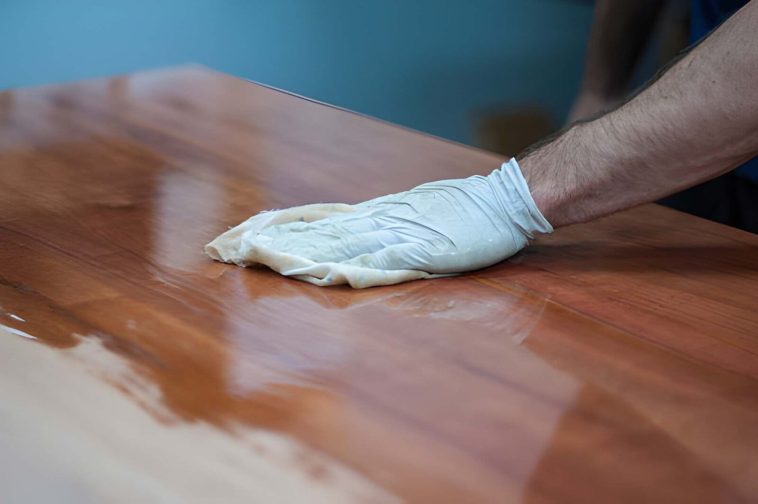
6. Lint-Free Rags / Cotton Cloths
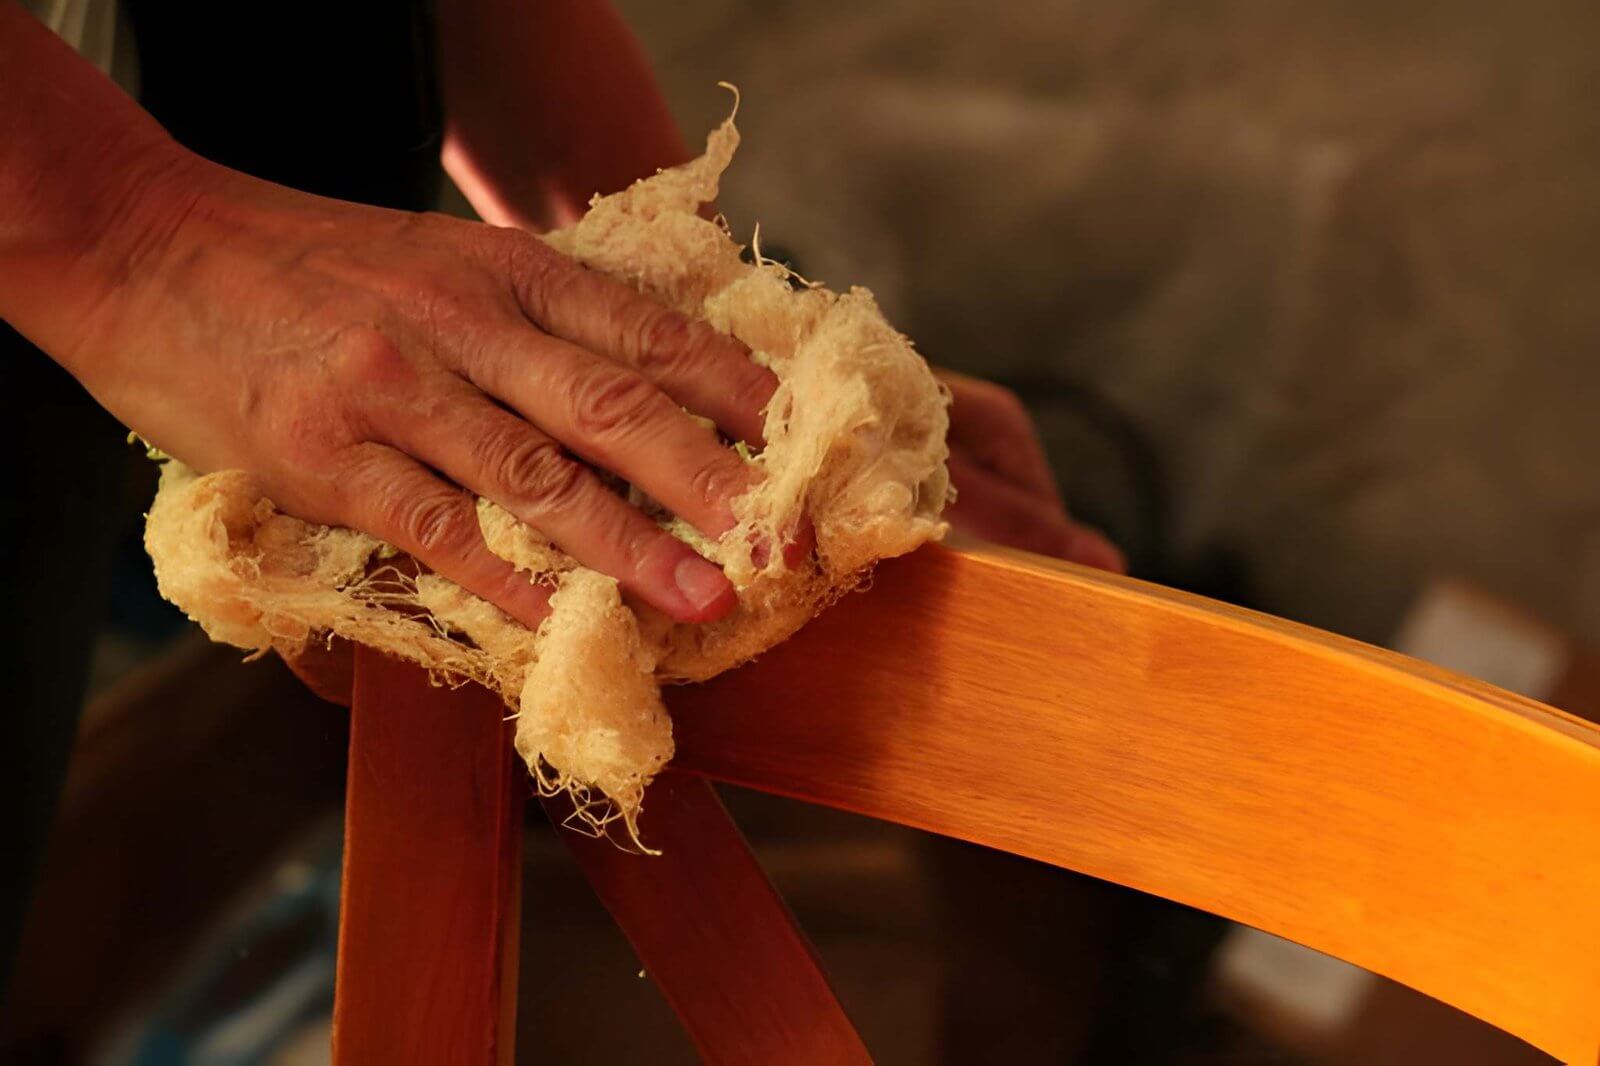
If you’re applying an oil finish, gel stain, Danish oil, or wax, you’ll be wiping it on and off with a rag — and the type of rag matters. Synthetic fabrics don’t absorb finish well, can leave fibers behind, and don’t spread product evenly.
Old 100% cotton t-shirts are genuinely perfect for this. Cut them into squares and you’ve got a lifetime supply of finishing rags for free. Always fold the rag into a pad shape to give yourself a clean, flat wiping surface. And never ball up a rag soaked in oil finish and toss it in the trash — lay it flat to dry first. (Oily rags can self-combust. Not a fun surprise. 🙂 )
7. Paint Stirring Sticks
Here’s one that sounds almost too simple, but it matters more than you’d think. Never shake a can of finish. Shaking introduces air bubbles into the product, and those bubbles end up in your finish coat. Stirring slowly from the bottom up mixes the product properly without introducing air.
Stirring sticks are free at most hardware stores — grab a handful every time you’re there. Use a fresh one for each product so you’re not cross-contaminating finishes.
8. Plastic Mixing Containers
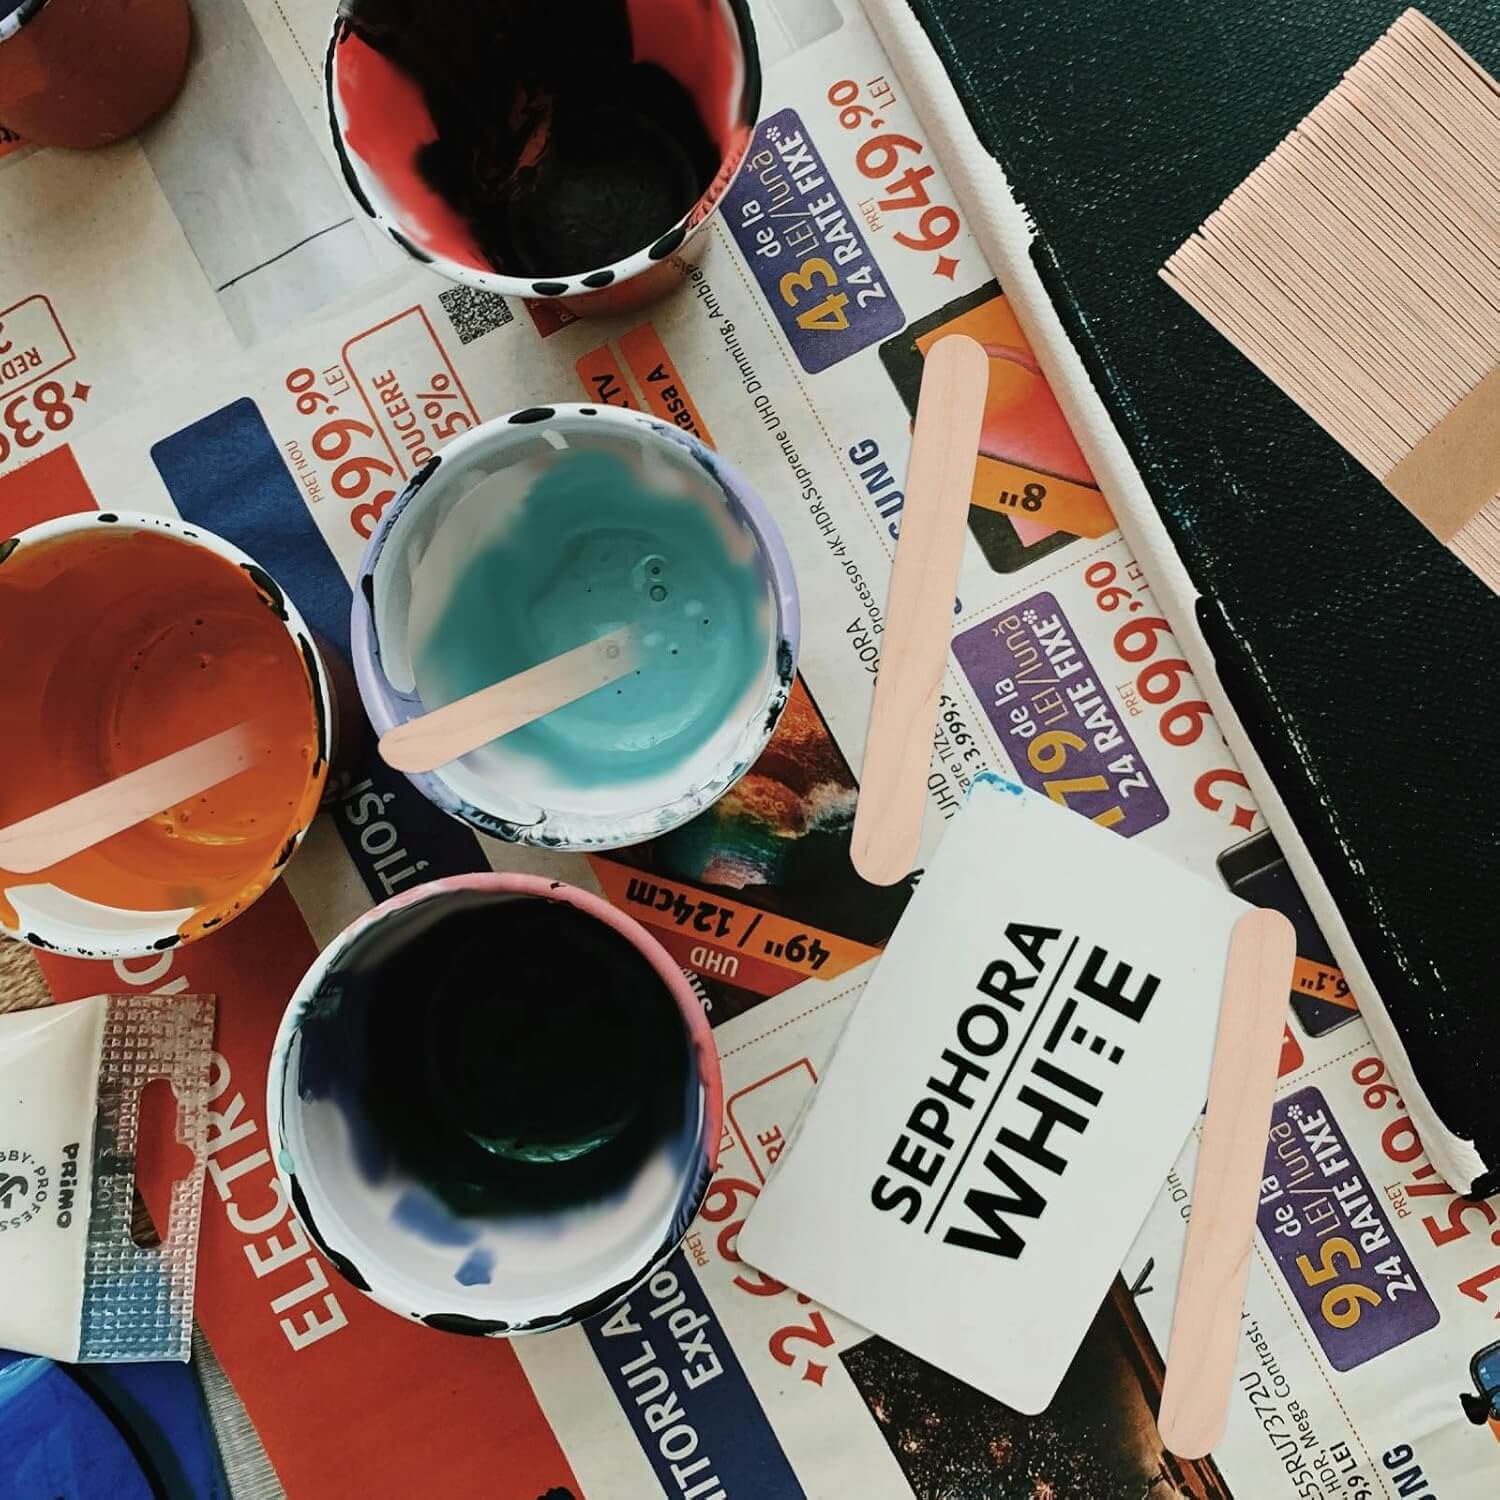
Sometimes you need to thin a finish down for a first coat, mix up a custom stain, or test a ratio of finish to thinner. Graduated plastic mixing containers make this precise and easy. The measurement lines on the side let you hit the exact ratios your finish manufacturer recommends.
They’re also great for pouring out just the amount of finish you need for a session — that way you’re not dipping your brush into the original can and potentially contaminating the whole batch.
9. Steel Wool (0000 Grade)
Between coats of finish, you’ll often get dust nibs, tiny bubbles, or slight roughness. Ultra-fine 0000 grade steel wool knocks all of that down gently without cutting through the finish layer. A light scuff, wipe away the dust with your tack cloth, and your next coat goes on over a perfectly smooth surface.
The result? That deep, silky-smooth build you see on professional furniture finishes. It’s a game changer for that final coat.
PRO TIP: Do NOT use steel wool on water-based finishes. The tiny steel fibers it leaves behind will rust under your finish and leave little brown specks everywhere. Use gray synthetic steel wool (like Scotch-Brite pads) instead — same result, no rust.
10. Finish Applicator Pads
These are foam pads attached to a plastic handle, and they’re designed specifically for applying oil finishes and wax. They give you more control than a rag and create less mess than a brush. The foam holds product well and releases it evenly, which means fewer streaks and better coverage.
They’re especially good for finishing carved pieces, rounded legs, and irregular surfaces where a flat brush is awkward. Grab a pack — they’re cheap, and you’ll reach for them constantly.
11. Spray Bottles (for Water-Based Finishes)
Before you apply any water-based finish to raw wood, lightly misting the surface with water raises the grain. Once it dries, you sand it smooth — and now when your water-based finish hits the wood, the grain won’t raise on you during the first coat. That’s how you get a silky first coat instead of a fuzzy one.
Spray bottles also come in handy for keeping water-based brushes moist during short breaks so they don’t dry out on you mid-project. FYI, they’re also useful for misting glue joints. Keep one nearby whenever you’re working with water-based products.
12. Nitrile Gloves
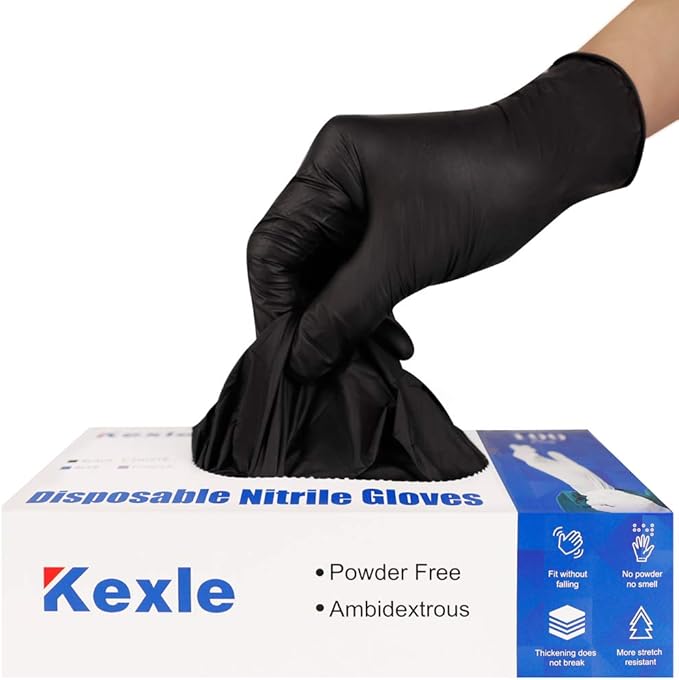
Last on the list but definitely not least. Finishing products stain skin, dry it out, and some solvents absorb through the skin over time. Nitrile gloves are the smart, easy fix. They’re latex-free (better for all-day use and no allergies), thin enough to give you full dexterity, and they protect your hands from everything from gel stain to mineral spirits.
Buy them in bulk — you’ll burn through a pair every session if you’re doing this right. A box of 100 costs almost nothing, and you’ll wonder how you ever worked without them.
Wood Finishing Tips for Beginners
Here’s the honest takeaway: you don’t need all 12 of these on day one. If you’re just starting out, grab a sanding block, a tack cloth, and one good brush, and you’re already ahead of 80% of beginners. Build your kit from there as your projects demand it.
But every single tool on this list earns its place. The right tools make finishing faster, cleaner, and genuinely enjoyable instead of that nerve-wracking final step where everything could go wrong. And once you nail your finish, trust me — you’ll want to show that piece off to everyone you know.
Ready to keep leveling up your shop? Check out these 10 essential table saw jigs you can build this weekend and make your whole woodworking process smoother from start to finish.
Ready to level up your workshop? Check out these 10 essential table saw jigs you can build this weekend.
Save this post to Pinterest so you have this list when you need it — or drop a comment below and tell me which finishing tool has made the biggest difference in your projects. I read every one. 🙂
Frequently Asked Questions
What tools do I need to finish wood?
At minimum, you need sandpaper or a sanding block, a tack cloth to remove dust, and a brush or applicator pad to apply your chosen finish. As you get more serious, add a random orbital sander, foam rollers for flat surfaces, steel wool for between-coat smoothing, and nitrile gloves to protect your hands. The 12 tools in this article cover everything a beginner needs for professional-looking results.
What is the best finish for beginner woodworkers?
Water-based polyurethane is the best starting point for most beginners. It dries fast, cleans up with water, has low odor, and gives a clear, durable finish. For a more natural look on furniture and small pieces, Danish oil or a simple tung oil are also very beginner-friendly and forgiving to apply.
Do I need a sander to finish wood?
You don’t technically need a power sander — a sanding block and elbow grease can get the job done. But a random orbital sander dramatically speeds up the process and gives you a more consistent surface. For any project larger than a small box, it’s worth the investment. Your arms will thank you.
Happy finishing — now go make something beautiful.
Why Not Save This Pin for Later ?