
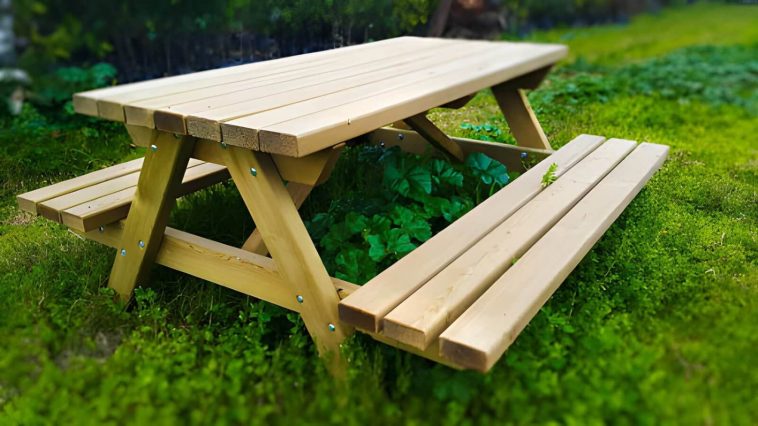
So you want a picnic table but you’re not about to spend $300 at the hardware store for something you could build yourself in a weekend. Smart. Because here’s the thing — a DIY picnic table is genuinely one of the best beginner outdoor projects out there. It’s sturdy, satisfying to build, and when you’re done you get to eat lunch on something you made with your own hands. That never gets old.
I built my first one three summers ago with a circular saw, a drill, and a sketchy set of instructions I found on a napkin. (Okay, not literally a napkin, but you get the idea.) It came out great. Yours will too.
What You’ll Actually Spend (Breaking Down the $50 Budget)
Let’s talk money first, because that’s probably why you’re here. Yes, $50 is a realistic number — but only if you shop smart. Here’s a rough breakdown:
- Lumber (2×6 and 2×4 boards, pressure-treated): ~$35–$40
- Carriage bolts, lag screws, and washers: ~$6–$8
- Wood screws (2.5″ and 3″): ~$3–$5
- Sandpaper: ~$2
That’s it. You probably already have the tools. If you don’t, borrowing a circular saw and a drill from a neighbor or a local tool-lending library keeps the cost right where we want it.
One important note: pressure-treated lumber costs a bit more than regular pine, but for an outdoor table that’s going to live through rain, snow, and your uncle’s BBQ sauce spills, it’s worth every cent. Don’t skip it.
Tools You Need (No, You Don’t Need a Workshop)
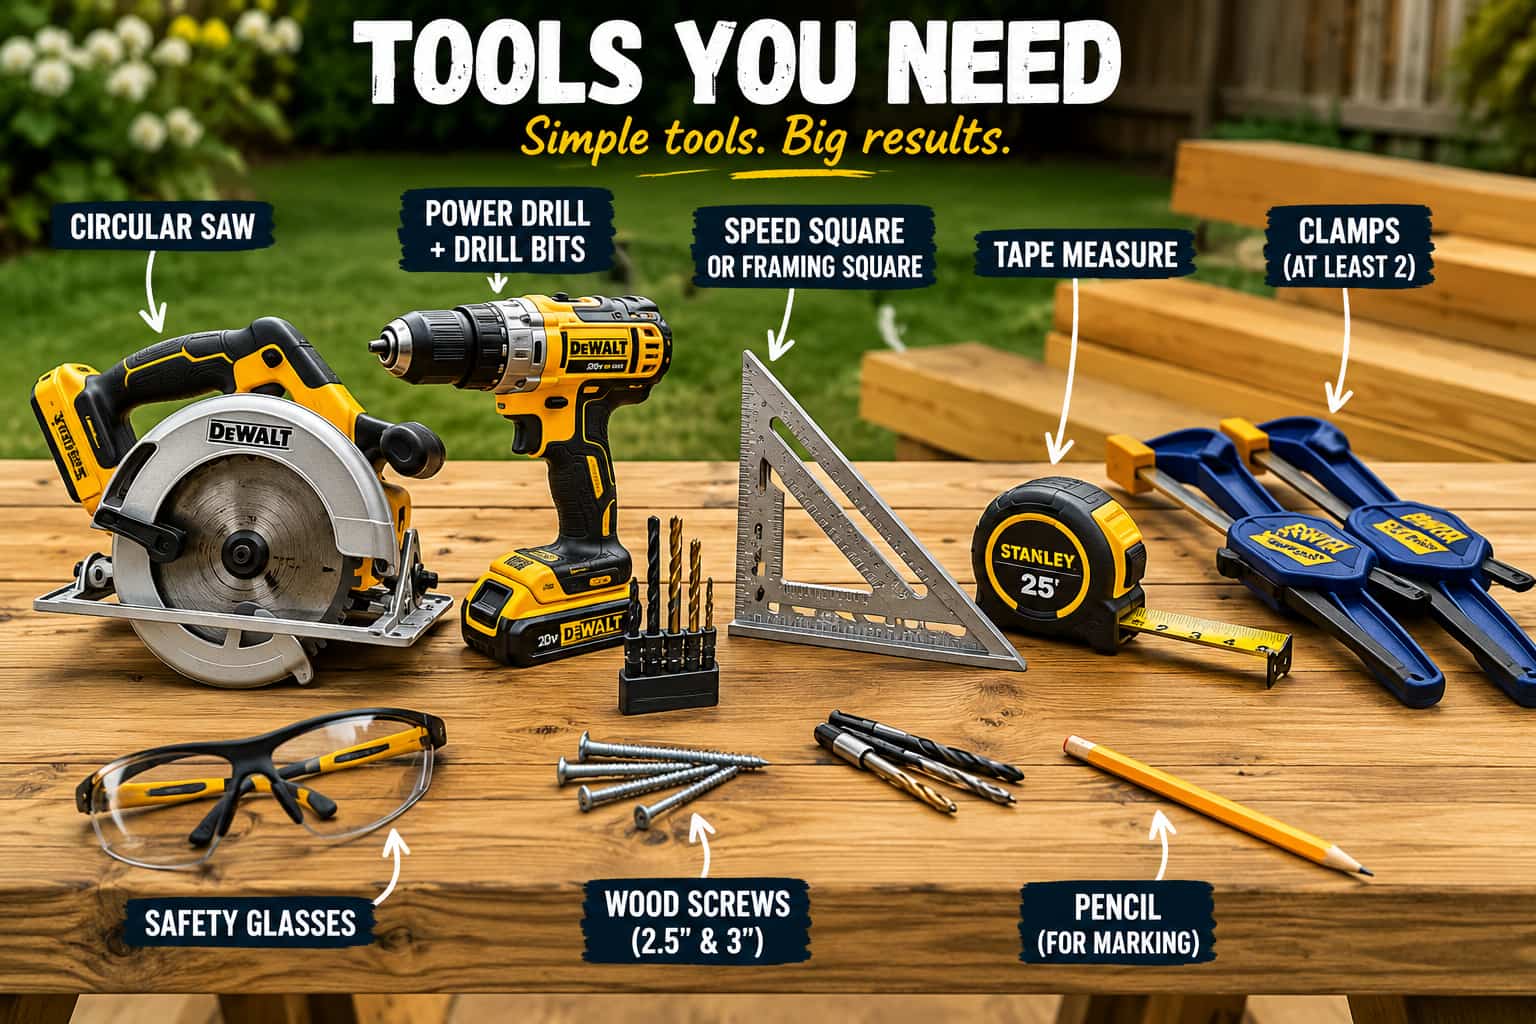
Here’s the thing about picnic table builds that nobody tells beginners — the tool list is mercifully short. You need:
- Circular saw or miter saw
- Power drill + drill bits
- Speed square or framing square
- Tape measure
- Clamps (at least 2)
- Safety glasses (please, wear them)
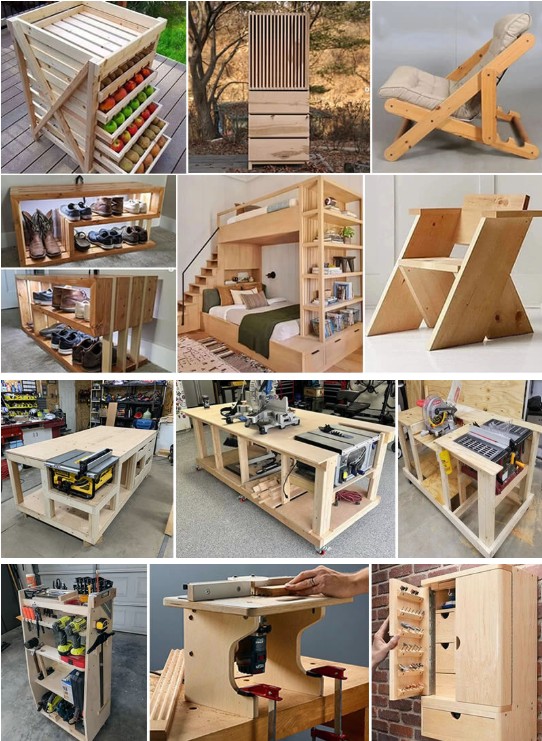
That’s genuinely it. No router, no jigsaw, no table saw. If you’ve been sitting on other backyard builds because you thought they needed fancy equipment, check out 15 Outdoor Wood Projects for Your Backyard — most of them follow the same minimal-tool philosophy.
Choosing Your Lumber
Walk into any big-box hardware store and ask for lumber for a picnic table, and you’ll get a lot of options. Here’s what actually matters:
Pressure-Treated vs. Cedar vs. Pine
Pressure-treated pine wins on price and durability for most backyard builders. It handles moisture well and lasts years without much maintenance. The tradeoff? It’s a little heavier and you’ll want to let it dry for a few weeks before staining.
Cedar is beautiful and naturally rot-resistant, but it’ll push your budget past $50. If you’re okay spending $80–$100, cedar is worth it for the looks and the smell.
Standard pine is the cheapest option, but it’ll rot faster outdoors unless you seal it religiously. IMO, it’s not worth the headache for an outdoor piece.
The Cut List (Standard 6-Foot Table)
Here’s exactly what to ask for at the lumber yard:
- Tabletop: 5 pieces of 2×6, 72 inches long
- Seats: 4 pieces of 2×6, 66 inches long
- Legs: 4 pieces of 2×4, 28 inches long (cut at 30° angle on both ends)
- Leg supports: 2 pieces of 2×4, 28 inches long
- Cross brace: 1 piece of 2×4, 24 inches long
Some stores will cut lumber for you at no charge. Use that service. It makes transport easier and gives you one less thing to mess up at home. 🙂
Step-by-Step Instructions to Build a Picnic Table
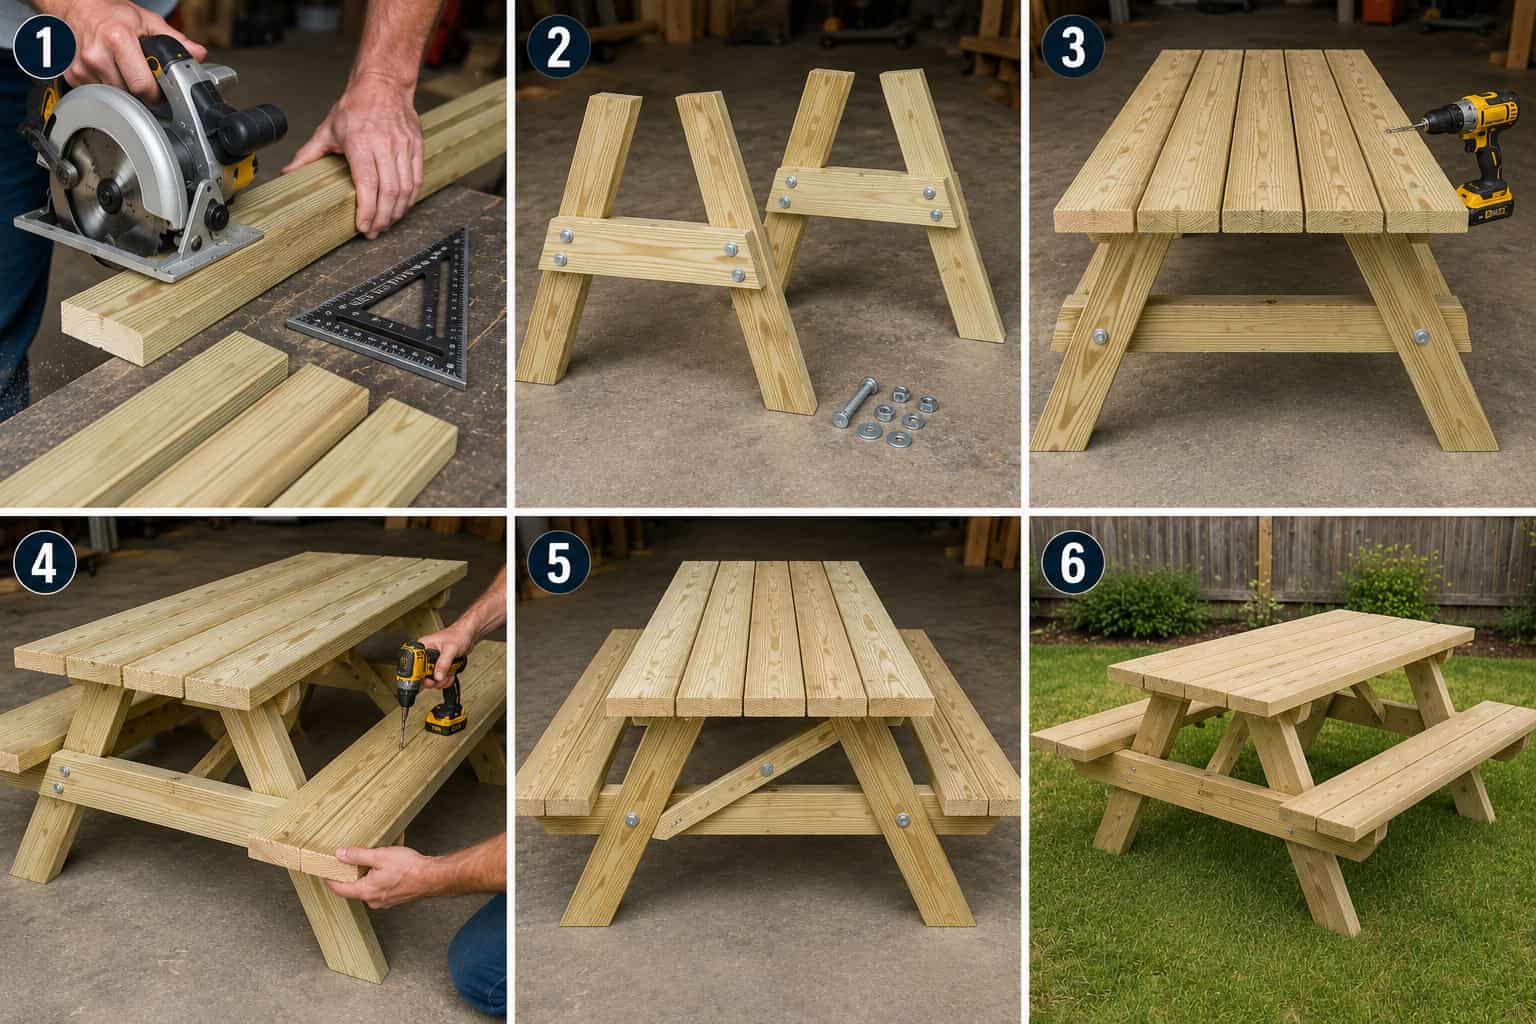
Alright, here’s where we actually build the thing. I’m going to walk you through this exactly how I’d explain it to someone standing next to me.
Step 1 — Cut Your Angles
The trickiest part of the whole build is the leg angles. You want each leg cut at 30 degrees on both ends, angled in the same direction. This gives the table that classic A-frame stance that makes it stable enough to survive a houseful of kids climbing on it.
Set your circular saw to 30 degrees, clamp the board, and make the cut. Do both ends of each leg before moving on. Test your angles by standing two legs up on the ground — they should splay outward evenly with the top ends flat and parallel.
Step 2 — Build the Leg Frames
You’ll build two identical leg frames. Each one uses:
- 2 angled legs
- 1 leg support running horizontally between them
- Carriage bolts to hold everything together
Lay both legs flat on the ground in a V shape, with the support board across them at the right height (about 10 inches from the bottom). Drill pilot holes first — skipping this step splits pressure-treated lumber more than you’d expect. Use ½” carriage bolts with washers and nuts, and snug them up tight.
Repeat for the second frame. Set both frames aside.
Step 3 — Attach the Tabletop Boards
Stand the two leg frames upright and space them so the inner faces are 24 inches apart (that’s your leg spread for a 6-foot table). Now lay your five 2×6 tabletop boards across the top, equally spaced with small gaps between them. The standard gap is about ⅜ inch — a spare screw works perfectly as a spacer.
Pre-drill and countersink every hole. Drive 3-inch screws down through each board into the leg frame tops. Two screws per board per frame — ten screws across the top. This is where the table really starts looking like a table, which is genuinely satisfying.
Step 4 — Attach the Seat Boards
Here’s where a lot of first-timers second-guess themselves: how high should the seats sit? The standard answer is about 17–18 inches off the ground, which puts seat height roughly in line with a dining chair. Mark your seat height on each leg, then attach L-brackets or diagonal seat supports at that height.
Lay your seat boards (two per side) on the supports, space them with a small gap, and screw them down. Same method as the tabletop — pre-drill, countersink, drive screws.
Step 5 — Add the Center Brace
The cross brace runs diagonally under the table from one leg frame to the other. It’s the piece that keeps your table from racking sideways when someone leans on it. Cut it to fit at a slight angle and bolt it in place. Don’t skip this. A table without a cross brace is a table waiting to collapse at the worst possible moment.
Step 6 — Sand and Finish
Once the structure is solid, sand everything starting with 80-grit and finishing with 120-grit. Pay special attention to the edges and any places people will rest their arms. Splinters are not a feature.
For finishing, you’ve got options:
- Exterior wood stain + sealer combo: Best for longevity and looks
- Outdoor paint: Hides imperfections in the wood and gives a clean look
- Raw/unfinished: Pressure-treated can be left bare, but a sealer coat every couple years helps a lot
FYI — if you used pressure-treated lumber, wait at least 2–4 weeks before applying any finish so the wood has time to dry out.
Common Mistakes to Avoid
I’ve made most of these so you don’t have to:
- Skipping pilot holes: Split boards are deeply annoying to fix after the fact.
- Unequal leg spacing: Measure twice, mark the ground, measure again. A wobbly table haunts you forever.
- Using interior-grade wood screws: They rust. Use exterior-grade, every time.
- Not letting the frame dry between steps: If you’re working with fresh pressure-treated, the wood moves as it dries. Build it, let it sit overnight, then check your joints before finishing.
- Forgetting to round the edges: Sharp corners on a picnic table are a war crime. A quick pass with sandpaper on every edge fixes this.
Want to Customize Your Build?
Once you nail the standard build, the variations are genuinely fun. Here are a few worth considering:
Umbrella Hole
Drill a 2-inch hole through the center of the tabletop before you install the middle board. Drop your umbrella pole in, done. If you want a ring insert to protect the wood, they’re about $3 at any hardware store.
Folding Legs
This is a slightly more advanced mod — it involves hinges and a locking mechanism — but it makes the table portable. Great for smaller yards or anyone who stores things in the garage over winter.
Kids’ Size
Scale everything down by about 30% and lower the seat and table height. It’s the same build, just smaller. Kids love having their own table, and honestly it takes less than half the materials.
If you’re hooked on backyard builds after this, check out 10 Backyard Wood Projects to Build This Summer (No Experience Needed) for your next project. There’s something there for every skill level.
Upgrade Your Plans — When You’re Ready to Go Further
Here’s something worth knowing: once you build your first picnic table from a basic sketch, you start to realize how much easier a proper set of plans makes everything. Measured drawings, cut lists, material lists, step-by-step instructions that actually account for the tricky bits.
Ted’s Woodworking Plans is the resource I keep coming back to for this. It’s a library of over 16,000 woodworking plans — everything from basic outdoor furniture to full deck builds — and the picnic table plans alone come in multiple styles (standard, round, folding, kids’ size). If you’re going to keep building, having that library on hand saves you hours of measuring and second-guessing.
👉 Get access to Ted’s Woodworking Plans here — especially worth it once you start lining up your next few projects.
And if you want to browse more picnic table styles before committing to one, 12 Picnic Table Plans You Can Build This Weekend (All Skill Levels) is a great starting point.
Finishing Touches That Make a Difference
A few small things separate a good picnic table from a great one:
- Plug your screw holes with wood plugs or exterior wood filler for a cleaner look
- Apply a second coat of sealer after the first one dries — especially on the tabletop which takes the most weather exposure
- Add rubber feet to the bottom of the legs to prevent water from sitting under the end grain (end grain soaks up moisture fast and rots first)
- Check and retighten all bolts at the start of each season
None of these steps are hard. Together, they add years to the life of your table.
How Long Does This Actually Take?
Be honest with yourself here. For a first-time builder:
- Cutting: 1–2 hours
- Assembly: 2–3 hours
- Sanding + finishing: 1–2 hours (plus drying time)
Total active build time: about 4–6 hours. That’s comfortably a one-day project if you start in the morning. Most people split it over a Saturday and Sunday — build the structure on day one, finish and seal on day two once any glue or first coats dry.
Final Thoughts
A $50 picnic table isn’t a compromise. It’s proof that backyard furniture doesn’t need to be expensive to be solid, good-looking, and worth making yourself. The first time you sit down at something you built and eat a meal on it, you’ll understand why people get hooked on woodworking projects.
Start here. Build this table. Then see what’s next.
The skills you pick up on this build — cutting angles, drilling pilot holes, assembling with bolts, finishing wood for outdoors — those transfer to almost every other project in the backyard. Check out 15 Outdoor Wood Projects for Your Backyard when you’re ready to keep going. You’re going to want to.