
So you’re tired of hunting for your hammer every time you need it, huh? Yeah, me too. A good wooden tool box isn’t just about storage — it’s about having a dedicated home for your gear, built by your own hands, from scratch. And honestly? There’s something deeply satisfying about reaching for a tool box you made.
Whether you’re a weekend warrior or a seasoned woodworker, these 15 wooden tool box ideas cover everything from rustic open trays to full-on rolling workshop chests. Let’s get into it.
Why Build a Wooden Tool Box Instead of Buying One?
Fair question. You can grab a plastic tool box at the hardware store for $20. But where’s the fun in that? 🙂
When you build your own, you get:
- A perfect fit for your actual tools — not some generic layout
- Solid craftsmanship that outlasts plastic by decades
- A project that sharpens your skills (pun intended)
- Pride of ownership — and bragging rights at the shop
Plus, a well-built wooden tool box makes a killer gift. FYI, several of these designs on this list cost under $30 in materials. So you win on every front.
Before you start building, make sure you’ve got the right gear. Check out our guide on the 16 Best Woodworking Tools for Beginners — it’ll save you a lot of frustration early on.
How to Build a Wooden Tool Box: 15 Designs from Simple to Stunning
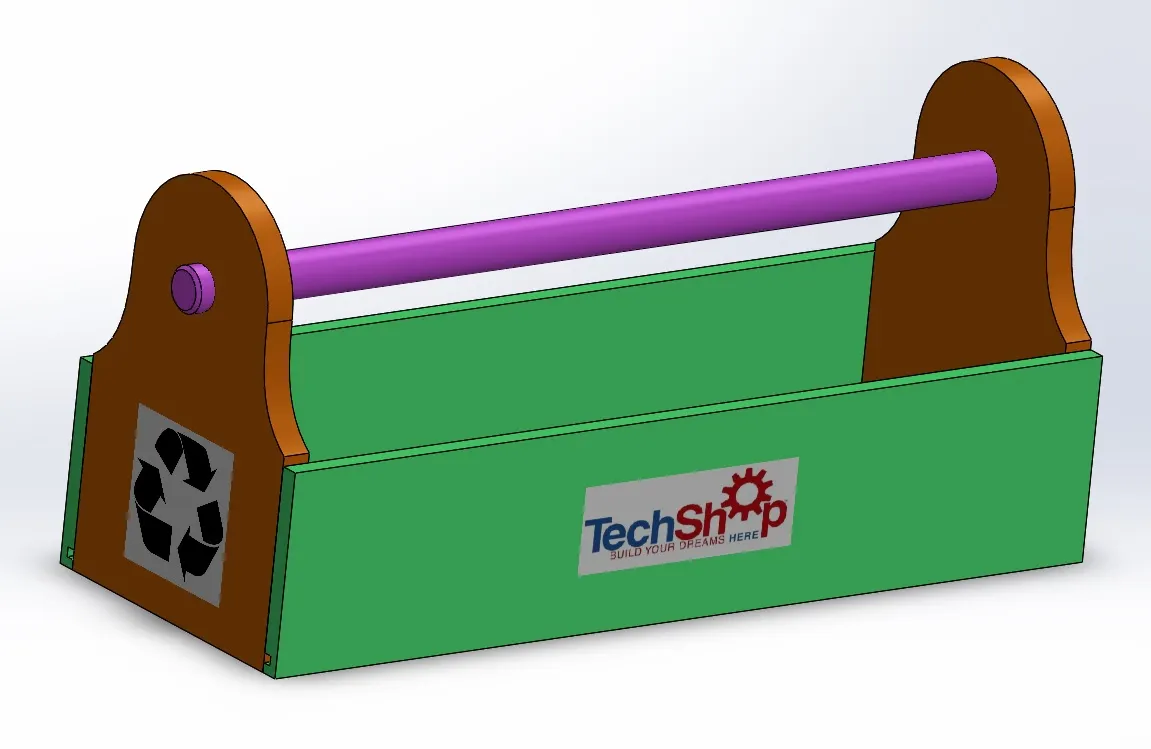
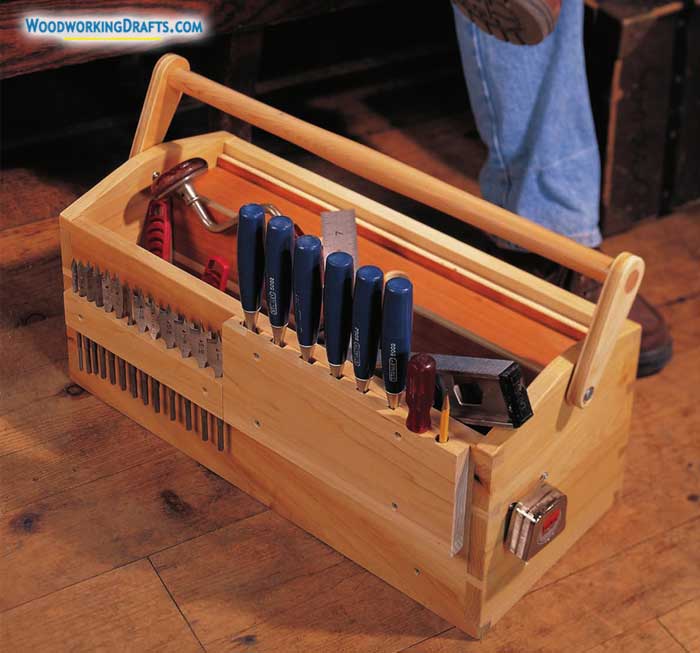
1. The Classic Open Tote
Credit : Instructables
This is the one your grandfather probably had. Simple, no-frills, and incredibly useful.
An open tote is basically a rectangular box with a central handle bar running down the middle. You can divide the two sides for different tool categories — one for hand tools, one for fasteners, for example.
What you need:
- 1×6 pine boards
- A 1×2 strip for the handle
- Wood glue + screws
- Sandpaper
Build time: 2–3 hours tops. This is where most beginners start, and for good reason. It’s forgiving, fast, and functional.
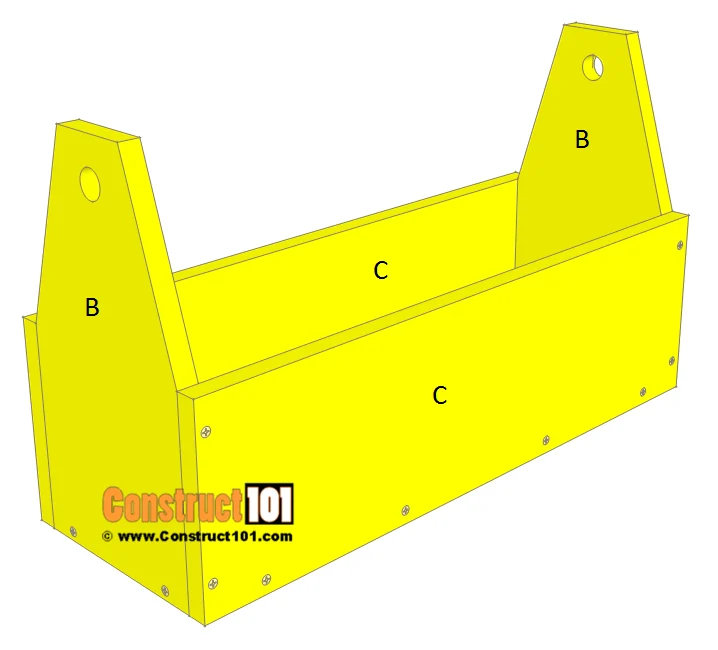
2. The Divided Tote with Removable Trays
Credit : construct101
Same idea as the classic tote, but with removable inner dividers that let you rearrange the layout as your tool collection grows.
The trick here is cutting dado grooves into the side walls so your dividers slide in and out without any hardware. It sounds fancy but it’s really just a straightforward router pass.
Pro tip: Make the trays shallow (2–3 inches deep) for small parts and deeper compartments for longer tools. You’ll thank yourself later.
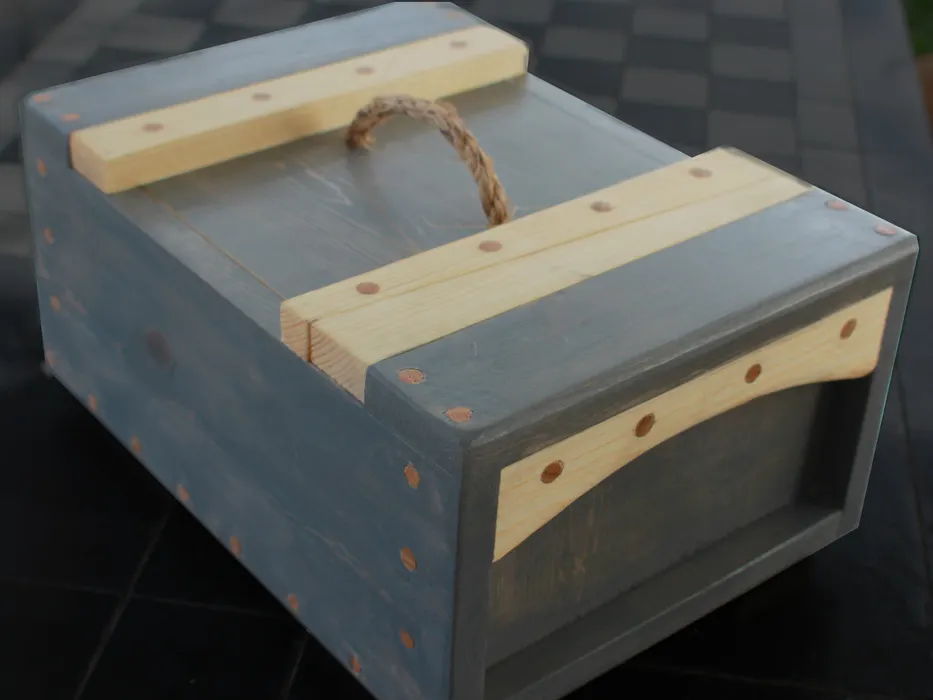
3. The Traditional Japanese Tool Box (Bako)
Credit : Instructables
If you want to build something that looks as good as it functions, the Japanese-style tool box is where it’s at. Clean lines, mortise-and-tenon joinery, no visible hardware.
This one takes a bit more skill and patience, but the result is genuinely beautiful. Think dovetail corners, a fitted sliding lid, and a low-profile design that sits flat on your workbench.
Wood choice matters here — go with cherry, walnut, or a fine-grained pine. It’s worth it.
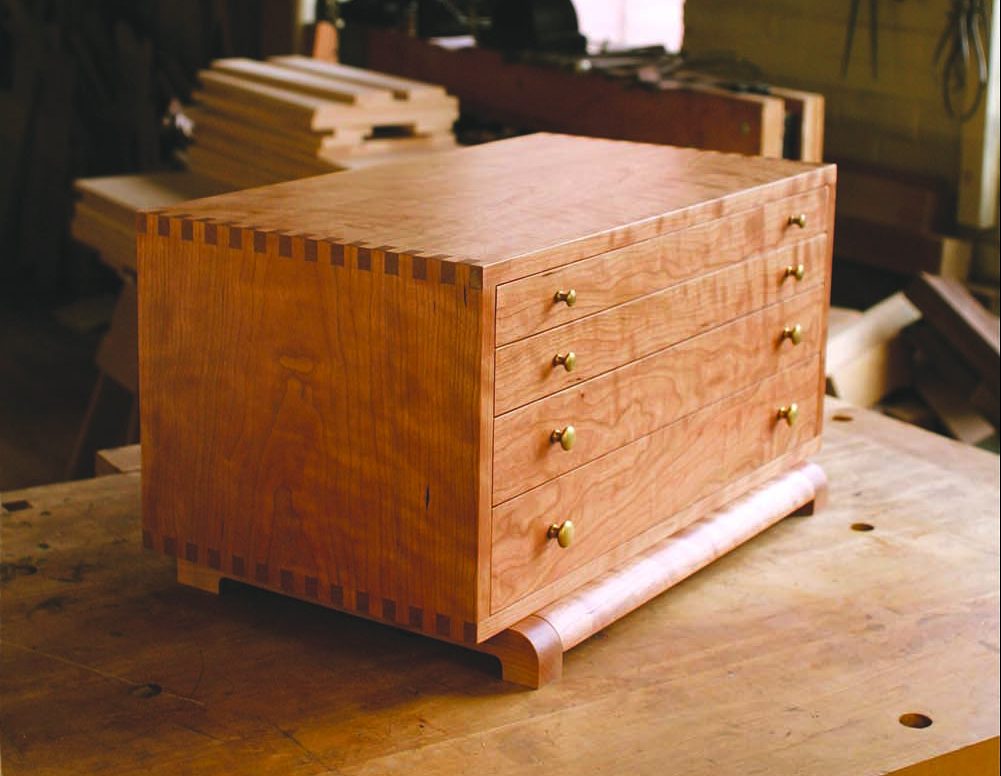
4. The Carpenter’s Chest
Credit : woodworkersjournal
This is the big brother of the tool box world. A carpenter’s chest sits on the floor, has a full hinged lid, and features a till (a shallow tray) that lifts out to reveal a deep lower storage area.
Historically, apprentice carpenters built these as their first major project. It’s kind of a rite of passage, honestly.
Key features to include:
- Rope handles on the sides for carrying
- A full-width till inside for frequently used tools
- A hasp or lock if you’re storing it in a shared space
- Wax or oil finish to protect the wood
Build time is a full weekend project — but the end result is something you’ll pass down.
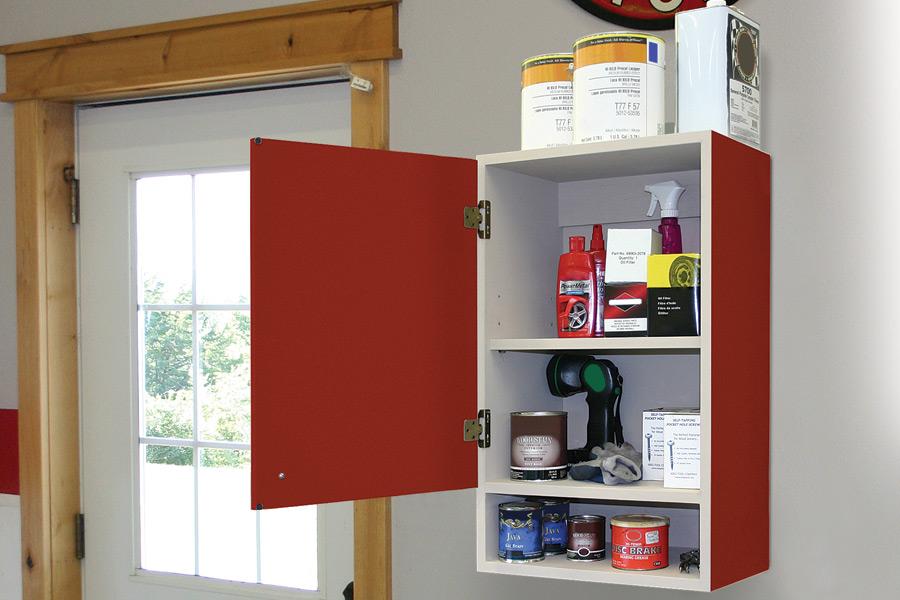
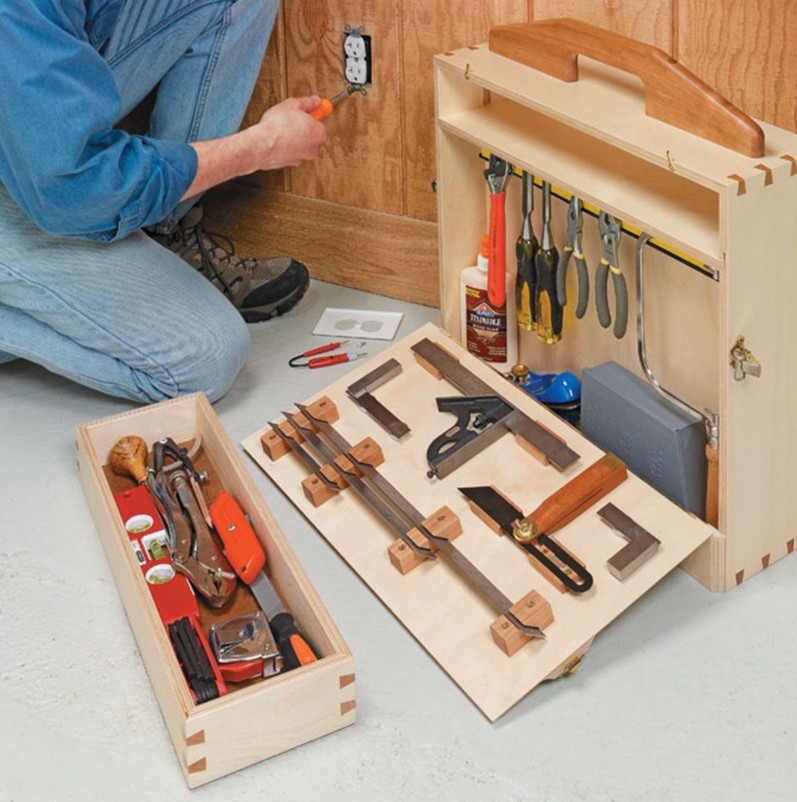
5. The Wall-Mounted Tool Cabinet
Credit : learn.kregtool
Not everything has to sit on a bench. A wall-mounted cabinet keeps your most-used tools visible and within reach, while freeing up your workbench completely.
The basic version is a shallow box that mounts flush to the wall with a hinged door. On the inside door, you mount hooks and clips for chisels, screwdrivers, and measuring tools. The box itself holds the bulkier stuff.
This one pairs perfectly with pegboard panels inside for maximum flexibility.
Speaking of organizing your workspace — we’ve got a full rundown on the 15 Genius Tool Storage DIY Ideas to Organize Your Workshop that’ll take your shop from chaos to clean in a weekend.
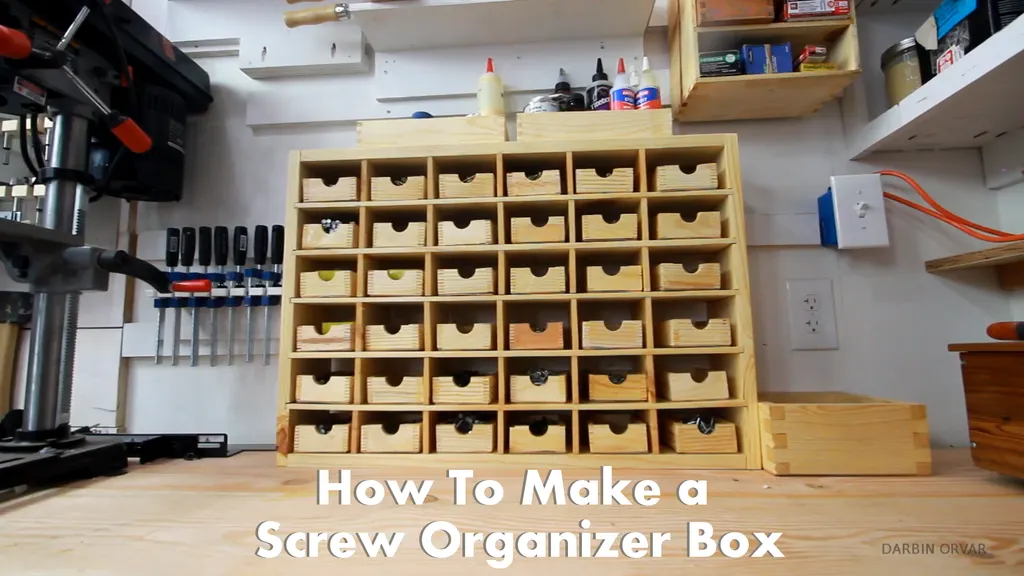
6. The Portable Nail and Screw Caddy
Credit : Instructables
You know that scramble of reaching into a coffee can full of mixed fasteners, right? This solves that.
A nail and screw caddy is a small compartmentalized tote — typically with 4 to 8 open bins arranged around a central handle. You sort your nails, screws, bolts, and anchors by size and type, and everything goes with you to the job site.
Build it from scrap wood. Seriously, this is a great use for offcuts. Keep dimensions small (12–14 inches wide) so it stays light when loaded.
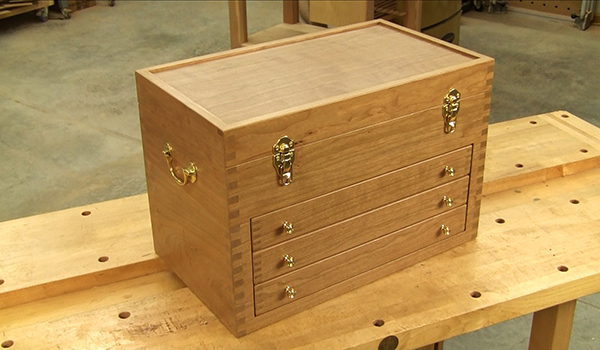
7. The Gentleman’s Tool Box
Credit : popularwoodworking
Think refined. Think dovetail joints, dark walnut finish, maybe a bit of brass hardware on the hinges and clasps.
The gentleman’s tool box is a smaller chest designed to hold a curated set of fine hand tools — a marking gauge, a couple of chisels, a hand plane, and a folding rule. It’s not for power tools or big builds. It’s for the craftsman who appreciates the art of fine work.
This one takes longer but the joinery practice alone makes it worth building.
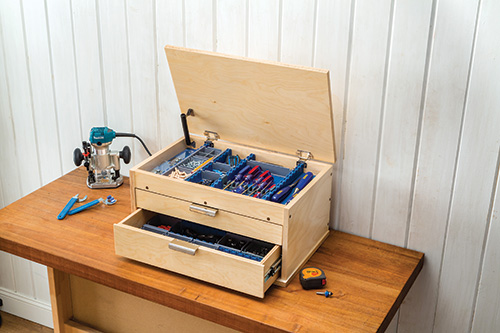
8. The Beginner-Friendly Plywood Box
Credit : woodworkingdrafts
Let’s be real — not everyone wants to start with dovetails and mortises. Plywood is your friend.
A simple butt-jointed plywood box with a hinged lid and a simple latch is a totally valid and practical tool box. You can knock this out in an afternoon, slap on a coat of paint or stain, and have something genuinely useful by sundown.
Use 3/4-inch birch plywood for strength, reinforce the corners with glue blocks, and pre-drill your screws to avoid splits. Done.
9. The Rolling Workshop Cart
Credit : woodworkersjournal
Now we’re upgrading the concept entirely. A rolling cart is basically a tool chest on wheels — drawers, a flat top work surface, and casters that let you move the whole thing around your shop.
This is a multi-weekend project, but if your shop is your happy place, it’s one of the most rewarding things you can build. Include:
- 3–4 full-extension drawers (use wooden drawer slides for the traditional look)
- A bottom shelf for power tools or a small air compressor
- 4 locking casters (critical — nothing worse than a rolling cart that rolls when you don’t want it to)
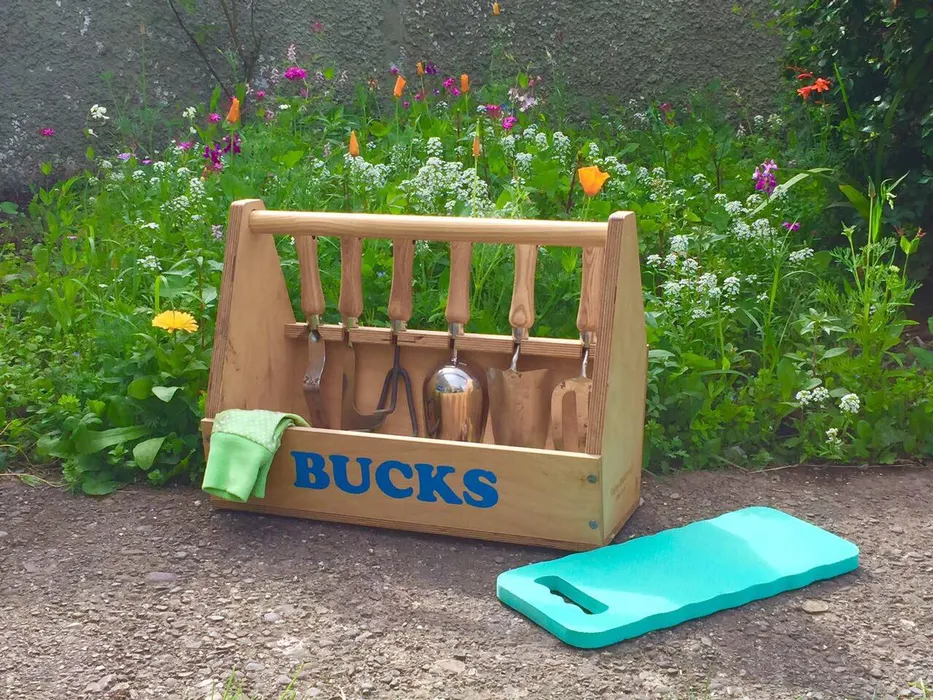
10. The Garden Tool Tote
Credit : Instructables
This one crosses over into the gift territory — the garden tool tote is designed for pruners, trowels, stakes, gloves, and all the other small gear that ends up scattered around the yard.
Build it with cedar or pressure-treated pine to handle moisture and outdoor exposure. A wide center divider keeps tools separated and the whole thing usually measures about 18 inches long × 6 inches wide × 10 inches tall.
Sand it smooth and finish with an outdoor oil. Your gardening spouse will love it. IMO, this is one of the best builds to give as a gift.
11. The Craftsman-Style Tool Chest
Credit : Instructables
The Greene & Greene-inspired craftsman chest draws from Arts & Crafts movement design — exposed joinery, square ebony pegs, slightly overhanging lids.
This build leans more decorative than purely utilitarian, but don’t let that fool you — it’s a fully functional storage piece. Use quartersawn white oak if you want to go full traditional. The grain pattern is stunning.
It’s the kind of box that sits in your workshop and makes visitors stop and stare.
12. The Stackable Open Crates

Credit : ibuildit
Stackable crates are the modular solution to a growing tool collection. Build a set of identical open-top boxes in different heights, and stack or arrange them as needed.
The beauty of this system is you can pull one crate out entirely and carry it to your project site, leaving the rest organized on the shelf. Add wooden dowel feet to each crate so they stack stably without shifting.
This is also a great project for using up shorter offcuts from bigger builds.
13. The Brass-Hardware Flip-Lid Box

Credit : Fixthisbuildthat
A medium-sized hinged box with exposed brass hinges, a center clasp, and a leather handle strap sounds like something from an antique shop. But you can build one from scratch with a weekend and basic tools.
The key is the hardware — quality brass hinges and a solid clasp elevate the whole piece. Use pine or poplar for the body, and finish with a dark walnut stain to make the brass pop.
This style works as a tool box and as a keepsake or art storage box. Versatile and classy.
14. The Electrical/Contractor’s Tote
Credit : woodpeck
Electricians, plumbers, and general contractors all have one thing in common: they need quick access to a lot of small tools and parts on a job site.
The contractor’s tote is a heavy-duty open tote with reinforced corners, a thick hardwood handle, and a row of side pockets made from stiff leather or canvas stapled to the exterior walls. Keep the base wide and low for stability.
Use oak or hard maple for this one — it needs to handle the abuse of daily job-site use without splitting or warping.
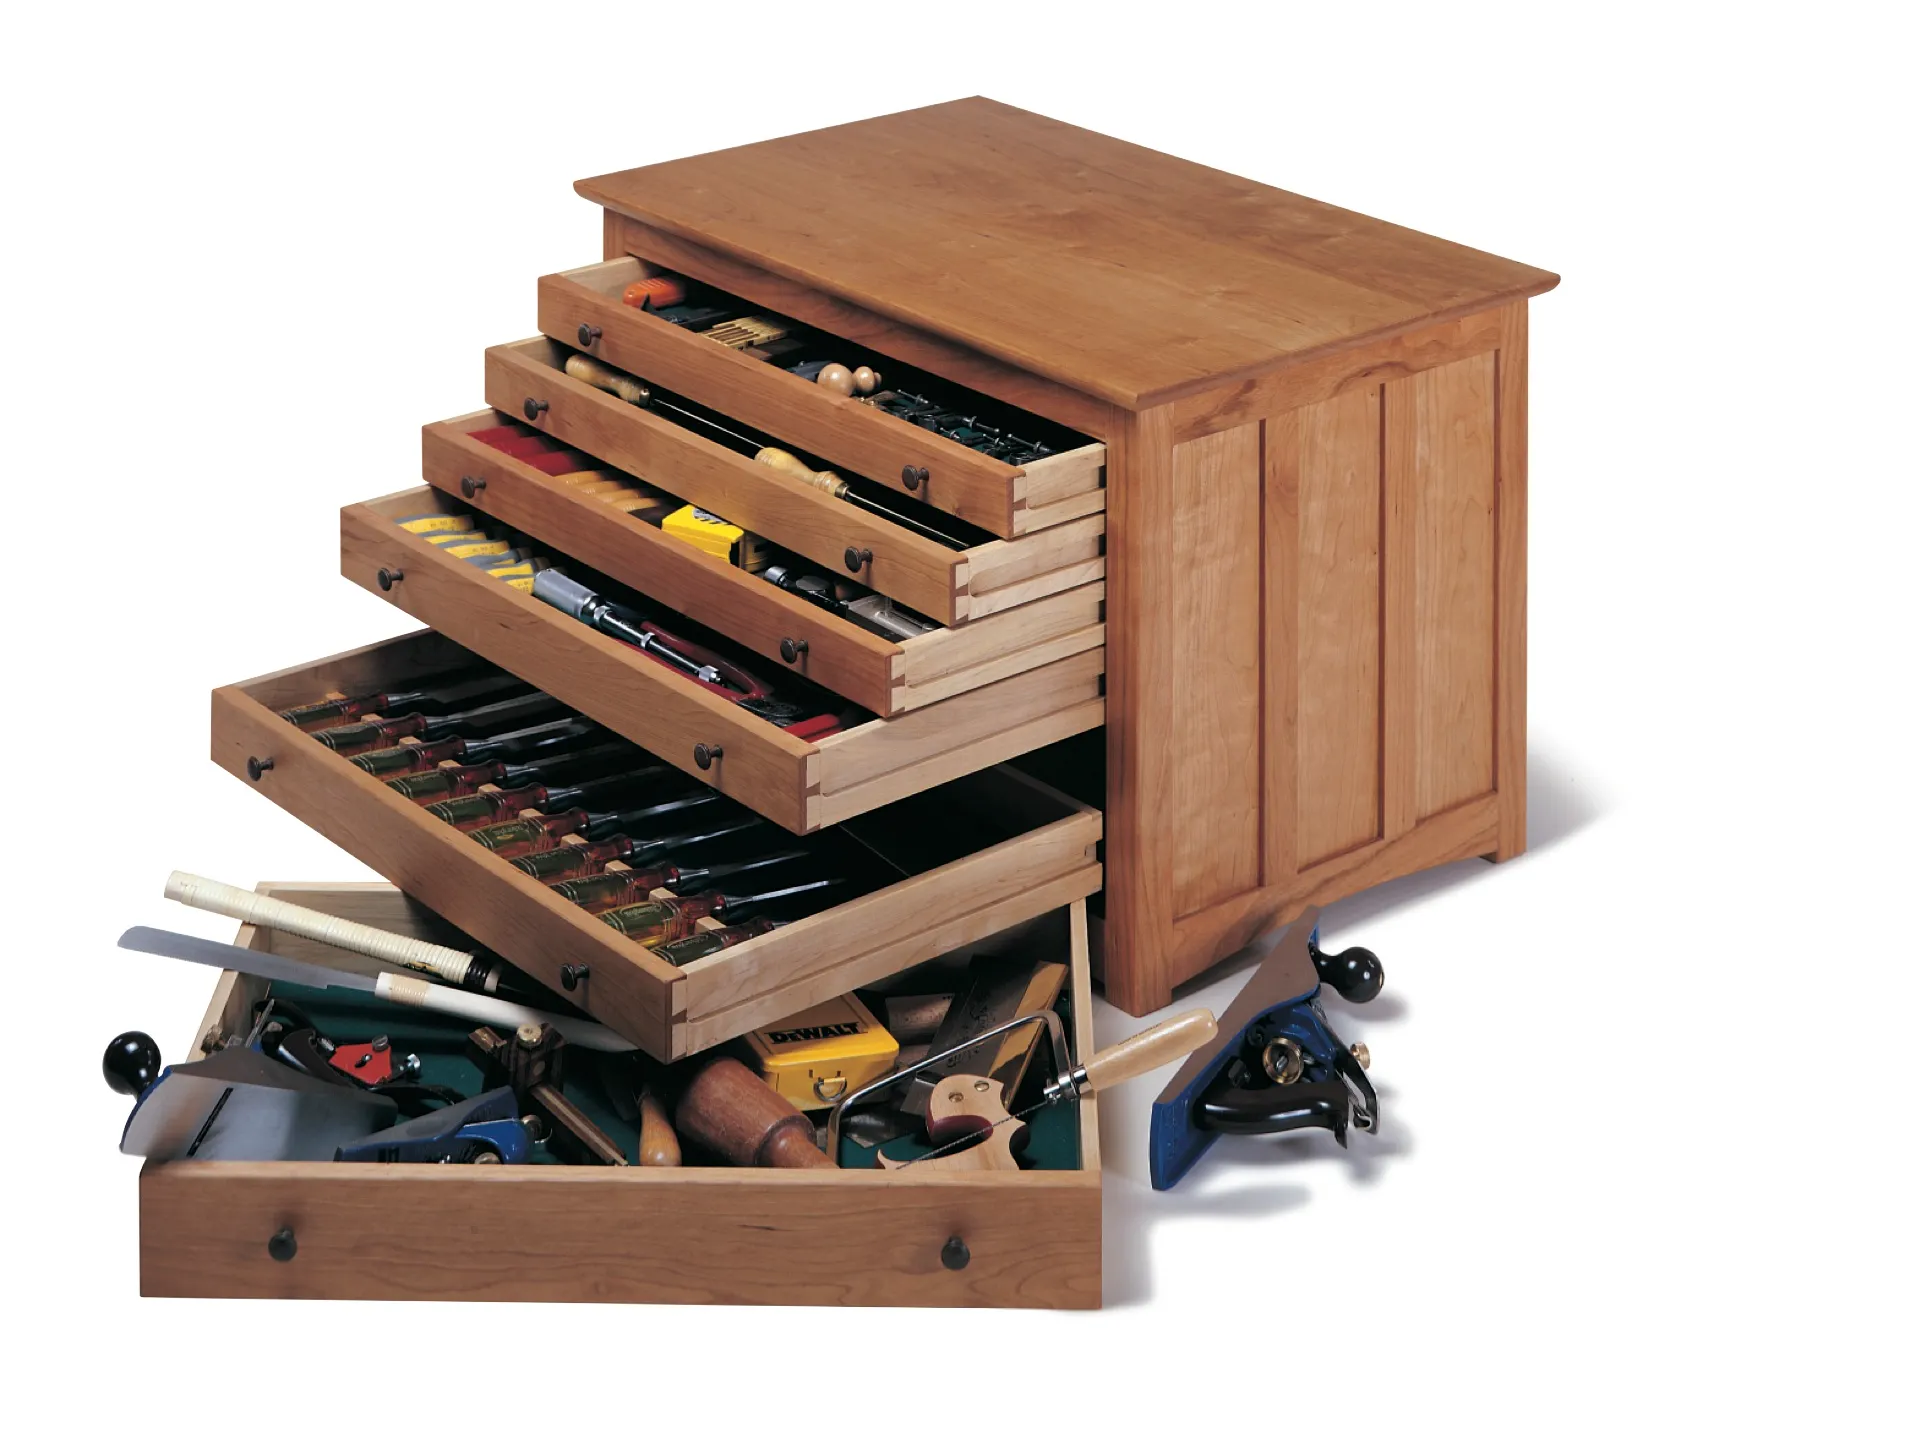
15. The Heirloom Tool Chest
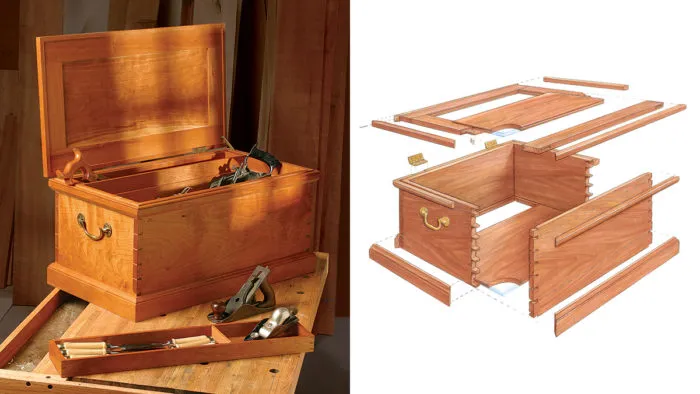
Credit : finewoodworking
Last and absolutely not least — the heirloom chest. This is the Henry Studley of the list. A fully fitted, custom-built tool chest with dedicated holders for every single tool you own.
Fitted tool chests have tools hanging on the inside of the lid, slotted into custom-made holders. Every chisel has a slot. Every plane sits in a cradle. Nothing rattles, nothing shifts, nothing gets lost.
Building this is a years-long love project for most woodworkers. You add to it as your collection grows. But starting it is the important thing — even a partially fitted chest is better than a pile of loose tools.
Tips Before You Start Building
No matter which design you pick, these fundamentals apply across the board:
- Measure your tools first. Nothing worse than finishing a box and realizing your hand plane is half an inch too wide.
- Use quality hardware. Cheap hinges and clasps fail fast. Budget for brass or solid steel.
- Pre-drill all screws. Pine and hardwoods both split if you go in dry.
- Sand through the grits. Start at 80, work up to 220. The finish will thank you.
- Finish the inside too. Raw wood inside a closed box attracts moisture and mold over time.
If you’re still building your skills, check out 15 Woodworking Projects Using Basic Tools for Beginners — several of those projects will give you exactly the practice you need before tackling the bigger builds on this list.
Want Plans That Actually Work? Let’s Talk Ted’s Woodworking
Here’s the thing about building any of these tool boxes from scratch — having a solid, well-drawn plan makes everything easier. You don’t waste wood on guesswork cuts. You don’t rebuild sections twice. You just build.
That’s exactly why I recommend Ted’s Woodworking Plans for anyone serious about their woodworking. Ted’s gives you access to over 16,000 step-by-step woodworking plans — yes, including multiple tool chest and tool box plans — complete with material lists, cut diagrams, and detailed instructions.
Whether you’re a first-time builder or you’ve been at it for years, having a plan you can trust takes the stress out of the build and puts the fun back in. The collection covers everything from beginner projects to complex furniture, so it grows with you.
If you’re going to put in the time to build something that lasts — might as well do it with the right blueprint in hand.
Check out Ted’s Woodworking Plans here →
Wrapping Up
There you have it — 15 wooden tool box ideas ranging from a 2-hour beginner tote to a lifetime heirloom chest. Whatever your skill level, your budget, or your shop space, there’s a build on this list that fits.
Start simple if you’re new. Build the classic open tote, get comfortable with the joinery, and level up from there. The skills you build on your first box will carry you all the way to that fitted heirloom chest someday.
Now stop reading and go make some sawdust.