
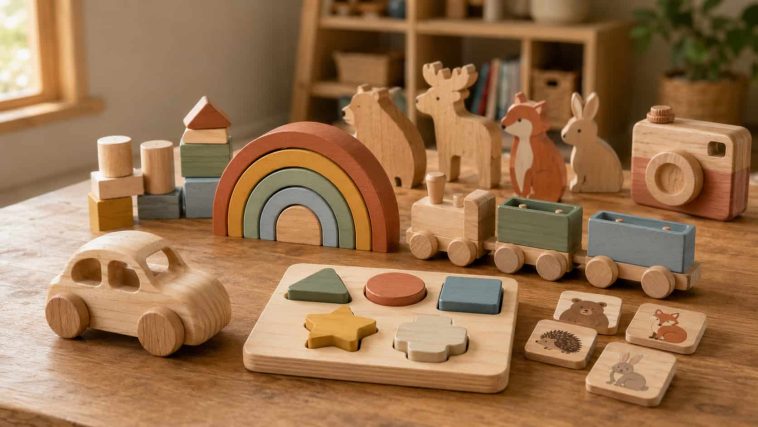
There is something special about a handmade wooden toy. It does not need flashing lights, batteries, or a complicated instruction manual. A simple wooden car, stack of blocks, or miniature play kitchen can encourage hours of imaginative play—and may still be around long after many plastic toys have disappeared.
These wooden toy plans encourage creativity and play, making them an excellent choice for children.
Wooden toys are also satisfying weekend projects. Most can be built from small boards, plywood offcuts, dowels, and scraps already hiding in the workshop. You can keep the design simple, personalize the colors, and adjust the project to suit the age and interests of the child.
Explore various wooden toy plans to find the perfect fit for your child.
But building a toy requires more care than making ordinary décor. A shelf ornament only needs to look good. A toy may be dropped, pulled, chewed, climbed on, or carried everywhere. Every edge, joint, finish, and removable part must be considered carefully.
The 15 DIY wooden toy plans below are project concepts for adult builders rather than certified commercial plans. Adapt each design to the intended child, follow current toy-safety requirements where you live, and inspect the finished toy before every use.
With these wooden toy plans, you can create something special and meaningful.
If this is your first woodworking project, begin with these woodworking projects using basic tools to become comfortable with measuring, sanding, gluing, and simple assembly.
These wooden toy plans will surely enhance your woodworking skills.
Quick Comparison: DIY Wooden Toy Plans
| Wooden toy | Difficulty | Estimated build time | Suggested material | Best suited for |
|---|---|---|---|---|
| Classic building blocks | Easy | 2–3 hours | Maple, beech, or poplar | Open-ended building |
| Wooden toy car | Easy | 2–4 hours | Maple or beech | Imaginative play |
| Rainbow stacking arches | Easy–Medium | 3–5 hours | ¾-inch hardwood or plywood | Stacking and color play |
| Animal balance set | Medium | 3–5 hours | Basswood or poplar | Balancing games |
| Chunky shape puzzle | Easy–Medium | 3–4 hours | Quality plywood | Shape matching |
| Wooden train set | Medium | 4–6 hours | Maple, beech, or poplar | Pretend travel |
| Toy tool set | Easy–Medium | 3–5 hours | Poplar or maple | Workshop pretend play |
| Doll cradle | Medium | 4–6 hours | Pine or plywood | Doll play |
| Mini play kitchen | Medium | Full weekend | Plywood and solid wood | Pretend cooking |
| Toy camera | Easy | 2–3 hours | Hardwood scrap | Pretend photography |
| Woodland animal figures | Medium | 3–5 hours | Basswood | Storytelling |
| Memory matching tiles | Easy | 2–3 hours | Maple or plywood | Matching games |
| Large tic-tac-toe board | Easy | 2–3 hours | Pine or plywood | Older-child game |
| Wooden road and town set | Easy–Medium | 3–5 hours | Thin plywood | Small-world play |
| Tabletop puppet theater | Medium | 4–6 hours | Plywood and dowels | Story and performance |
“Best suited for” describes the style of play, not a guaranteed age rating. Suitability depends on the project’s dimensions, construction, parts, finish, and the individual child.
Tools and Materials You May Need for Wooden Toy Plans
Gather tools that will help you execute these wooden toy plans efficiently.
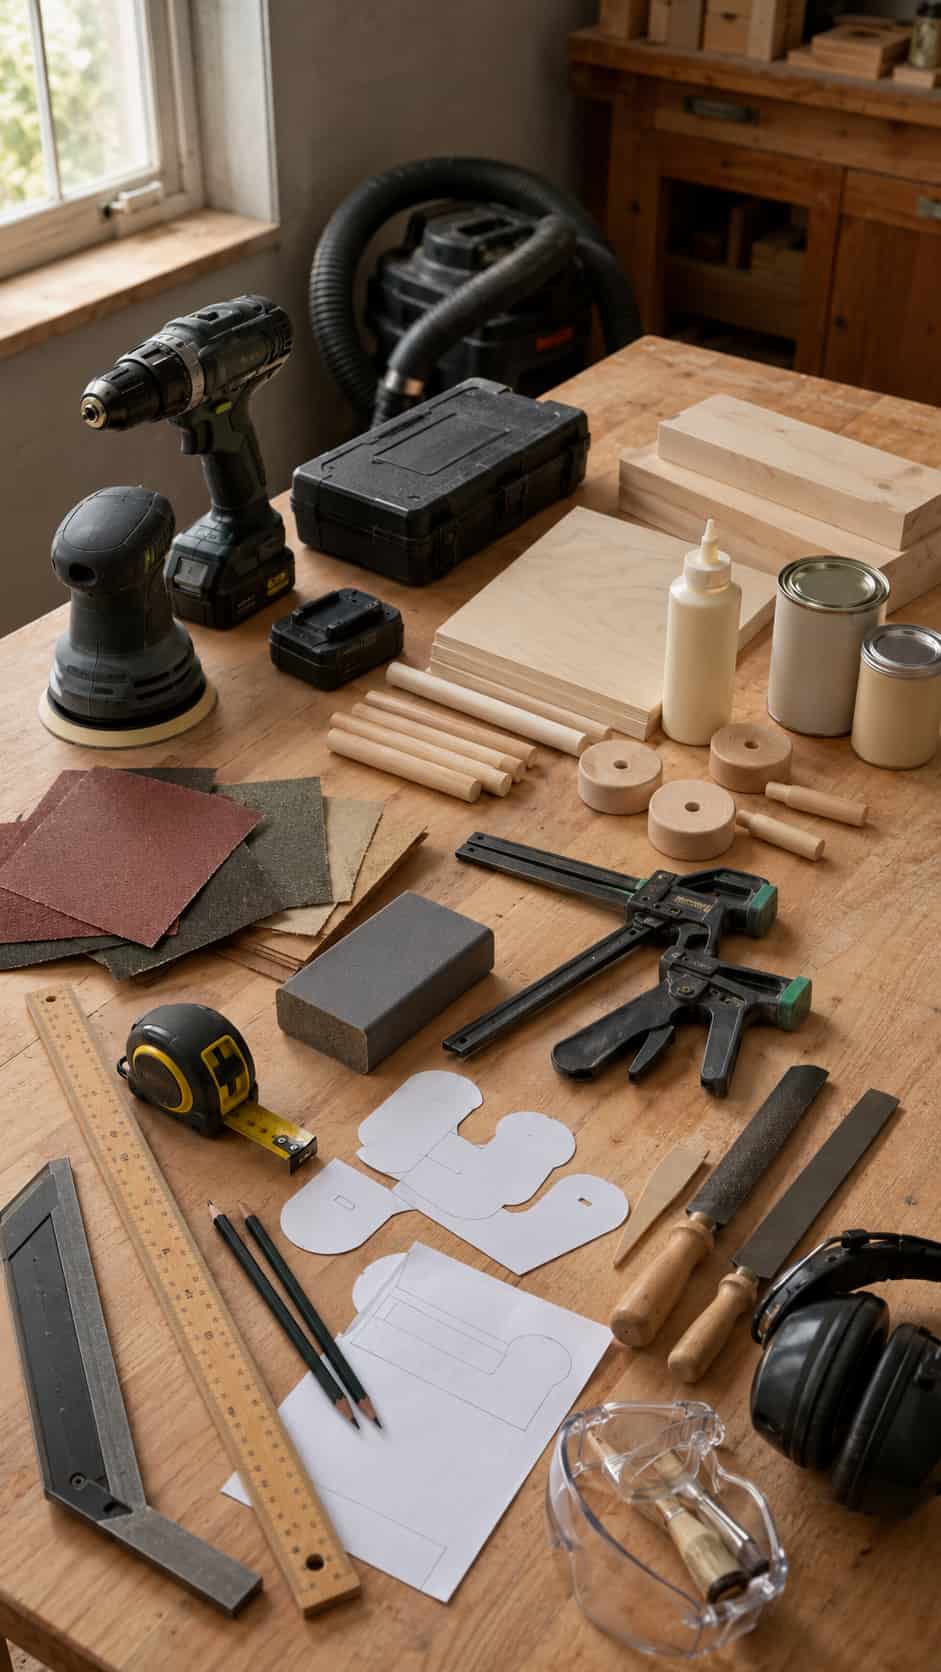
Most of these wooden toy plans use a similar set of workshop basics.
Common tools
- Measuring tape or ruler
- Carpenter’s square
- Pencil and templates
- Clamps
- Hand saw or suitable powered saw
- Drill and bits
- Random-orbit or detail sander
- Hand-sanding block
- Wood files or rasps
- Paintbrushes
- Dust extraction equipment
- Eye and hearing protection
All cutting, drilling, shaping, and powered sanding should be completed by a capable adult. Minors should participate only in age-appropriate, closely supervised activities, such as drawing a design or applying an approved finish after the adult has prepared a safe workpiece.
You do not need a room full of machines to start. Our collection of free woodworking plans for beginners offers more practice projects that use straightforward construction.
Useful materials
- Untreated solid wood
- Furniture-grade plywood
- Hardwood dowels
- Child-appropriate wood glue
- Suitable wooden wheels and axles
- Sandpaper in multiple grits
- Approved paint or clear finish
- Painter’s tape
- Paper patterns or transfer paper
A surprising number of toy parts can come from the offcut bin. Browse these easy scrap wood crafts for more ways to turn short boards into useful projects.
Choosing Wood for Handmade Toys
Choosing the right wood is crucial when following wooden toy plans.
Toy wood should be sound, clean, dry, and free from splinters, cracks, loose knots, staples, nails, and unknown chemical treatments.
Hard maple and beech are traditional choices for heavily handled toys because they are dense and durable. Poplar is easier to cut and remains relatively strong, making it useful for painted toys. Pine is affordable and accessible, but select clear boards because loose knots and soft areas may become weak points.
Furniture-grade plywood can work well for puzzle boards, theaters, toy kitchens, and flat figures. Avoid low-quality sheet goods with damaged layers or crumbling edges.
Basswood is helpful for decorative animals and figures because it is easy to shape. However, thin basswood features can break, so keep the designs chunky and inspect them regularly.
For a broader comparison, see our guide to the best woods for beginner woodworking projects.
Do not use:
- Pressure-treated lumber
- Wood with peeling or unknown paint
- Pallet wood of uncertain origin
- Chemically preserved outdoor wood
- Moldy, dirty, or contaminated scraps
- Brittle boards with deep cracks
- Pieces containing hidden metal
Toy Safety Before You Start
Toy safety is paramount in all wooden toy plans to ensure children’s safety.
These projects are intended for adults building for children. A handmade item is not automatically safe simply because it is made from natural wood.
Before choosing a design, consider the age and abilities of the intended child. Babies and toddlers explore objects differently from older children, so a project suitable for a school-age child may be completely inappropriate for a younger one.
Important precautions include:
- Avoid parts small enough to create a choking hazard.
- Avoid exposed magnets, button batteries, sharp hardware, and loose fasteners.
- Do not add long cords, loops, or straps that could create an entanglement hazard.
- Round every corner and soften every exposed edge.
- Sand the complete surface, including holes and less-visible areas.
- Make joints strong enough for foreseeable pulling, dropping, and twisting.
- Keep wheel axles, pegs, and decorative pieces securely captured.
- Avoid pinch points between moving components.
- Choose finishes specifically indicated by the manufacturer as appropriate for the intended toy use.
- Follow all application, ventilation, drying, and full-curing instructions.
- Inspect the toy frequently and remove it from use if it cracks, loosens, splinters, or breaks.
If you plan to sell wooden toys, do not rely on a blog project description as proof of compliance. Research and meet the current toy-safety, labeling, testing, and recordkeeping requirements for every market where you sell.
15 DIY Wooden Toy Plans
These wooden toy plans are perfect for beginner woodworkers and seasoned experts alike.
1. Classic Wooden Building Blocks
Difficulty: Easy
Estimated time: 2–3 hours
Suggested wood: Hard maple, beech, or poplar
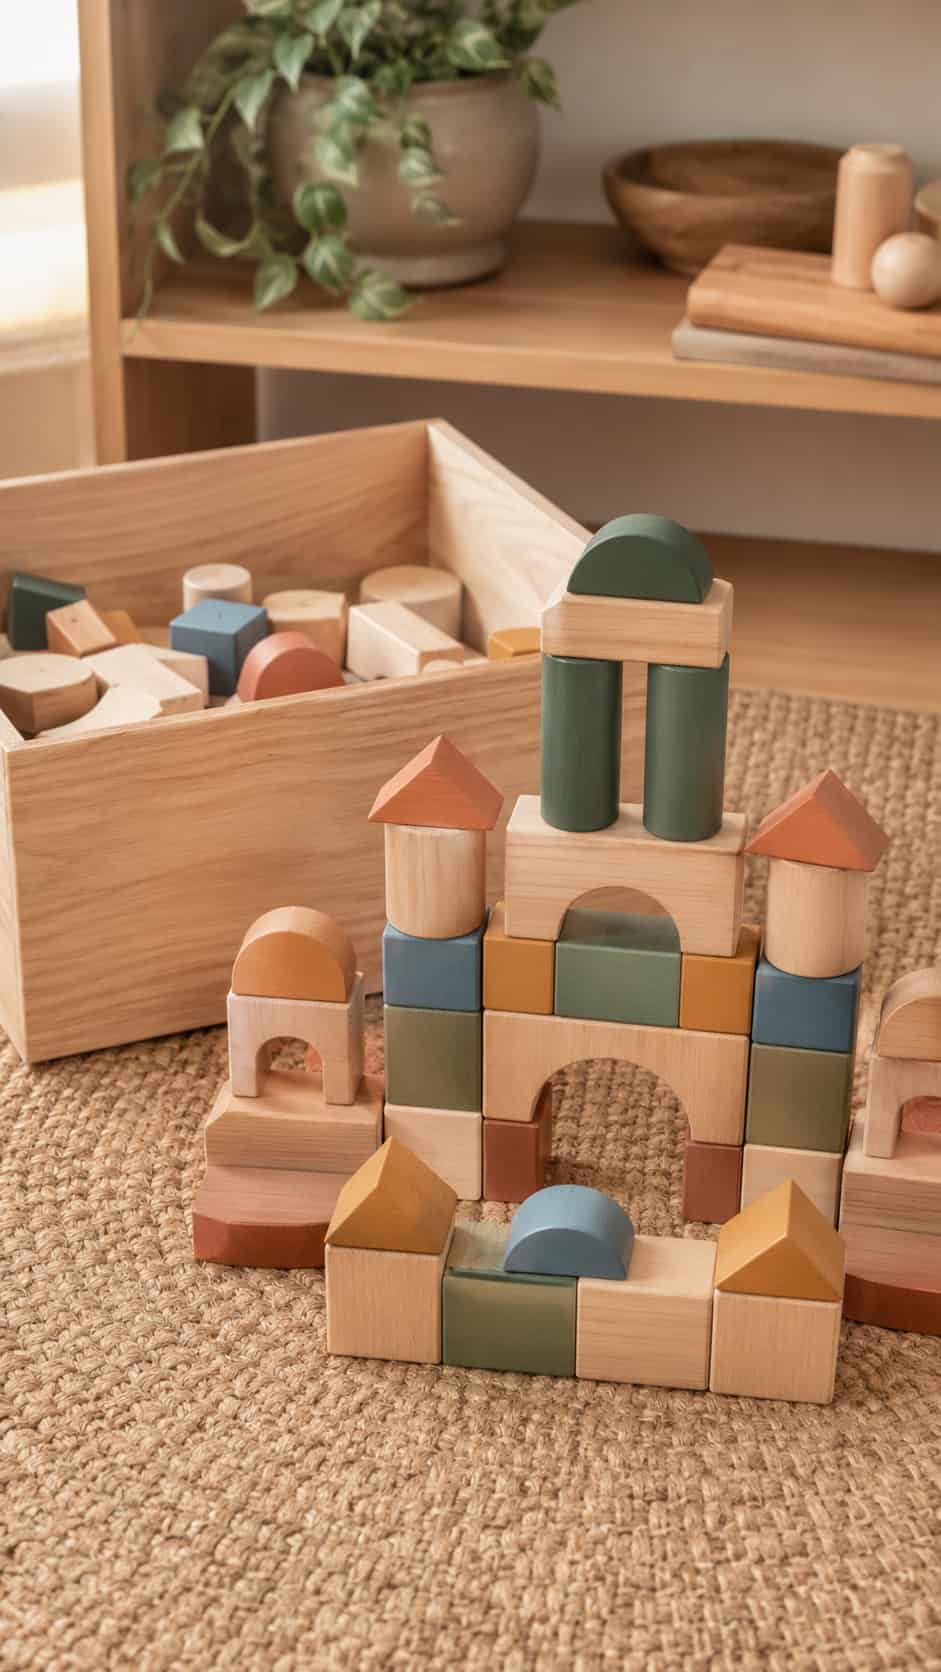
Building blocks may be the simplest toy in this collection, but they offer almost unlimited play. Create a set containing squares, rectangles, arches, triangles, and cylinders in several compatible sizes.
Plan the set around one repeating unit so the pieces stack neatly. For example, a long block could equal the length of two square blocks. Consistent proportions are more important than having dozens of complicated shapes.
A capable adult should cut the pieces using suitable equipment. Afterward, soften all corners and sand every surface thoroughly. The pieces should be large enough for the intended child and free from thin points that could break.
Leave the blocks natural or paint selected faces with an approved, fully cured finish. A simple cotton storage bag or sturdy open box completes the set.
2. Simple Wooden Toy Car
Try out these wooden toy plans for a simple yet fun project.
Difficulty: Easy
Estimated time: 2–4 hours
Suggested wood: Maple, beech, or dense poplar
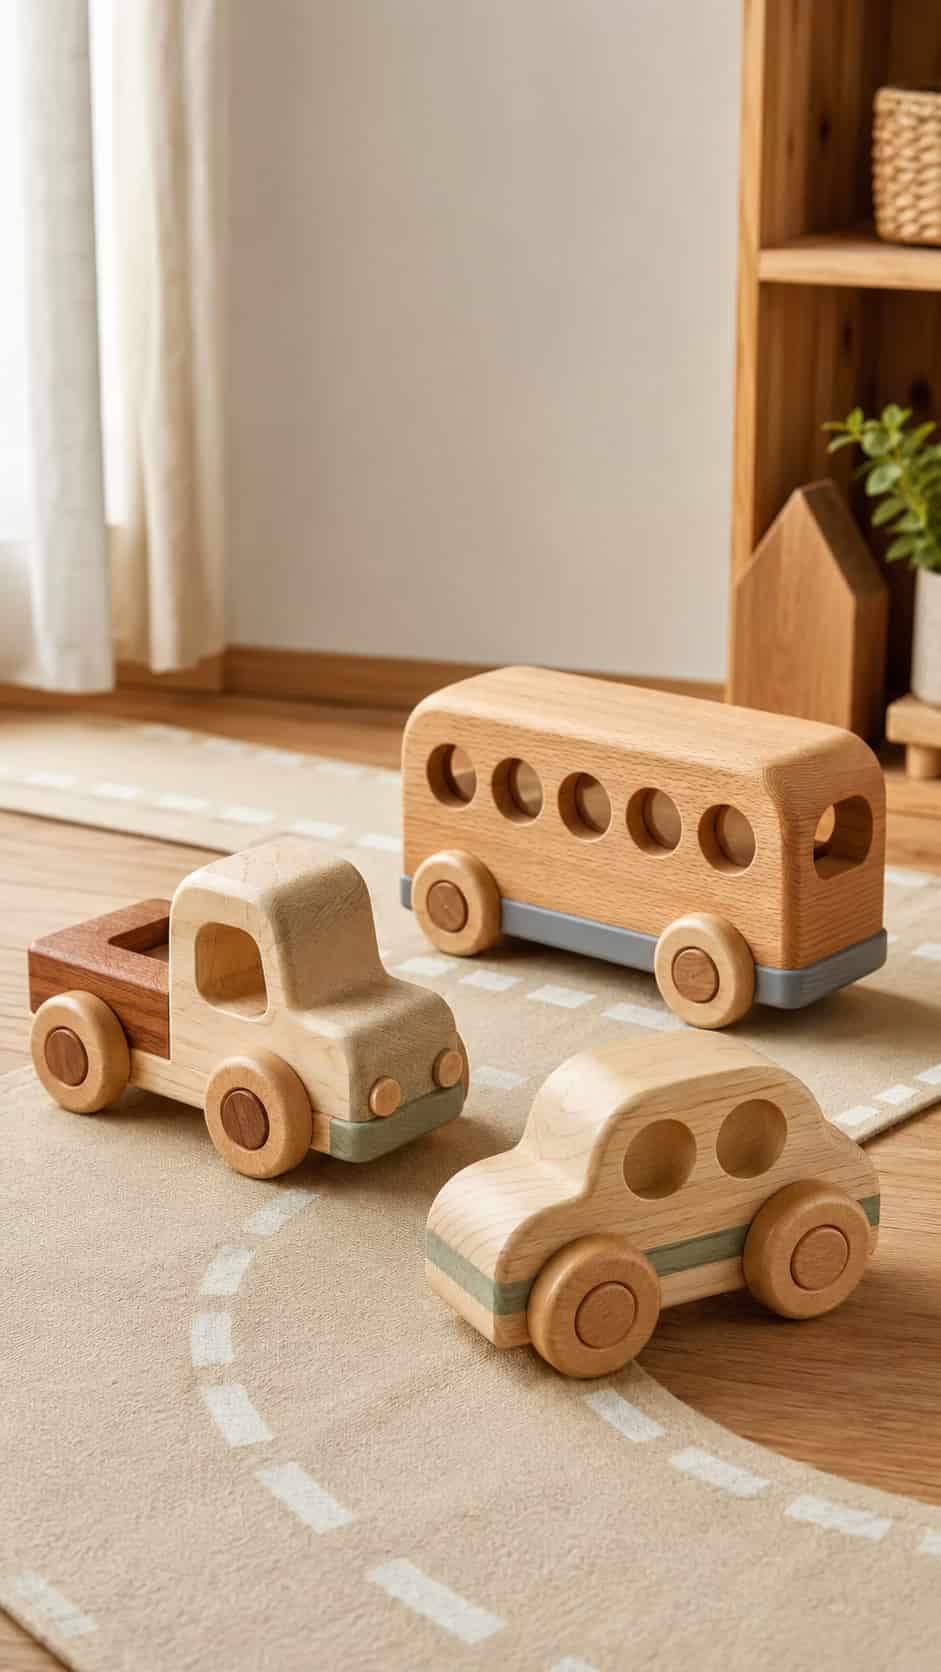
A chunky wooden car is a classic first toy project. Its body can be a simple rounded rectangle with a curved roof, two securely captured axles, and four thick wooden wheels.
Keep the silhouette broad rather than adding thin mirrors, spoilers, or decorative pieces. Those details look interesting but can snap off under ordinary play.
Make a full-size paper profile and check the position of the wheels before preparing the body. The underside needs enough material around the axle locations to remain strong. Ensure the wheels turn without creating accessible pinch points or coming loose.
You can create several vehicles from the same basic plan by changing the outline. A short body becomes a car, a longer one becomes a bus, and a raised back creates a simple truck.
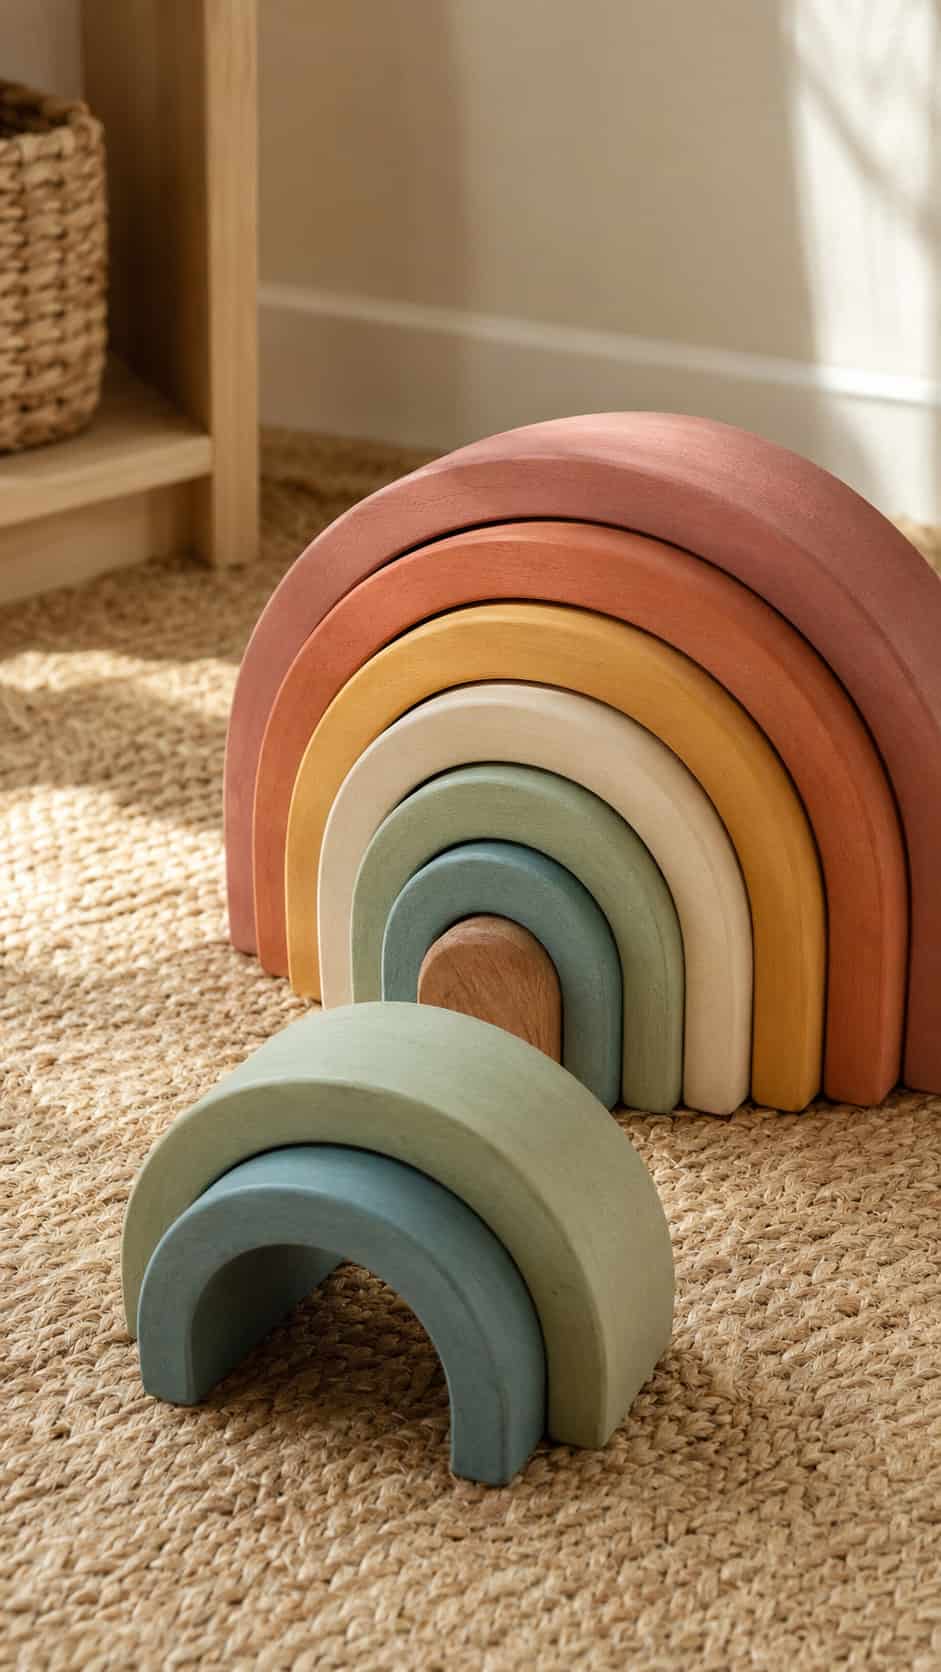
3. Rainbow Stacking Arches
Rainbow stacking arches are a delightful addition to any collection of wooden toy plans.
Difficulty: Easy–Medium
Estimated time: 3–5 hours
Suggested material: Solid hardwood or high-quality plywood
A rainbow stacker contains several curved arches that nest inside one another. Children can arrange them as tunnels, bridges, rocking shapes, fences, or abstract sculptures.
Draw the entire rainbow as one pattern, then divide it into evenly spaced curved bands. The cutting should be completed by an experienced adult with equipment appropriate for the material. Each finished arch needs a stable base and smoothly rounded corners.
Check every plywood edge for gaps or splintering. If using solid wood, orient the design to reduce fragile short-grain sections.
Paint each arch a different color or use a graduated natural finish. Apply thin coats so the pieces continue to fit comfortably after the finish has fully cured.
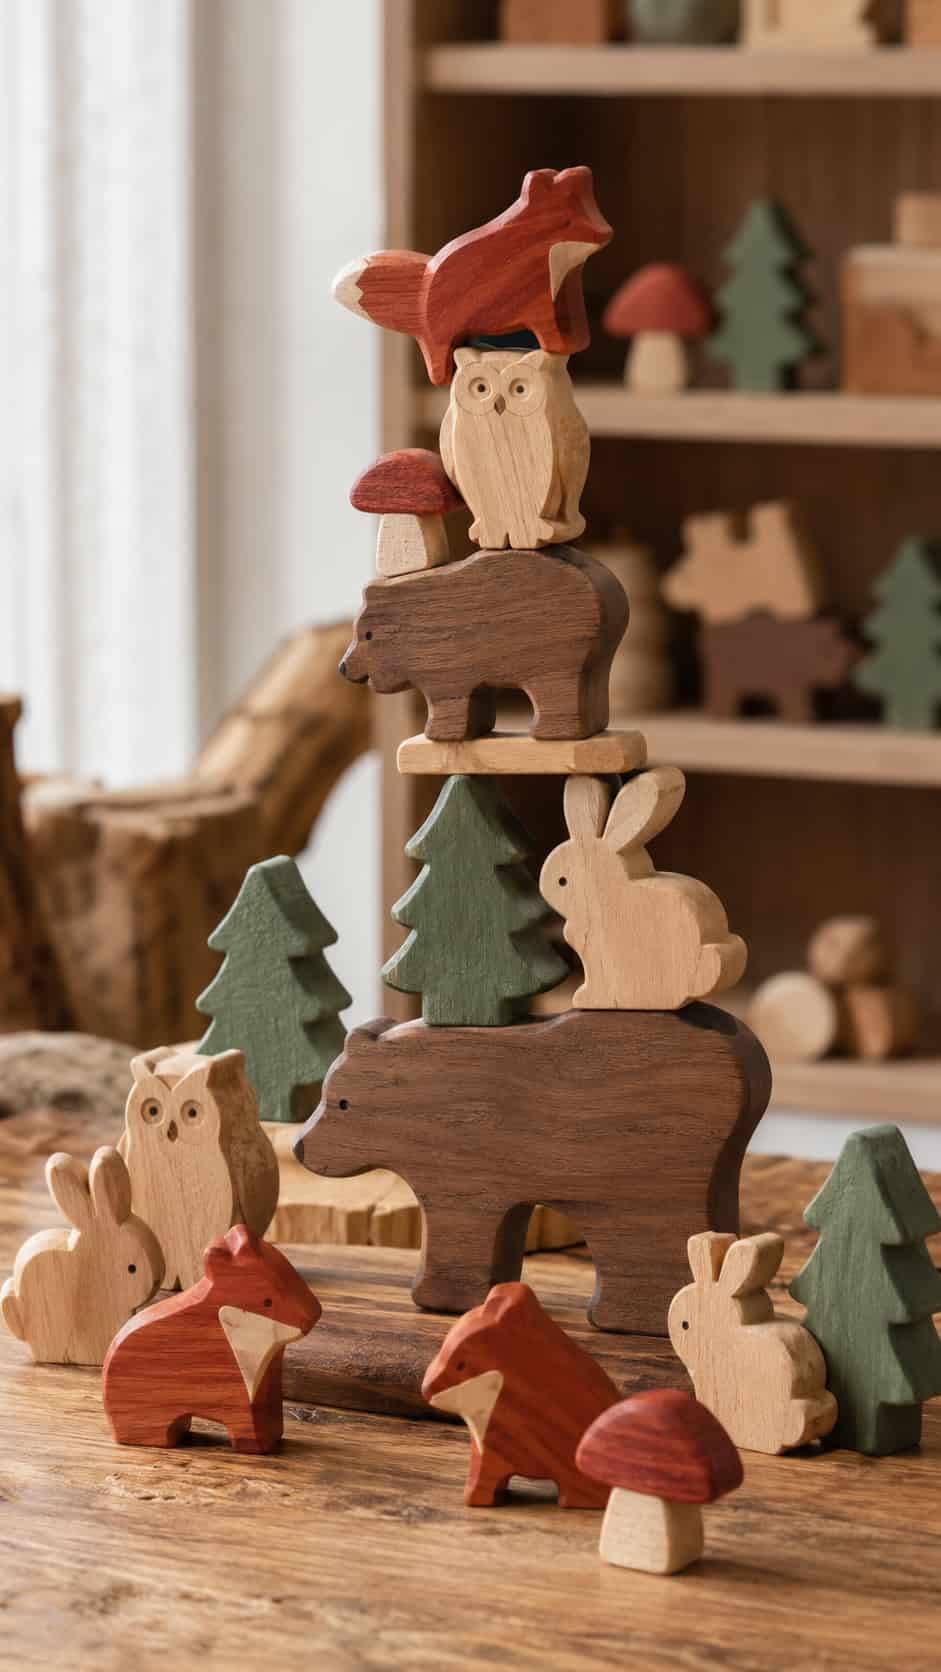
4. Woodland Animal Balance Set
This woodland animal balance set is one of the many creative wooden toy plans available.
Difficulty: Medium
Estimated time: 3–5 hours
Suggested wood: Basswood, poplar, or maple
Create a set of chunky bears, foxes, owls, rabbits, and trees that can be stacked into balancing towers.
The secret is simplifying every animal into a stable silhouette. Avoid narrow legs, pointed ears, thin tails, and deep internal cutouts. A fox can be represented by a broad body, two shallow ear shapes, and a painted tail rather than several delicate parts.
Make the bottom and selected upper areas relatively flat so the figures can balance in different combinations. Round and sand all edges after shaping.
For more suitable silhouettes, use the broad shapes in these animal wood carving ideas for beginners as inspiration, then simplify them further for toy construction.
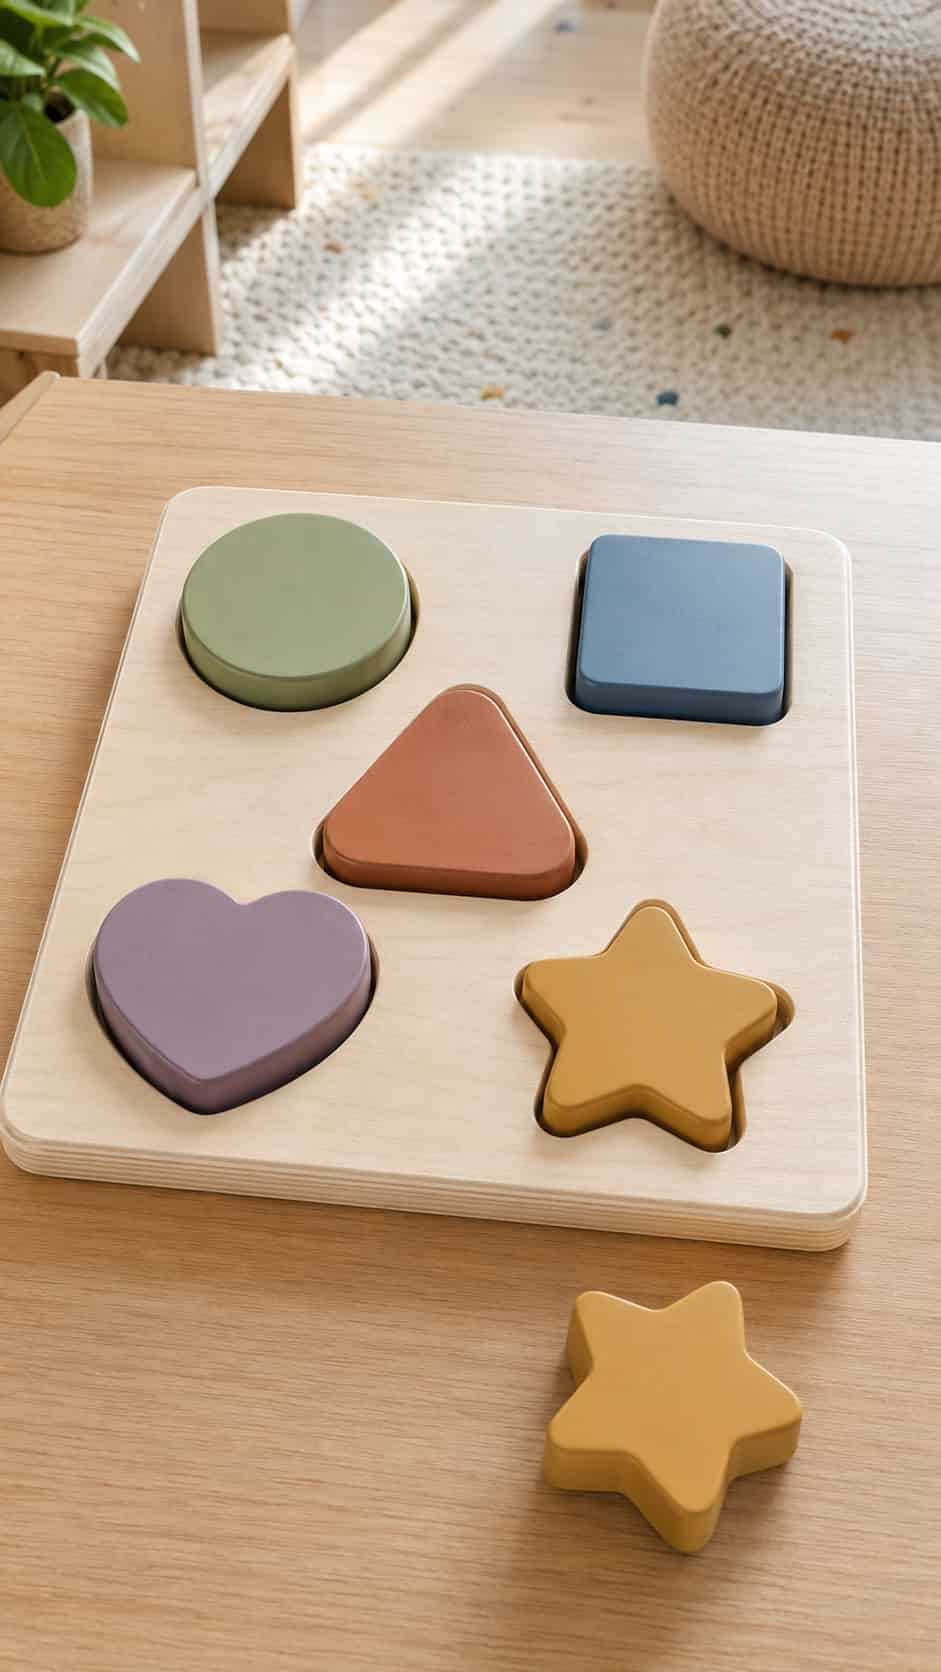
5. Chunky Wooden Shape Puzzle
Consider this chunky wooden shape puzzle as part of your collection of wooden toy plans.
Difficulty: Easy–Medium
Estimated time: 3–4 hours
Suggested material: Furniture-grade plywood and hardwood
A beginner shape puzzle uses a solid back, a puzzle layer, and several thick removable pieces. Start with four or five bold shapes, such as a circle, square, triangle, heart, and star.
Each piece needs enough clearance to lift out without becoming frustrating, but the gaps should not be so large that the puzzle feels sloppy. Large integrated handles can be part of the shape itself, eliminating separate knobs that might loosen.
The adult builder should inspect every internal opening carefully. Sanding the outside is not enough; the puzzle cavities and the perimeter of every removable piece must also feel smooth.
Use contrasting colors to make the shapes easy to identify. Keep removable pieces appropriately sized for the intended user.
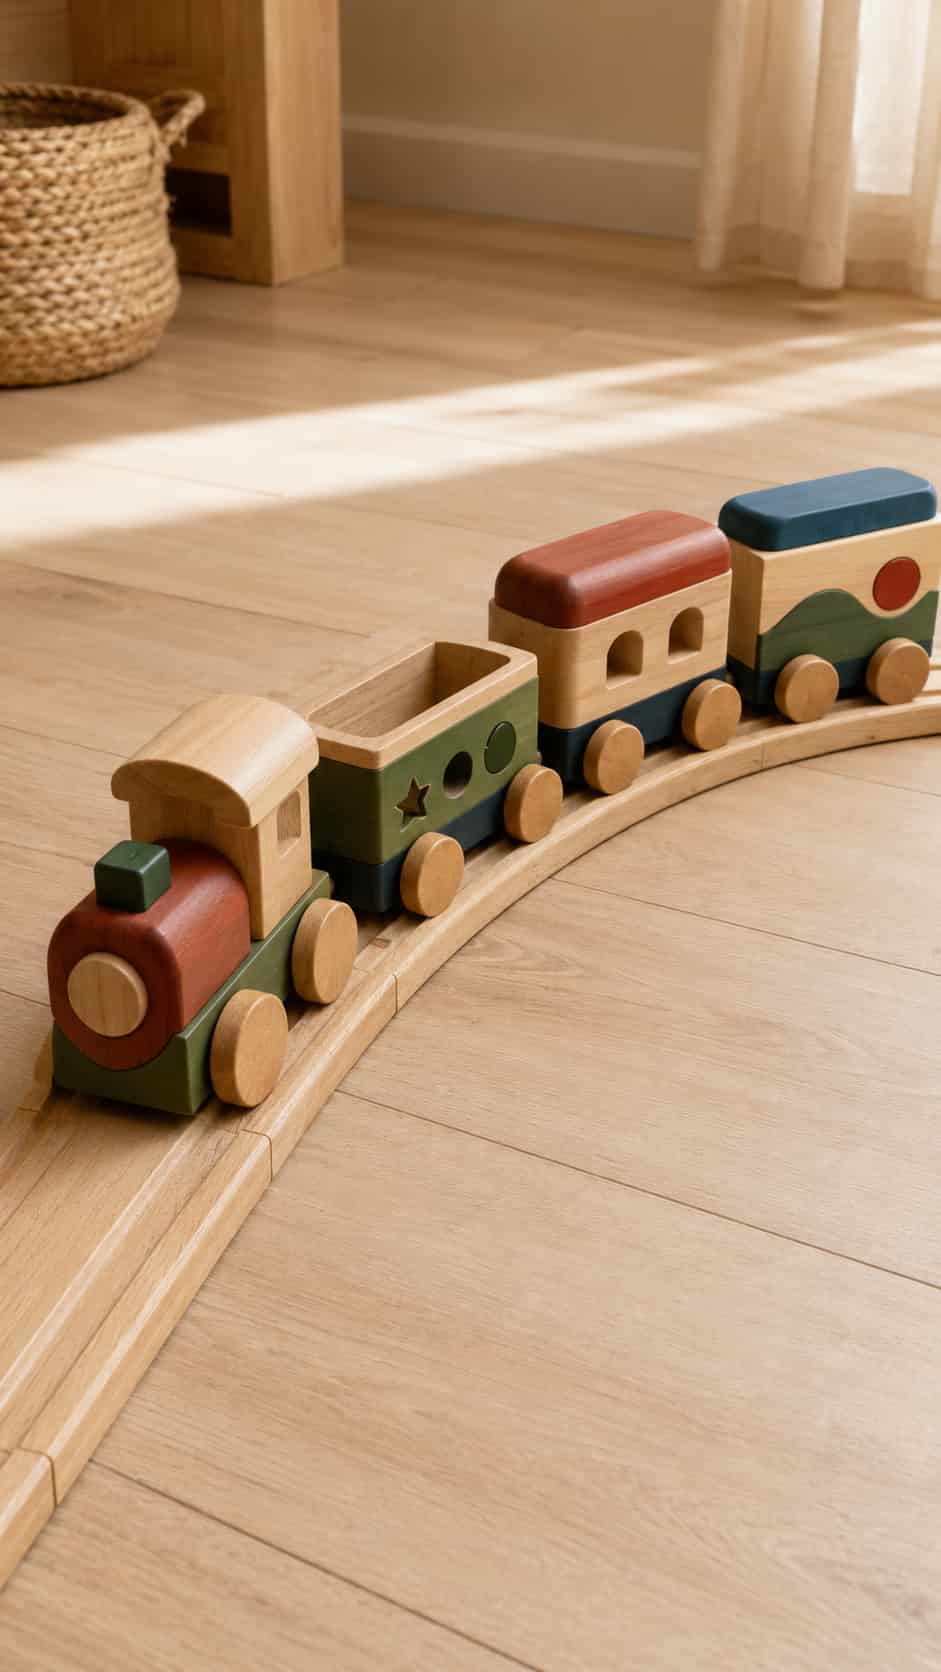
6. Handmade Wooden Train
Difficulty: Medium
Estimated time: 4–6 hours
Suggested wood: Maple, beech, or poplar
Build a simple locomotive and two or three chunky carriages. Each vehicle can use a rectangular body with a few securely integrated details.
The connection system requires careful thought. Loose hooks, open loops, accessible magnets, and fragile pegs may be unsuitable, particularly for younger children. Use an age-appropriate, mechanically secure design based on applicable toy-safety guidance.
Keep smokestacks and cabin shapes broad and well supported. Wheels and axles should remain attached during expected pulling and twisting, and the spaces around moving wheels should not create hazardous pinch points.
Paint each carriage a different color or leave the set natural. A train also makes a good personalized gift when the child’s initial is painted on each car.
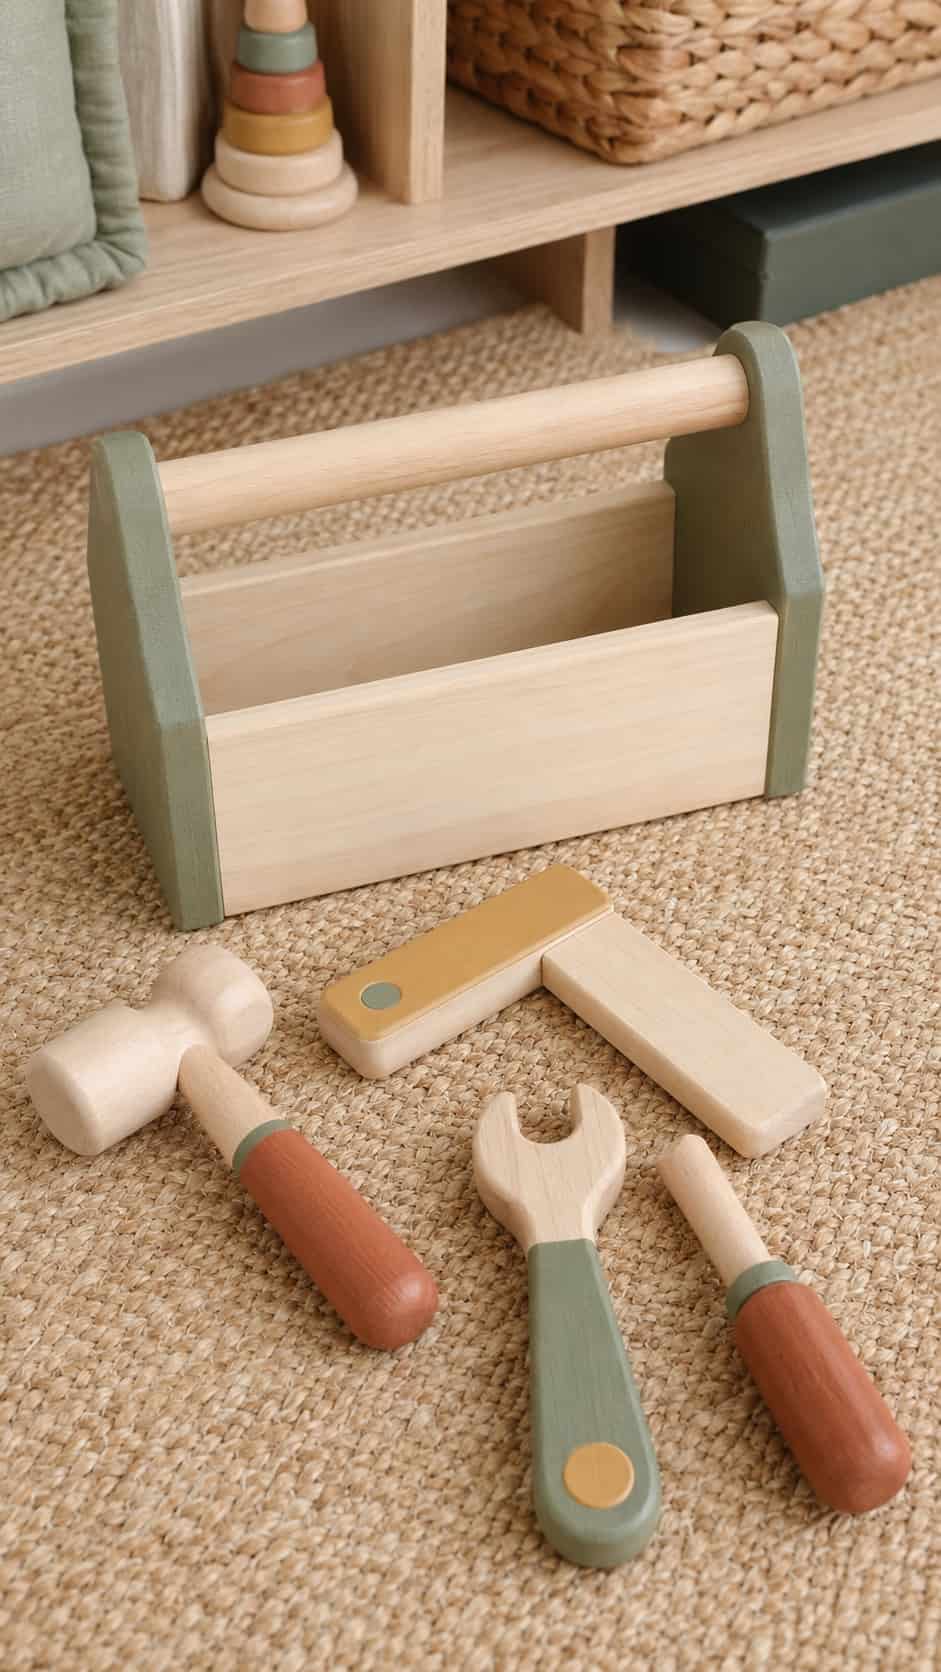
7. Wooden Pretend Tool Set
A wooden pretend tool set is a great way to expand your wooden toy plans.
Difficulty: Easy–Medium
Estimated time: 3–5 hours
Suggested wood: Poplar or maple
A pretend tool set can include a chunky hammer, square, wrench, screwdriver, and small toolbox.
These should look like friendly toy versions, not sharp replicas of real tools. Round the screwdriver tip, widen narrow handles, eliminate working blades, and avoid metal components.
A simple open toolbox can be built from two side panels, a base, two ends, and a thick wooden handle. Assemble it with strong joints and check that the handle cannot rotate or pull loose.
Children may enjoy helping select colors or adding simple painted symbols after an adult completes all cutting, drilling, assembly, and safety inspection.
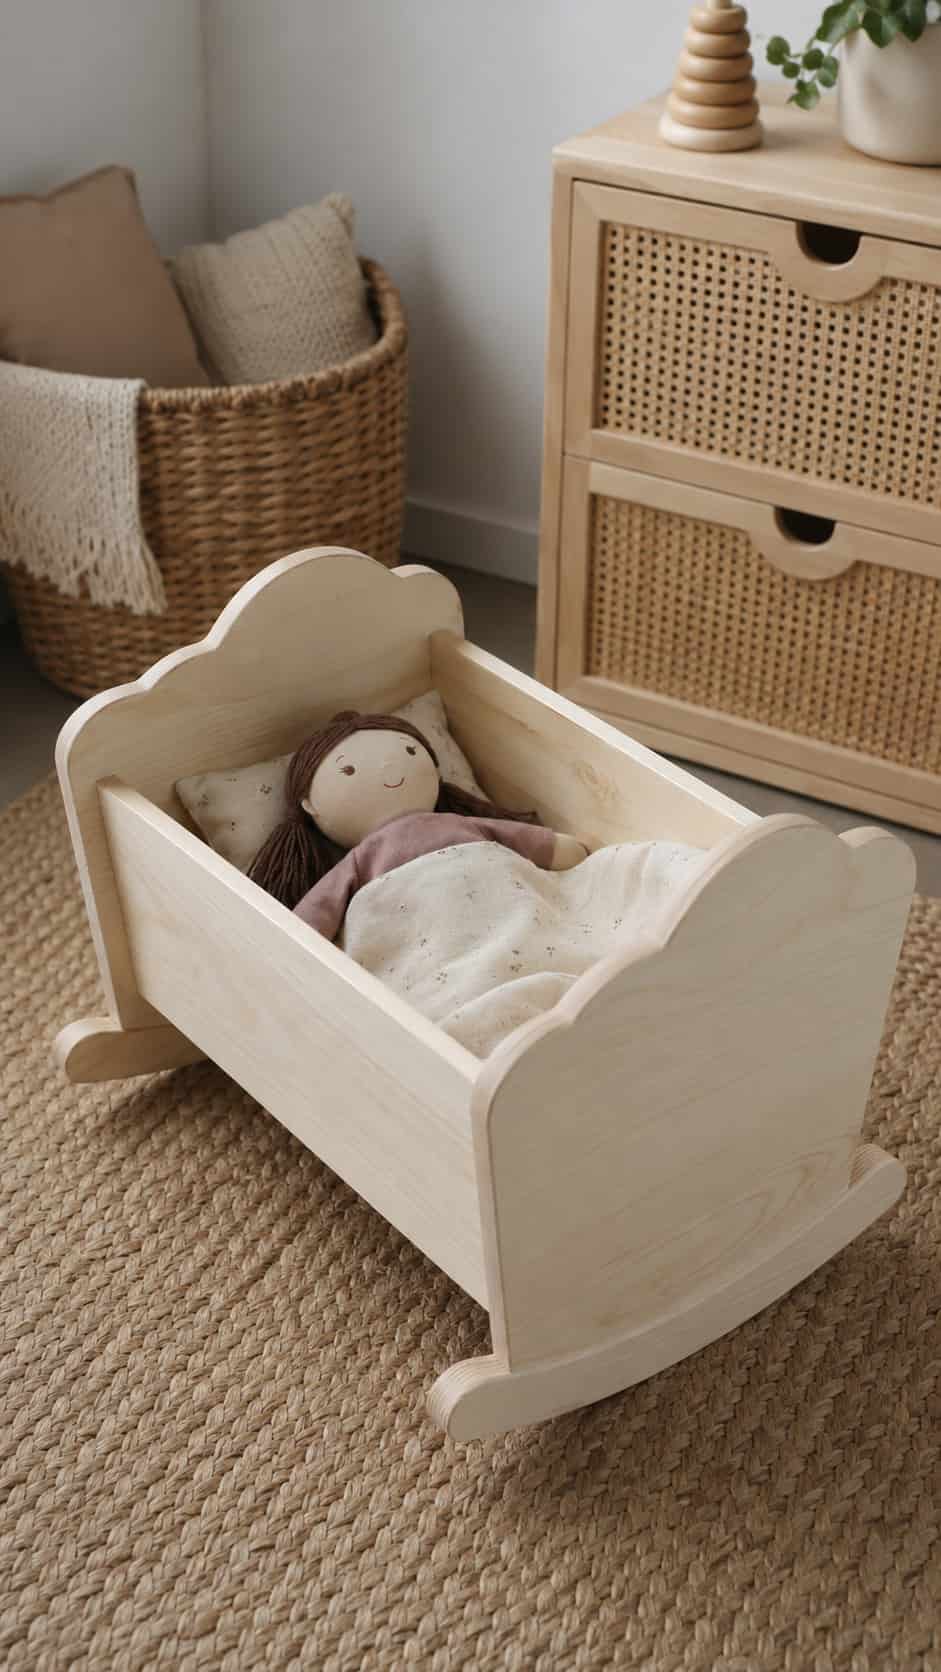
8. Small Wooden Doll Cradle
Difficulty: Medium
Estimated time: 4–6 hours
Suggested material: Pine boards or furniture-grade plywood
A doll cradle introduces basic furniture construction on a manageable scale. It needs two end panels, a bottom, and sturdy sides.
Use gently curved lower edges if you want the cradle to rock, but limit the movement so it remains stable during ordinary play. Avoid openings where small fingers could become trapped.
The end panels can be shaped like simple arches, clouds, or houses. Keep all decorative cutouts large, smooth, and free from tight spaces. Join the parts securely and cover or eliminate exposed fasteners.
This is a toy for dolls—not a sleep product for an infant. Make its purpose clear and size it so it cannot be confused with real baby furniture.
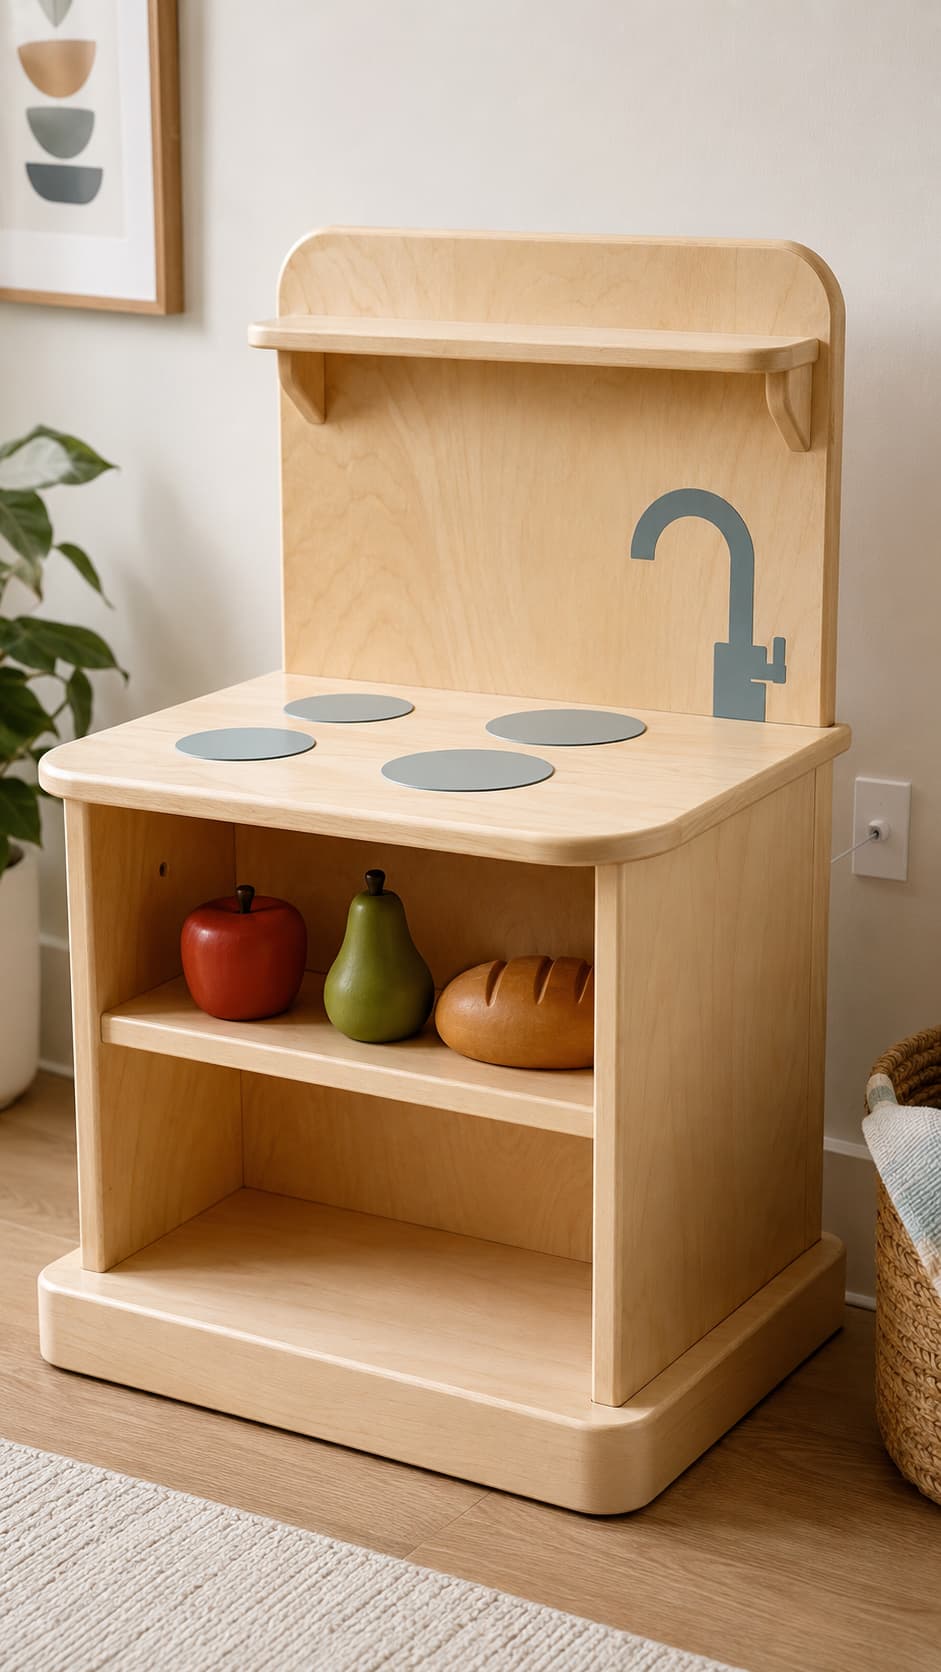
9. Mini Wooden Play Kitchen
This mini wooden play kitchen is a fantastic example of wooden toy plans in action.
Difficulty: Medium
Estimated time: Full weekend
Suggested material: Furniture-grade plywood and solid-wood trim
A compact play kitchen can include a countertop, painted burners, shelf, small backsplash, and open storage compartment.
The safest beginner version avoids real plumbing fixtures, glass, removable knobs, and complex hinged doors. Painted circles make convincing burners without adding loose components.
Round the countertop corners and secure the finished unit against tipping according to the design and installation requirements. Make the base broad enough to remain stable during play and check every opening for possible entrapment or pinch points.
If you add a door, use appropriate safety hardware, limit its movement, and test the gap around it. A simple open shelf may be the better first-build option.
The leftover plywood from this build can be used for more DIY plywood projects.
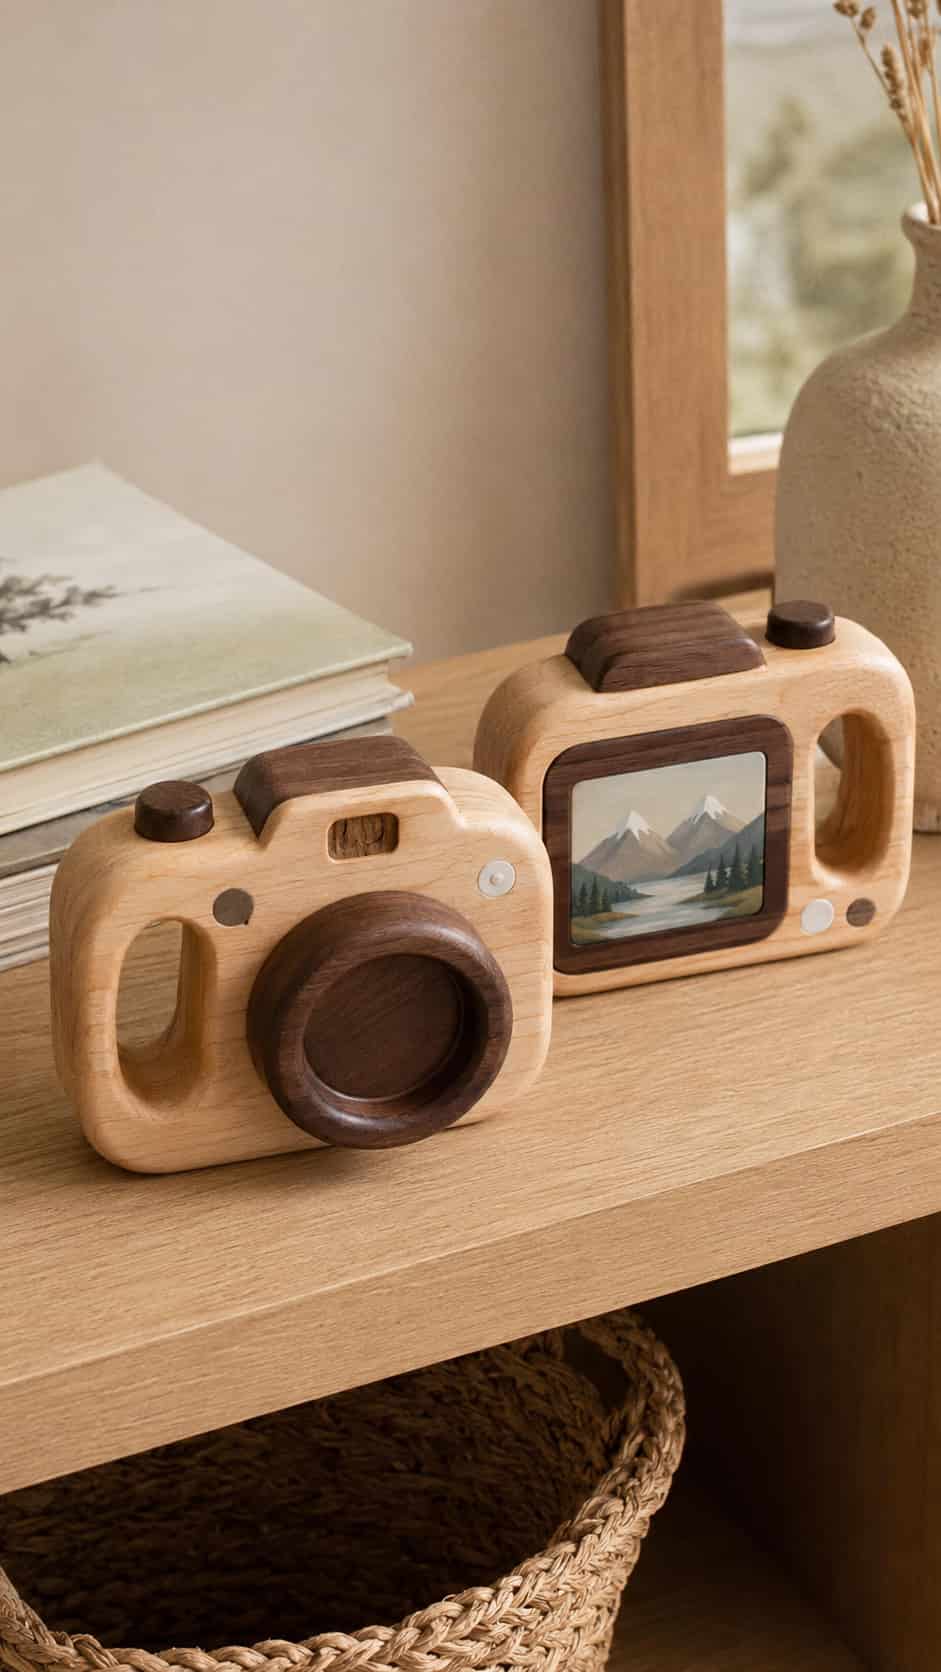
10. Wooden Pretend Camera
Difficulty: Easy
Estimated time: 2–3 hours
Suggested wood: Maple, poplar, or laminated hardwood scraps
A toy camera can be made from a thick rectangular body with a securely integrated wooden lens shape and painted controls.
Round the body corners generously and keep the lens broad rather than using a narrow dowel. Decorative buttons are safer when painted or carved shallowly into the body instead of attached as separate parts.
Avoid a long neck strap. If you add any carrying feature, it must be appropriate for the child’s age and designed according to current toy-safety requirements. A wide integrated handhold may be a better alternative.
Paint the “screen” on the back with chalkboard-style paint or add a simple mountain scene to encourage pretend photography.
11. Chunky Woodland Animal Figures
Chunky woodland animal figures are delightful additions to your wooden toy plans.
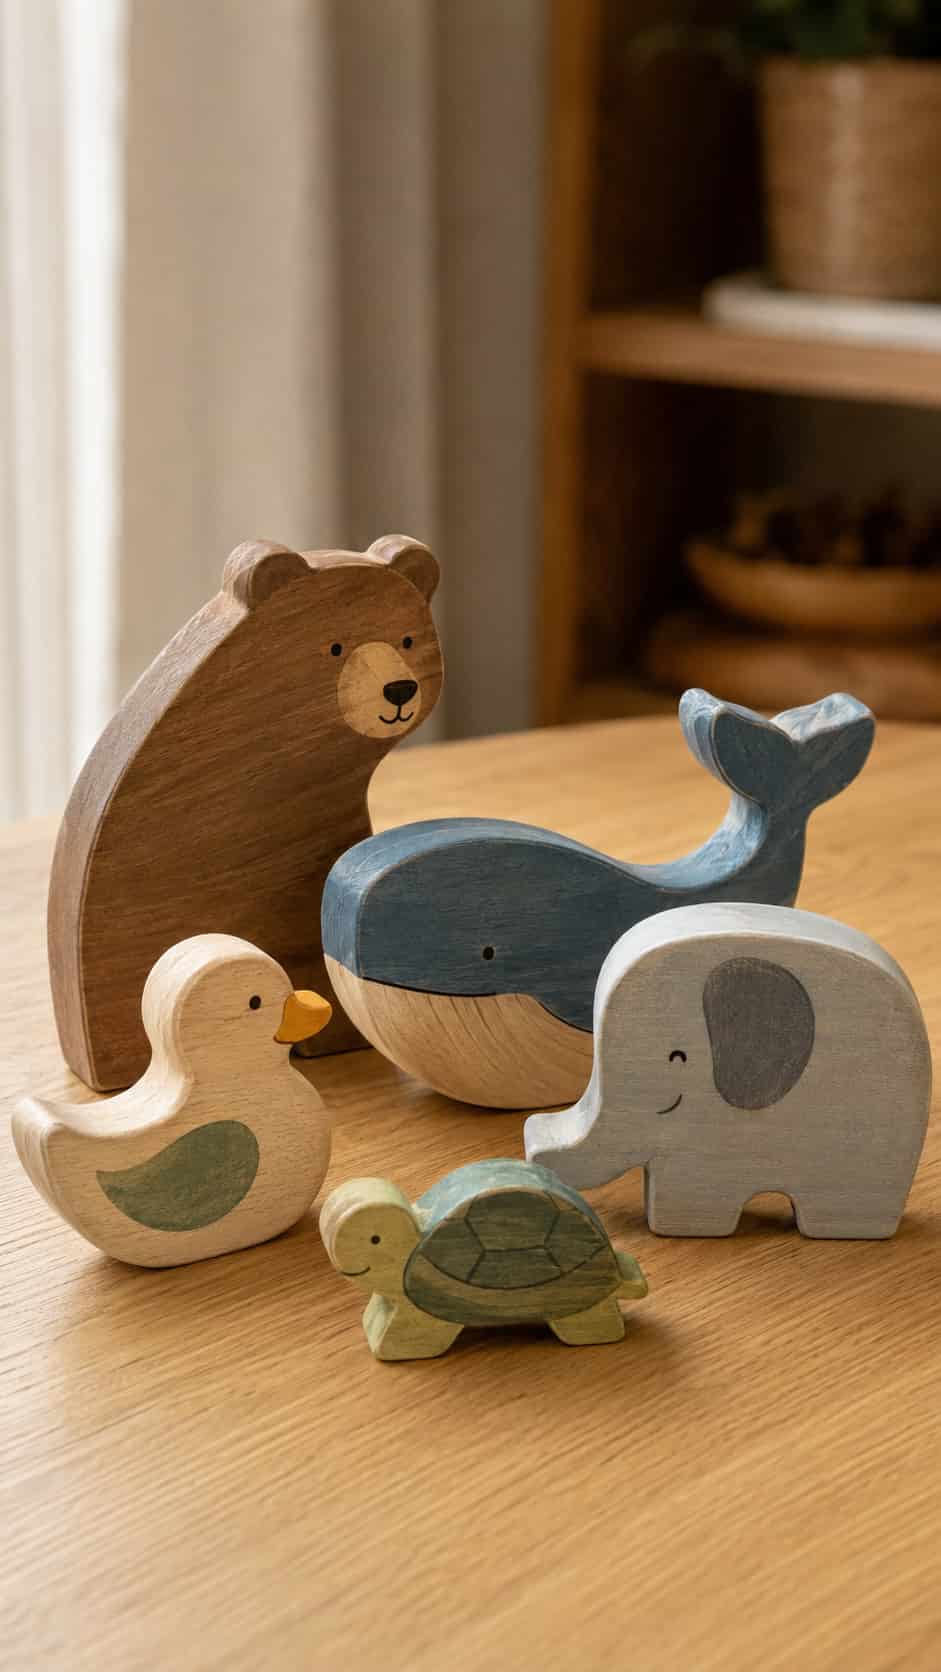
Difficulty: Medium
Estimated time: 3–5 hours
Suggested wood: Basswood, poplar, or maple
Create a family of solid wooden animals for small-world play. Bears, whales, ducks, elephants, and turtles translate especially well into simple silhouettes.
Begin with a paper outline and remove fragile details. The shape should remain recognizable even without individual legs, tiny ears, or thin tails.
After an adult safely prepares the outline, refine the curves with files and sandpaper. Paint facial features rather than drilling or attaching separate eyes.
Basswood is easy to shape but relatively soft. Maple is more durable but harder to work. For additional small-scale inspiration, explore these easy small wood carving projects.
12. Wooden Memory Matching Tiles
Wooden memory matching tiles are an easy project to include in your wooden toy plans.
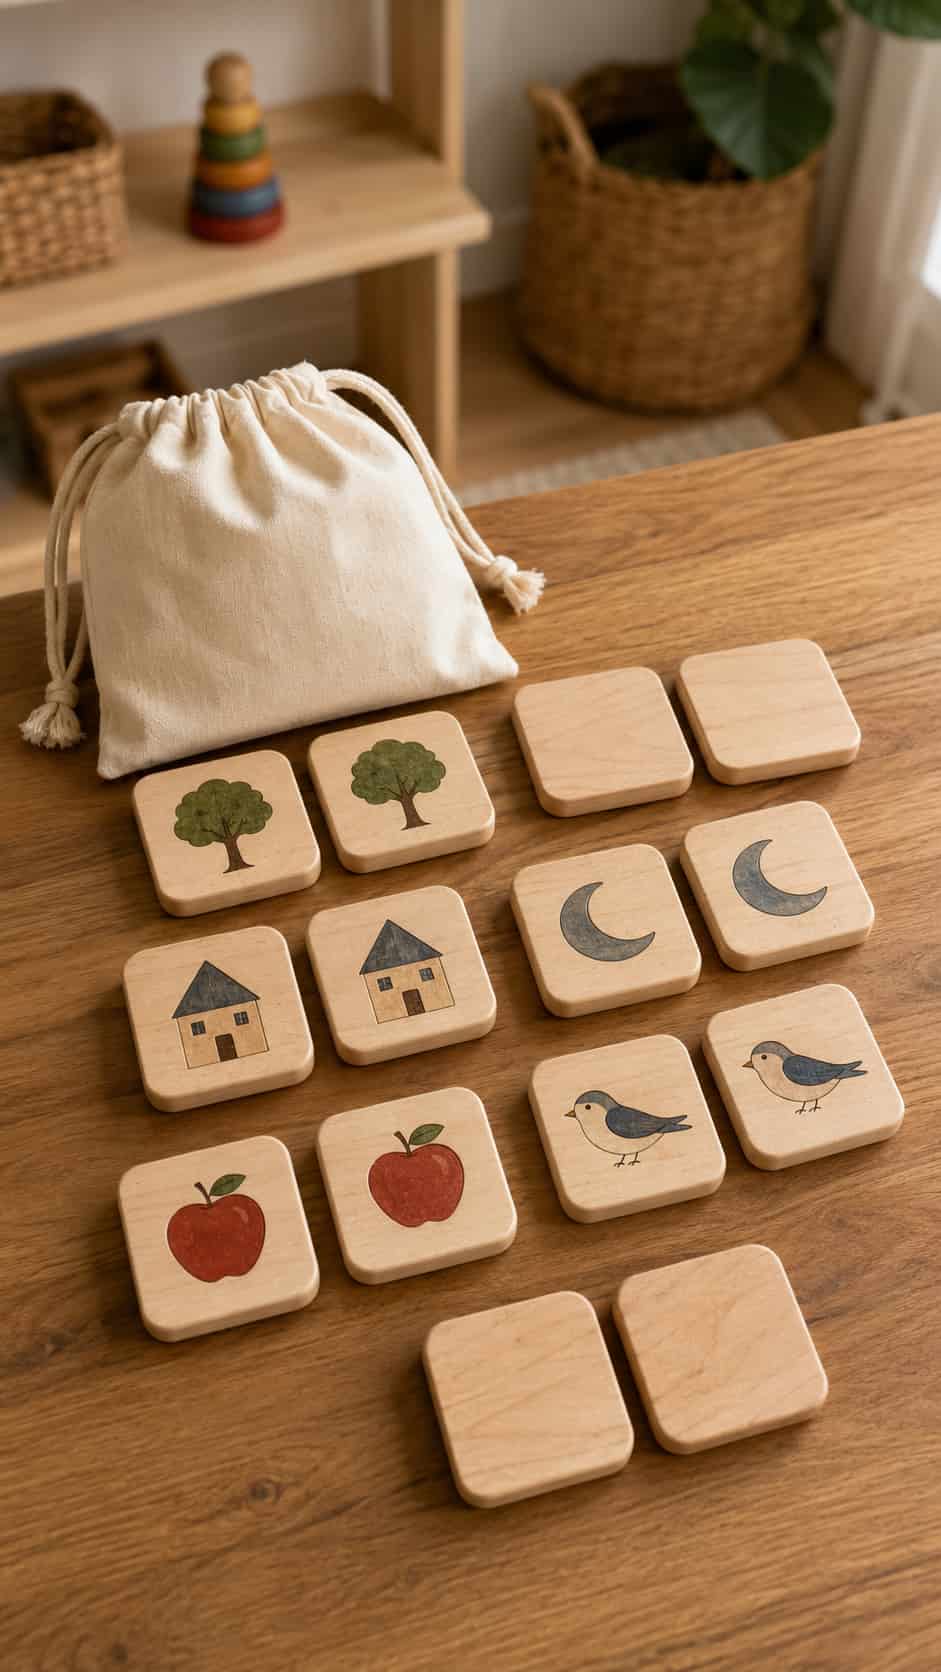
Difficulty: Easy
Estimated time: 2–3 hours
Suggested wood: Maple, poplar, or quality plywood
Memory tiles are one of the easiest wooden games to batch-build. Make an even number of identical, chunky squares and decorate the faces in matching pairs.
Possible pictures include two trees, two houses, two moons, two apples, and two birds. Use simple painted or engraved designs that can be recognized quickly.
Consistency matters. If some tiles are noticeably darker, thicker, or differently shaped, players may identify them from the back. Cut all pieces from the same board when possible and use one template for rounded corners.
Make the tiles large enough for the intended child and store them in a suitable box or fabric bag.
13. Oversized Wooden Tic-Tac-Toe Set
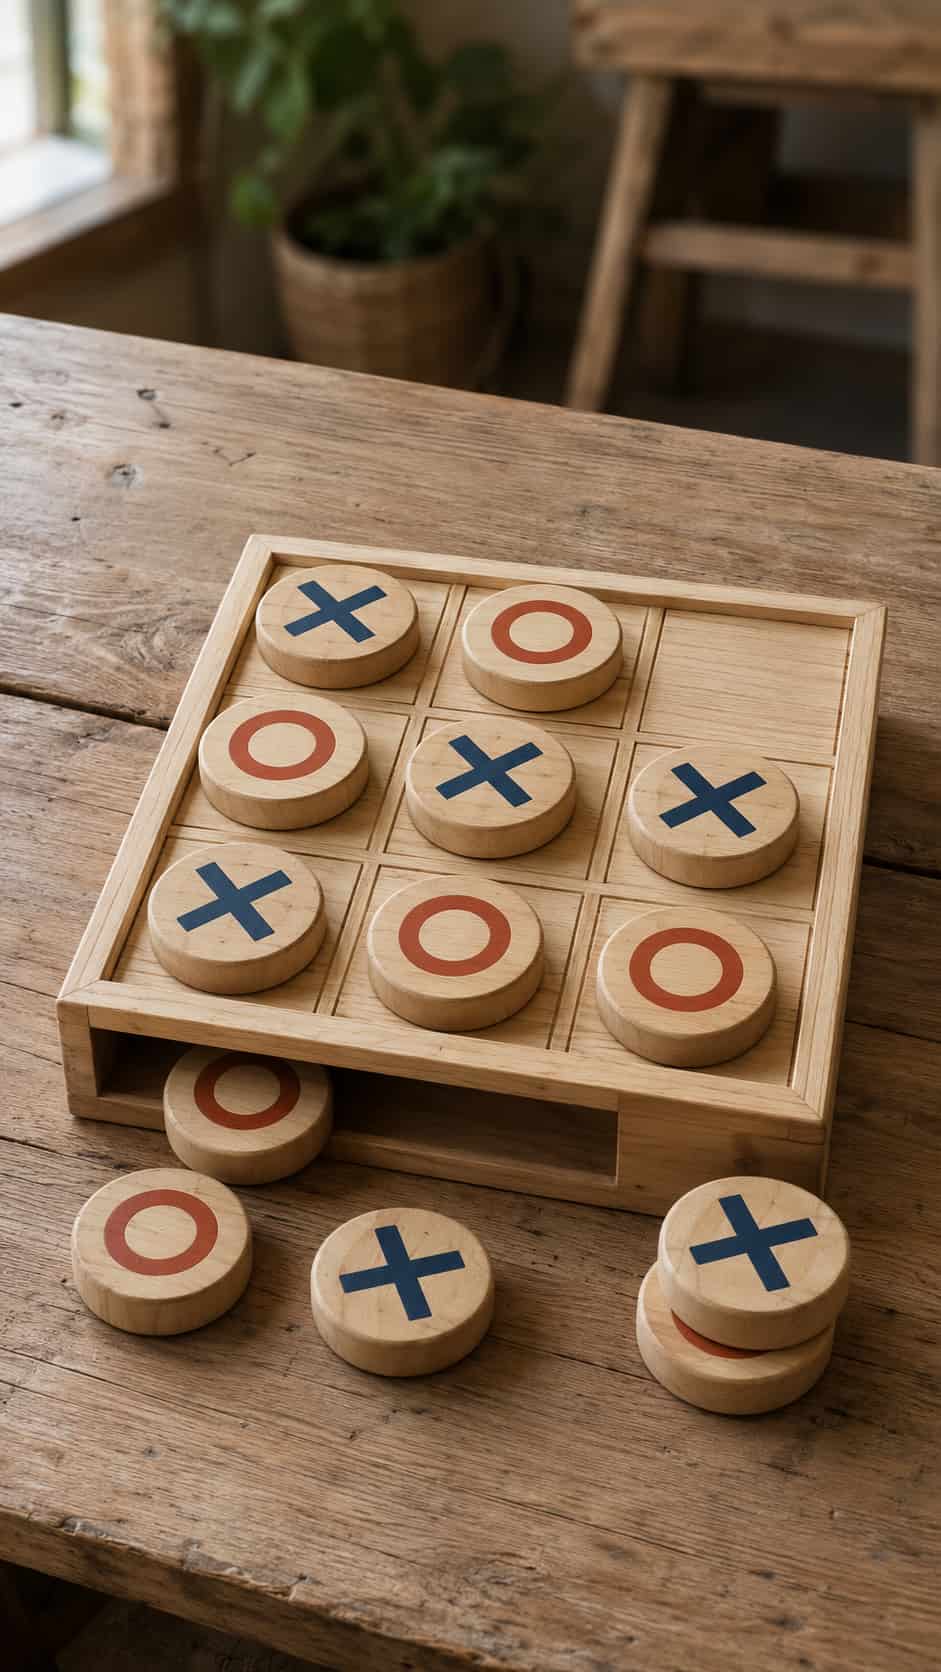
Difficulty: Easy
Estimated time: 2–3 hours
Suggested material: Pine, poplar, or plywood
Build a sturdy square board with a painted or shallowly engraved three-by-three grid. Create five X pieces and five O pieces from thick wood.
This game is generally better suited to older children who understand the rules and do not mouth objects. Even then, the pieces should be comfortably oversized, smooth, and free from sharp interior corners.
Instead of cutting fragile letter shapes, paint X and O symbols onto thick square or round tiles. This makes the pieces stronger and easier to produce.
A shallow border or built-in storage compartment can help keep the pieces together, but avoid lids or moving parts that introduce pinch points.
14. Wooden Roads and Town Pieces
Wooden roads and town pieces provide endless possibilities in your wooden toy plans.
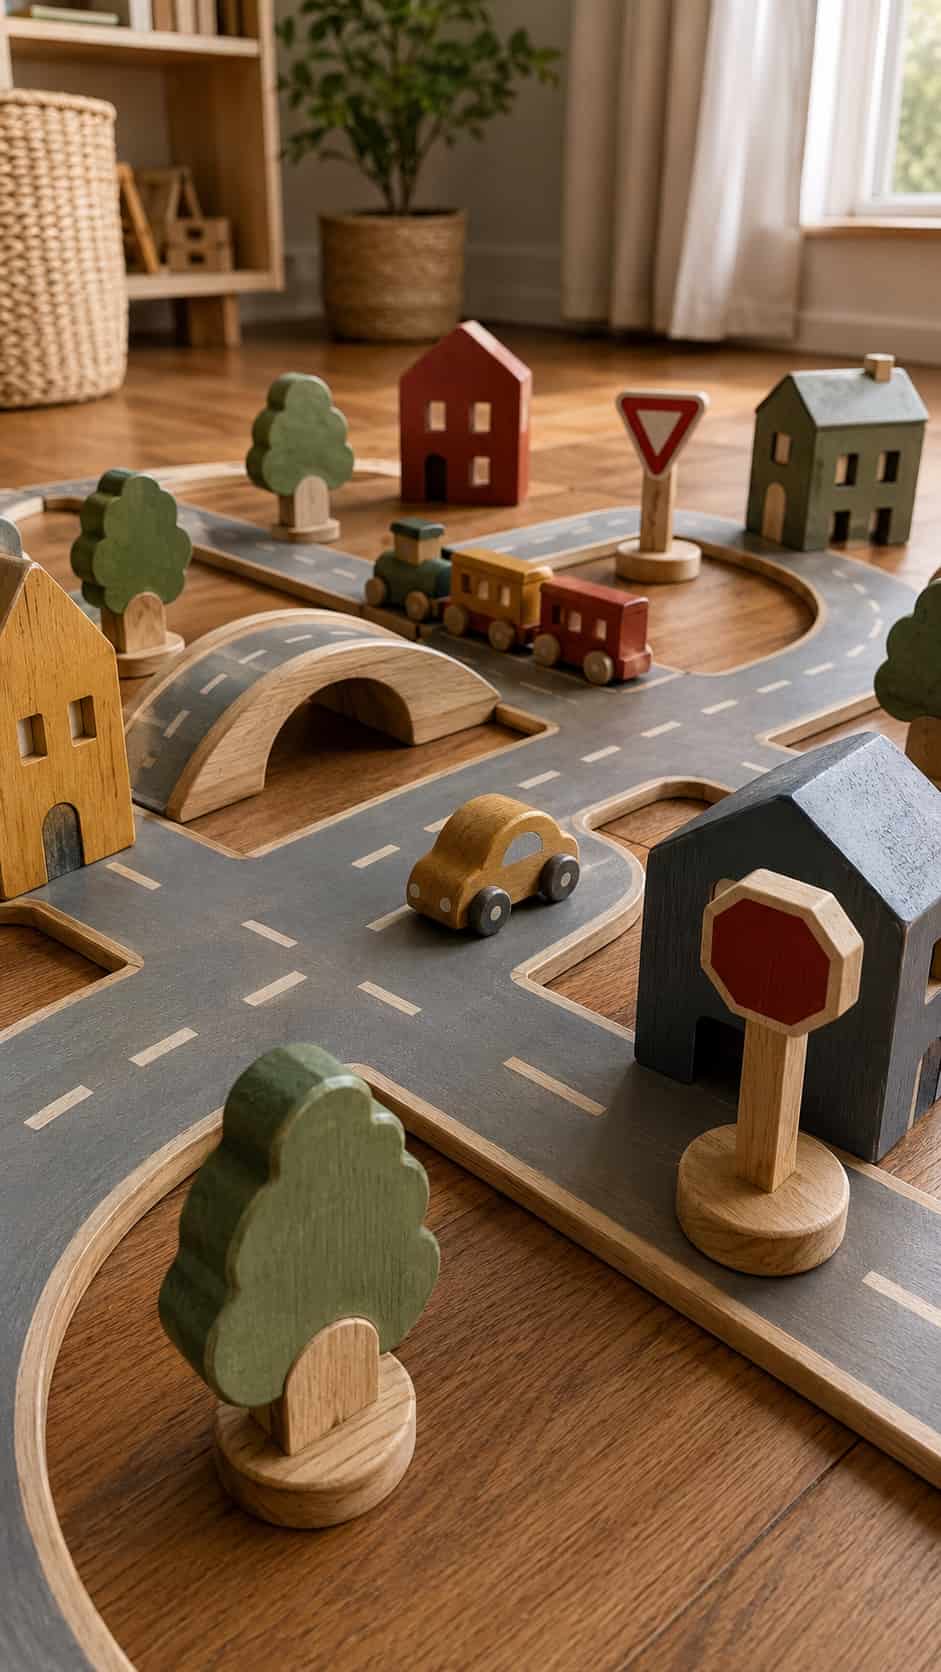
Difficulty: Easy–Medium
Estimated time: 3–5 hours
Suggested material: Thin furniture-grade plywood or solid wood
Create a modular town using straight road sections, curves, intersections, houses, trees, bridges, and simple traffic signs.
Paint the roads directly onto broad, flat pieces so they can be rearranged on the floor. Buildings should be chunky freestanding blocks rather than hollow structures with fragile roofs.
Keep signs large and integrated into wide bases. Avoid thin posts and small detachable accessories when building for younger children.
This project pairs well with the wooden car and train. Match the width of the roads to the vehicles before cutting the full set.
A few natural wood pieces mixed with painted ones will keep the town visually interesting without turning the weekend into a painting marathon.
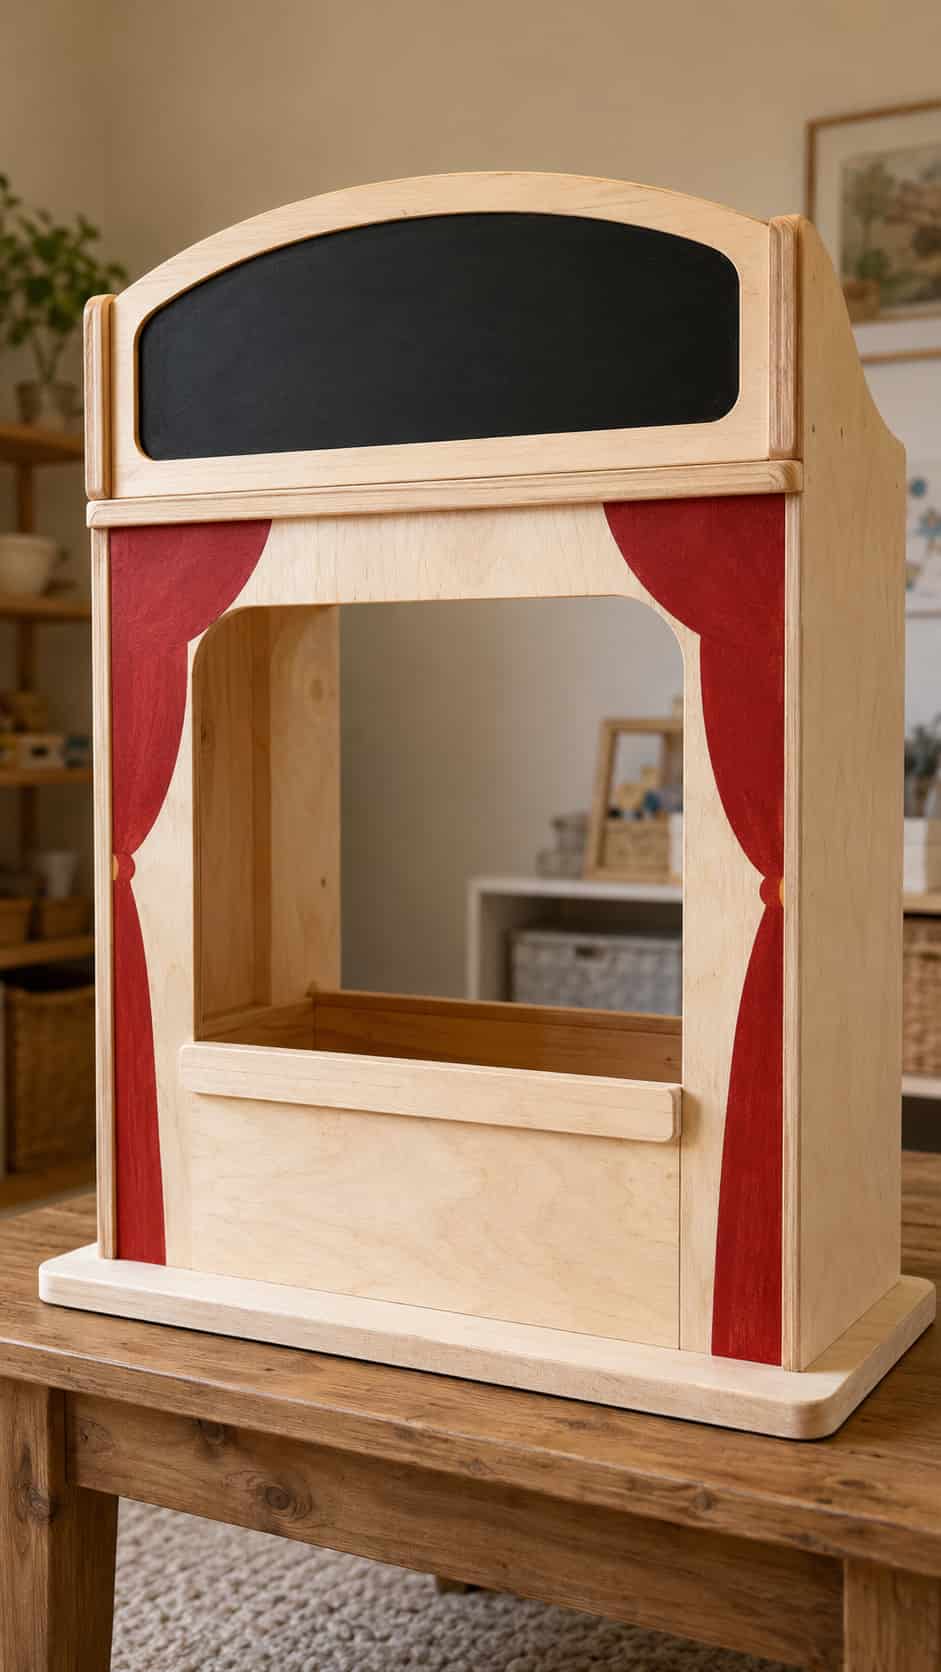
15. Tabletop Wooden Puppet Theater
A tabletop wooden puppet theater can spark creativity using these wooden toy plans.
Difficulty: Medium
Estimated time: 4–6 hours
Suggested material: Furniture-grade plywood and solid-wood trim
A tabletop puppet theater can encourage storytelling without taking over an entire room. Build it as a stable three-sided structure with a wide front opening and a broad base.
Round the opening corners and reinforce the sides so the theater cannot fold or collapse during play. Avoid heavy overhead decorations and make sure the structure cannot tip forward easily.
Paint simple curtains onto the front rather than hanging long fabric cords or tassels. A strip along the bottom of the opening can hide the puppeteer’s hands and serve as a miniature stage.
The back can include a chalkboard panel for changing the show title. Keep all accessories suitable for the intended child’s age.
Three Projects That Deserve Complete Plans
Several ideas in this collection are strong candidates for separate tutorials with precise measurements, cut lists, printable patterns, and assembly diagrams.
Beginner Wooden Toy Car
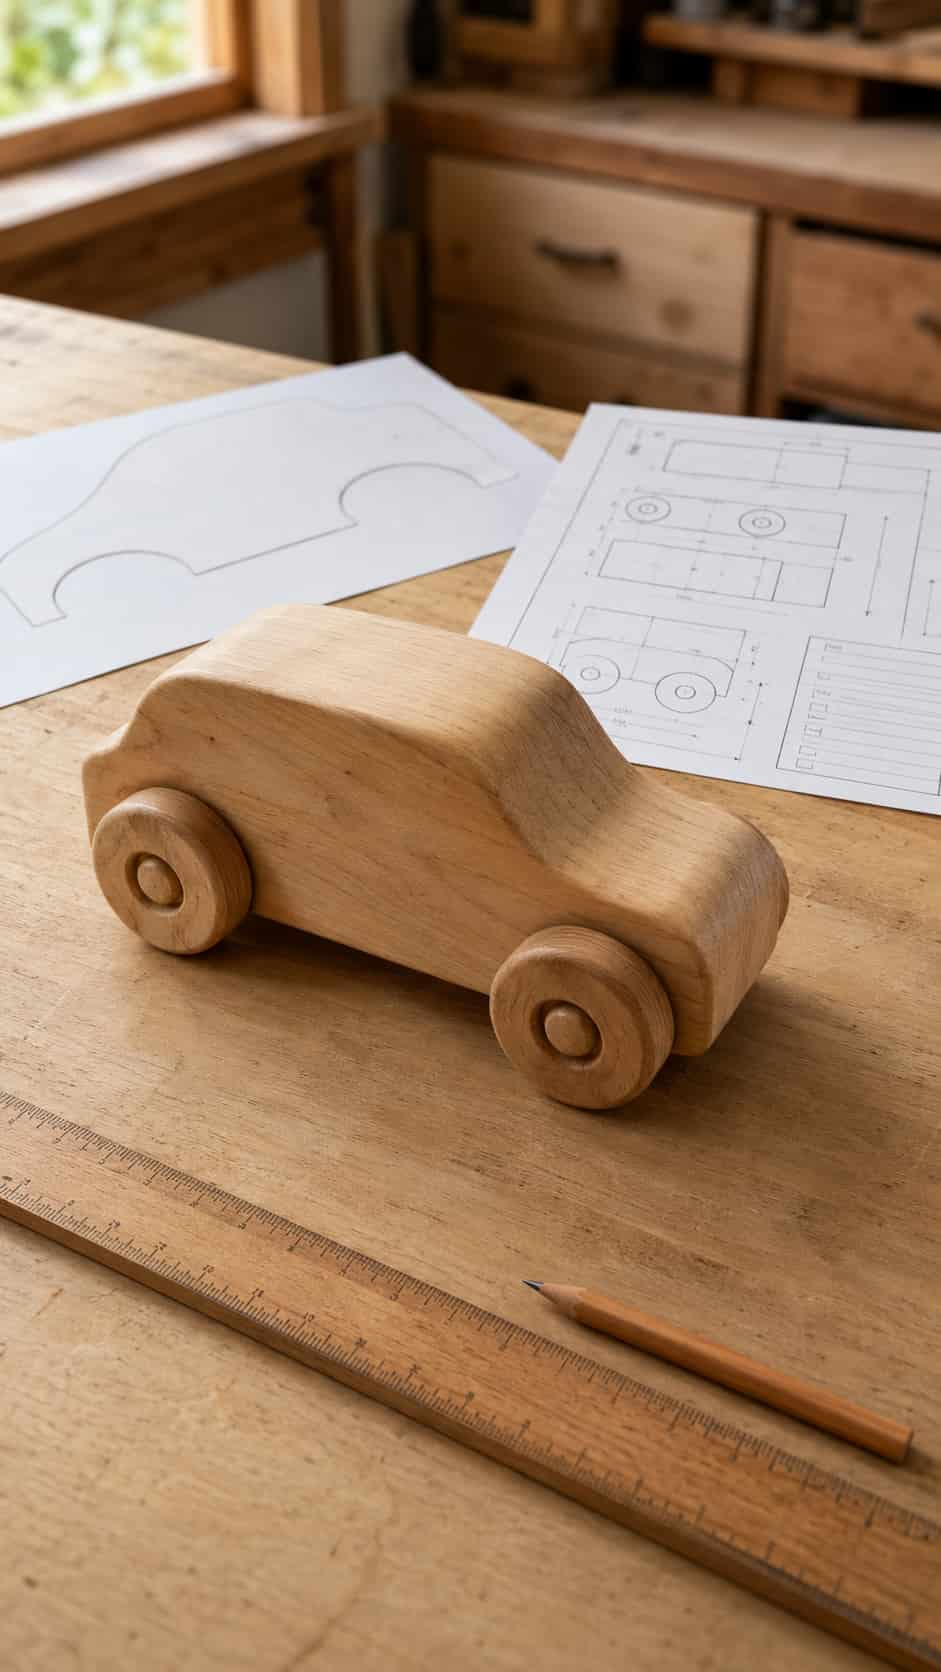
A complete plan should include:
- Full-size body template
- Finished wheel and axle dimensions
- Safe axle-retention method
- Wheel-clearance guidance
- Corner-radius details
- Sanding checklist
- Final inspection checklist
Chunky Shape Puzzle
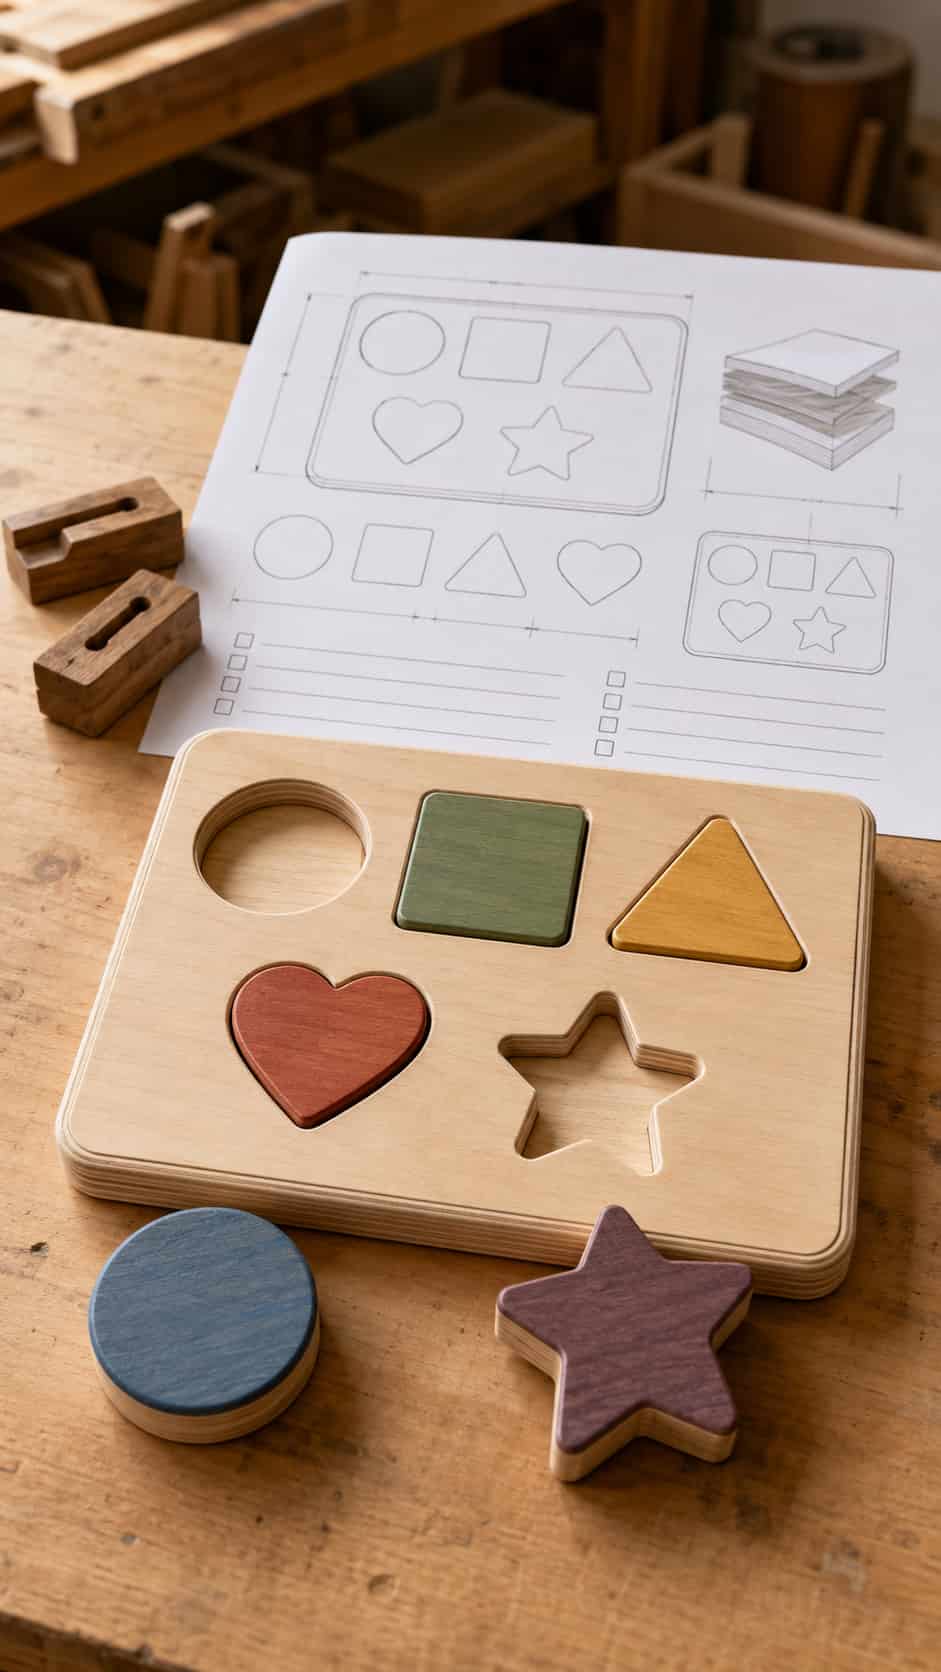
A detailed tutorial should provide:
- Puzzle-board dimensions
- Minimum material thickness
- Printable shape templates
- Piece-clearance guidance
- Backer-panel layout
- Glue and clamping sequence
- Internal-edge sanding instructions
- Age-appropriate sizing review
Compact Play Kitchen
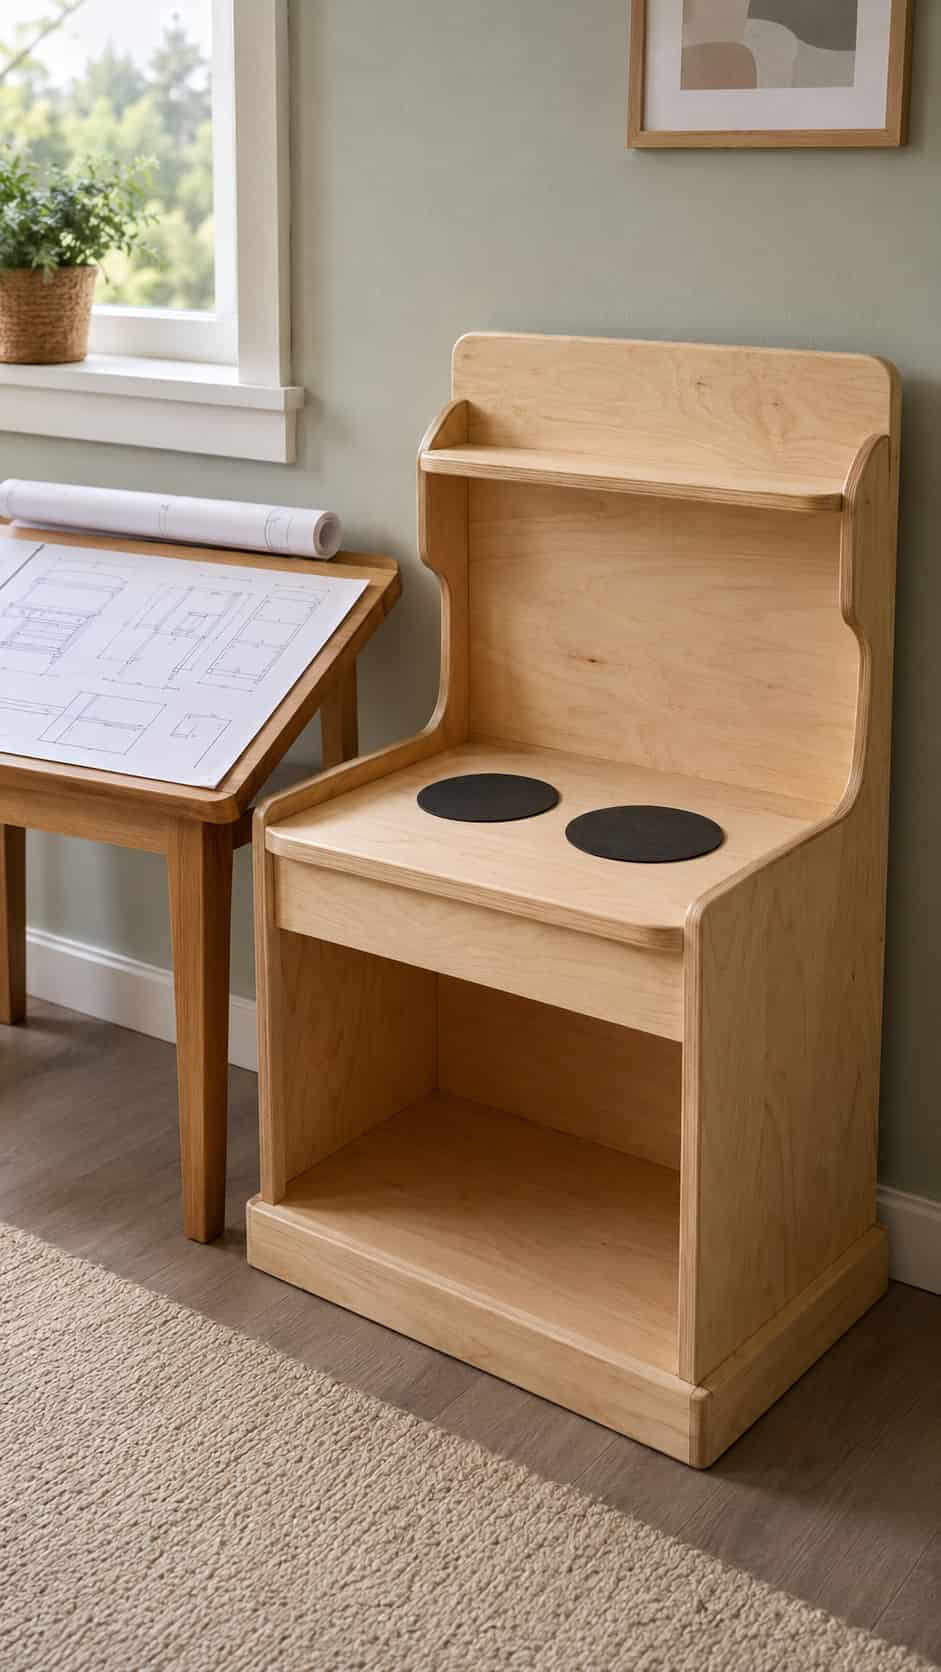
A complete plan should cover:
- Overall dimensions
- Cut diagram for one plywood sheet
- Stable base construction
- Rounded countertop corners
- Anti-tip requirements
- Safe door or open-shelf options
- Hardware placement
- Final stability and pinch-point checks
Any detailed plan should still be reviewed against the intended child’s age and current safety requirements before construction.
How to Sand Wooden Toys Properly
Sanding is not the step to rush when making a toy.
Begin by removing saw marks and uneven areas, then progress through finer sandpaper rather than jumping directly to a very fine grit. The exact sequence will depend on the wood and starting surface.
Pay special attention to:
- Corners and points
- Inside curves
- Axle holes
- Puzzle openings
- Wheel edges
- Cutout handles
- Plywood edges
- End grain
- Areas around joints
Run a clean cloth over the surface after sanding. If the cloth catches, the area probably needs more attention. Then wipe away dust using a method appropriate for your chosen finish.
Do not round an edge so aggressively that you weaken an axle, joint, wheel, or narrow component. The goal is a smooth, durable shape—not simply a soft-looking one.
Choosing a Child-Appropriate Finish
“Natural,” “food-safe,” and “non-toxic” are not interchangeable claims, and none automatically proves that a product is appropriate for every toy.
Read the finish manufacturer’s current instructions and confirm that the product is suitable for the toy’s intended use. Pay attention to the child’s age, whether the toy may be mouthed, the application method, required ventilation, drying time, and full-curing period.
Possible finishing approaches include:
- Leaving suitable wood unfinished
- A finish specifically marketed and documented for toy use
- An appropriate fully cured clear finish
- Paint documented for the intended children’s product
- Approved color washes followed by a compatible protective finish
Apply the finish in a controlled, well-ventilated area away from children. “Dry to the touch” does not necessarily mean fully cured. Do not give the toy to a child until the complete curing period has passed.
Avoid old paint, mystery finishes, products without adequate instructions, and decorative coatings that flake or peel easily.
Final Toy Inspection Checklist
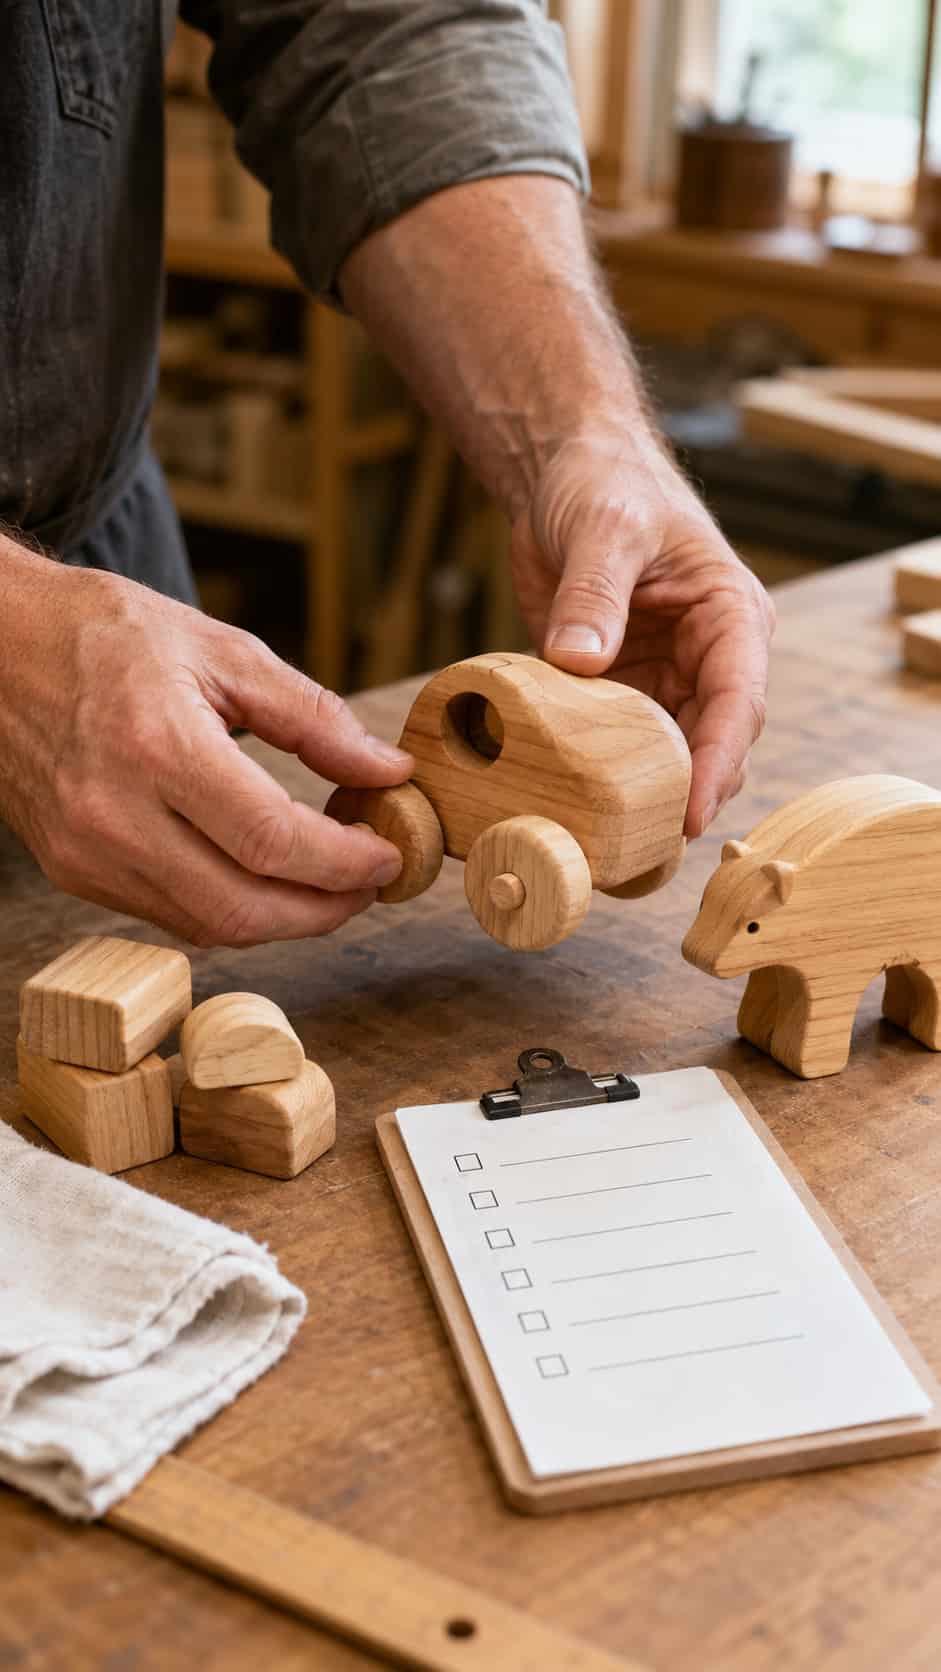
Before the toy enters the playroom, inspect it as though you did not build it.
Check that:
- Every surface feels smooth.
- All corners and edges are softened appropriately.
- No small component can be pulled or twisted loose.
- Wheels and axles remain secure.
- Glue joints show no movement.
- There are no accessible sharp fasteners.
- Moving parts do not create dangerous gaps.
- The toy has no long cord, loop, or strap.
- The design cannot tip unexpectedly.
- The finish is fully cured.
- The toy is appropriate for the intended child.
- An adult understands any supervision requirements.
Repeat the inspection regularly. Wood responds to moisture, temperature, impact, and wear. Remove the toy from use immediately if a crack, splinter, loose part, or damaged finish appears.
Frequently Asked Questions
What is the easiest wooden toy to make?
A set of chunky building blocks or memory-matching tiles is usually the easiest starting point. Both projects use repeated shapes, simple sanding, and minimal assembly.
What wood is best for handmade toys?
Maple and beech are strong choices for durable toys. Poplar is easier to work and accepts paint well. Pine is affordable but should be selected carefully for sound grain and secure knots. The right choice depends on the project, intended child, and finish.
Can I make wooden toys from scrap wood?
Yes, if the scraps are clean, untreated, structurally sound, and free from metal or unknown coatings. Do not use questionable pallet wood, pressure-treated lumber, or old painted boards.
If your offcuts are taking over the shop, these scrap wood storage ideas can help organize them by usable size.
Are homemade wooden toys safe?
They can be made thoughtfully, but homemade does not automatically mean safe. Dimensions, small parts, joint strength, wood condition, finish, moving components, and the intended child’s age all matter. Commercial sales may also require formal testing and documentation.
Can children help build these toys?
Children can help with suitable low-risk activities under close adult supervision, but capable adults should perform all cutting, drilling, routing, powered sanding, and other power-tool operations. The adult is responsible for workholding, protective equipment, material choice, assembly, and final inspection.
Should I use screws or wood glue?
That depends on the structure. Whatever assembly method you choose must remain secure under foreseeable play. Avoid exposed fasteners, loose hardware, and joints that depend only on a fragile decorative component. Follow the adhesive or hardware manufacturer’s instructions.
Can I sell toys made from these ideas?
The ideas may inspire products, but selling toys creates additional responsibilities. Research the current rules for every country or region where the toys will be offered, including testing, labeling, documentation, material restrictions, traceability, and age grading.
For less regulated product inspiration, compare these woodworking projects that sell on Etsy, while still researching the requirements that apply to each product category.
Final Thoughts
Ultimately, these wooden toy plans should inspire imaginative play and creativity among children.
The best DIY wooden toy plans are not necessarily the most complicated ones. A smooth set of blocks, a chunky toy car, or a handful of animal figures can invite more imaginative play than a project packed with delicate details.
Choose one design that matches your current skill level. Use clean, dependable materials, keep the shapes sturdy, and spend as much time on sanding and inspection as you spend on assembly.
Most importantly, design for the child who will actually use the toy. Consider their age, habits, and abilities throughout the build—not only when the toy is finished. That thoughtful approach is what turns an attractive woodworking project into a meaningful handmade gift.