
Let’s get one thing straight: you don’t need to gut your entire kitchen to make it feel warmer, cozier, and more you. Full renovations are expensive, stressful, and somehow always take three times longer than planned. But that sterile, cold kitchen vibe? That’s actually fixable without a contractor, a sledgehammer, or a second mortgage.
Warm wood tones are having a serious moment in interior design, and the best part is that you can incorporate them in ways that are totally reversible, budget-friendly, and — dare I say — actually fun to do. Let’s get into it.
Why Wood Tones Work So Well in a Kitchen
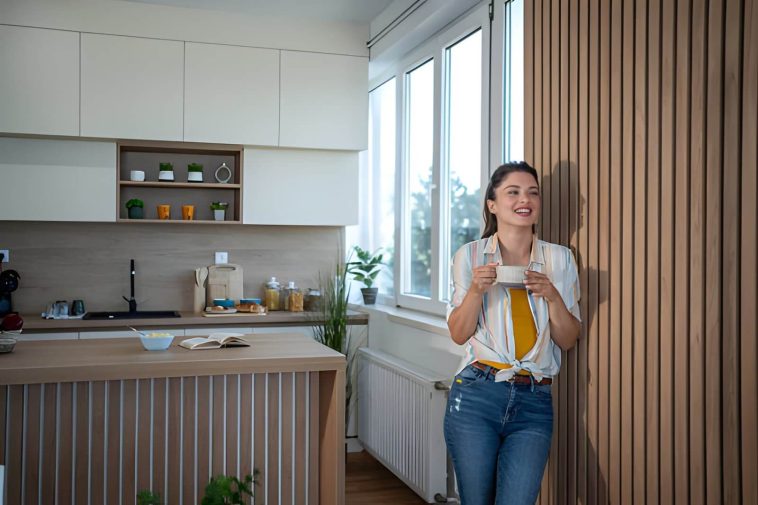
There’s a reason kitchens with natural wood elements feel so inviting. Wood brings organic texture into a space that’s usually dominated by hard, cold surfaces — tile, stone, stainless steel, laminate. It breaks up the visual monotony and adds warmth that no amount of warm-white paint can fully replicate.
Think about the kitchens you’ve seen that made you want to pour yourself a coffee and just sit there. Chances are, wood played a role. Whether it was open shelving, a butcher block countertop, or even just a chunky wooden bowl on the counter — it all contributes to that lived-in, inviting atmosphere.
And the best news? You don’t need to be a designer or a skilled woodworker to get there. You just need a plan.
If you’re already bitten by the woodworking bug (and if you’ve read our guide on How to Make an Epoxy River Table: A Step-by-Step Beginner’s Guide, you just might be), some of these ideas will give you great excuses to pick up your tools again.
Start With Open Shelving
Swapping out one or two upper cabinets for open wood shelving is one of the single most impactful changes you can make — and it doesn’t require a full renovation. Pull off the cabinet doors, remove the interior fittings, and suddenly you have a display area just waiting for some personality.
What Kind of Wood Works Best for Shelves?
- Walnut — rich, dark, and dramatic. Stunning against white or light grey walls
- Oak — versatile and widely available; takes stain beautifully
- Pine — budget-friendly and light, great for a more rustic, farmhouse feel
- Maple — clean-grained and light-toned; perfect for Scandi-inspired kitchens
For open shelves, solid wood beats plywood every time in terms of visual warmth and longevity. Aim for a thickness of at least 1.5 inches — thinner shelves look cheap and tend to bow under the weight of dishes.
Replace Your Countertop (Or Just Part of It)
Okay, this one requires slightly more commitment, but a butcher block countertop is still far cheaper than a full kitchen renovation and completely transformative. Swapping just the island or peninsula top can introduce a massive hit of warmth without touching the rest of your kitchen.
Advertisement
Butcher block is also wildly functional. You can cut directly on it (though your knives will disagree), it’s easy to refinish if it gets scratched, and it genuinely improves with age. A few knife marks? Character. A water ring? Sand it out with 120 grit and a bit of mineral oil.
Butcher Block Maintenance Tips
- Oil it regularly — food-safe mineral oil every few weeks when new, monthly once established
- Avoid leaving standing water — it will cause warping over time
- Sand and re-oil to refresh the surface when it looks dry or dull
- Don’t use harsh chemical cleaners — soap and water is genuinely all you need
IMO, there’s something deeply satisfying about a kitchen surface that actually gets better the more you use it, rather than the other way around.
Add a Wood Kitchen Island
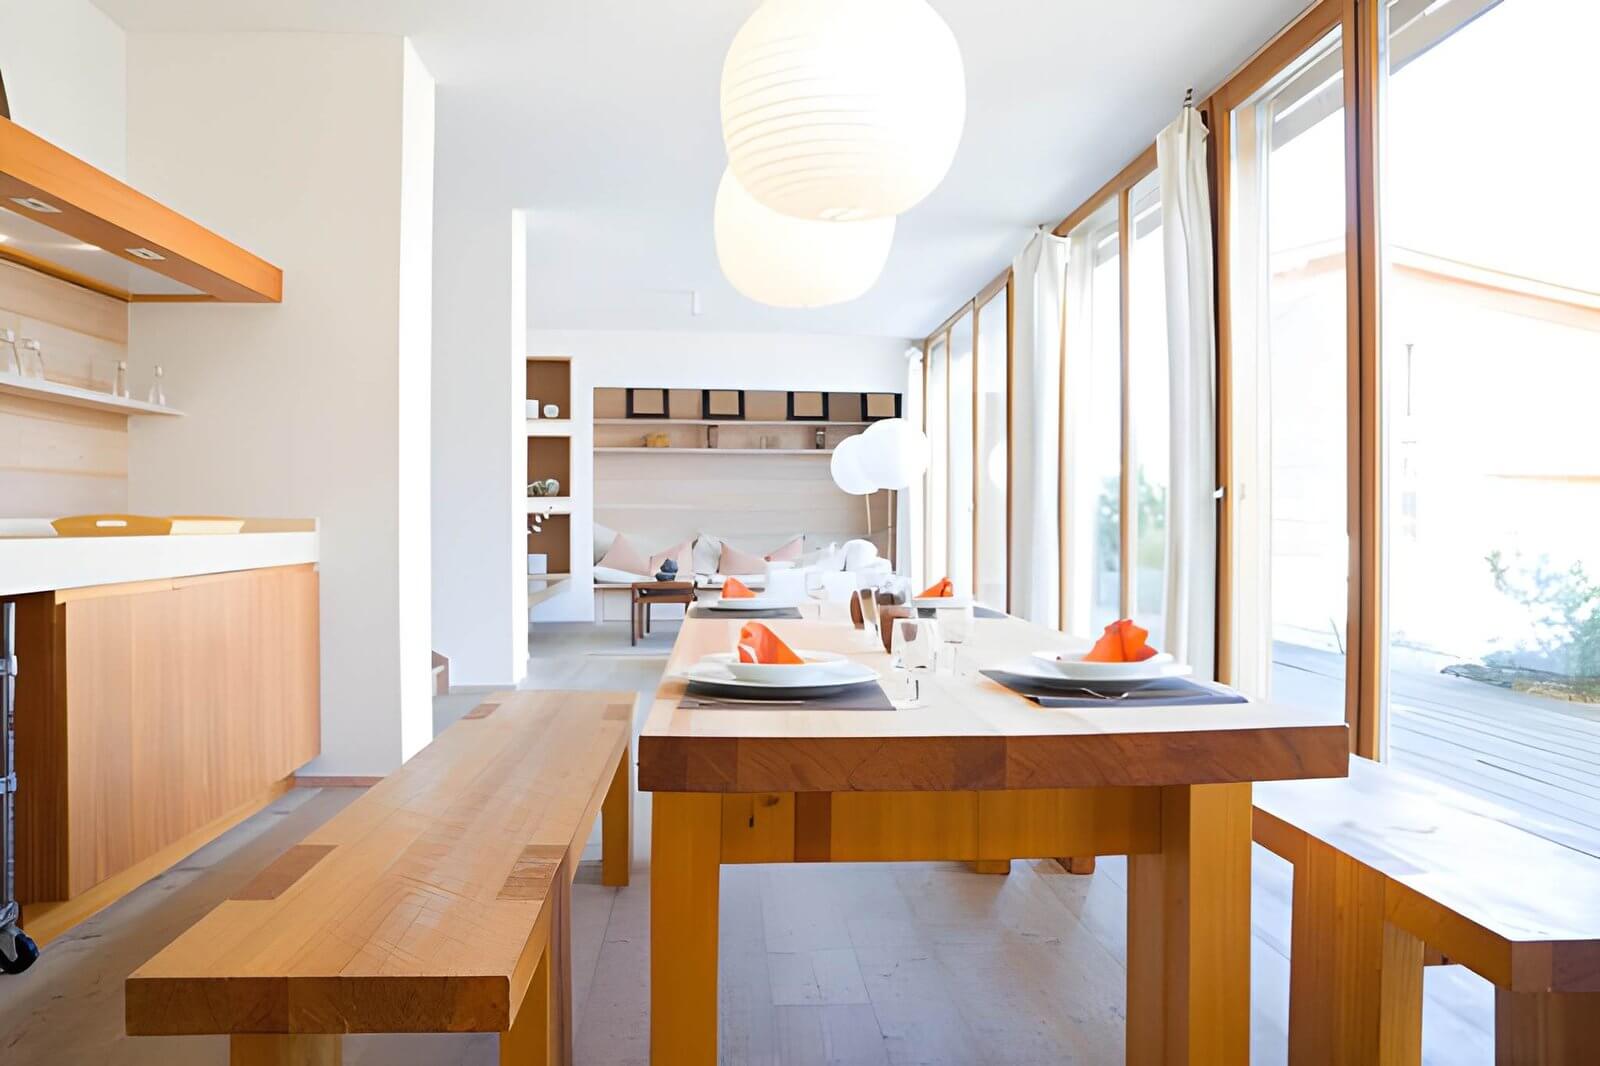
If you’re working with a kitchen that has room for an island — or you already have one in a cold material like painted MDF — consider introducing a butcher block-topped or fully wooden island. It doesn’t have to be built-in. Freestanding kitchen islands exist in every price range, and a natural wood top against painted base cabinetry is a classic combination for good reason.
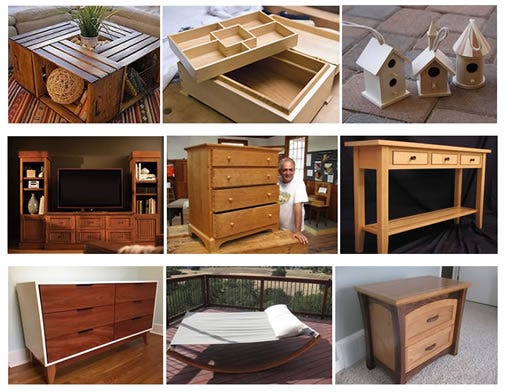
Even better: build one yourself. Seriously. A basic kitchen island is one of the most achievable beginner woodworking projects out there. Four legs, a frame, a shelf, and a solid top — that’s it. If you want a solid set of plans to work from, Ted’s Woodworking Plans has exactly what you need. With thousands of project plans available — from simple stools to full kitchen furniture builds — it’s the kind of resource that removes all the “where do I even start?” paralysis and just gets you building. And a handmade wooden island? That’s a kitchen centerpiece with a story behind it, which is so much more interesting than something you flat-packed together on a Sunday afternoon 🙂
Bring in Wood Through Smaller Accessories
Not ready for shelving or countertop changes? No problem. Small wooden accessories can shift the feel of a kitchen more than you’d expect. This is the lowest-commitment way to test the vibe before going bigger.
Wooden Kitchen Accessories That Actually Make a Difference
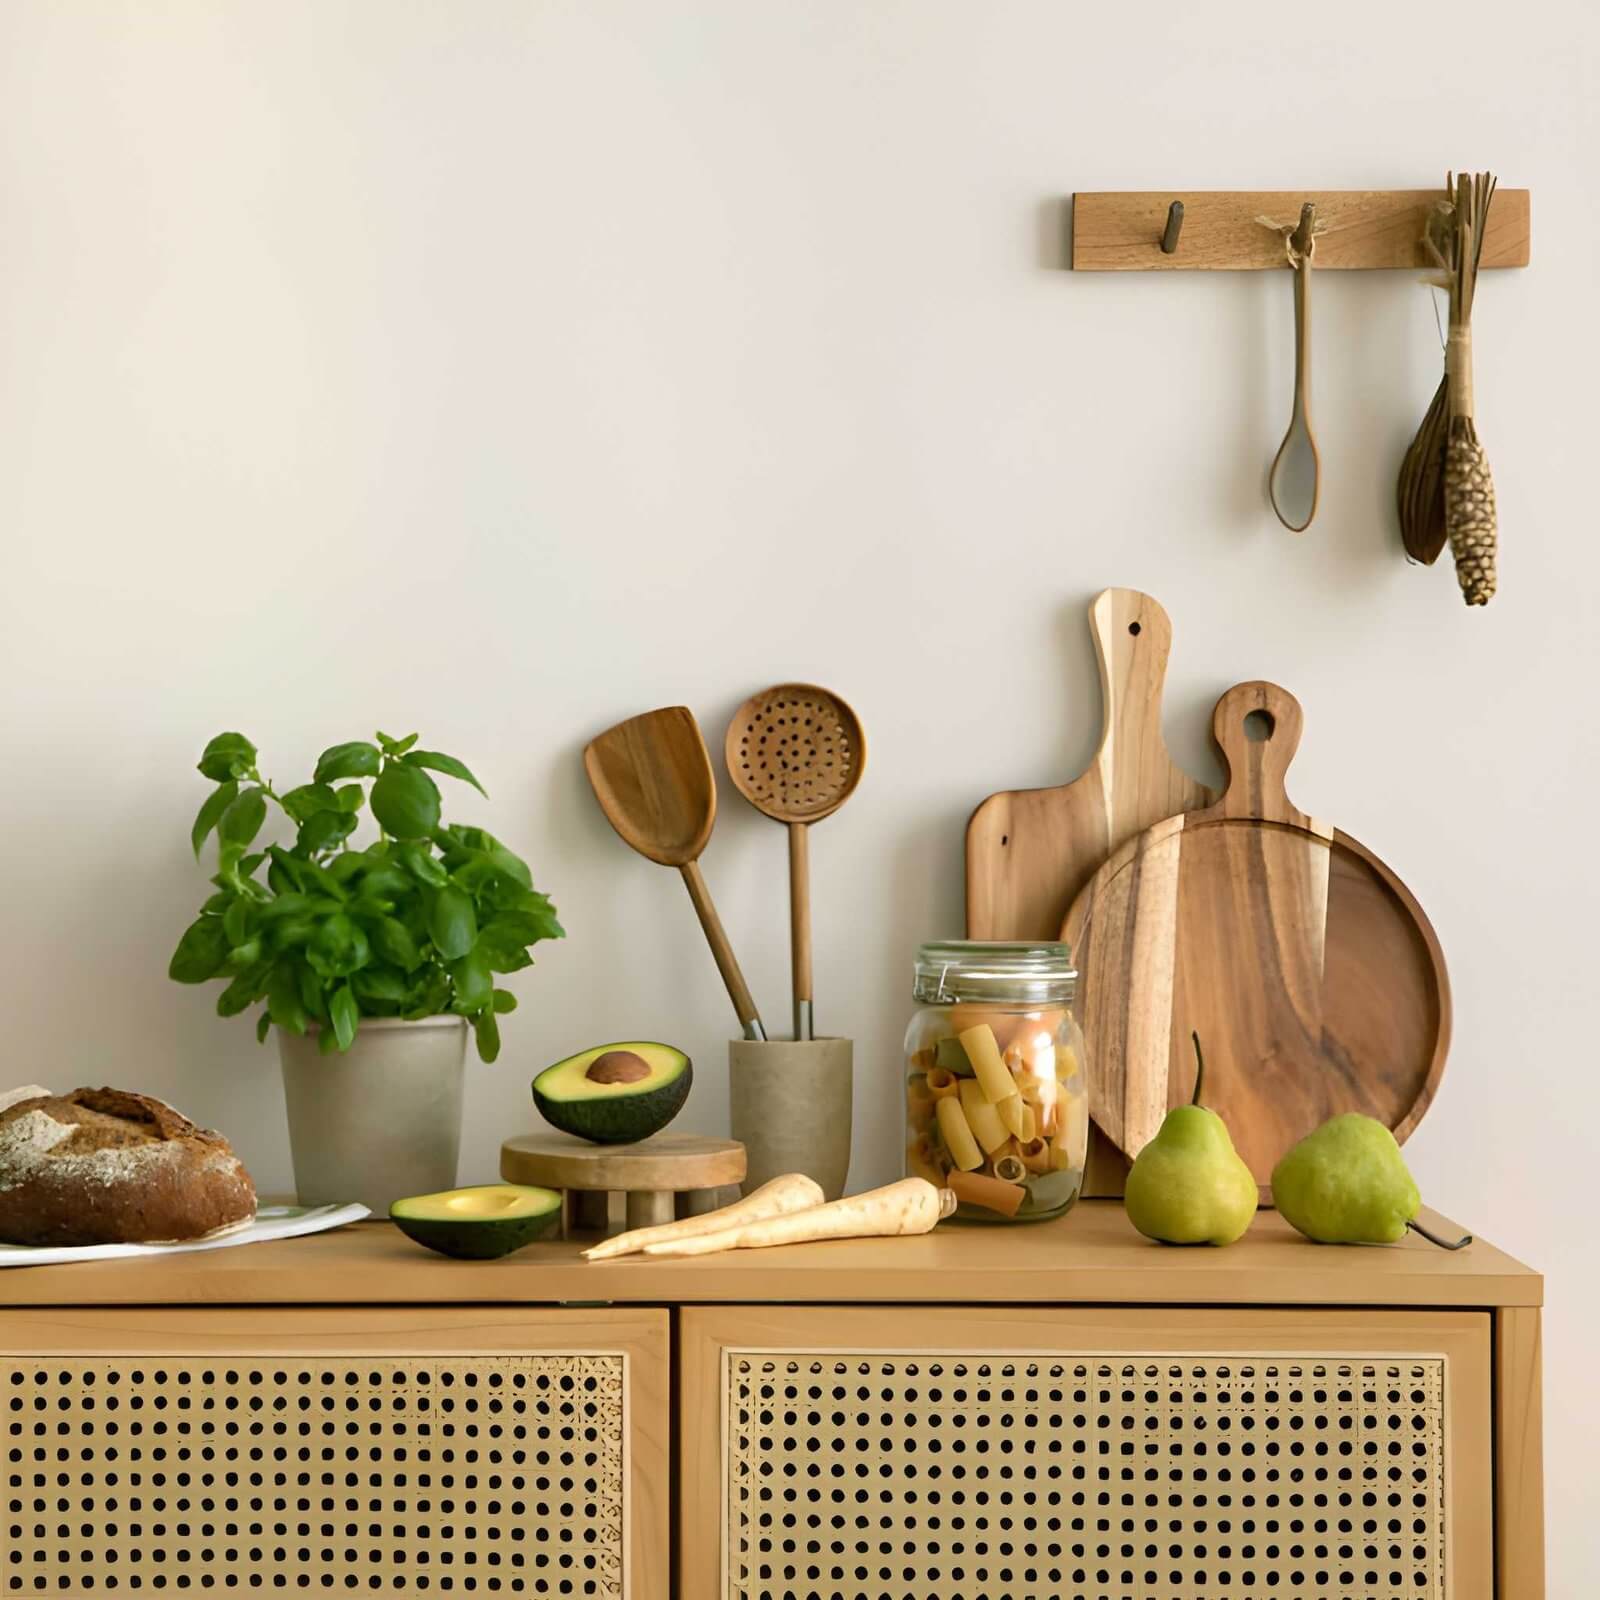
- A large wooden cutting board — leave it out as a display piece between uses
- Wooden utensil holders — ditch the stainless steel crock for something in acacia or bamboo
- A wooden fruit bowl or bread box — adds warmth to counter space without taking over
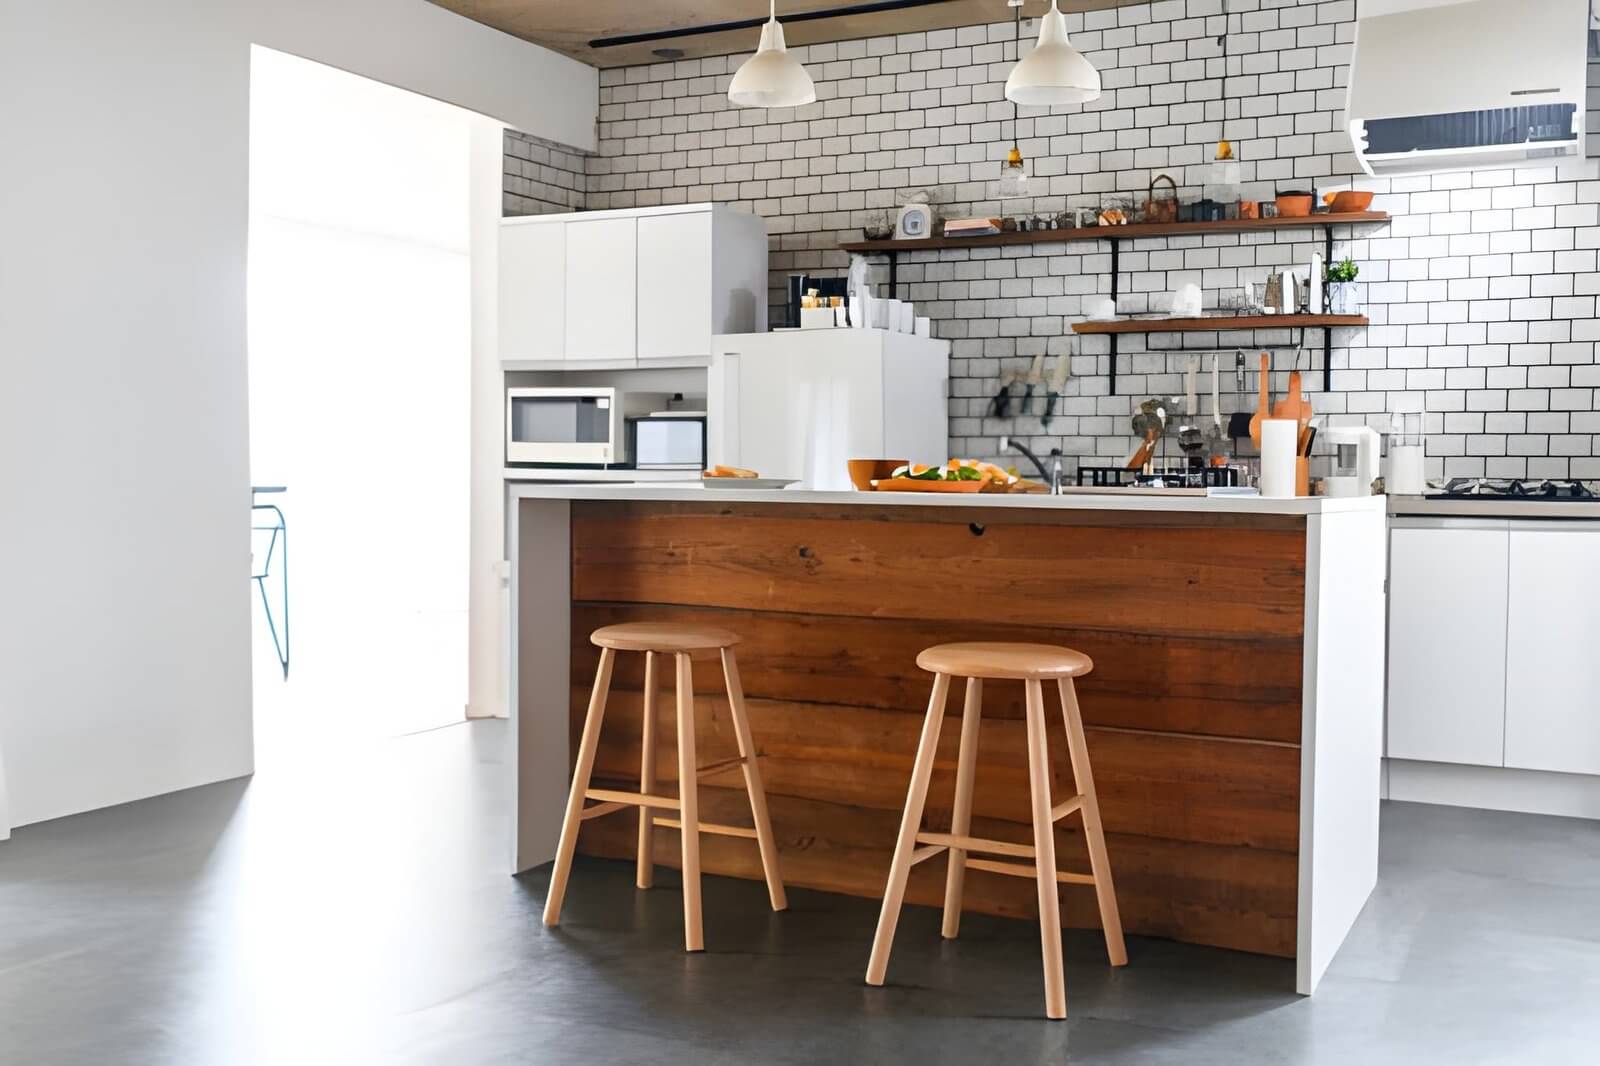
- Bar stools with wooden legs or seats — transforms an island or breakfast bar instantly
- A wooden knife block — functional and good-looking, unlike that magnetic strip that shows every fingerprint
The key is consistency of tone. Pick one or two wood tones and stick with them. Mixing ten different shades of brown just looks chaotic — you want the eye to read it as a cohesive design choice, not a bunch of random objects that ended up in the same room.
Paint Your Cabinets and Add Wooden Hardware

Here’s a trick designers use constantly: swap your cabinet hardware for wooden pulls and knobs. It sounds minor, but the effect is significant. Wooden hardware introduces that organic texture at eye level, which reads differently than metal hardware — softer, more handcrafted, more intentional.
This works especially well if your cabinets are a neutral color — white, cream, sage green, or navy. Dark wood hardware against painted cabinetry creates a contrast that feels very deliberate and designed.
While you’re at it, consider repainting your cabinets in a warmer neutral if they’re currently a stark, cool white. A warm white, linen, or soft taupe can do a lot of the heavy lifting in terms of shifting the overall temperature of the space — and wood tones look significantly better against warm backgrounds than cool ones.
Use Wood-Effect Elements Strategically
Let’s talk about wood-look options for a second — because not everyone has the budget or the DIY confidence to work with real wood everywhere, and that’s completely valid.
Wood-effect vinyl flooring, peel-and-stick backsplash tiles, and laminate panels have all gotten dramatically better in recent years. Some of them are genuinely hard to distinguish from real wood at a glance. Used strategically — not everywhere, but as an accent — they can add warmth without a huge investment.
That said, if you have the option to use real wood somewhere, even in one element, it’s worth doing. Real wood has a warmth and depth that manufactured materials still can’t fully replicate. You can feel it when you touch it, and it photographs completely differently.
Lighting: The Secret Weapon for Wood Tones
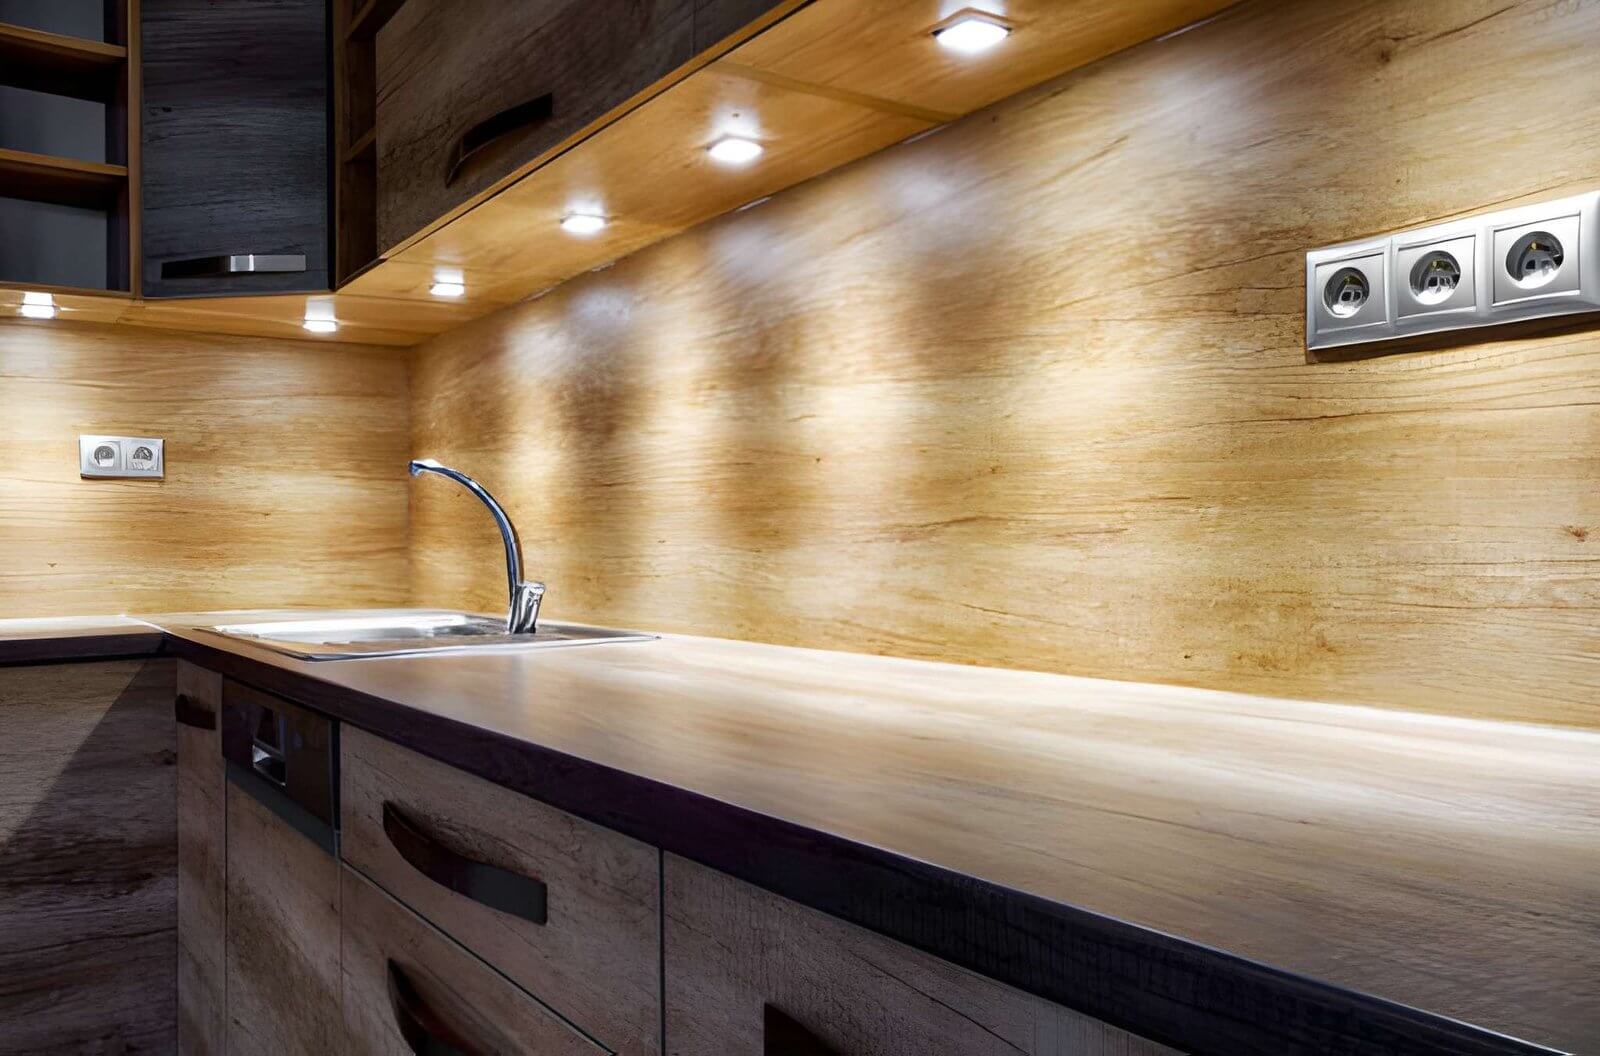
This one often gets overlooked: your lighting dramatically affects how wood tones read in a space. Cool LED lighting (anything above 4000K color temperature) makes warm wood look flat and slightly grey. Warm bulbs (around 2700–3000K) make the same piece of wood look rich, honeyed, and alive.
If you’ve added some beautiful wood shelving and it still doesn’t feel quite right — check your bulbs first. It’s a $15 fix that might make everything click into place.
Quick Lighting Upgrades Worth Making
- Swap to warm white bulbs throughout (2700–3000K)
- Add under-cabinet LED strips in warm white to highlight your countertops
- Consider a pendant light with a wooden or rattan shade over the island
- Use dimmers where possible — nothing kills warmth like harsh, flat lighting at full blast
The Layering Approach: How to Pull It All Together
The kitchens that look genuinely designed — rather than just “decorated” — tend to use what designers call layering. That means you’re not just adding one wood element and calling it done. You’re building up a cohesive look through multiple layers that each contribute something.
Here’s a simple framework:
- Foundation layer — flooring or countertop in a consistent wood tone
- Middle layer — shelving, island, or cabinetry details that reinforce the tone
- Accent layer — accessories, hardware, and smaller pieces that add texture and variation
You don’t need all three layers to get results. Even one strong layer plus a few supporting accents can completely transform a kitchen. Start where you’re comfortable and build from there.
The Real Shortcut to Getting It Right
Here’s something worth being honest about: a lot of the hesitation around kitchen upgrades comes from not knowing where to start or what the end result will look like. That’s completely normal. But the fastest way through that hesitation is having a solid plan.
If you’re leaning toward building any of these elements yourself — shelving, an island, a wooden pot rack, a bench — Ted’s Woodworking Plans is genuinely one of the best resources you can get your hands on. It’s a massive library of woodworking plans for projects at every skill level, with clear diagrams and material lists that remove all the ambiguity. No more staring at a piece of wood wondering what to do with it. You just follow the plan.
Whether you’re building something for your kitchen or eventually tackling something more ambitious like the epoxy river table we covered in our other guide, having reliable plans makes the whole process way less intimidating — and the results way more satisfying.
Wrapping It Up
Bringing warm wood tones into your kitchen doesn’t require a renovation budget or a construction crew. It requires intention, a few strategic choices, and the willingness to start somewhere. Whether that’s a pair of wooden shelves, a butcher block island top, or just swapping your hardware — every change builds on the last.
Start small. Get a feel for how wood tones work with your existing space. Then layer in more elements as you go. Before you know it, you’ll have the kind of kitchen that makes people want to hang around long after dinner’s done — and honestly, isn’t that the whole point? 🙂
Pick one idea from this list and start this weekend. Your kitchen is waiting.