
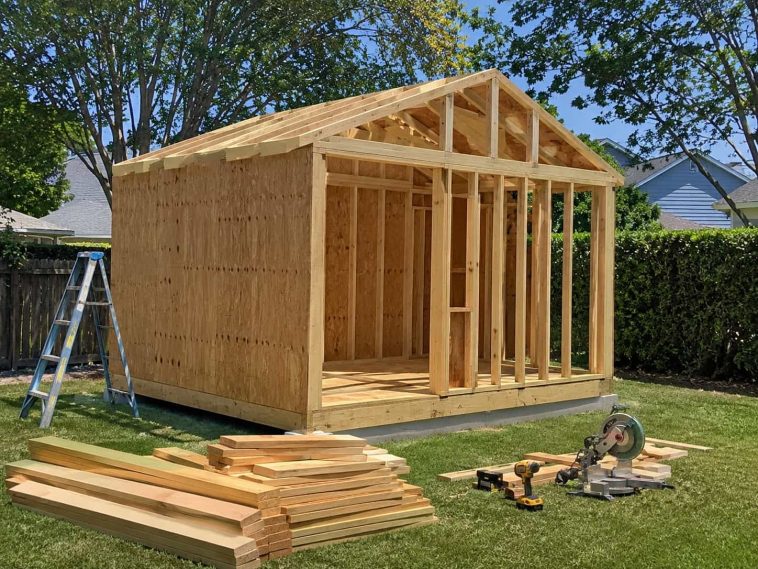
Your garage looks like a yard sale exploded in it. Bikes lean against the lawn mower, garden tools are buried under a tarp, and you haven’t seen the floor since spring. Sound familiar?
Building a shed from scratch sounds intimidating until you break it down into smaller steps. You’re not “building a whole shed” all at once. You’re building a foundation, then a floor, then four walls, then a roof, then doors and siding. Still a serious weekend project? Absolutely. Impossible? Not even close.
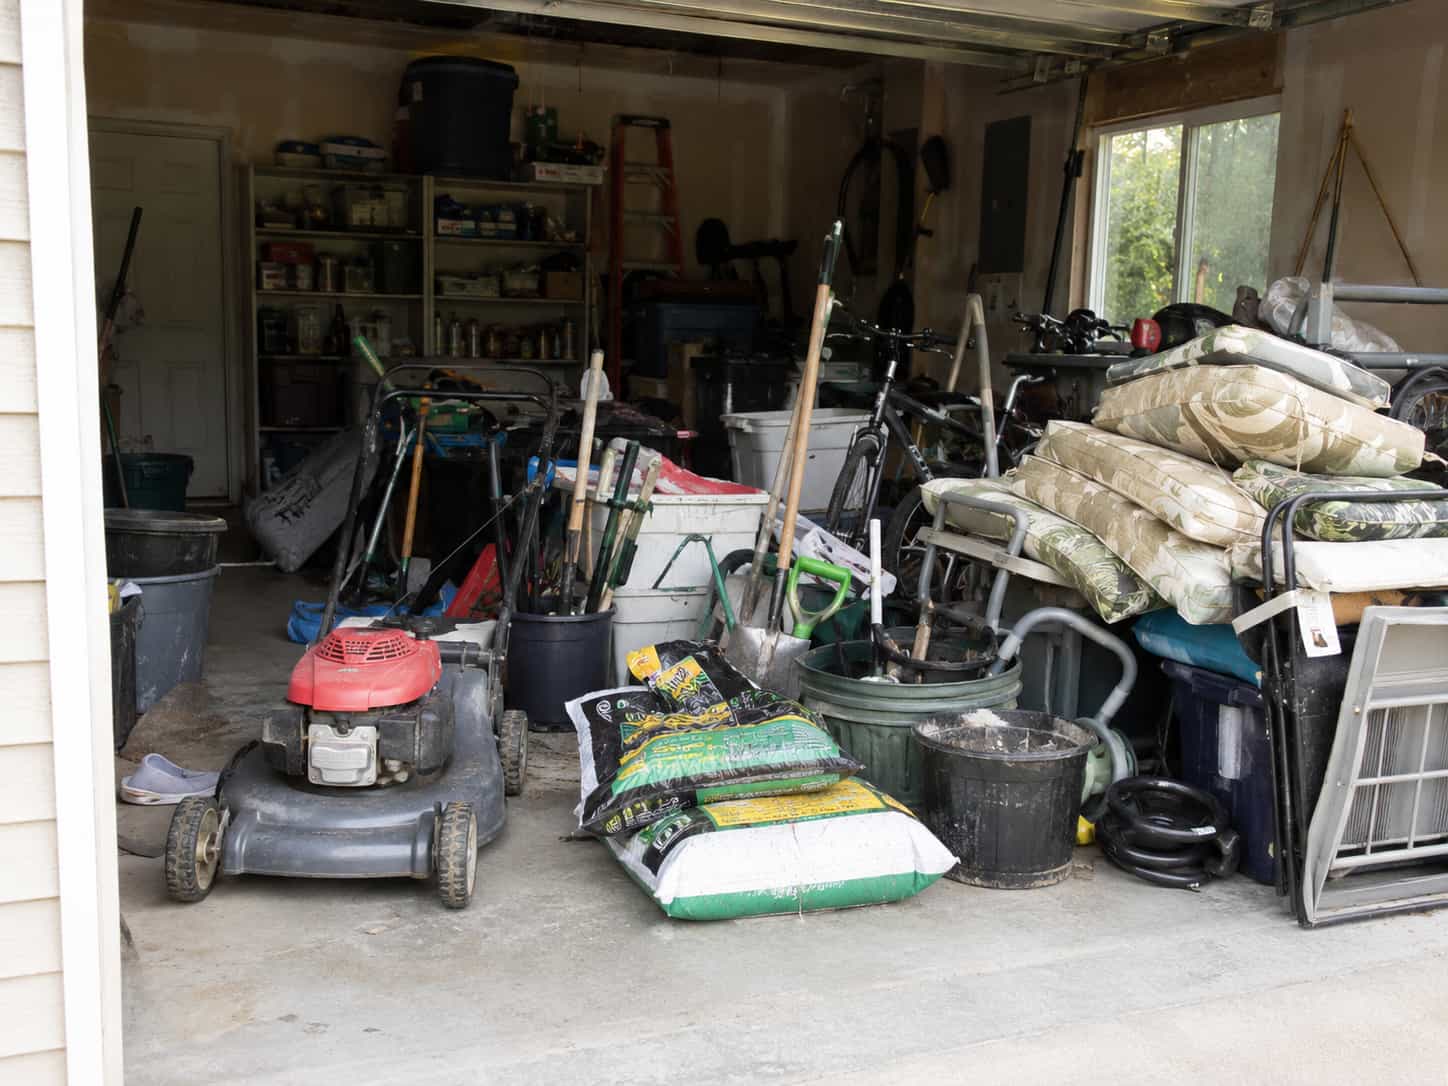
In this guide, you’ll learn how to build a shed from scratch step by step, even if this is your first big outdoor woodworking project.
If you want more layout inspiration before choosing your shed size, check out 20 Free DIY Storage Shed Plans to Organize Your Backyard Like a Pro.
Quick note: This guide walks you through the full shed-building process step by step, but exact measurements will depend on your shed size, local rules, foundation type, and roof style. If you want precise cut lists and diagrams, use a detailed shed plan before buying lumber.
Before You Build: What Kind of Shed Do You Need?
Before you touch a single board, figure out what you’re actually storing. IMO, this is the step everyone skips and regrets later.
Common shed uses:
- Garden tools
- Lawn mower storage
- Bikes
- Firewood
- Outdoor cushions
- Workshop tools
- Pool supplies
- Seasonal decor
- Small backyard storage
Best Shed Types for Beginners
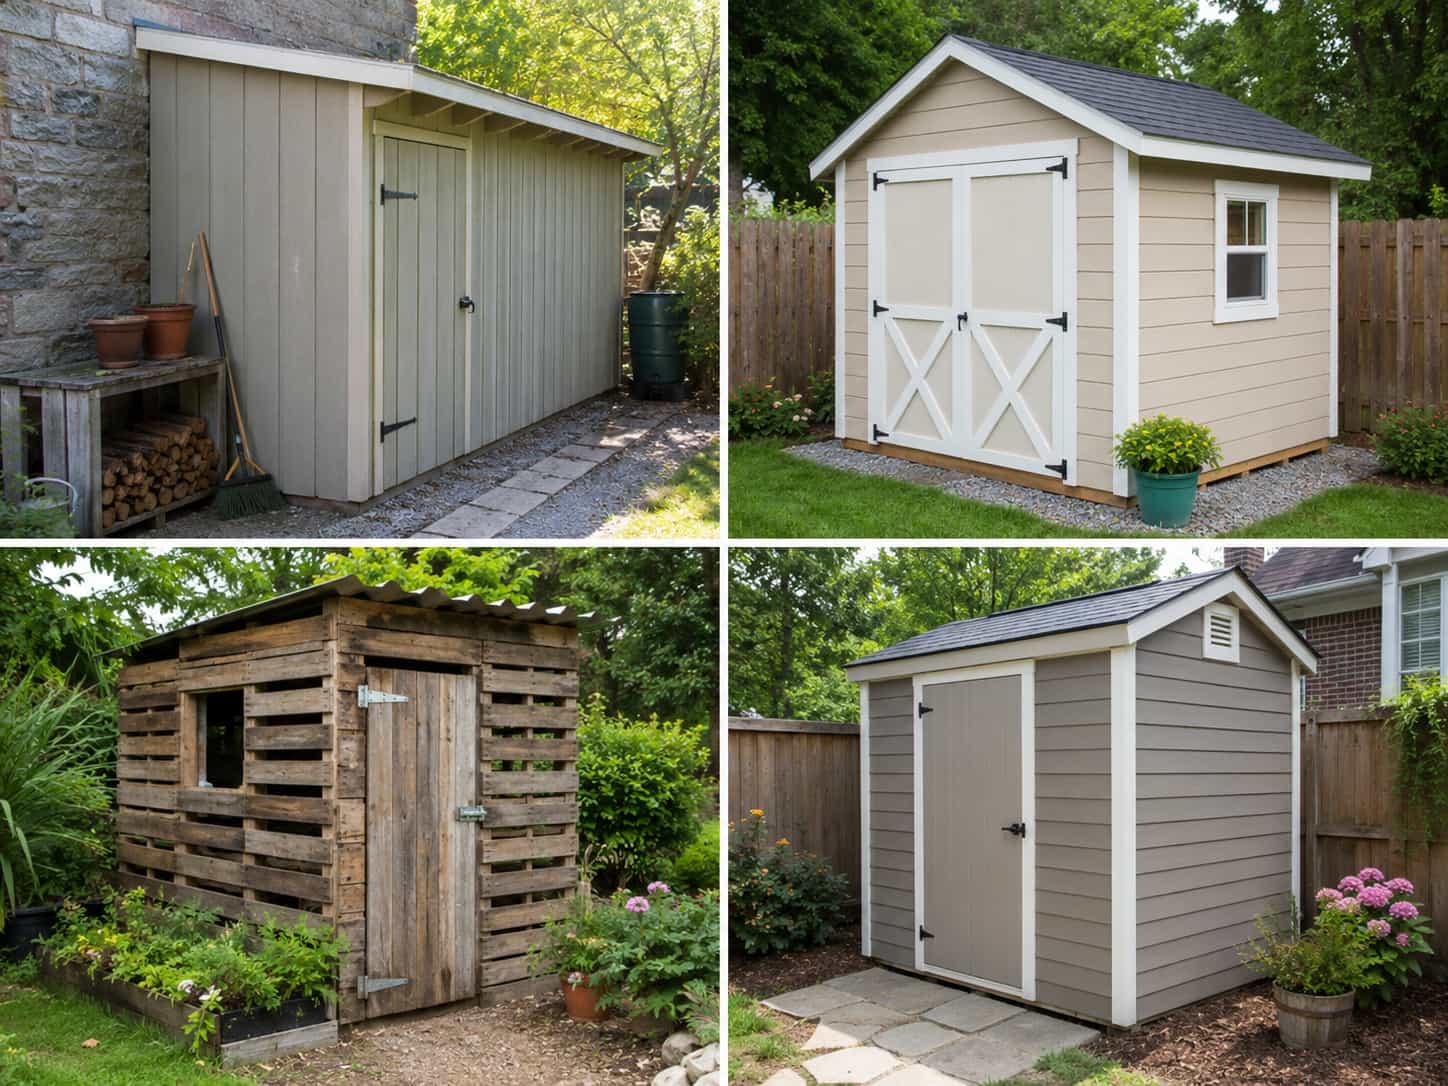
- Lean-to shed — simple, leans against an existing structure
- Simple gable roof shed — the classic shed silhouette
- Pallet shed — budget option using reclaimed wood
- 10×12 backyard shed — a solid middle-ground size
- Small storage shed — great for tight yards
Got a narrow backyard or want a build that hugs a wall? Check out 15 Lean To Shed Plans for Small Backyards.
Quick Shed Building Overview
Here’s the whole project at a glance before we get into the weeds:
| Step | What You’ll Do | Beginner Difficulty |
|---|---|---|
| Plan the shed | Choose size, layout, and location | Easy |
| Prepare the site | Level ground and check drainage | Medium |
| Build the foundation | Gravel, blocks, skids, or concrete | Medium |
| Frame the floor | Build the base platform | Medium |
| Frame the walls | Build and raise wall sections | Medium |
| Frame the roof | Add rafters or trusses | Medium–Hard |
| Add siding and roofing | Protect the shed from weather | Medium |
| Build the doors | Add access and security | Medium |
| Paint or seal | Protect the wood | Easy |
Beginner-Friendly Shed Sizes
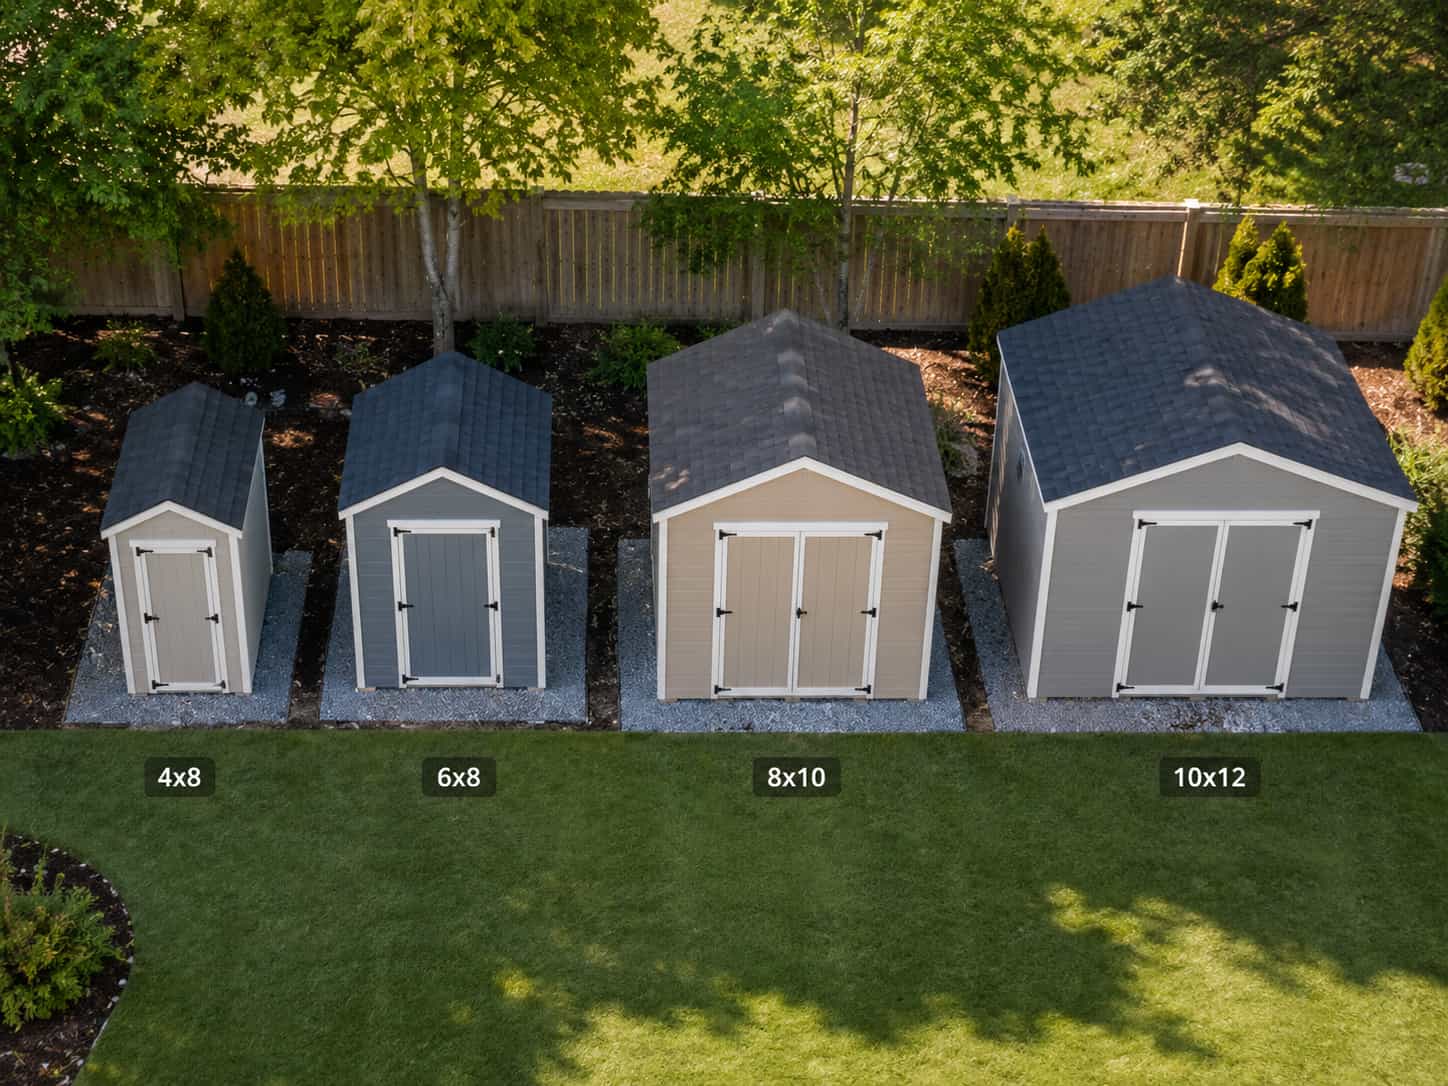
Bigger isn’t always better, especially for your first build. A bigger shed means more lumber, more cutting, more time, and more chances to mess something up. Ever wonder why so many first-time builders end up with a shed twice the size they actually needed? Ambition, mostly.
Good shed sizes for beginners:
- 4×8 shed — best for narrow spaces and basic garden tools
- 6×8 shed — good small backyard storage size
- 8×10 shed — a balanced beginner shed size
- 10×12 shed — great for lawn equipment and larger storage
- 12×16 shed — better for experienced builders
A 10×12 shed is one of the most popular backyard sizes because it gives you useful storage without taking over the entire yard. If you’re leaning toward that size, take a look at Step-by-Step: 14 Free 10×12 Shed Plans for Every Backyard.
Check Local Rules Before Building
I know, I know — nobody wants to read about permits when they’re excited to start cutting lumber. But skipping this step can cost you way more than the five minutes it takes to check.
Before you buy lumber, check:
- Local permit requirements
- HOA rules
- Property setbacks
- Utility lines
- Maximum shed size allowed
- Foundation requirements
- Whether electricity requires a licensed professional
If you’re not sure about permits or utilities, ask your local building office before you start digging or framing. That five-minute phone call can save a very expensive headache later.
Tools and Materials You’ll Need
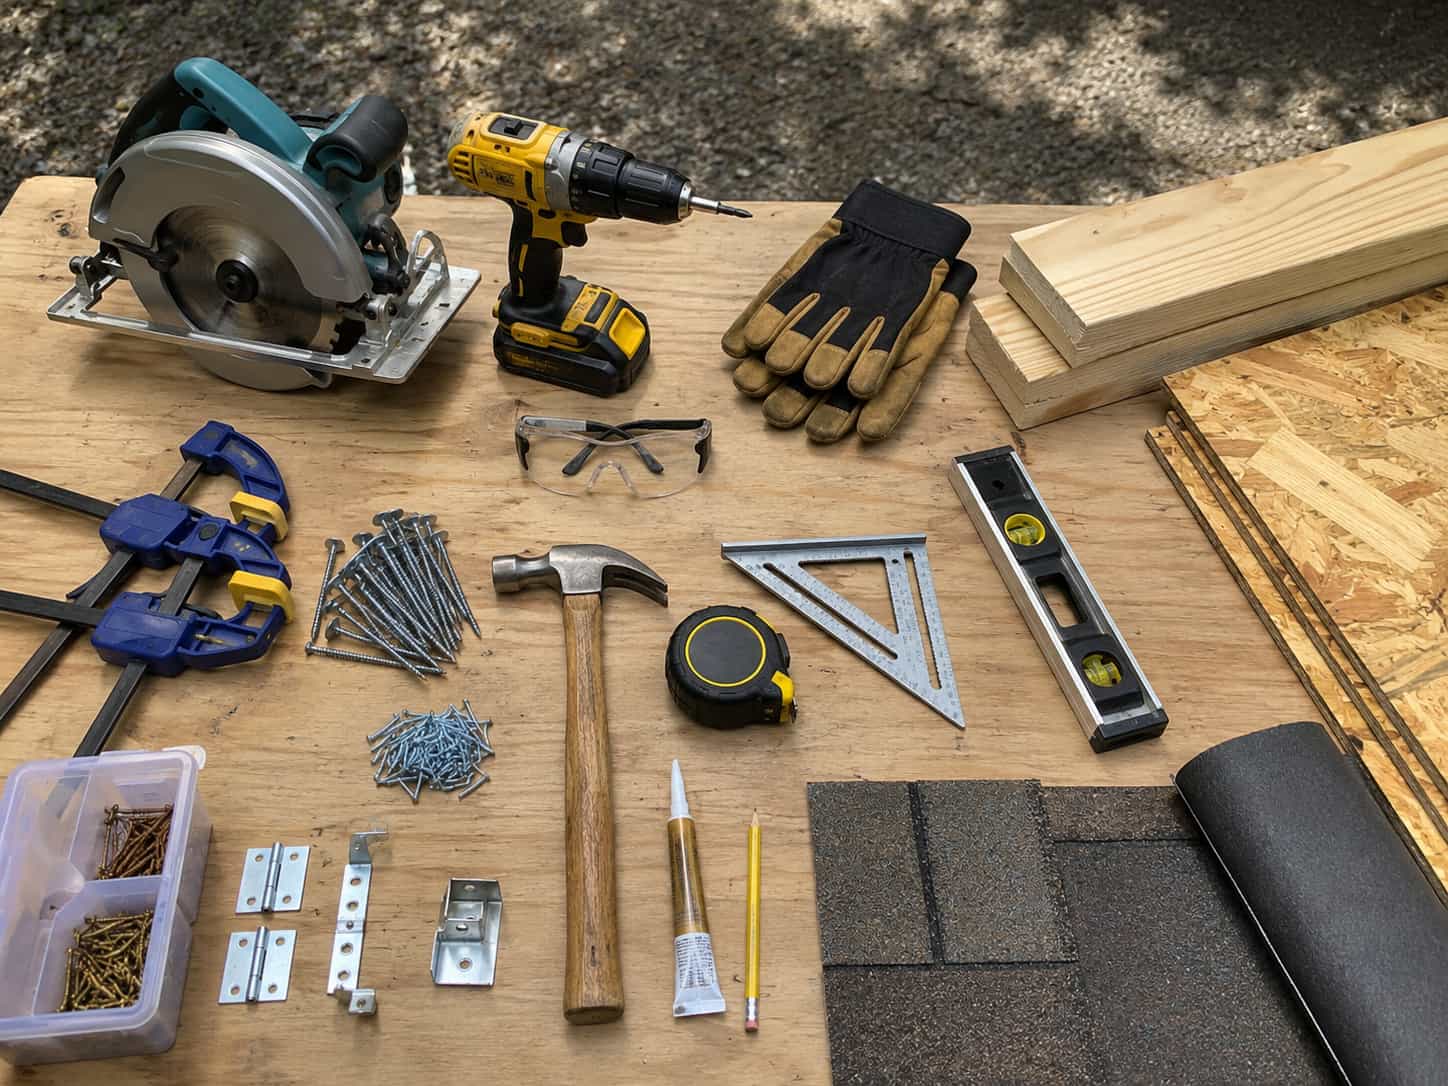
Basic Tools
- Circular saw or miter saw
- Drill/driver
- Hammer
- Tape measure
- Speed square
- Level
- Chalk line
- Ladder
- Clamps
- Shovel and rake
- Safety glasses
- Work gloves
Common Materials
- Pressure-treated lumber for base/floor framing
- 2×4 lumber for wall framing
- Plywood or OSB for floor and wall sheathing
- Exterior siding
- Roofing felt or underlayment
- Shingles or metal roofing
- Exterior screws or nails
- Door hinges and latch
- Gravel, concrete blocks, skids, or pavers
- Exterior paint, stain, or sealer
Get help lifting wall frames, roof panels, and plywood sheets. A shed should solve your storage problem, not create a new problem for your back.
How to Build a Shed from Scratch: The Basic Process
The foundation matters more than most beginners realize. It keeps the shed level, dry, and stable for years, not just for the first rainy season.
Option 1: Gravel Pad
The best all-around beginner option. Good drainage, and way less work than pouring concrete.
Option 2: Concrete Blocks
Budget-friendly and simple for small sheds. I’ve used this method myself on a smaller build, and it’s forgiving if your measurements are slightly off.
Option 3: Skid Foundation
Good if you want the shed slightly raised and simple to build.
Option 4: Concrete Slab
The strongest option, but more expensive and less beginner-friendly.
Option 5: Paver Foundation
Good for small garden sheds and lighter storage.
Step-by-Step: How to Build a Shed from Scratch
Step 1: Choose the Shed Location
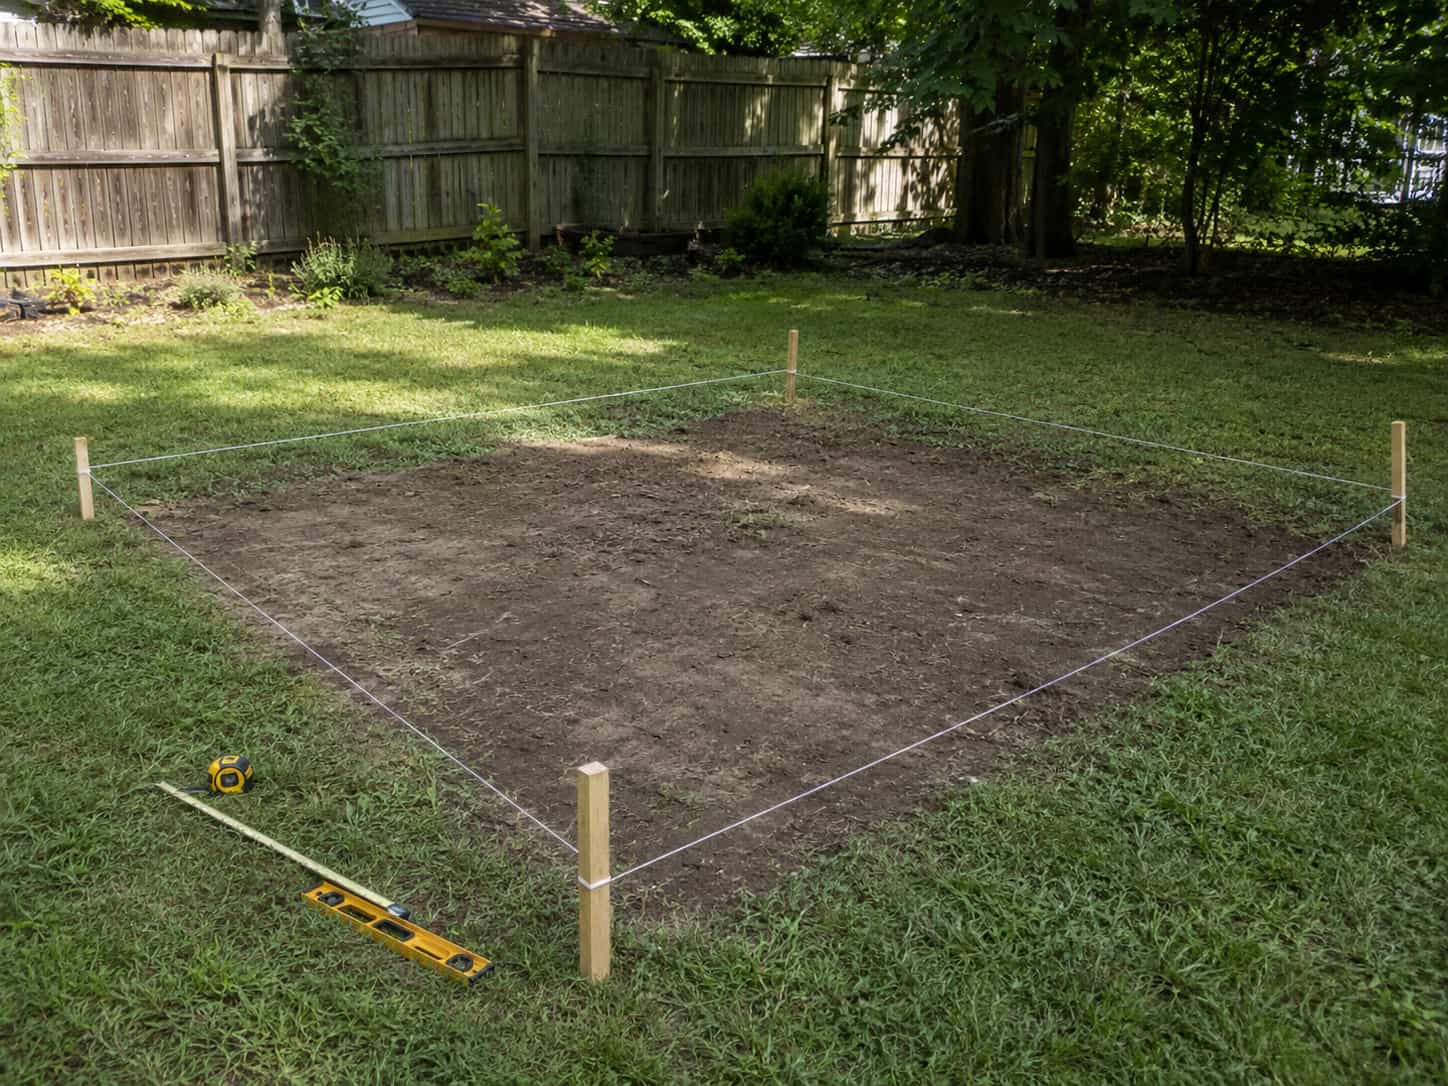
Look for:
- Flat ground
- Good drainage
- Easy access
- Enough space around the shed
- Distance from fences and property lines
- Sun exposure and shade
- Access for moving tools or lawn equipment
Avoid placing the shed in the lowest part of the yard unless you enjoy storing your tools in a tiny swamp.
Step 2: Mark and Level the Site
Basic process:
- Measure the shed footprint
- Mark corners with stakes
- Check square by measuring diagonals
- Remove grass and soft soil
- Level the area
- Add gravel if needed
A level foundation makes every later step easier. Skip this and you’ll be fighting crooked walls, uneven flooring, and weird gaps for the rest of the build.
Step 3: Build the Shed Foundation
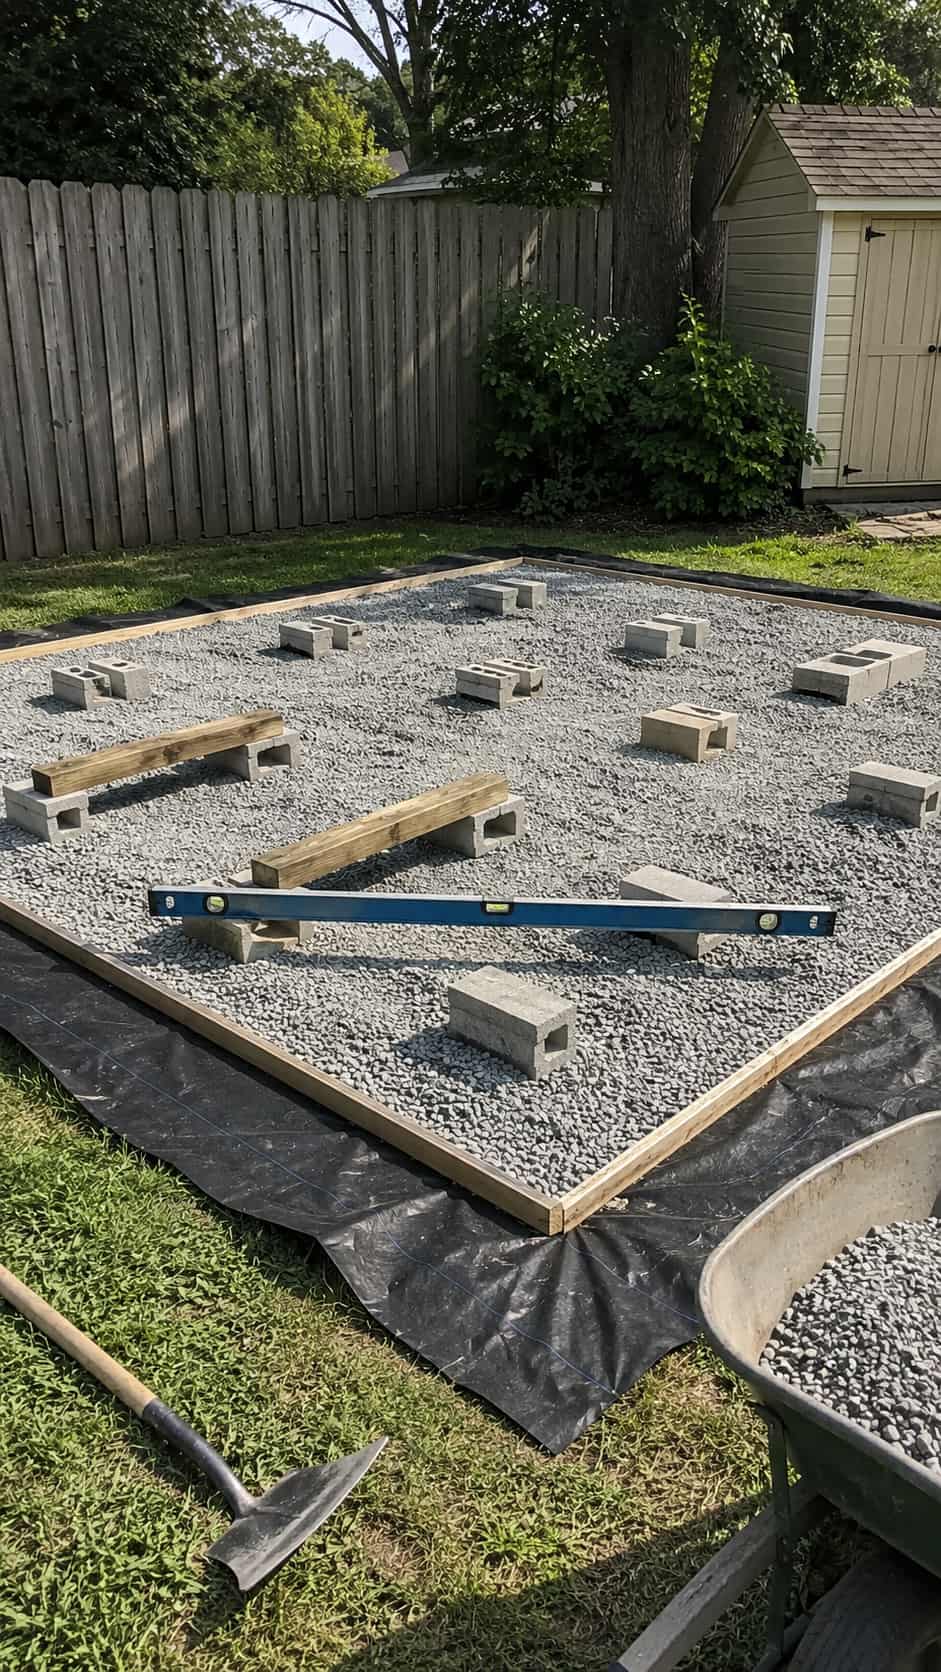
Basic process:
- Add landscape fabric
- Spread gravel
- Level the gravel pad
- Place concrete blocks, pavers, or skids
- Check everything with a long level
Take your time here. A crooked foundation leads to crooked floors, crooked walls, and a shed that looks like it has regrets.
Step 4: Frame the Shed Floor
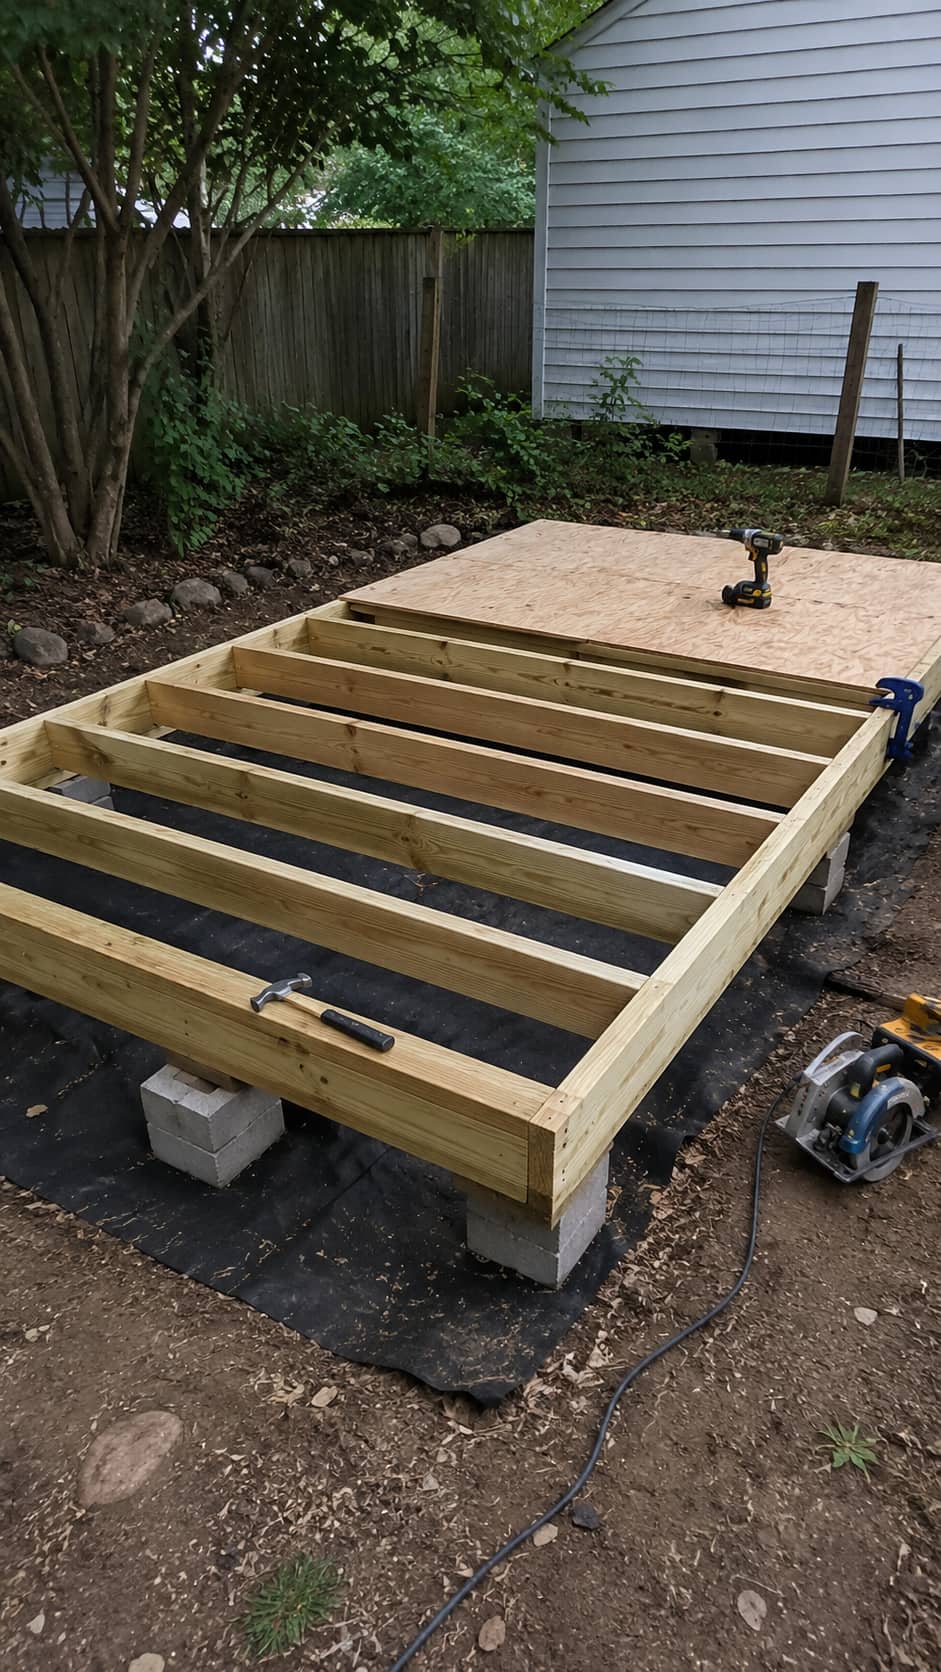
Basic process:
- Cut pressure-treated joists
- Build the outer frame
- Add floor joists spaced evenly
- Check for square
- Secure with exterior screws or nails
- Add plywood flooring
Use 16 inches on center for a strong floor, especially if you’re storing heavy tools or lawn equipment.
Step 5: Build the Wall Frames
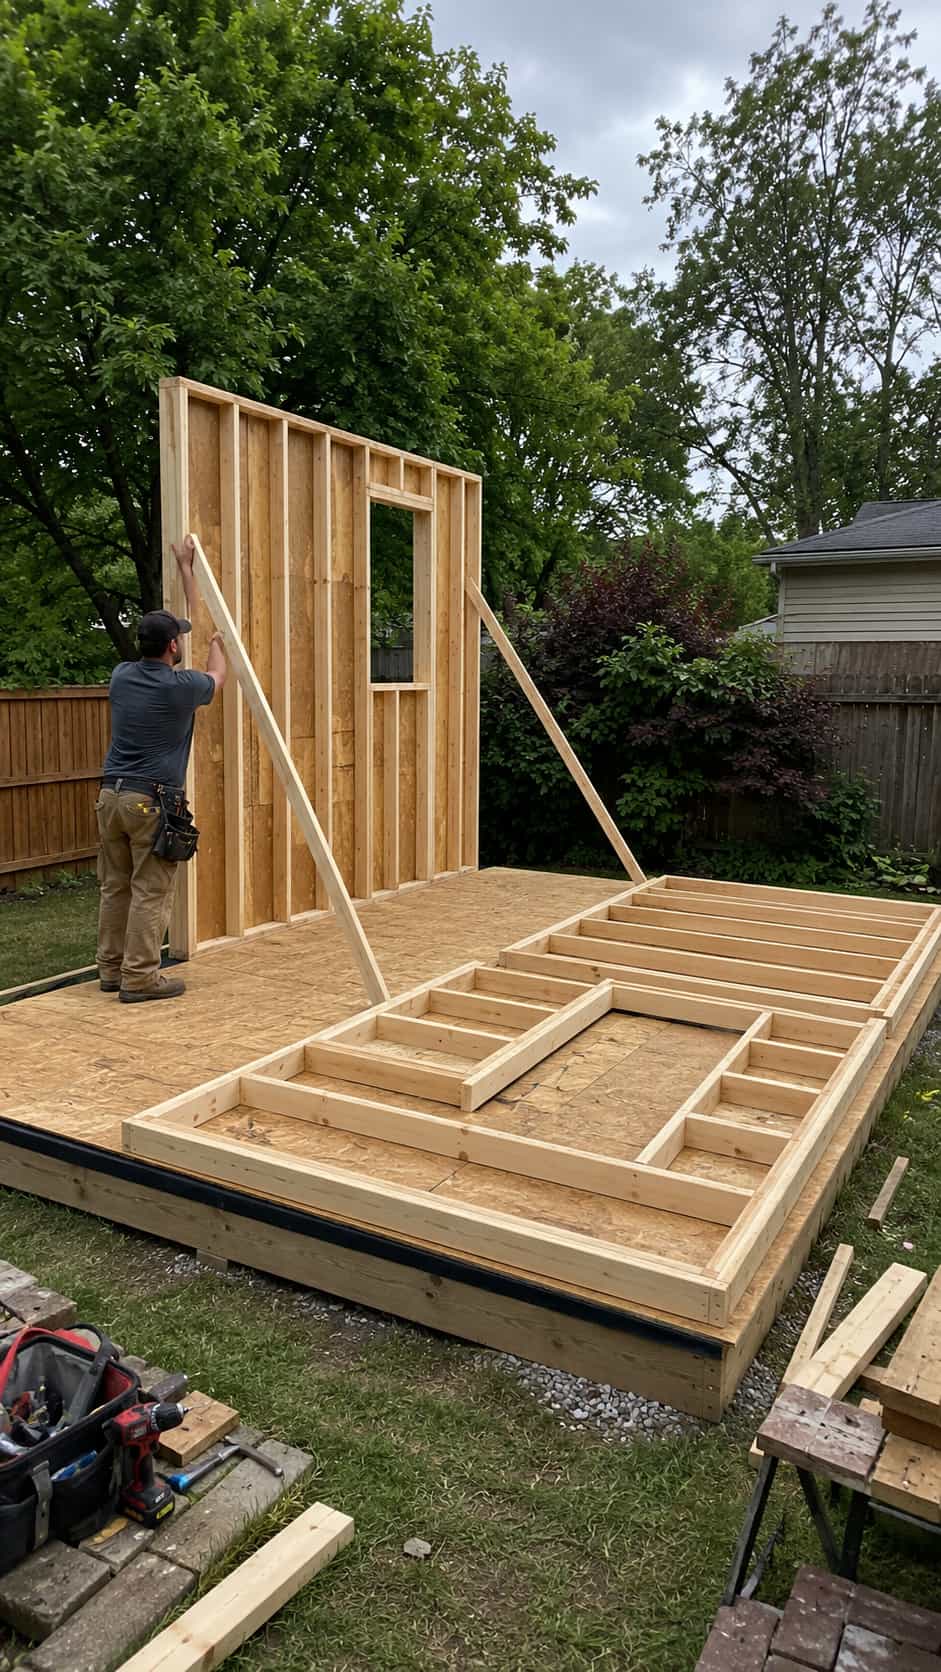
Walls are usually built flat on the floor, then raised into place. It’s way easier than trying to build them vertically in midair.
Basic process:
- Cut top and bottom plates
- Cut wall studs
- Frame openings for doors or windows
- Assemble each wall flat
- Check square
- Raise walls one at a time
- Brace temporarily
Wall frames can be heavy and awkward. Get help raising them, especially on larger sheds.
Step 6: Install Wall Sheathing or Siding
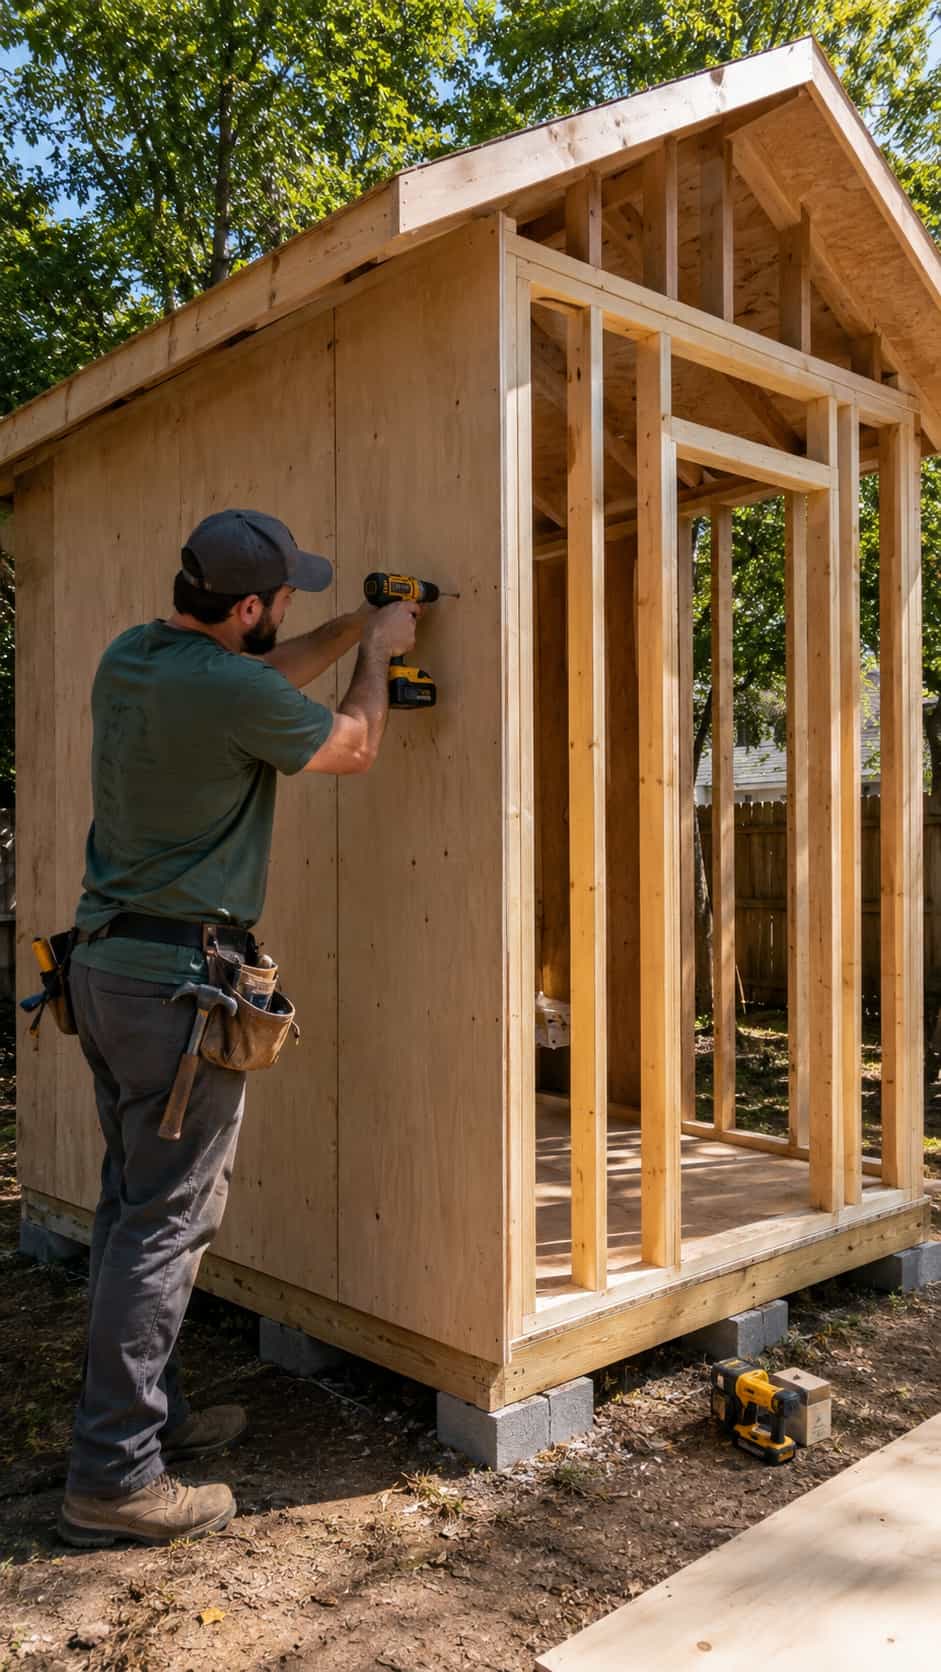
Some builders add sheathing before raising walls, while others add it after. For smaller sheds, adding sheathing while walls are flat is usually easier. For larger walls, raise the frame first and add sheathing after.
Siding options:
- T1-11 siding
- Plywood siding
- Lap siding
- Board and batten
- Metal siding
- Reclaimed wood siding
Want a cheaper, more rustic version? Check out The Budget-Friendly Pallet Shed Anyone Can Build.
Step 7: Frame the Roof
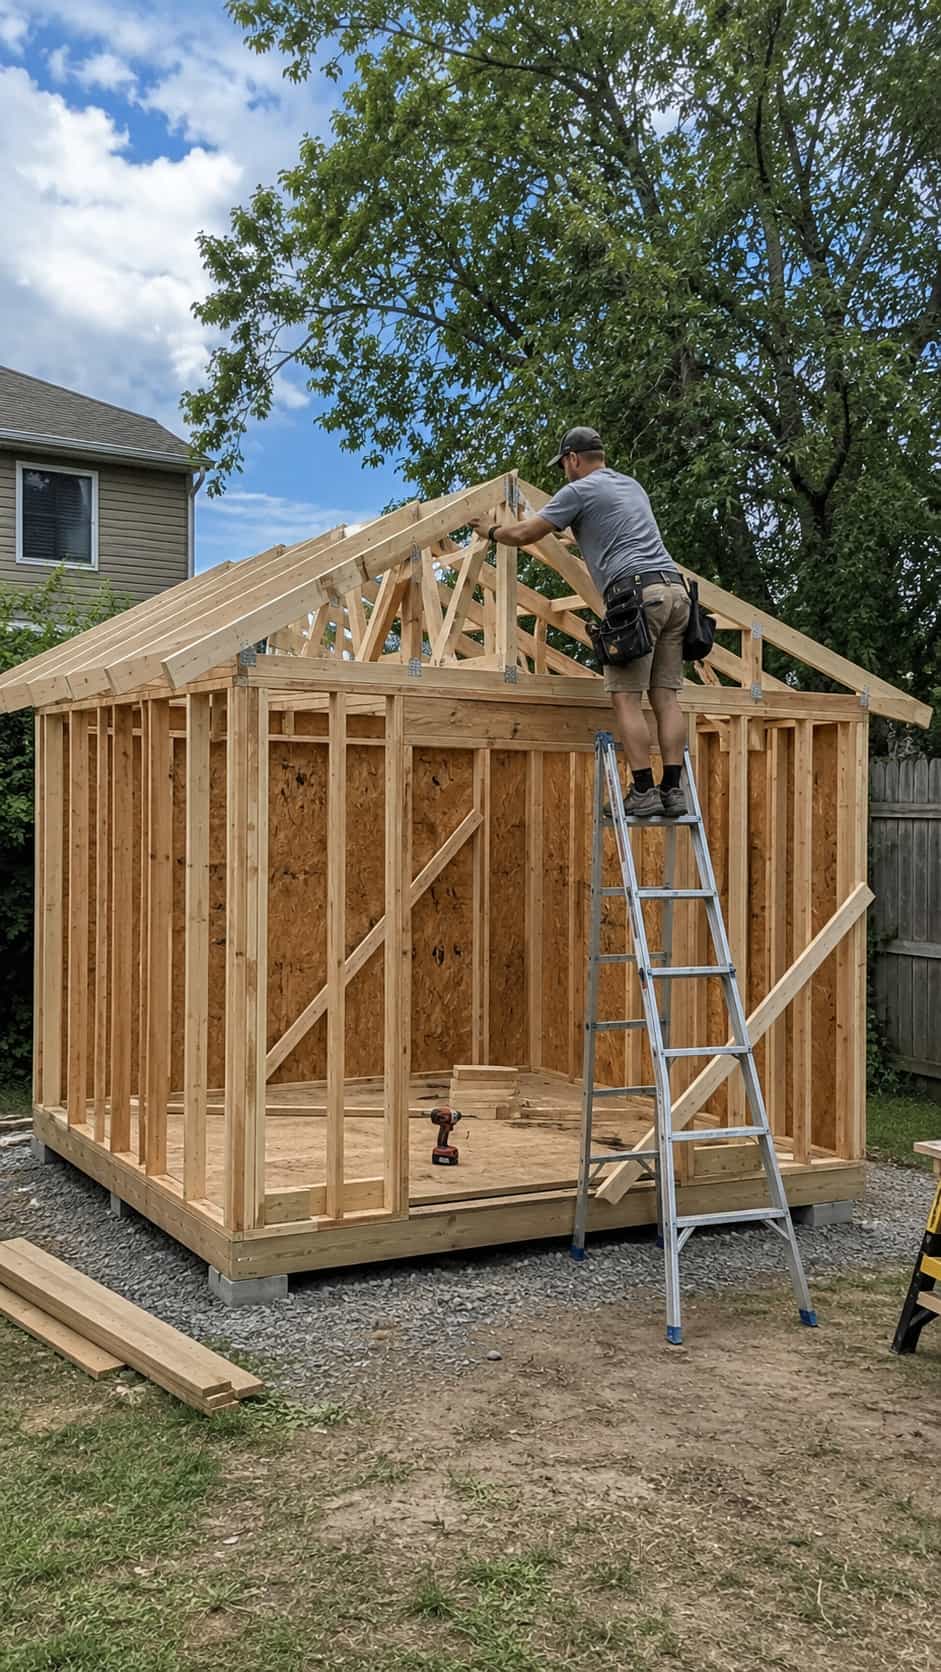
Beginner roof options:
- Lean-to roof — simplest option
- Gable roof — the classic shed look
- Metal roof — durable and fast to install
- Shingle roof — common and affordable
Basic process:
- Install top plates
- Cut rafters or use trusses
- Attach rafters evenly
- Add roof sheathing
- Add underlayment
- Install shingles or metal panels
Roof work can be risky. Use a stable ladder, get help lifting panels, and don’t work on the roof in wind, rain, or unsafe conditions.
Step 8: Add Roofing Material
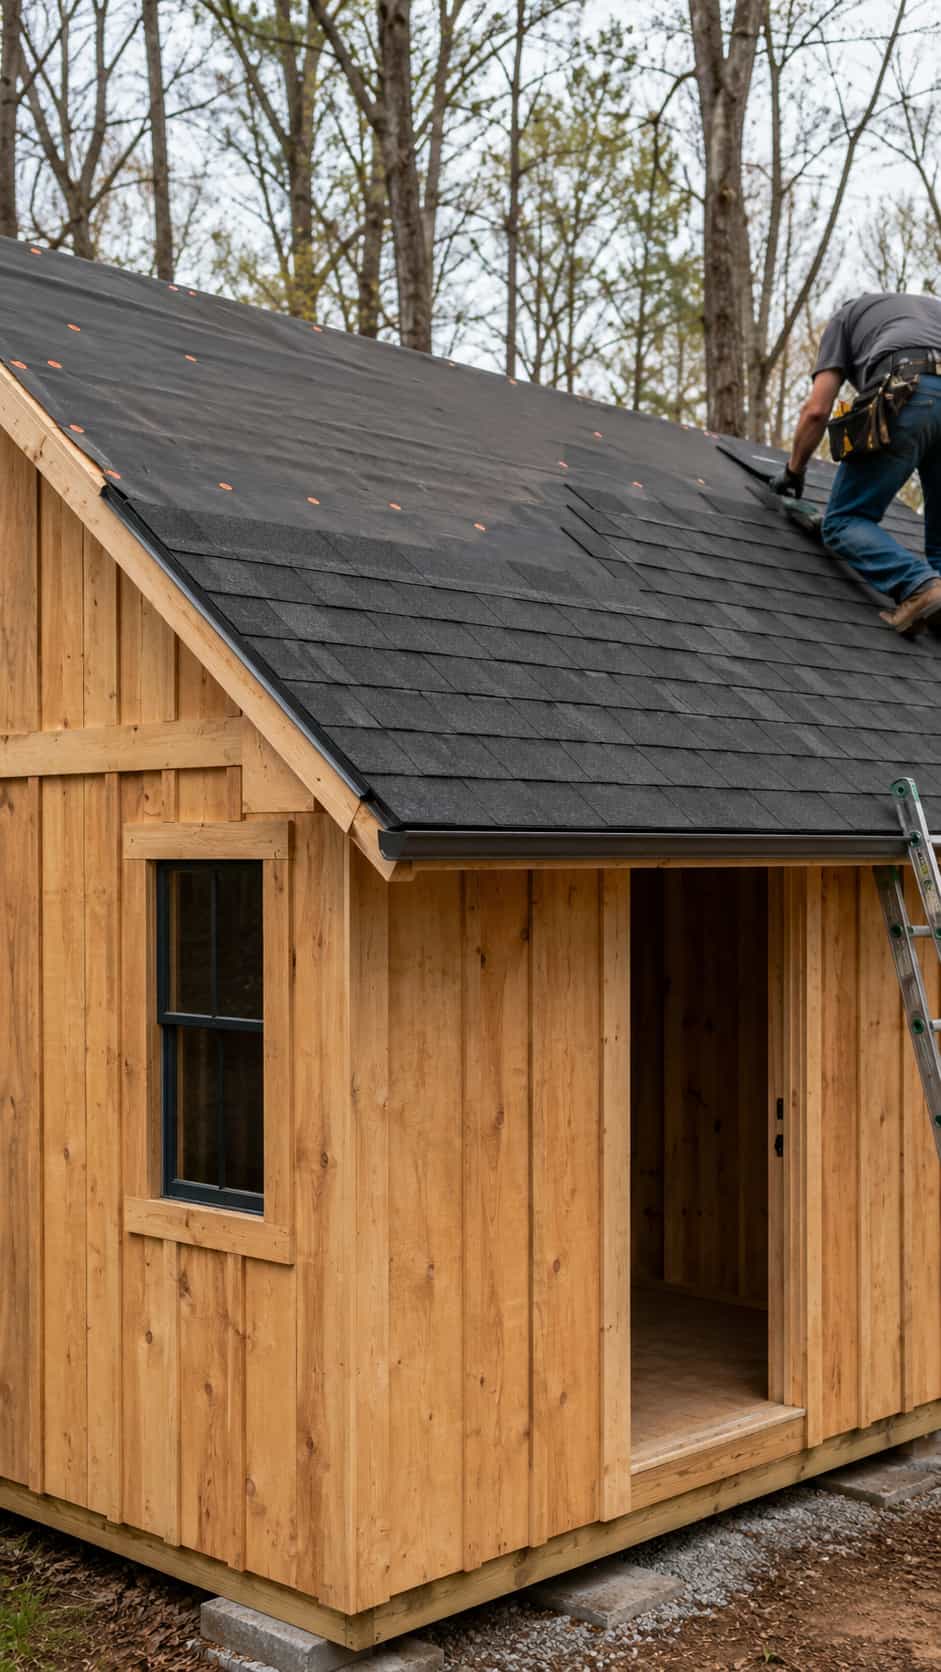
Asphalt shingles are affordable, common, and good for traditional sheds. Metal roofing is fast to install, durable, and good for simple shed roofs.
Whatever roof you choose, pay special attention to overhangs, drip edge, and waterproofing. The roof is what keeps your shed from becoming an expensive box of damp disappointment :/
Step 9: Build and Install the Shed Door
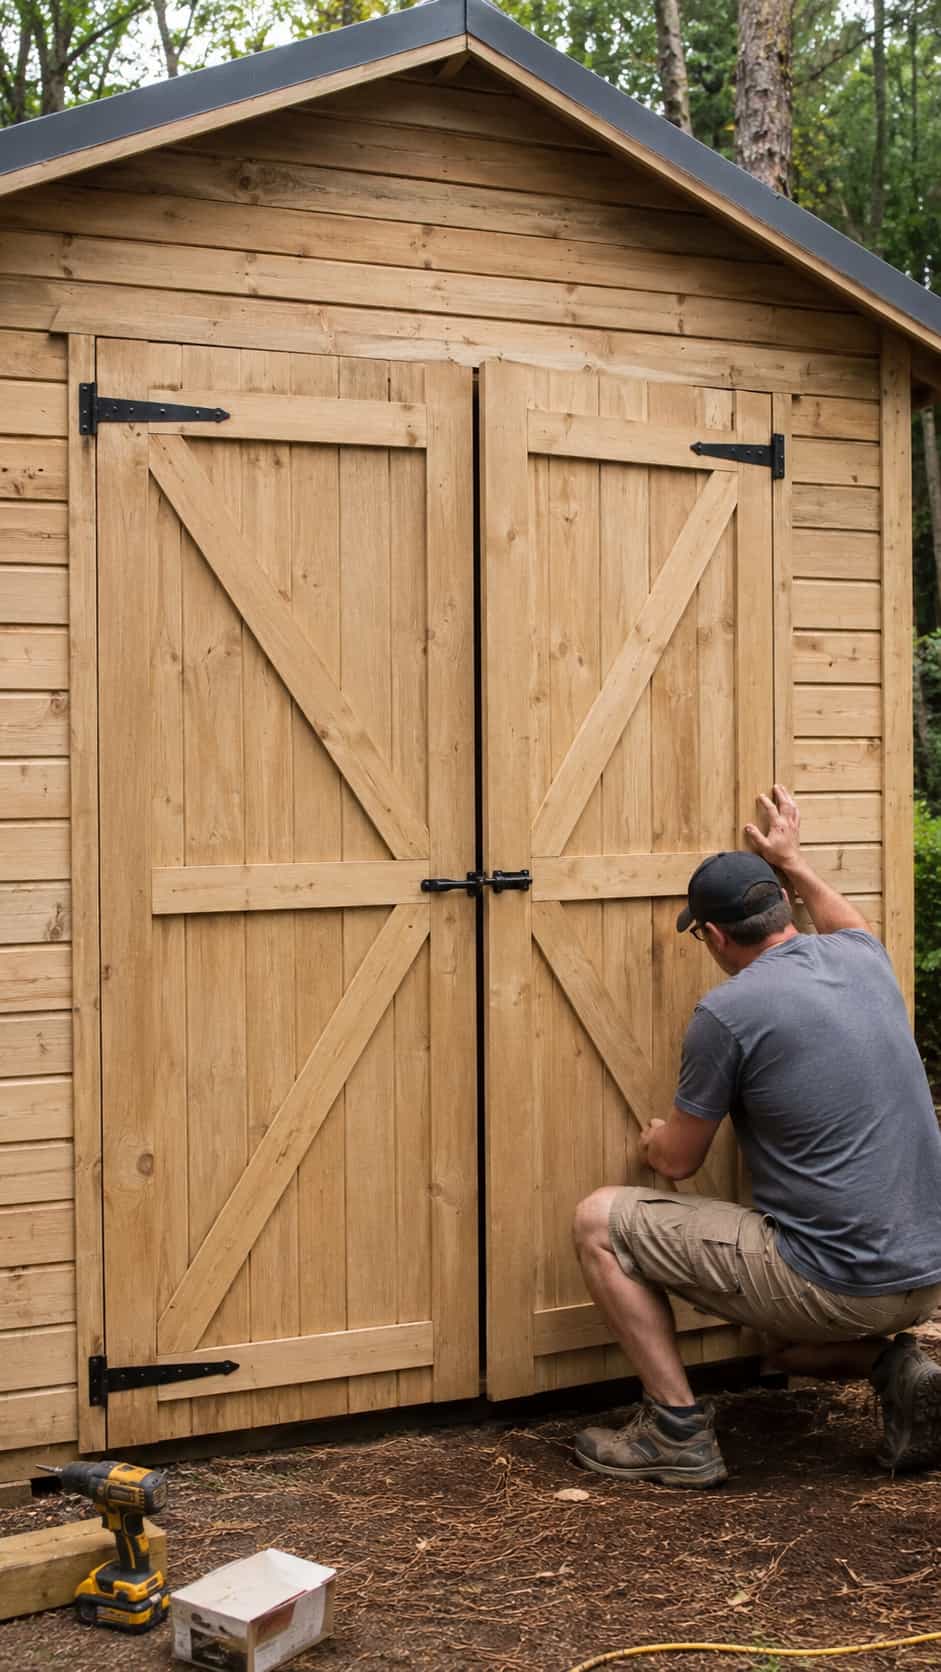
Door options:
- Single shed door
- Double shed doors
- Plywood door
- Framed door with trim
- Prehung exterior door
Basic process:
- Measure the opening
- Build a sturdy door frame
- Add plywood or siding
- Attach hinges
- Install latch or lock
- Test swing and clearance
Double doors are the better call if you plan to store a lawn mower, wheelbarrow, or large tools.
Step 10: Add Trim, Windows, and Ventilation
Useful add-ons:
- Corner trim
- Door trim
- Window trim
- Small shed window
- Ridge vent
- Wall vents
- Flower box
- Ramp
Ventilation matters because sheds trap heat and moisture. A simple vent can help protect tools, wood, and stored items.
Step 11: Paint, Stain, or Seal the Shed
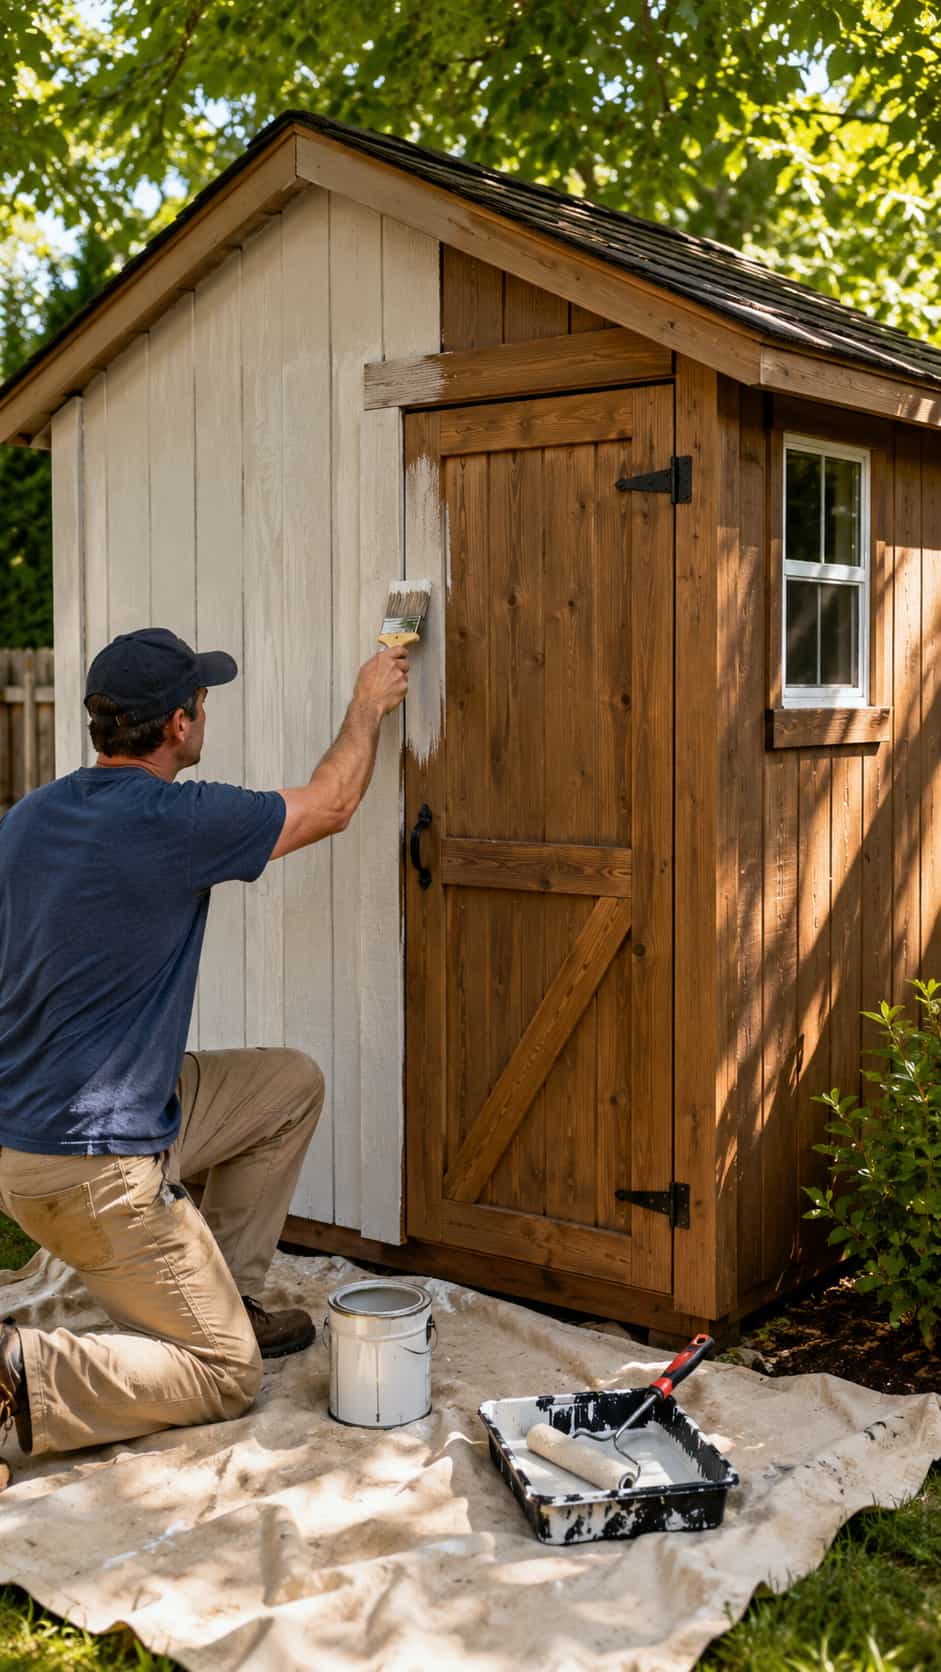
Finish options:
- Exterior paint
- Exterior stain
- Clear exterior sealer
- Solid-color deck stain
Paint or seal every exposed edge, especially plywood edges and trim pieces. Water loves unfinished edges because apparently water has no manners.
Step 12: Add Shelves, Hooks, and Storage Inside
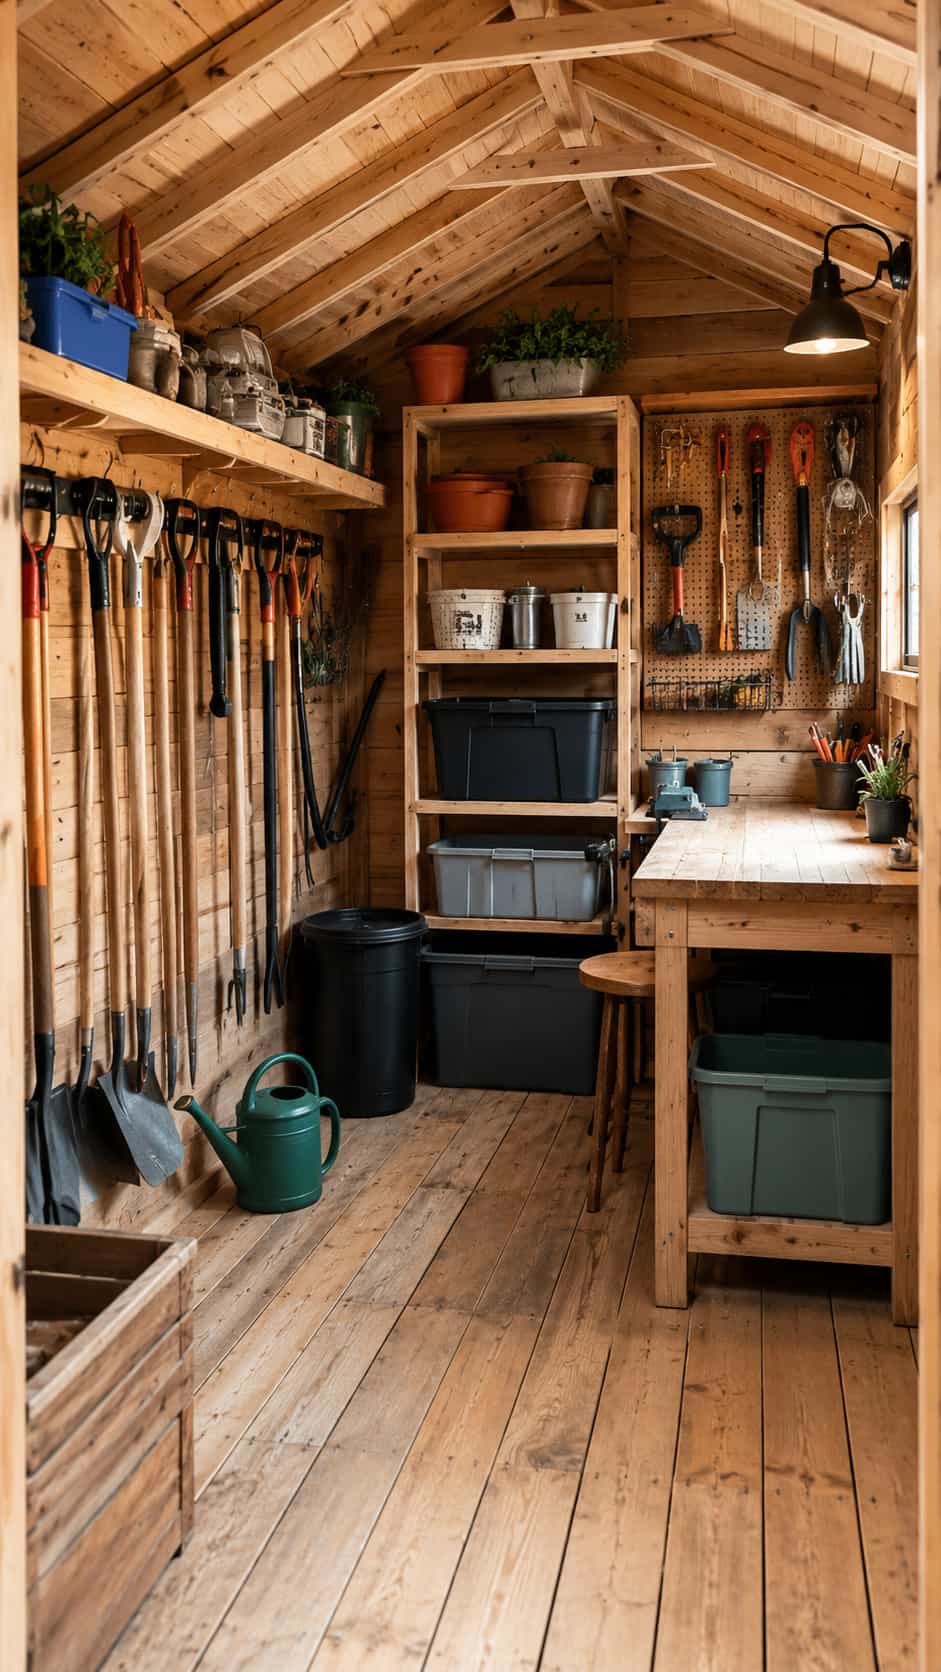
Interior storage ideas:
- Wall shelves
- Garden tool hooks
- Pegboard
- Bike hooks
- Small workbench
- Lumber rack
- Ceiling hooks
- Storage bins
- Corner shelves
Final Shed Plan
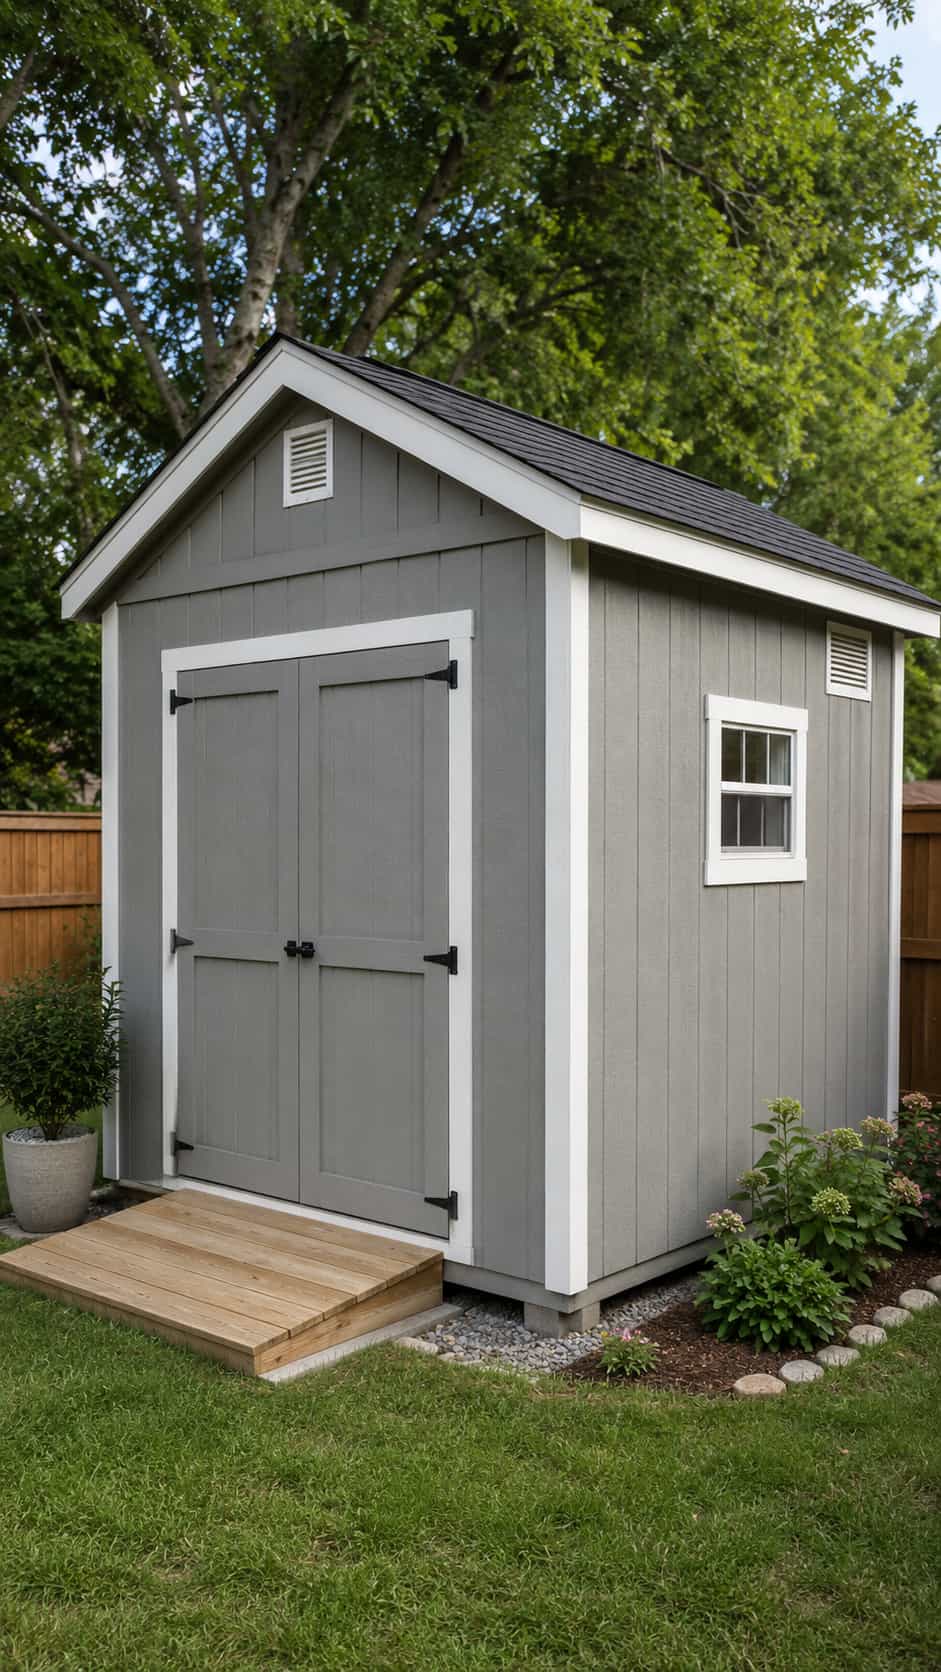
For more organizing ideas once the shell is done, check out 20 Free DIY Storage Shed Plans to Organize Your Backyard Like a Pro.
Simple Shed Layout Ideas
Garden Tool Shed Layout
Best for shovels, rakes, pots, soil, and gardening supplies.
Lawn Equipment Shed Layout
Best for mower, trimmer, fuel cans, and outdoor tools.
Bike Storage Shed Layout
Best for family bikes and helmets.
Workshop Shed Layout
Best for tools, small workbench, shelves, and power tool storage.
Tiny Backyard Shed Layout
Best for small yards and narrow spaces. If this sounds like you, revisit 15 Lean To Shed Plans for Small Backyards for more ideas.
Common Beginner Shed Building Mistakes
Building Too Big Too Soon
Start with a manageable size if this is your first shed.
Skipping the Foundation
A shed without a proper base will shift, sink, or rot faster.
Forgetting Drainage
Keep water moving away from the shed, not under it.
Not Checking Square
Small errors in the floor frame become bigger problems in the walls and roof.
Using Interior Screws Outside
Use exterior-rated fasteners. Trust me, this one’s an easy mistake to make when you’re grabbing whatever’s left in the garage.
Ignoring Roof Overhang
Overhang helps move rain away from walls.
Not Sealing Cut Ends
Cut lumber ends absorb moisture quickly.
Is It Cheaper to Build or Buy a Shed?
Building a Shed Can Be Cheaper If:
- You already own basic tools
- You use budget-friendly materials
- You keep the design simple
- You do the labor yourself
- You avoid unnecessary extras
Buying a Shed Can Be Easier If:
- You don’t have time
- You don’t have tools
- You need a large shed fast
- Your local permit process is easier with a prebuilt shed
For many DIYers, building a shed from scratch gives better customization and can save money, but it takes planning, time, and patience.
Want Detailed Shed Plans Before You Start?
After learning how to build a shed from scratch, you’ll probably realize one thing pretty quickly: the build is much easier when the measurements, cut lists, roof angles, material list, and diagrams are already done for you.
That’s where Ryan Shed Plans can be a helpful next step. Instead of guessing your way through floor joists, wall framing, roof layout, door openings, and material quantities, Ryan Shed Plans gives you a large library of shed plans with step-by-step instructions, diagrams, and cut lists.
If you want to build a shed with more confidence — especially if this is your first big backyard project — using a detailed plan can save time, reduce wasted lumber, and make the whole project feel much less overwhelming.
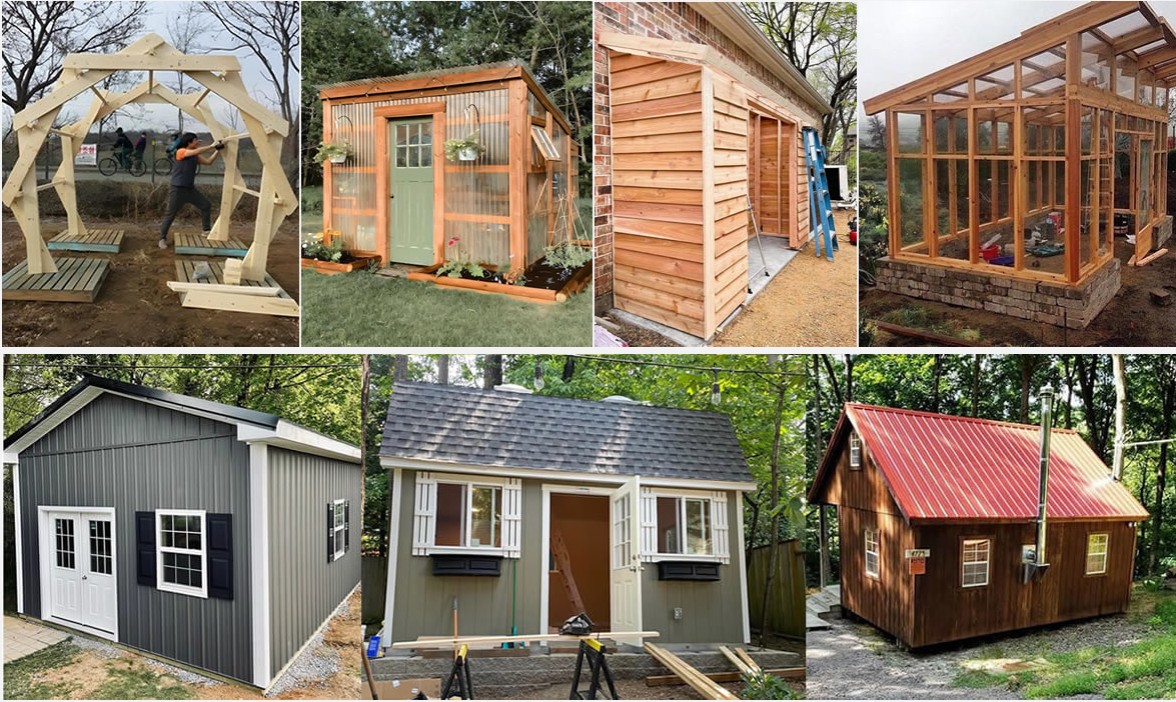
Check out Ryan Shed Plans here .
FAQ About Building a Shed from Scratch
Can a beginner build a shed from scratch?
Yes, a beginner can build a shed from scratch if the design is simple, the size is manageable, and the steps are followed carefully. A small lean-to, 6×8, 8×10, or simple 10×12 shed is more realistic than a large complex shed for a first build.
What is the easiest shed to build?
A lean-to shed is usually the easiest shed to build because it has a simple single-slope roof and straightforward framing.
What is the best foundation for a beginner shed?
A gravel pad with concrete blocks, skids, or pavers is one of the easiest beginner-friendly shed foundations because it drains well and doesn’t require pouring a full concrete slab.
How long does it take to build a shed?
A small shed may take a weekend or two. A larger shed can take several weekends depending on size, weather, tools, experience, and whether you’re working alone or with help.
What size shed should I build first?
For a first shed, 6×8, 8×10, or 10×12 is usually a good range. These sizes offer useful storage without becoming too overwhelming.
Do I need a permit to build a shed?
It depends on your local rules, shed size, foundation type, and location. Always check with your local building office before starting.
Is it cheaper to build a shed yourself?
It can be cheaper to build a shed yourself, especially if you already own tools and choose a simple design. However, costs can rise quickly if you need a concrete slab, premium siding, windows, or specialty roofing.
What wood should I use for a shed?
Use pressure-treated lumber for the base and floor framing. For walls and framing, common 2×4 lumber works well. For siding and sheathing, plywood, OSB, T1-11, or exterior siding panels are common choices.
Final Thoughts
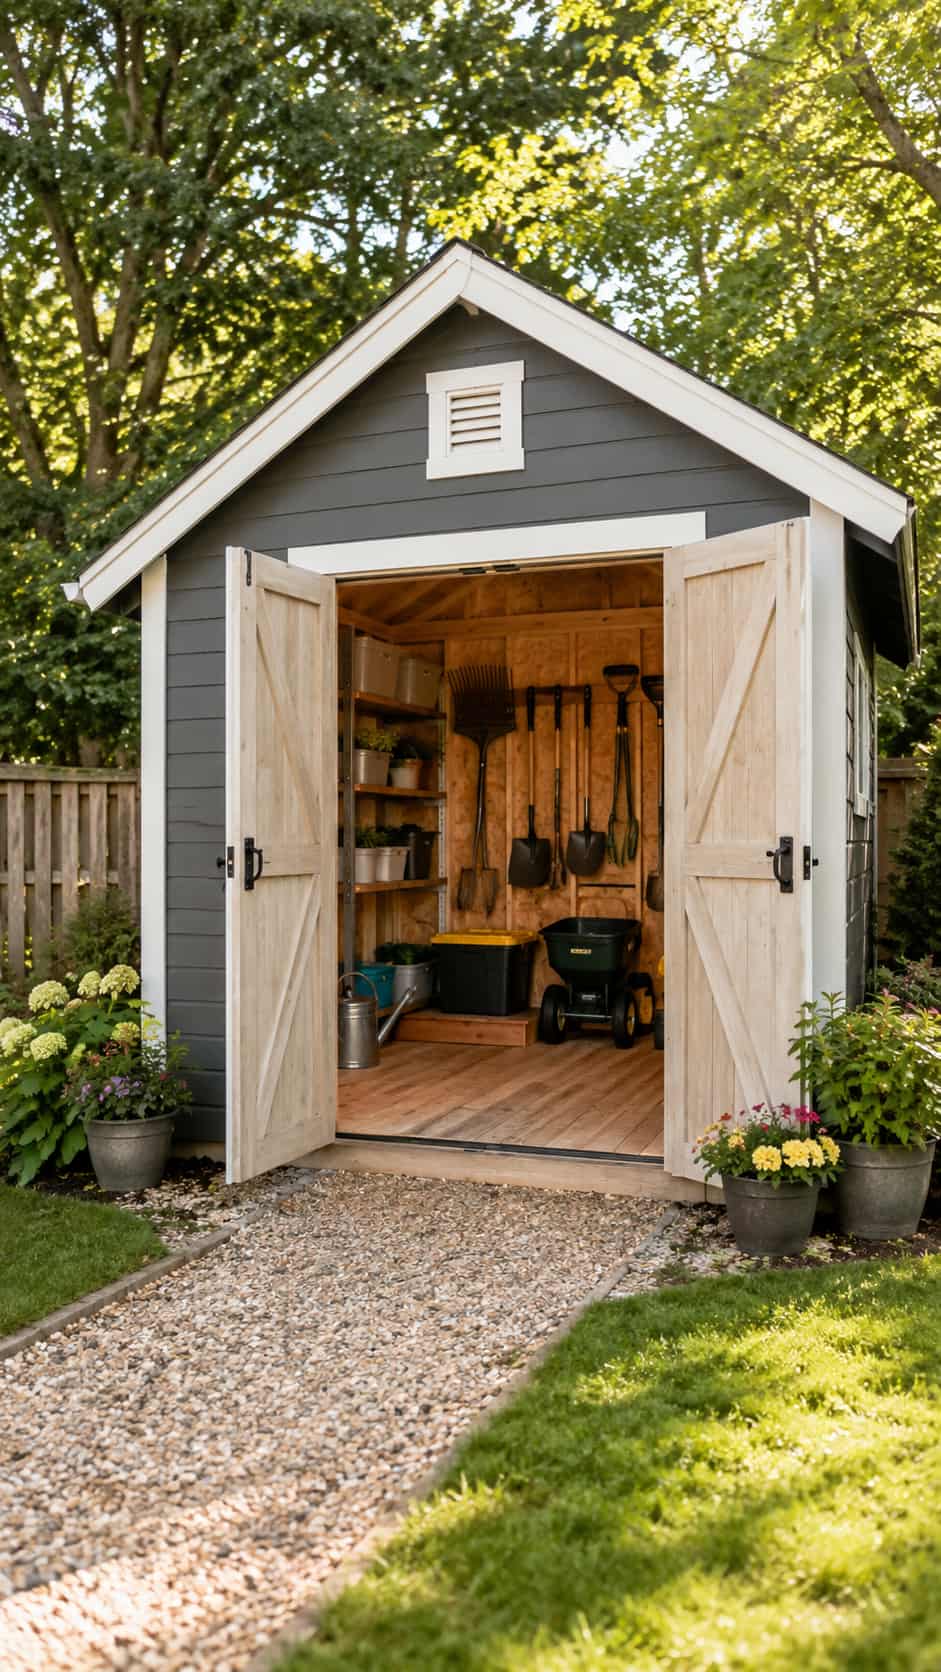
Learning how to build a shed from scratch is a big project, but it becomes much easier when you treat it one step at a time.
Start with the location. Get the foundation level. Build a strong floor. Frame the walls carefully. Take your time on the roof. Then finish the shed with siding, doors, paint, and smart storage inside.
You don’t need to be a professional carpenter to build a useful backyard shed. You just need a clear plan, safe tools, solid materials, and enough patience to avoid rushing the important steps.
Once it’s done, your garage, patio, and backyard will finally have room to breathe. And honestly? Few DIY projects feel better than standing next to a shed you built yourself.