

Are you tired of sifting through a cluttered workshop to find the right tool? Whether you’re a seasoned DIYer or just starting out, an organized workspace is essential for productivity and peace of mind. Good news: you don’t need to break the bank on expensive storage systems. With a little creativity and effort, you can create tool storage solutions that are not only functional but also stylish. Let’s dive into 15 genius DIY tool storage ideas to transform your workshop into a tidy and efficient haven.
Tool Storage Diy Ideas
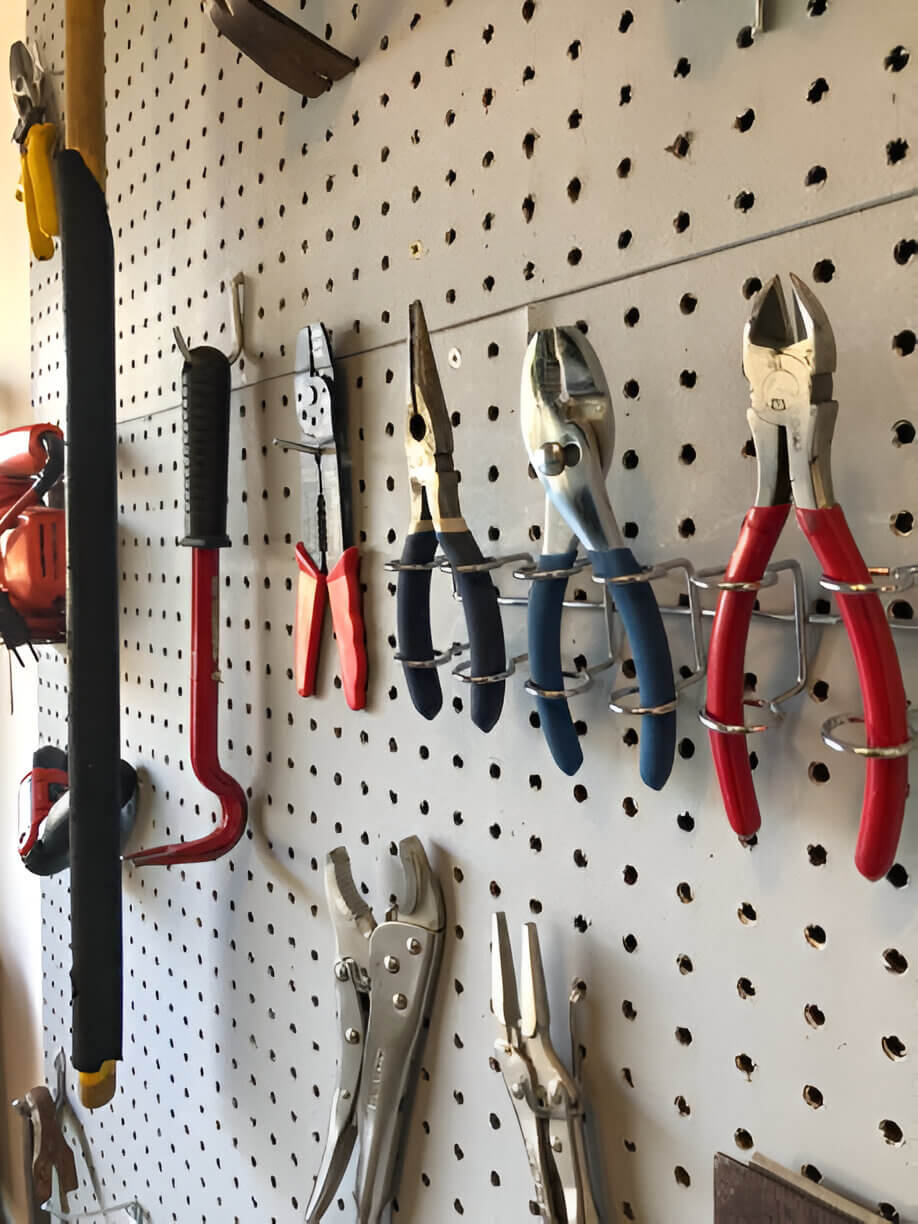
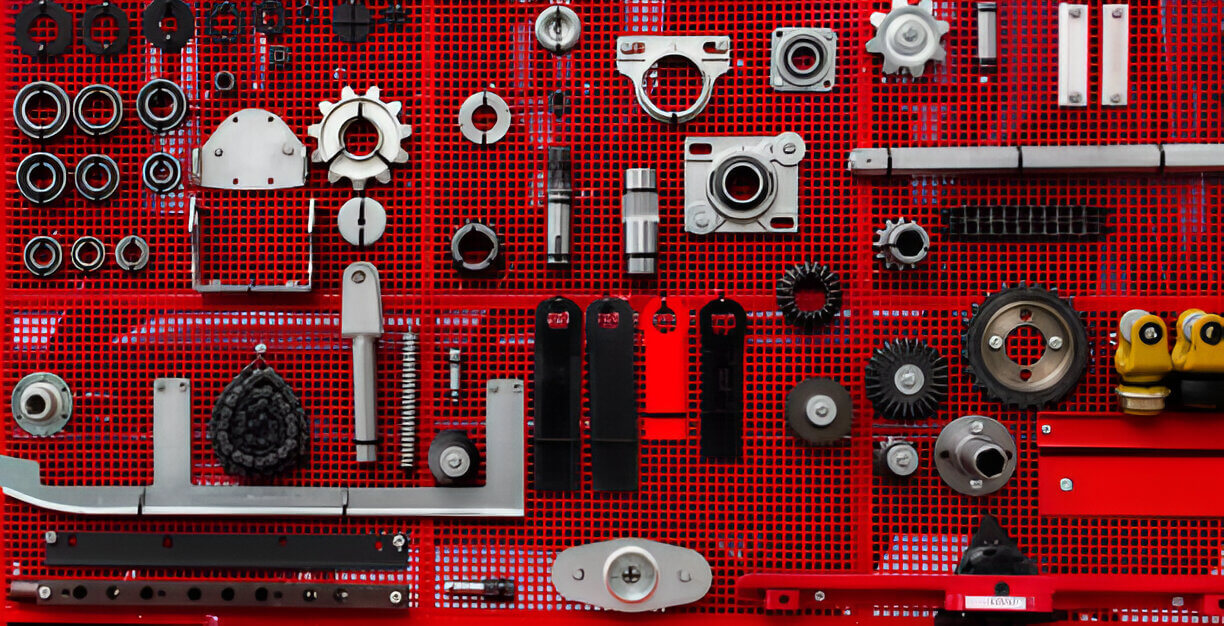
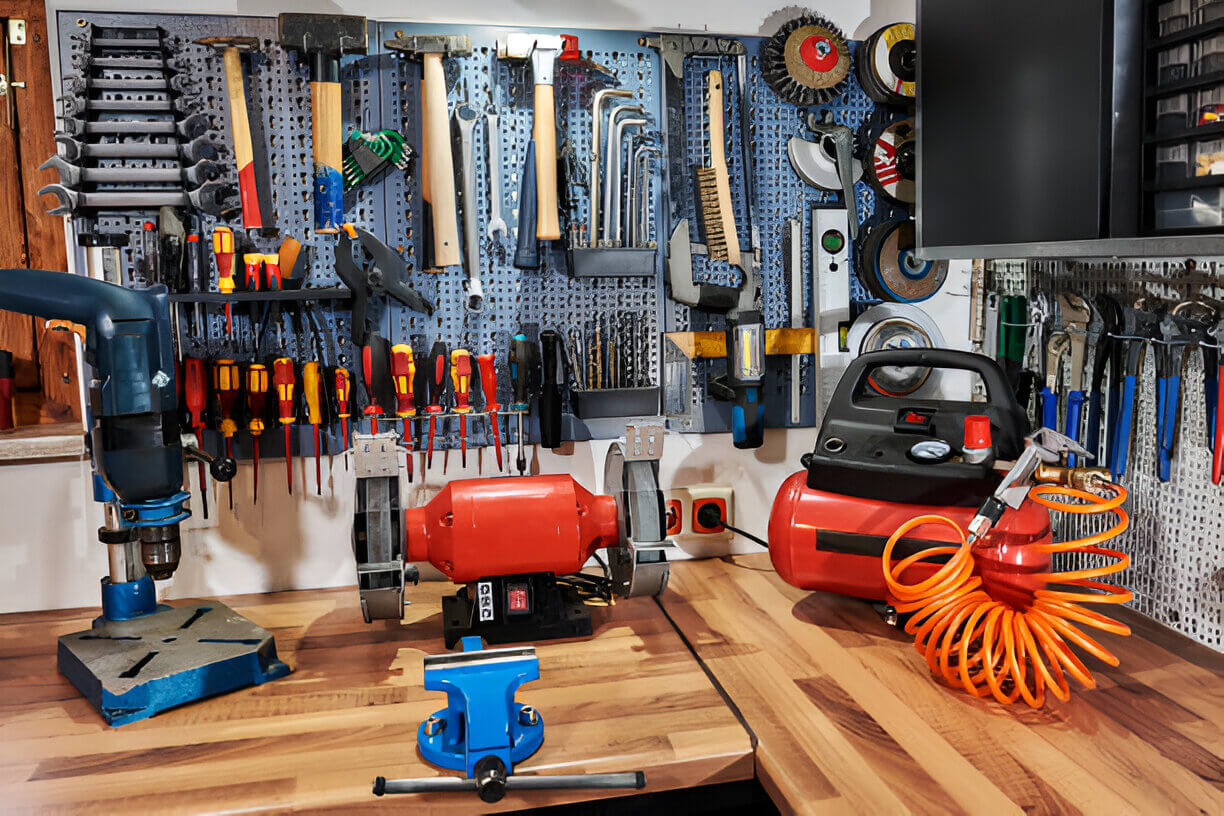
1. Pegboard Perfection

Pegboards are a classic for a reason! Install a pegboard on an empty wall and customize it to fit your tools. Use hooks, shelves, and even baskets to hang everything from hammers to paintbrushes. Paint the pegboard in a bright color or pattern for a personal touch and better visibility.
Pro Tip: Use chalk or tape to outline your tools on the pegboard, so you always know where each item belongs. You can also use different hook sizes to accommodate varying tool dimensions, making your pegboard more versatile.
2. PVC Pipe Tool Holders
PVC pipes are inexpensive and versatile. Cut them into small sections and mount them on a wall or a board to hold items like screwdrivers, wrenches, or paintbrushes. You can also glue several pieces together to create a stand-alone organizer for your workbench.
Bonus: Label each section for quick access. You can even use different pipe diameters to store various tools, from small screwdrivers to larger hammers or pliers.
3. Magnetic Strips for Metal Tools
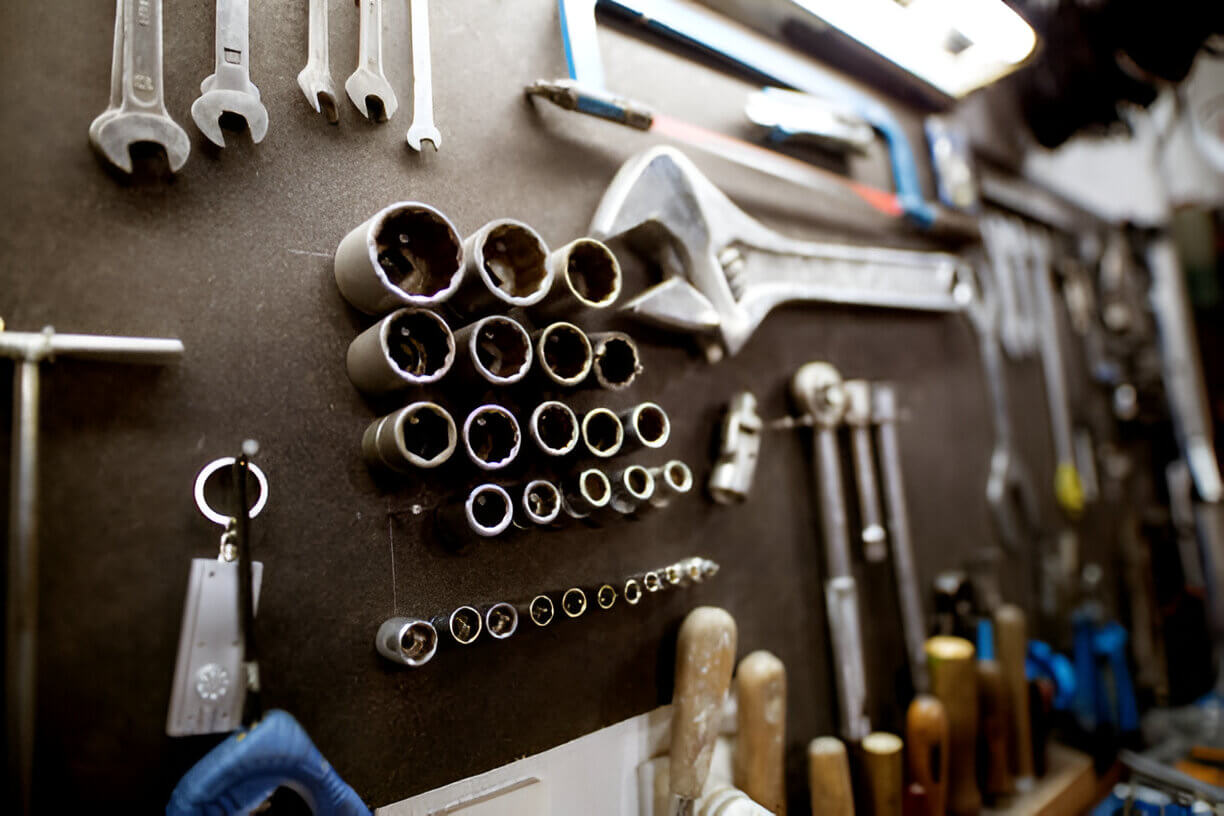
Magnetic strips are perfect for organizing small metal tools such as pliers, scissors, and drill bits. Mount a few magnetic strips on the wall or under shelves to save space and keep frequently used tools within arm’s reach.
Upgrade Idea: Use multiple magnetic strips in a vertical arrangement to create a visually appealing tool display while maximizing storage efficiency.
4. Rolling Tool Cart
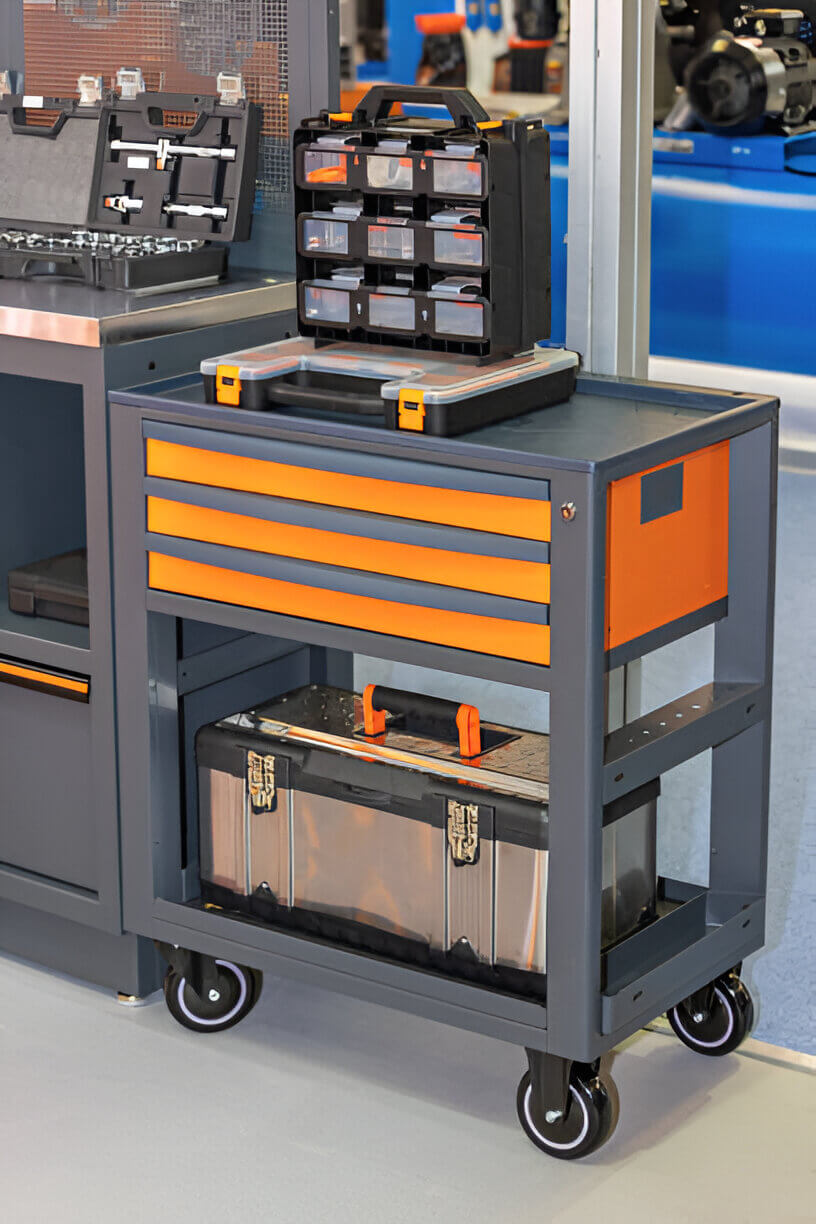
Build your own rolling tool cart to keep your tools mobile. Use plywood and casters to create a cart with shelves or drawers. This way, you can move your tools around the workshop as needed.
Tip: Add pegboard panels to the sides of the cart for even more storage options. Include a top tray for small items like nails and screws, making the cart a complete mobile workstation.
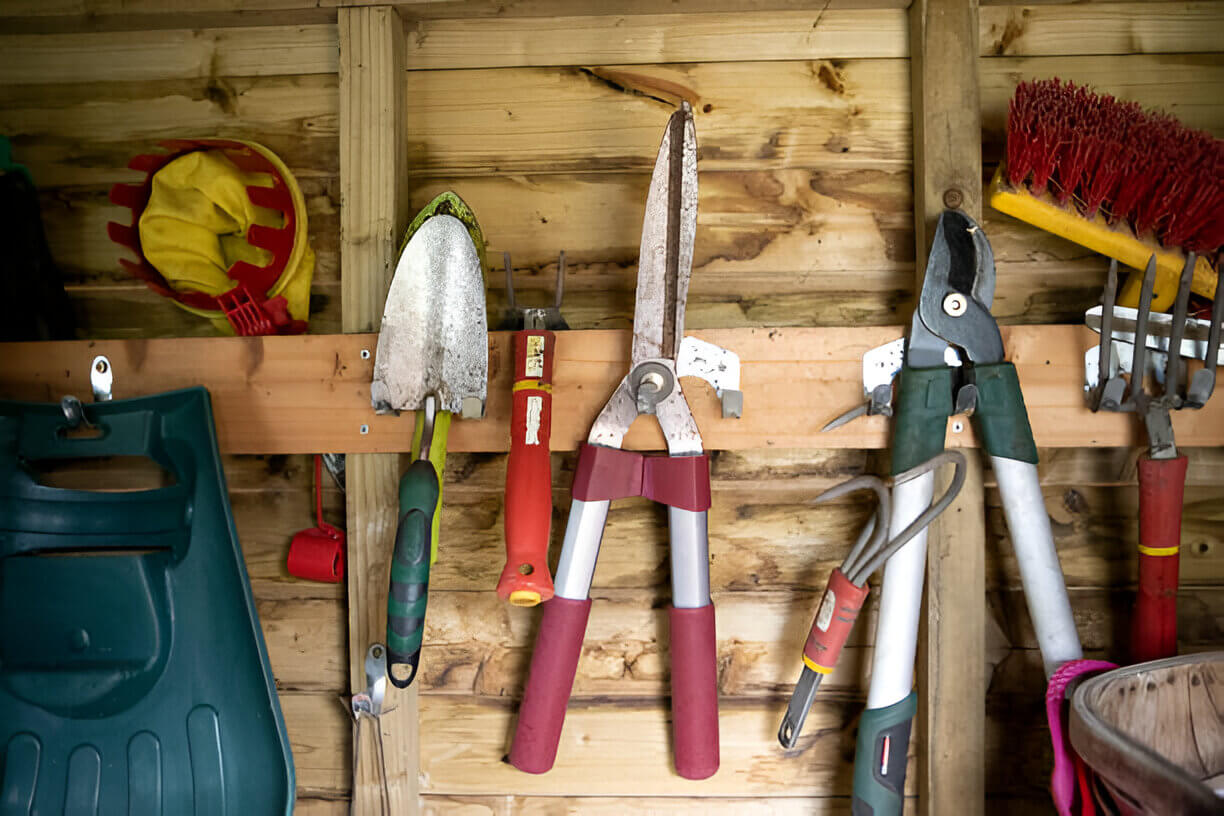
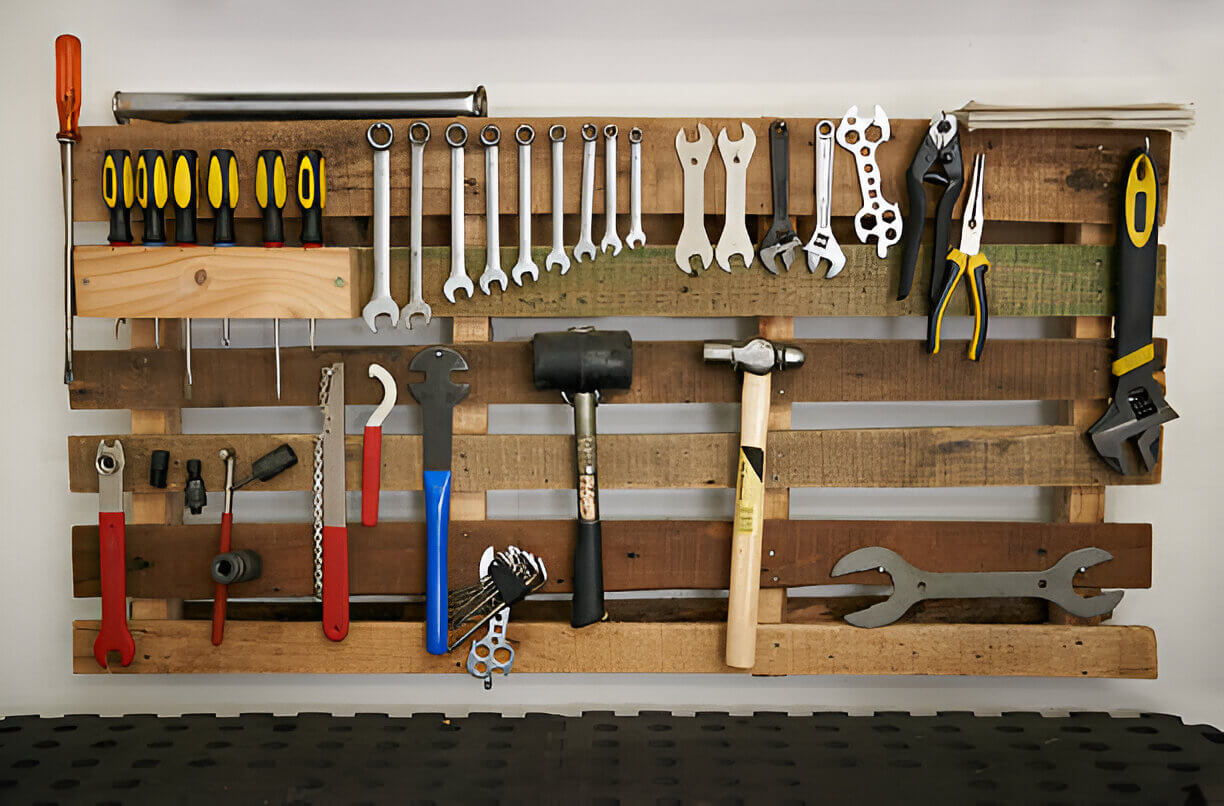
5. Recycled Pallet Tool Rack
Advertisement
Old pallets can be repurposed into a rustic tool rack. Remove a few slats to create slots for tools like rakes, shovels, and brooms. Mount the pallet on the wall or lean it against a corner for easy access.
Eco-Friendly Bonus: This project costs almost nothing if you have spare pallets lying around! For added durability, sand and seal the wood to protect it from wear and tear.
6. Tool Tower for Power Tools
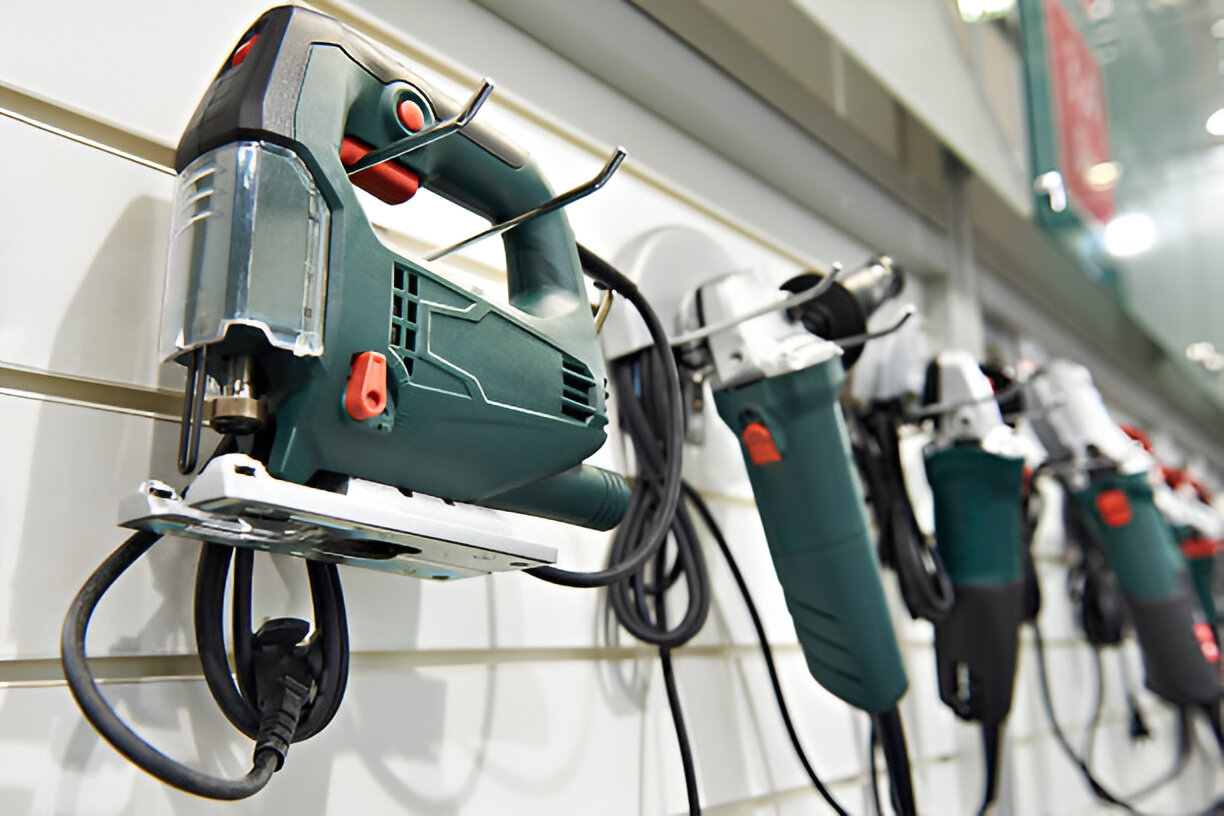
Power tools can be bulky, but a tool tower can handle them. Build a vertical rack with shelves sized for drills, sanders, and saws. Include cord hooks and small cubbies for batteries and chargers.
Organizational Hack: Add labels or color-coded bins to make it easy to find and return each tool after use.
7. DIY Drawer Dividers
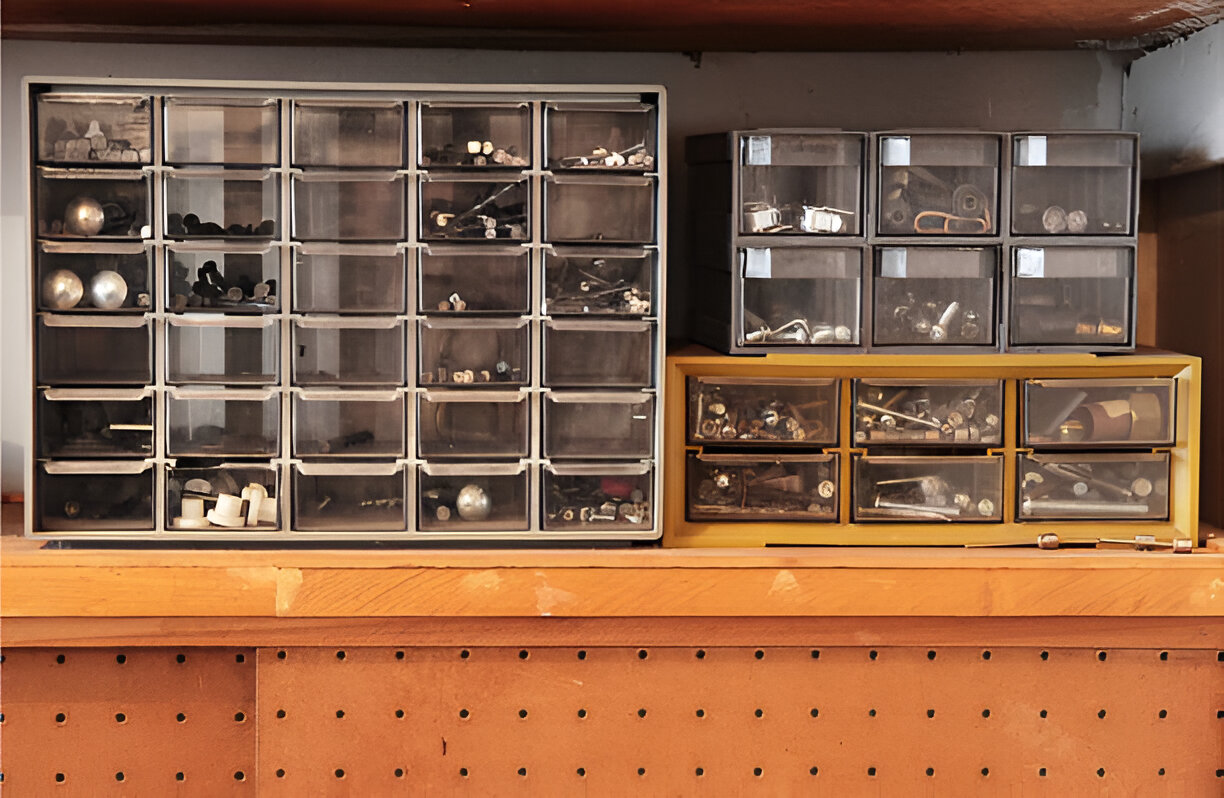
Keep drawers organized by making your own dividers. Use scraps of plywood or foam board to create compartments for screws, nails, and other small items. This will save time when searching for the right fastener.
Extra Tip: Line the dividers with felt or rubber to prevent smaller items from sliding around.
8. Overhead Storage for Long Tools

Got long tools like levels or clamps? Use ceiling-mounted storage. Attach sturdy hooks or build a simple overhead rack with wood or metal pipes. This keeps bulky items out of the way but still accessible.
Safety Note: Ensure your ceiling storage is securely fastened to hold the weight. Use heavy-duty screws or anchors for added stability.
9. Used Jars to Store Small Goods
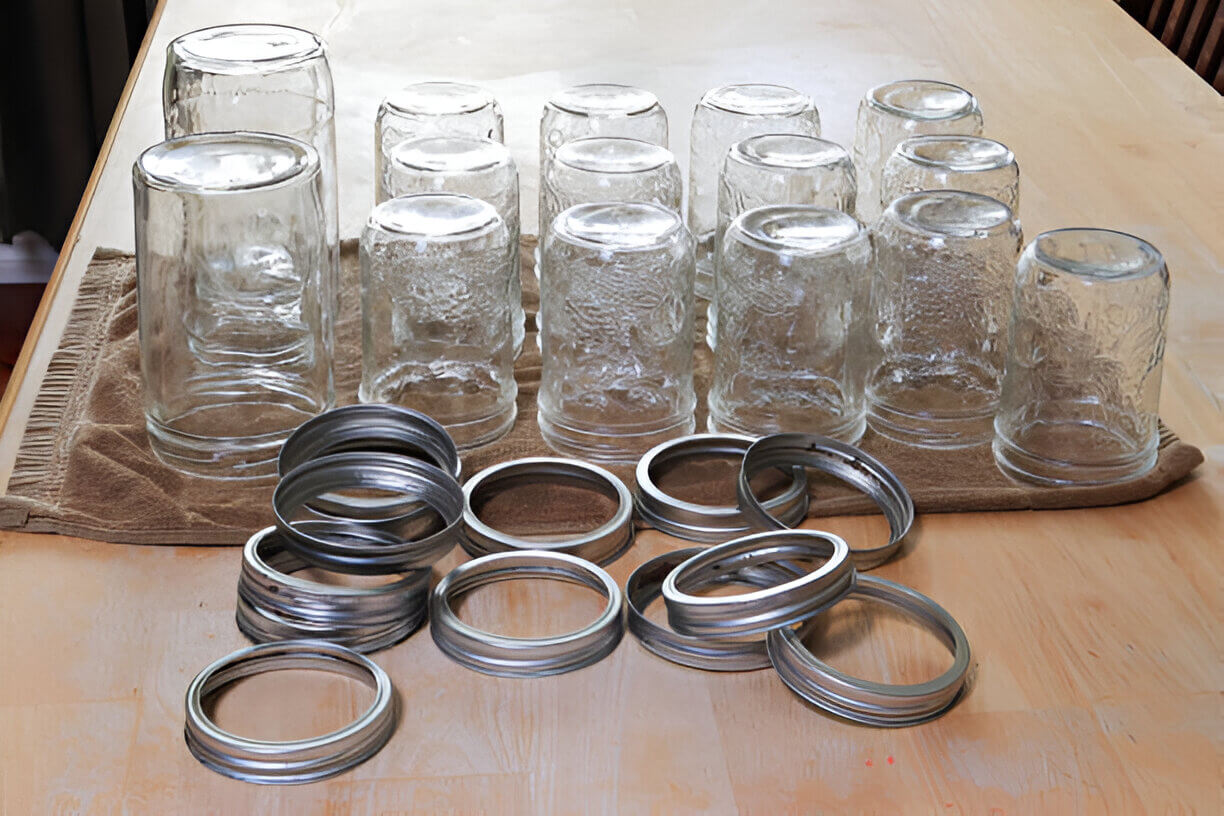
Store screws, bolts, and other tiny hardware in recycled glass jars. Twist the jars on and off as necessary, then screw the lids to the shelf’s underside. In addition to saving space, this hack maintains item visibility.
Creative Idea: Paint or label the jars to fit the subject of your workshop.
Related Article : 16 Best Woodworking Tools for Beginners
10. Wall-Mounted Tool Chest
Turn an old cabinet into a wall-mounted tool chest. Add hooks, shelves, or magnetic strips inside to store various tools. Mount the cabinet at eye level for convenience.
Bonus Idea: Paint the cabinet in a bold color to make your workspace pop. Add LED strip lighting inside for better visibility.
11. DIY French Cleat System
A French cleat system is a modular and customizable storage solution. Cut wood strips at an angle and attach one set to the wall and another to your tool holders. This setup allows you to rearrange and add storage as your needs change.
Expansion Tip: Use the French cleat system for both small tools and larger items like power saws or drills.
12. Pipe Clamp Storage Rack
Pipe clamps are notoriously hard to store, but a simple rack can fix that. Mount two wooden boards with notches cut into them on the wall. Slide your clamps into the notches for an organized display.
Bonus: Stain or paint the boards to match your workshop decor.
13. Cord and Hose Organizers
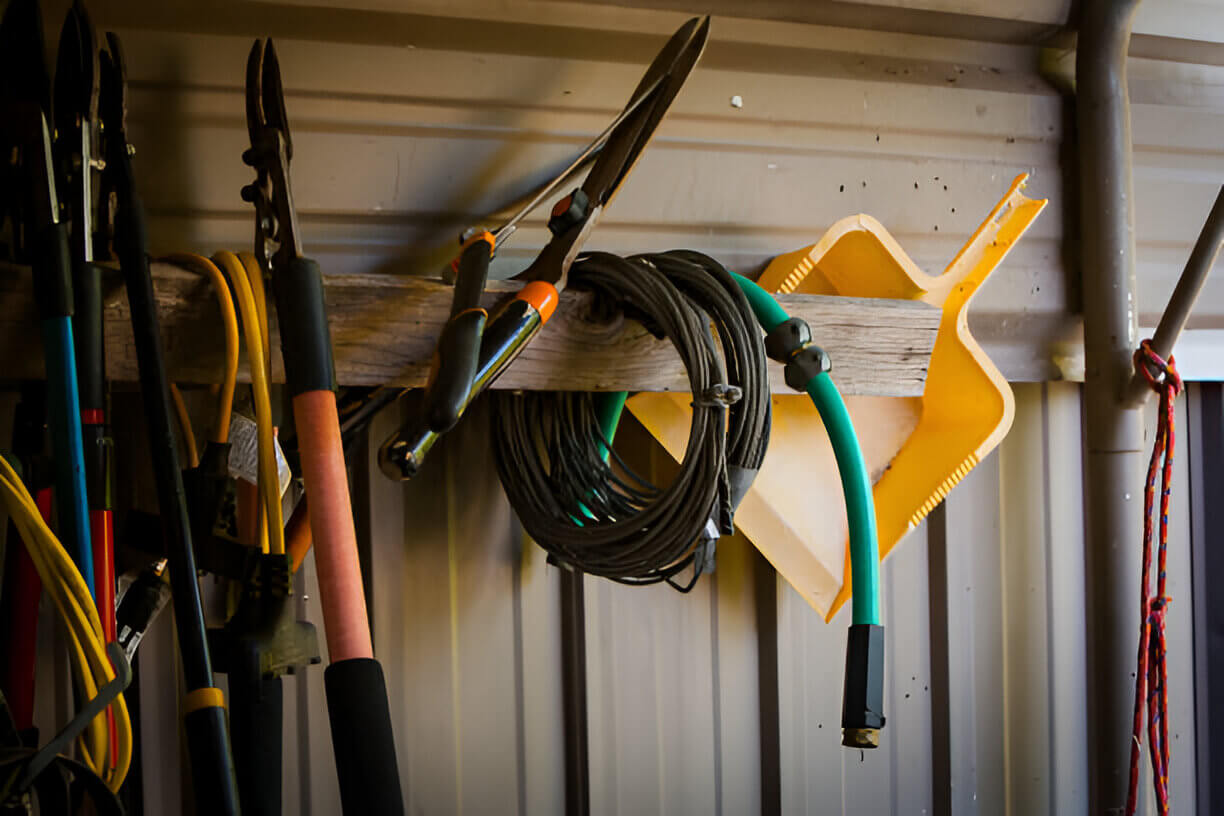
Tangled cords and hoses can be frustrating. Build a wall-mounted organizer with hooks or spools to neatly hang extension cords, air hoses, and more. Label each hook to prevent confusion.
Pro Tip: Use retractable cord reels for an even cleaner look.
14. Sliding Tool Panels
Maximize space with sliding tool panels. Install tracks on the wall and mount pegboards or panels that slide side to side. This system doubles your storage area without taking up extra wall space.
Creative Add-On: Use one panel for frequently used tools and another for seasonal or less-used items.
15. Repurposed Furniture for Storage
Don’t let old furniture go to waste. Turn a dresser into a tool storage unit by labeling the drawers for different tools. You can also repurpose a bookshelf for vertical storage of bins and boxes.
Pro Tip: Add casters to the furniture for easy mobility. Attach magnetic strips or small pegboards to the sides for additional storage.
Bonus Tips for a More Organized Workshop
- Create a Tool Inventory: Keep a digital or written inventory of your tools. This will help you avoid buying duplicates and ensure that every tool has a designated spot.
- Zone Your Workshop: Designate specific areas for different tasks, such as cutting, sanding, or assembly. Store tools for each task in their respective zones.
- Regular Maintenance: Dedicate time every few months to reorganize your workshop. This prevents clutter from building up and keeps your storage systems efficient.
Final Thoughts
Organizing your workshop doesn’t have to be expensive or time-consuming. These 15 DIY tool storage ideas prove that a little creativity goes a long way. By implementing these solutions, you’ll save time, reduce frustration, and create a workspace that inspires productivity. Start small, and before you know it, your workshop will be the envy of every DIY enthusiast.
Which idea are you excited to try first? Let us know in the comments, and don’t forget to share this post with fellow DIYers!