
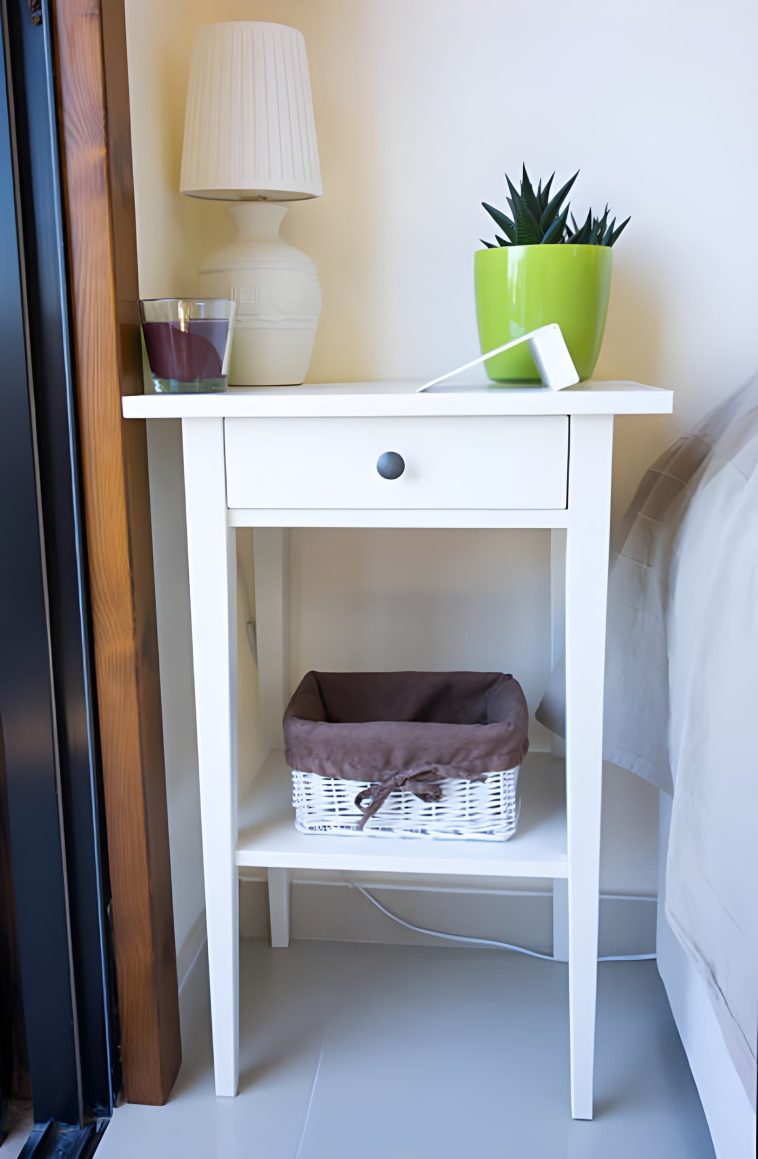
You walk into a furniture store, spot an end table with a little cabinet door, and think — that’s exactly what I need. Then you flip the price tag. $180. For particle board and a hinge. You put it back, walk out, and spend the next three weeks stacking books next to your bed like a college student. Sound familiar?
Here’s the thing: you can build a better end table yourself in a single weekend, for around $40–$60 in lumber, and it’ll look a hundred times better than anything from a big-box furniture chain. I’m not exaggerating. A DIY end table with cabinet storage gives you exactly what you want — hidden storage, a solid surface, the right height — without the “assembly required” anxiety or the price tag that makes you question your life choices.
This guide is beginner-friendly, and you don’t need a garage full of tools to pull it off. If you’re just getting started in woodworking, you’ll want to check out our beginner woodworking tools post first — it’ll make the tool list below a lot less intimidating.
Let’s build something worth keeping.
Why Build Instead of Buy?
Let’s talk numbers for a second. A decent end table with storage at a furniture store runs anywhere from $80 to $300+, depending on the brand and how fancy the hardware is. Your DIY version? $40–$70 in materials, tops — and you get to choose the wood, the stain, the size, and the style.
Want it taller because your bed sits high? Done. Want it painted sage green to match your bedroom? Easy. Want a door handle that actually feels satisfying to open? Go grab exactly the one you want from the hardware store.
IMO, the customization alone makes DIY worth it — but honestly, the moment you set that finished piece next to your bed and think I made that, it hits differently. No flat-pack instruction sheet can give you that feeling. 🙂
What You’ll Need
Tools
- Miter saw or circular saw — for clean, straight cuts on your lumber
- Drill + drill bits — for pocket holes and hardware attachment
- Pocket hole jig (Kreg) — seriously, get one; it makes joinery fast and strong
- Orbital sander — for a smooth, professional finish
- Measuring tape + speed square — because measure twice, cut once is a real rule
Materials
- 2×4 lumber — for the legs and structural frame
- 1×4 or 1×6 boards — for the sides, top, and shelf
- Plywood (½ inch) — for the cabinet back panel and door
- Wood glue — always use it alongside screws for stronger joints
- Pocket screws — 1¼” for face frames, 2½” for the frame assembly
- Sandpaper — 80 grit to shape, 120 and 220 grit to finish
- Door hinge (x2) — no-mortise hinges keep it simple for beginners
- Cabinet handle or knob — this is where you get to have fun with style
Total material cost lands around $40–$65 depending on your lumber choice and hardware picks. If you already own the tools, this build is almost embarrassingly affordable.
End Table Builds to Inspire You
Before you cut a single board, it helps to know which end table you want to build. Here are 10 styles, from classic to creative — each one buildable in a weekend.
1. Classic Shaker-Style End Table
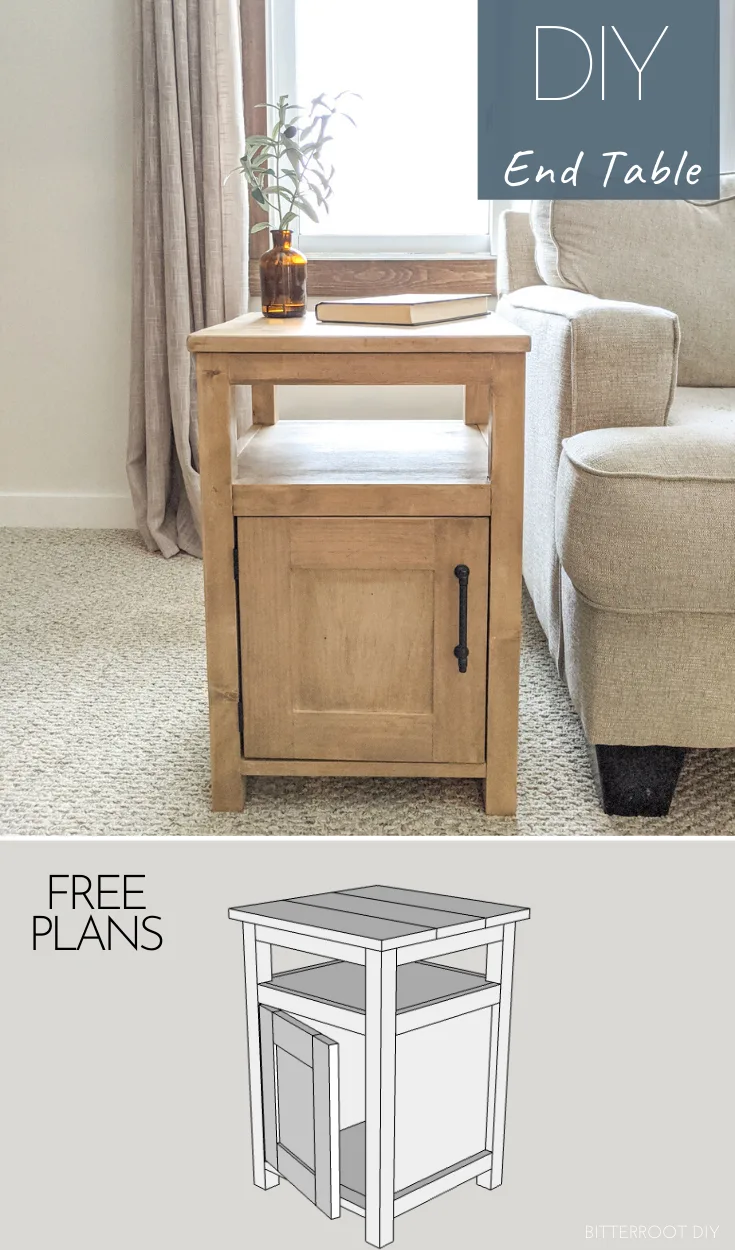
Credit : tylynnm
What makes it unique: The Shaker style is timeless — clean recessed panel door, simple square legs, zero fussiness. It looks equally at home in a traditional bedroom or a modern farmhouse space.
This build uses 1×4 boards for the face frame and a ½-inch plywood panel for the door. The door detail is easier than it looks — you’re just routing a rabbet around the inside edge and dropping in the panel. No carved details, no fancy joinery.
- Difficulty: Beginner–Intermediate
- Free plans: Search “Shaker end table plans” on Ana White or Woodworking Plans 4 Free
- Estimated cost: $50–$65
2. Farmhouse Nightstand with Cabinet Door
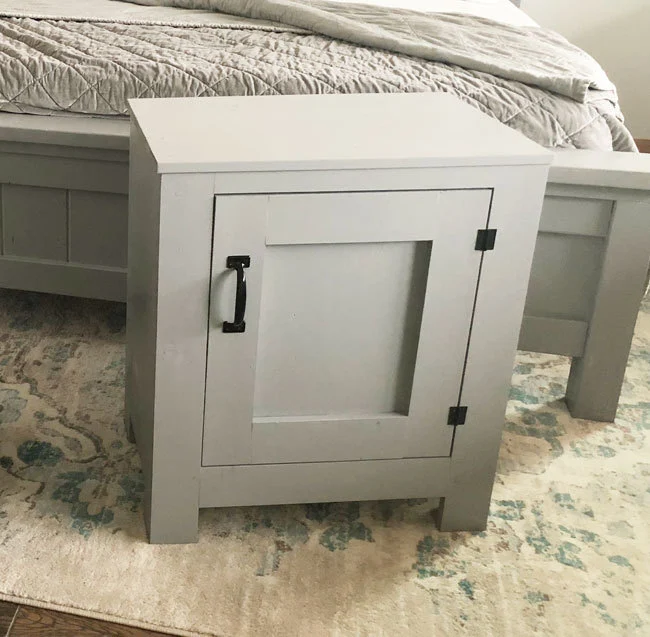
Credit : ana-white
What makes it unique: Think chunky legs, a face frame with a little decorative gap, and maybe a touch of distressing on the finish. This one pairs well with white-painted shiplap walls and cozy linen bedding — you know the aesthetic.
The farmhouse nightstand is normally made with 2×4 legs and a 1×6 body. It’s a very forgiving build — slight imperfections in the wood just add to the rustic charm.
- Difficulty: Beginner
- Free plans: Ana White has a fantastic version of this one (search “Ana White Farmhouse Nightstand”)
- Estimated cost: $35–$50
3. Rustic Reclaimed Wood End Table
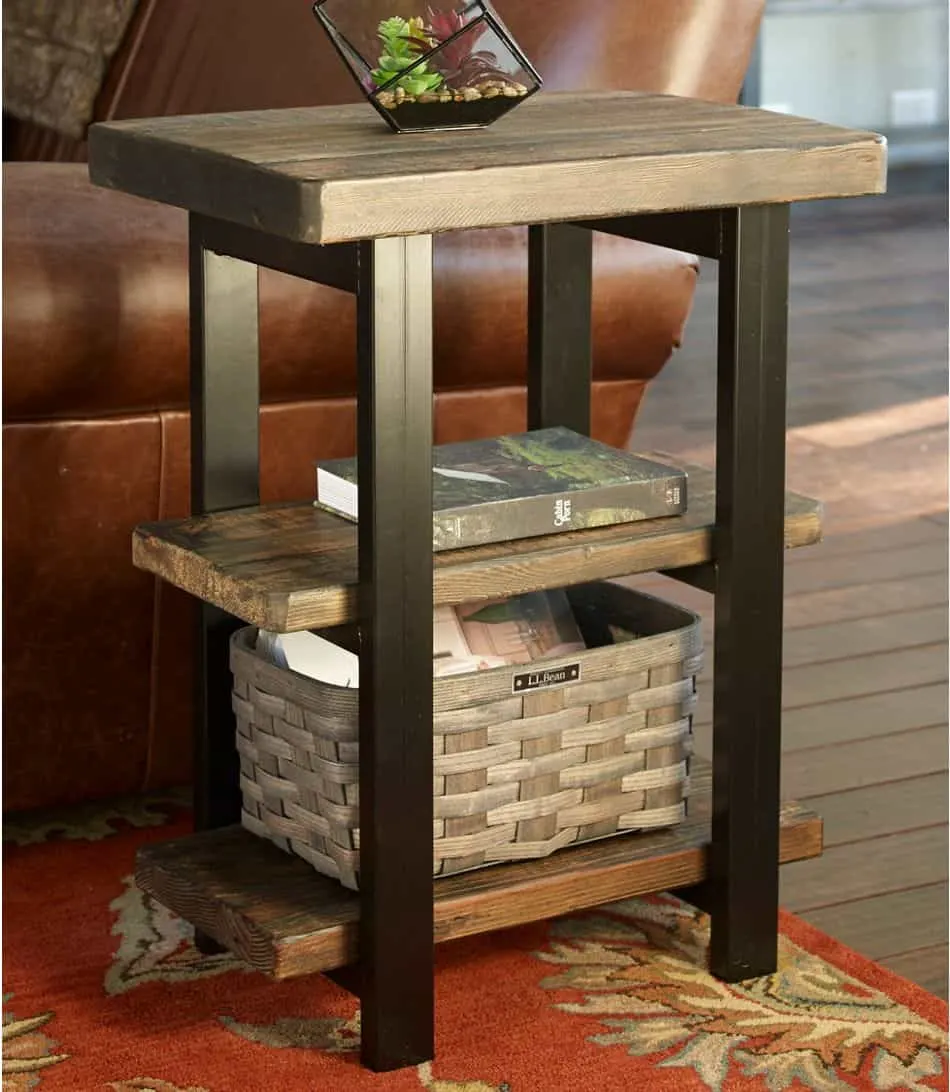
Credit : thehandymansdaughter
What makes it unique: This one requires the least precision and still ends up looking like it belongs in a high-end boutique hotel room. Grab some pallet boards or reclaimed fence wood, clean them up, and let the character of the wood do the heavy lifting.
This version’s cabinet box is straightforward, consisting of a plywood carcass with a recovered wood door affixed to the front. Rustic iron hinges and a black bin pull finish it perfectly.
- Difficulty: Beginner
- Free plans: Search “reclaimed wood nightstand plans” on YouTube or Instructables
- Estimated cost: $20–$40 (especially if your lumber is free)
4. Modern Minimalist Bedside Table
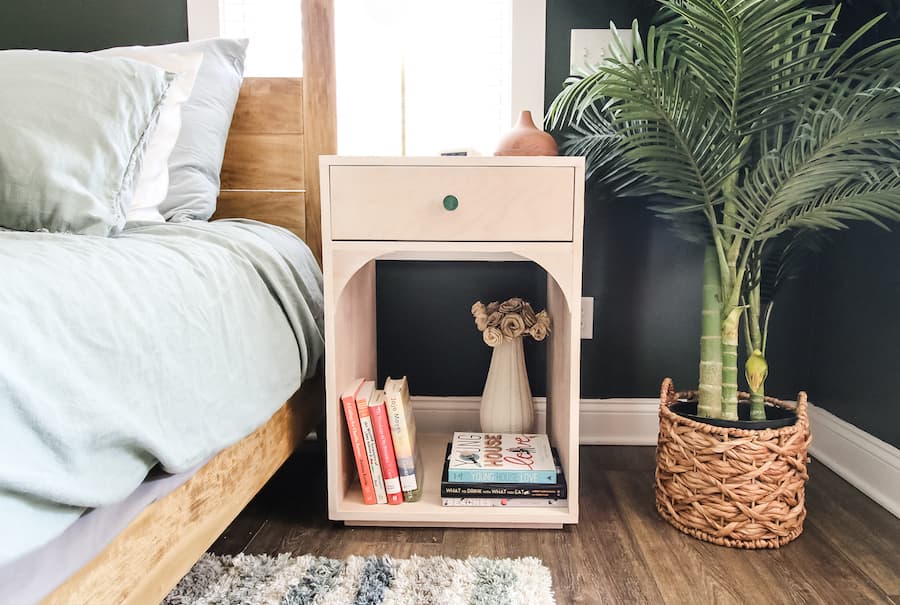
Credit : Kregtool
What makes it unique: Thin legs, a floating look, and no visible hardware. The cabinet door on this one uses a push-to-open latch so there’s no handle breaking the clean lines. Very Scandinavian, very satisfying.
This build usually involves tapered legs (you can buy pre-made tapered legs from Etsy or Amazon) and a simple plywood box. The challenge is getting your cuts perfectly square — a good speed square will save you here.
- Difficulty: Intermediate
- Free plans: Buildsomething.com has modern minimalist nightstand plans from Kreg
- Estimated cost: $55–$80
5. Small Space End Table with Drawer + Cabinet
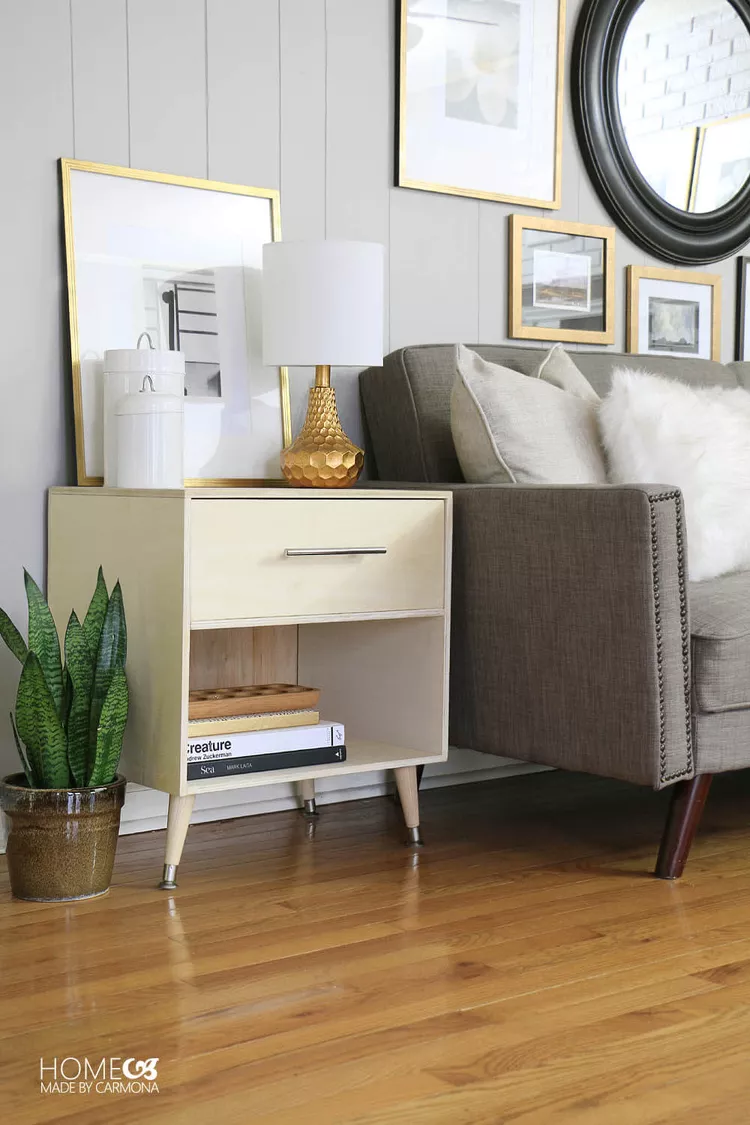
Source : homemadebycarmona
What makes it unique: Why choose between a drawer and a cabinet when you can have both? This compact design puts a shallow drawer on top (perfect for your phone, glasses, charger) and a cabinet below for bigger items.
It’s a slightly more complex build — you’ll need to cut dadoes for the drawer slides — but totally doable in a weekend once you get your head around the sequence.
- Difficulty: Intermediate
- Free plans: Search “nightstand with drawer and cabinet plans” on Pinterest or Woodsmith
- Estimated cost: $60–$75
6. Industrial Pipe & Wood End Table
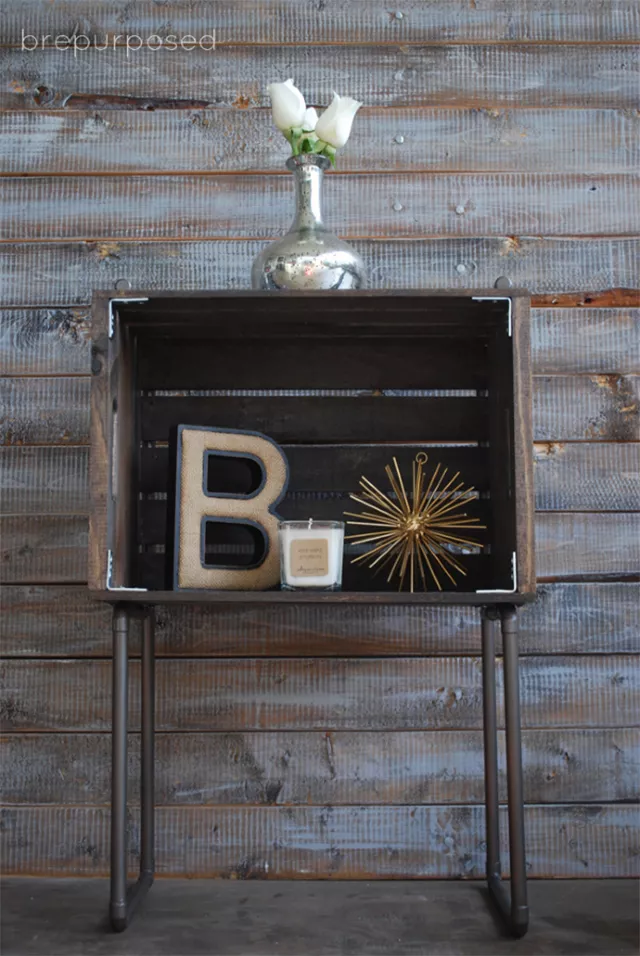
Source : brepurposed
What makes it unique: Black iron pipe legs, a solid wood top, and a plywood cabinet box tucked underneath. This one is half woodworking, half plumbing, which sounds weird but ends up looking incredibly cool.
The pipe frame gives it a raw, industrial edge that works great in loft-style bedrooms or any space with exposed brick, dark walls, or metal accents. The cabinet portion is a simple plywood box that slides between the pipe legs.
- Difficulty: Beginner–Intermediate
- Free plans: Search “industrial pipe nightstand DIY” on YouTube
- Estimated cost: $60–$90 (pipe fittings add up, but the look is worth it)
7. Painted Cottage-Style Nightstand
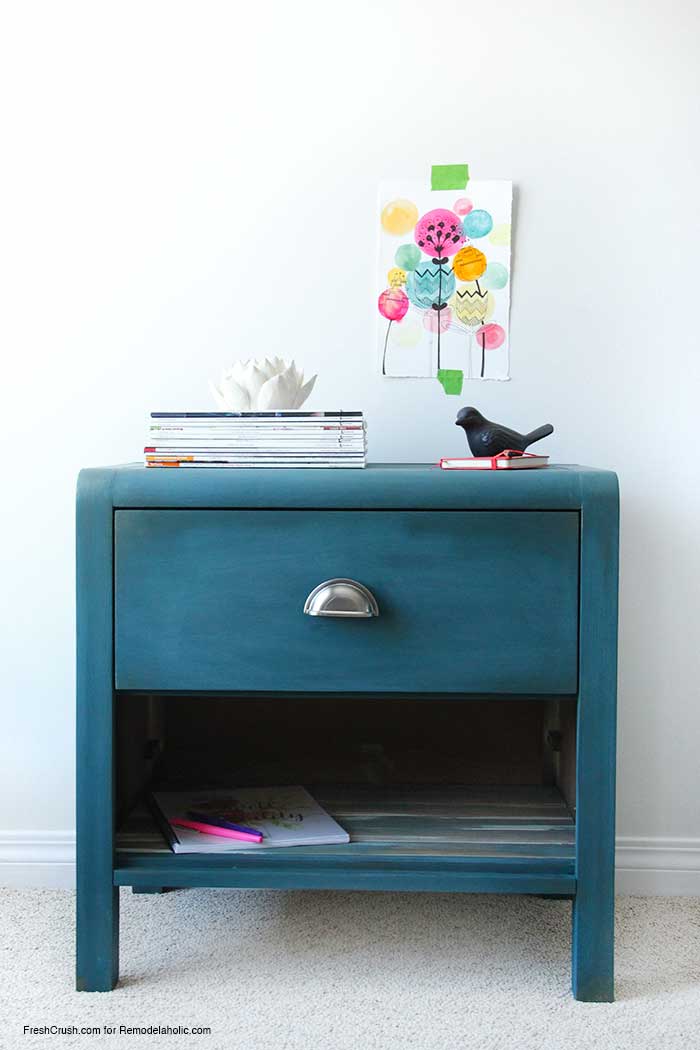
Source : remodelaholic
What makes it unique: This one leans into the painted look — think soft white, sage green, or dusty blue. It’s a great project for someone who wants the satisfaction of building but also wants an excuse to use that can of milk paint they’ve been eyeing.
The cottage style often features a subtle bead detail on the door panel (you can add this with a router or just buy pre-made beadboard plywood). Pair it with ceramic knobs and you’ve got something genuinely charming.
- Difficulty: Beginner
- Free plans: Search “cottage nightstand plans” on Remodelaholic or The House of Wood
- Estimated cost: $40–$60
8. Mid-Century Modern End Table
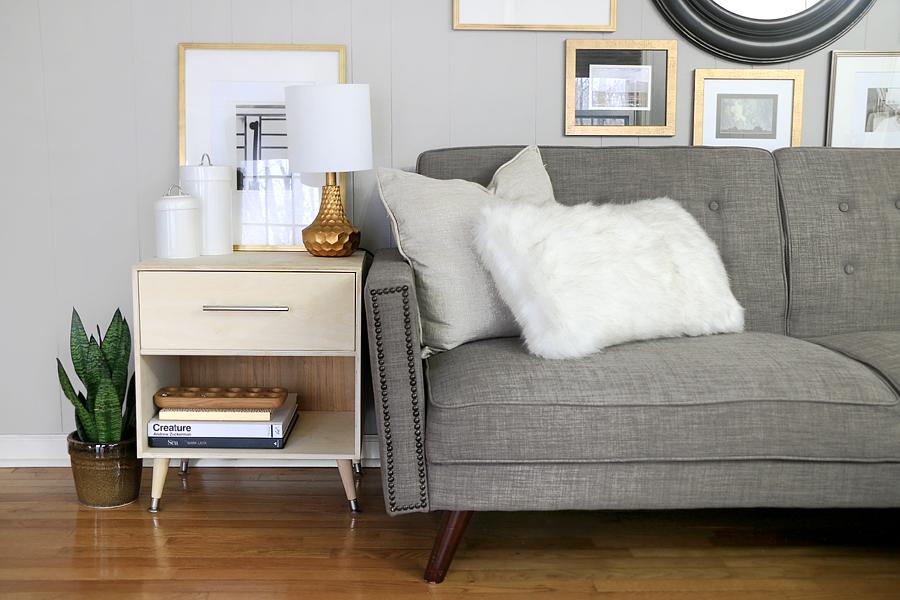
Source : Kregtool
It has angled legs, which makes it unusual. That’s what distinguishes mid-century modern furniture: tapering, angled legs that give the impression that everything is going to walk away. The cabinet box sits on top of this splayed base for a retro, Mad Men-esque vibe.
You’ll need a drill press or a jig to drill angled leg holes, but the rest of the build is straightforward. Go for a walnut stain on this one — it’s the classic MCM move.
- Difficulty: Intermediate
- Free plans: Search “mid-century modern nightstand plans” on WoodArchivist
- Estimated cost: $65–$85
9. Ana White Simple End Table
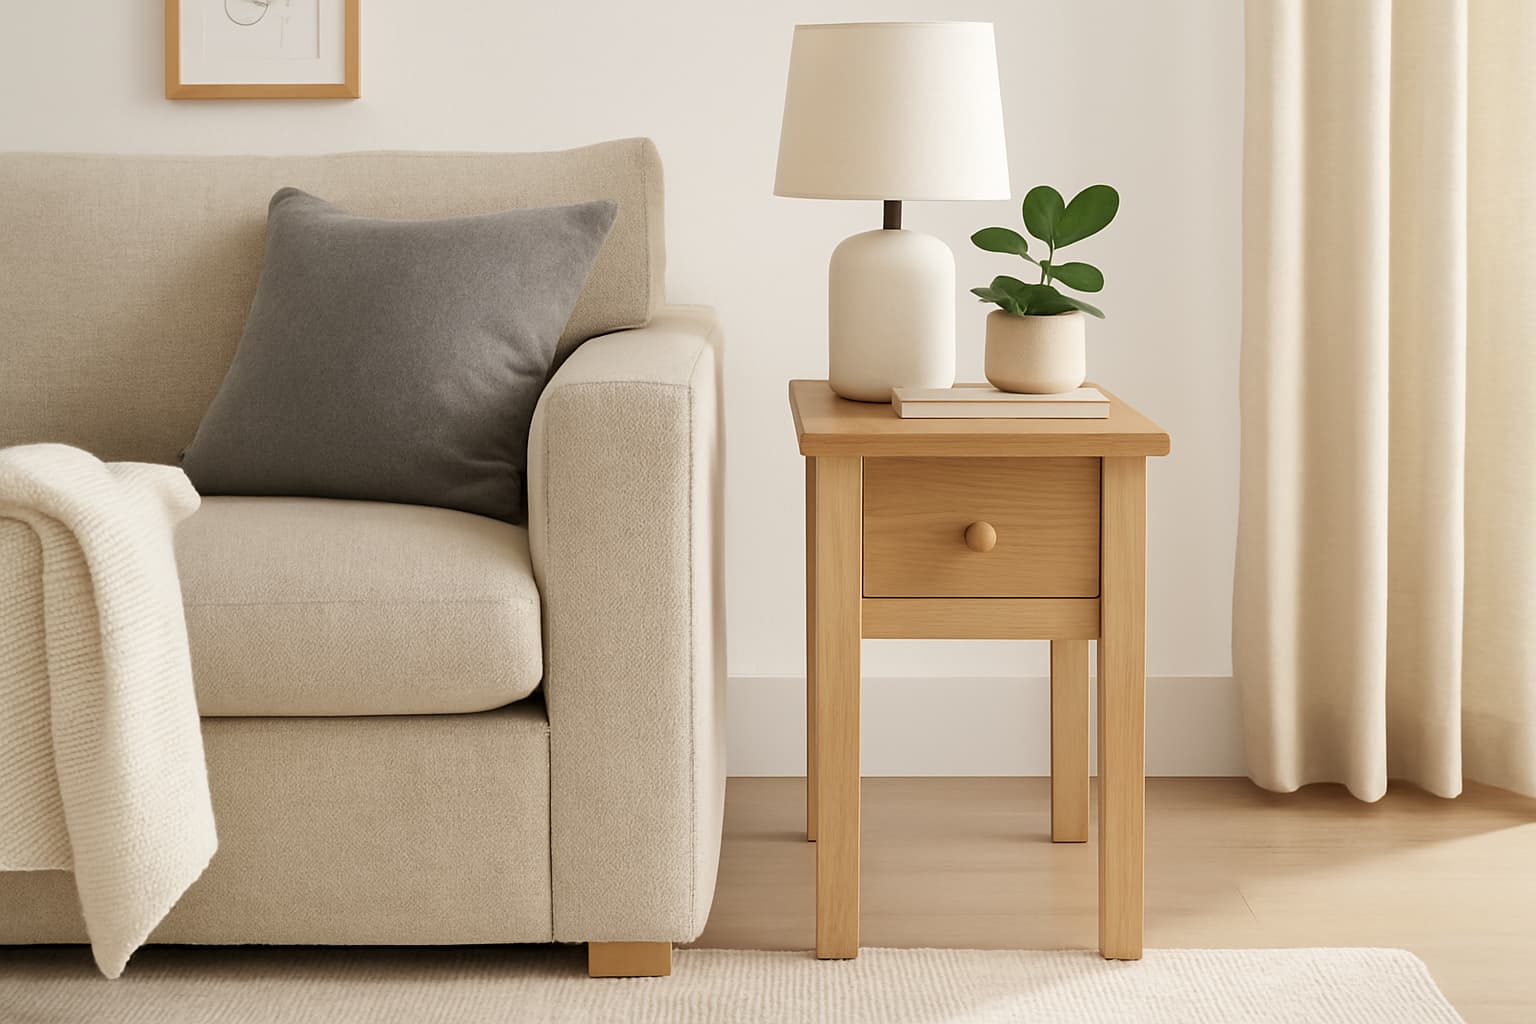
Source : Ana-White
What makes it unique: Ana White’s free plans are the gold standard for beginner woodworkers. Her simple end table design uses basic lumber from any home improvement store and requires zero specialty tools. Just a saw, a drill, and a weekend afternoon.
This build’s cabinet variant has two no-mortise hinges and a plywood door. If this is your first construction, start here because mistakes are nearly hard to make. FYI, her full plan PDFs include cut lists, material lists, and step photos.
- Difficulty: Beginner
- Free plans: Ana White — Free Woodworking Plans
- Estimated cost: $30–$45
10. Budget 2×4 End Table Build
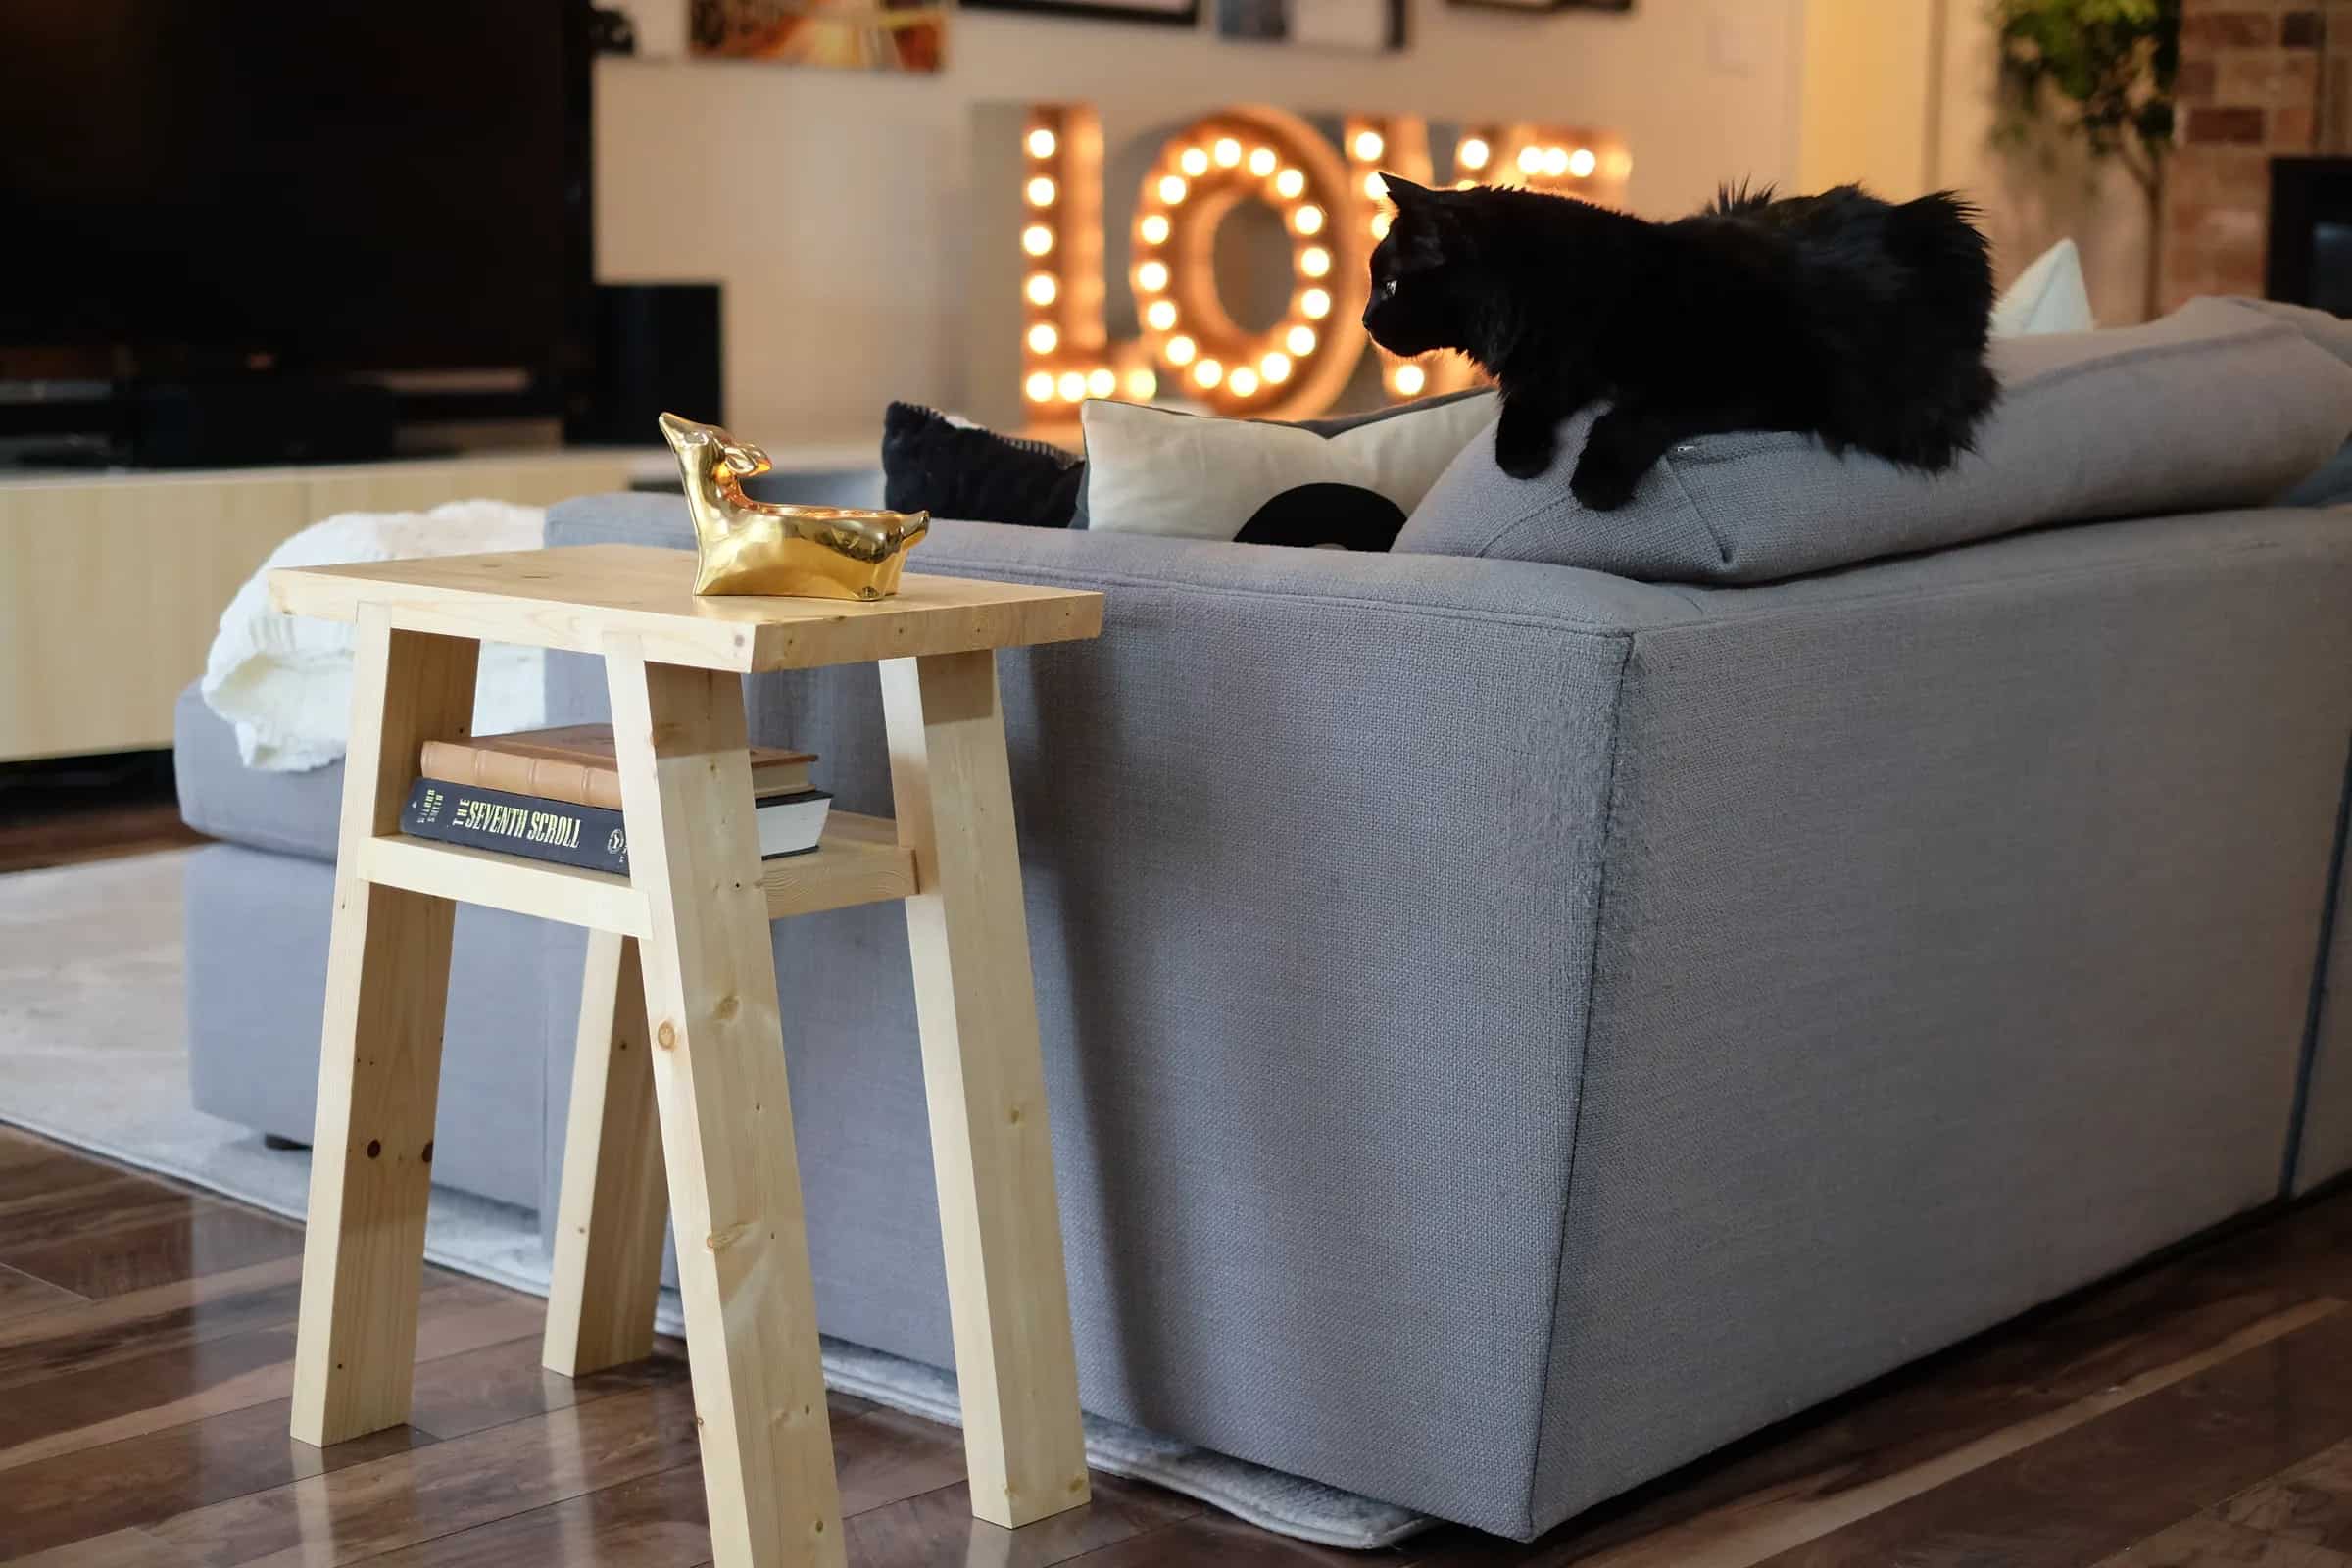
Source : Instructables
What makes it unique: Pure budget-mode build. This one uses almost exclusively 2×4 construction lumber — the cheapest dimensional lumber at any hardware store — and a strip of plywood for the cabinet back and door. Rough, solid, and actually quite handsome with the right finish.
Rip your 2x4s down to narrower widths for the face frame and you’ve got a surprisingly refined look at a fraction of the cost of any other style on this list.
- Difficulty: Beginner
- Free plans: Search “2×4 nightstand build” on YouTube — there are dozens of free video walkthroughs
- Estimated cost: $20–$35
Step-by-Step End Table Build Overview
You don’t need a full tutorial to build your first end table — you need enough of a roadmap that you can start without second-guessing every move. Here’s the general process that applies to almost every style above.
Step 1: Cut Your Lumber to Size
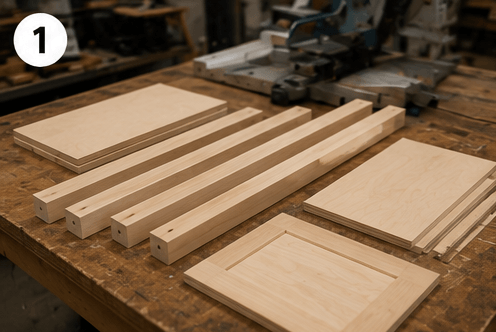
Before you reach for a screw, open your chosen blueprints, double-check your final proportions, and cut all of your pieces. A stop block on your miter saw makes repeat cuts identical without measuring every single piece. Cut the legs, the rails, the shelf pieces, and the door panel all in one session.
Step 2: Build the Leg Frame
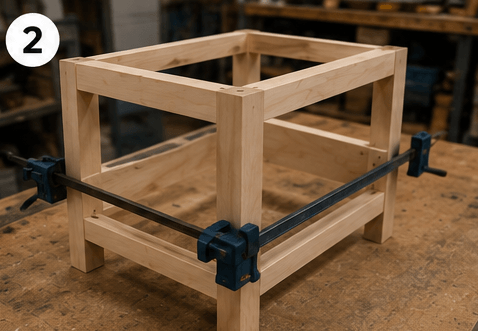
Join your legs and apron rails using pocket hole screws and wood glue. Clamp everything square before the glue sets — a strap clamp is perfect for this. This is the skeleton of your table, so take your time getting it right.
Step 3: Add the Shelf and Bottom Panel
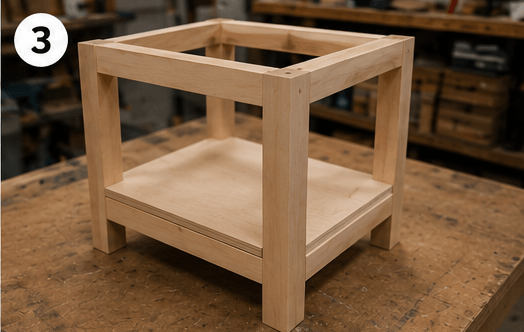
Drop in your lower shelf or cabinet bottom panel. This is usually a piece of ¾-inch plywood or a glued-up board. Attach it to the frame with pocket screws from underneath so the fasteners stay hidden.
Step 4: Build and Attach the Cabinet Box
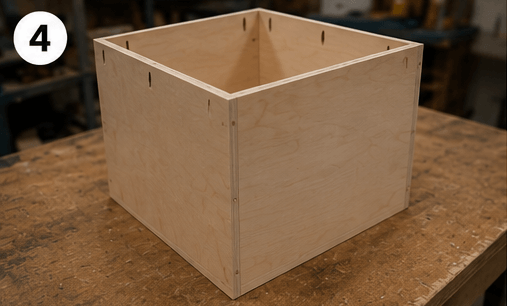
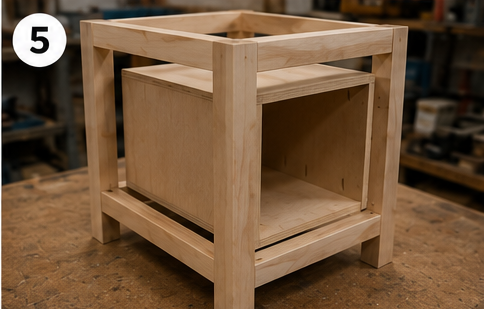
If your design includes a cabinet, build the box separately — four sides of plywood or 1×6 boards, glued and screwed — then attach the whole unit to the leg frame. Much easier than trying to build the cabinet in-place.
Step 5: Make the Door Panel
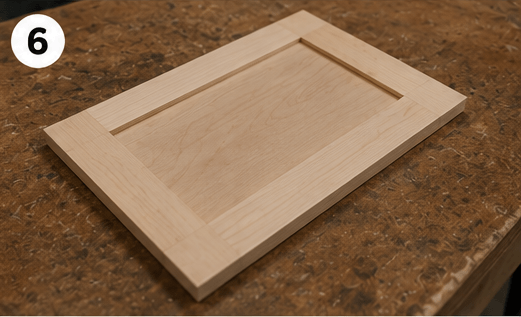
For a Shaker-style door, build a simple frame from 1×3 or 1×4 stock with a ¼-inch plywood panel floating in a groove. For simpler builds, a single piece of ¾-inch plywood with a routed edge works just fine. Square the door carefully before cutting — an out-of-square door is the most obvious mistake in furniture building.
Step 6: Sand, Stain, or Paint
Start with 80 grit to knock down any rough spots or mill marks, then work up through 120 and 220 grit. Always sand with the grain. Apply your stain or first coat of paint, let it dry completely, lightly sand with 220 grit again, then apply your final coat. This two-coat approach is what separates furniture that looks handmade from furniture that looks homemade.
Step 7: Attach Hardware
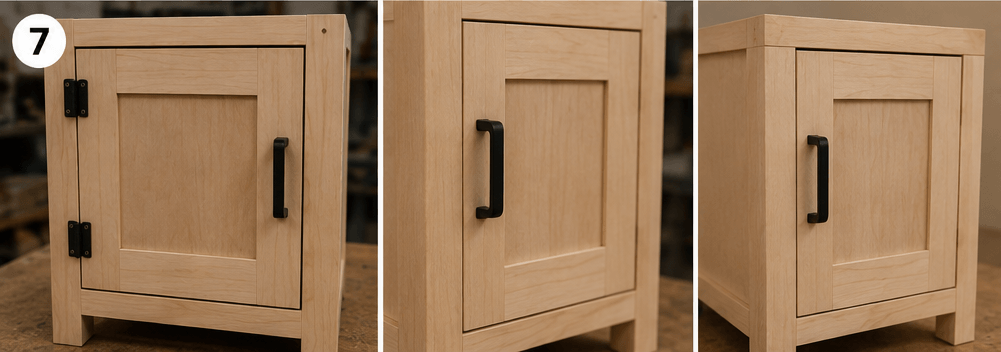
Mount your hinges first — lay the door in the opening, use shims to set your gap, and mark the hinge positions before drilling. Then attach your handle or knob. Pre-drill every hole to avoid splitting the wood so close to the edge.
The Final Results of an End Table
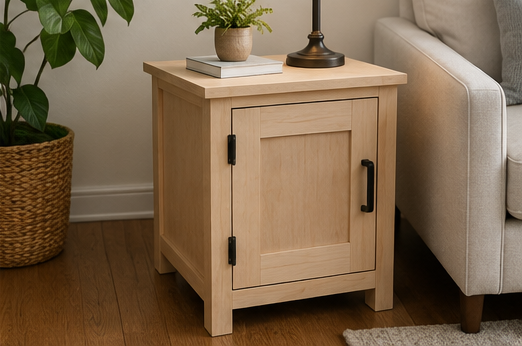
Finish & Style Options
The finish is where your table goes from “nice build” to “did you buy that?” Here are the four combinations that consistently look best:
- Natural wood + clear coat — Let the grain speak. A satin water-based poly over bare wood gives a Scandinavian, clean aesthetic that works with almost any bedroom palette.
- Dark walnut stain — Moody, cozy, and sophisticated. Works especially well with mid-century modern and industrial builds.
- Painted white or sage green — The go-to for farmhouse and cottage styles. Chalk paint over a light sanding gives you that slightly matte, soft finish without a primer coat.
- Hardware choices — Black iron for industrial or rustic. Antique brass for mid-century or traditional. Ceramic knobs for cottage and farmhouse. The hardware is the jewelry on this piece — don’t overthink it, but don’t ignore it either.
Pro Tips for a Clean End Table Build
A few things that make a real difference between a build that looks polished and one that looks like a first attempt — even if it is a first attempt.
- Always pre-drill near edges and ends. Wood splits when you drive a screw too close to the edge without a pilot hole, and there’s nothing more frustrating than cracking a piece right at the end of the build.
- Use your pocket hole jig for every joint. Seriously. Face frames, apron rails, shelf supports — pocket screws pull joints tight and hold them there. They’re the reason beginner builds can look professional.
- Sand between coats of finish. A light pass with 220 grit between coats knocks down dust nibs and gives each new coat something to bond to. Takes five minutes and makes a visible difference.
- Build two at once. If you’re building a nightstand, build a matching pair. You’re already set up, the saw is calibrated, the stain is mixed — doubling your output is way less than double the effort. And matching bedside tables look intentional, not accidental. :/
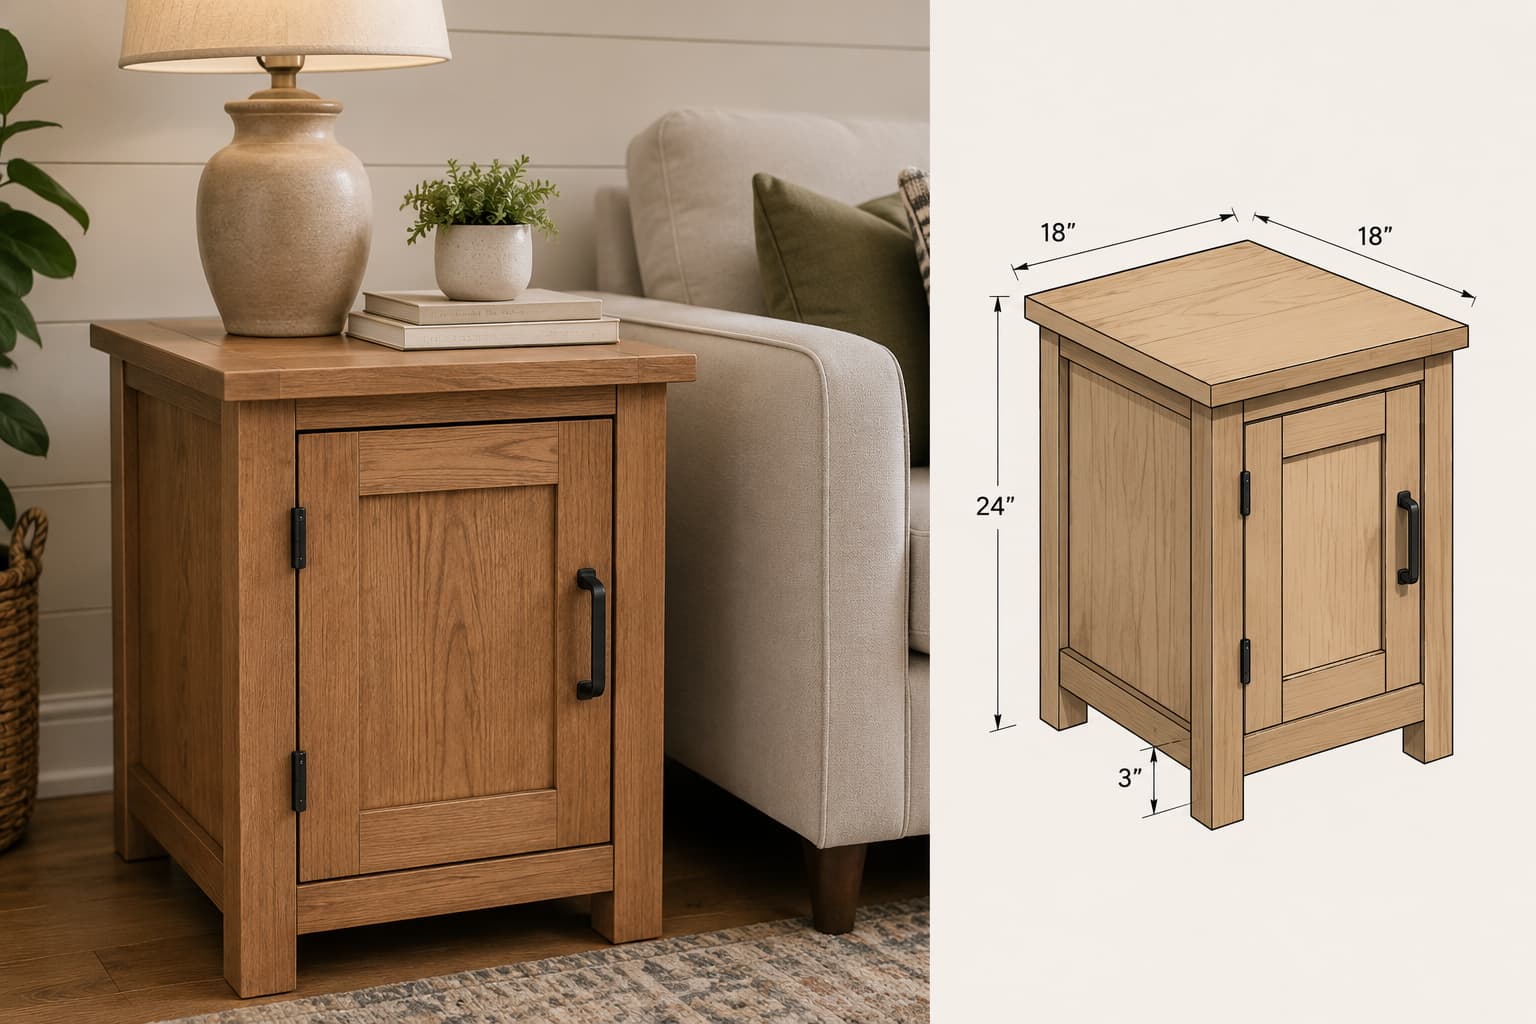
- Check your bed height first. The ideal nightstand surface sits 2–4 inches above your mattress top. Measure before you finalize your table height — it’s a small detail that makes the piece actually functional, not just decorative.
Take It Further with 500+ Woodworking Plans
So you’ve got 10 solid end table builds above, a step-by-step process, and a finish guide. That’s enough to get your first piece built this weekend. But here’s a question worth asking: what do you build next?
Once the end table is done, you’re going to want to keep going. Maybe a matching dresser. A coffee table. A bookshelf. A garden bench. The problem isn’t motivation — it’s having a reliable, detailed plan in front of you every time you start a new project.
That’s exactly why I recommend Ted’s Woodworking Plans for anyone who builds more than one or two projects a year.
Ted’s gives you instant access to over 16,000 woodworking plans — from beginner builds like this end table, all the way to full bedroom sets, outdoor furniture, sheds, and beyond. Every plan includes:
- Complete cut lists so you know exactly what to buy at the lumber yard
- Step-by-step instructions written for real humans, not just experienced woodworkers
- Material lists and tool requirements upfront so there are no surprise hardware store runs mid-build
- Beginner to advanced levels — you can start with something simple and scale up as your skills grow
It’s the kind of resource that makes the gap between “I want to build that” and “I know exactly how to build that” disappear. No more piecing together half-instructions from five different YouTube videos. No more guessing on dimensions.
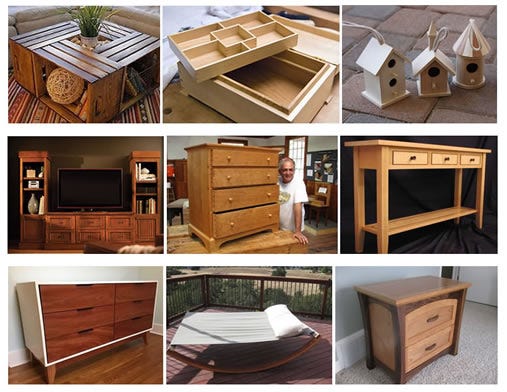
👉 Get instant access to Ted’s Woodworking Plans here
Whether you’re on build number one or build number twenty, having a solid library of plans at your fingertips changes the way you think about what’s possible in your workshop.
Conclusion
One weekend. One sheet of plywood. A handful of boards and some pocket screws. That’s genuinely all it takes to build an end table with cabinet storage that’s more solid, more customized, and more satisfying than anything you’ll find at a furniture store for twice the price.
If this is your first build, start with the Ana White simple nightstand or the budget 2×4 version — both are forgiving and fast. If you’ve got a few projects under your belt, try the Shaker-style or the mid-century modern for a bit more of a challenge.
The most important thing is to start. Cut the first piece of wood. The rest follows naturally.
Which style are you building first? Drop it in the comments — I’d love to see what you’re working on!