
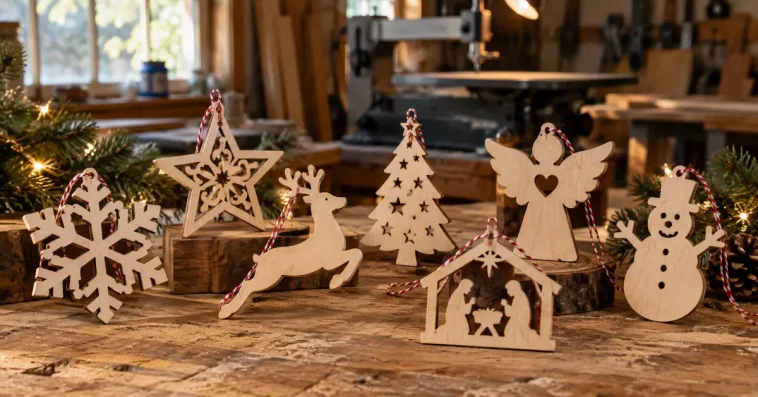
A scrap of plywood, a free pattern, and one quiet afternoon can turn into a Christmas ornament your family keeps for years. That beats another plastic decoration from a crowded store aisle, doesn’t it?
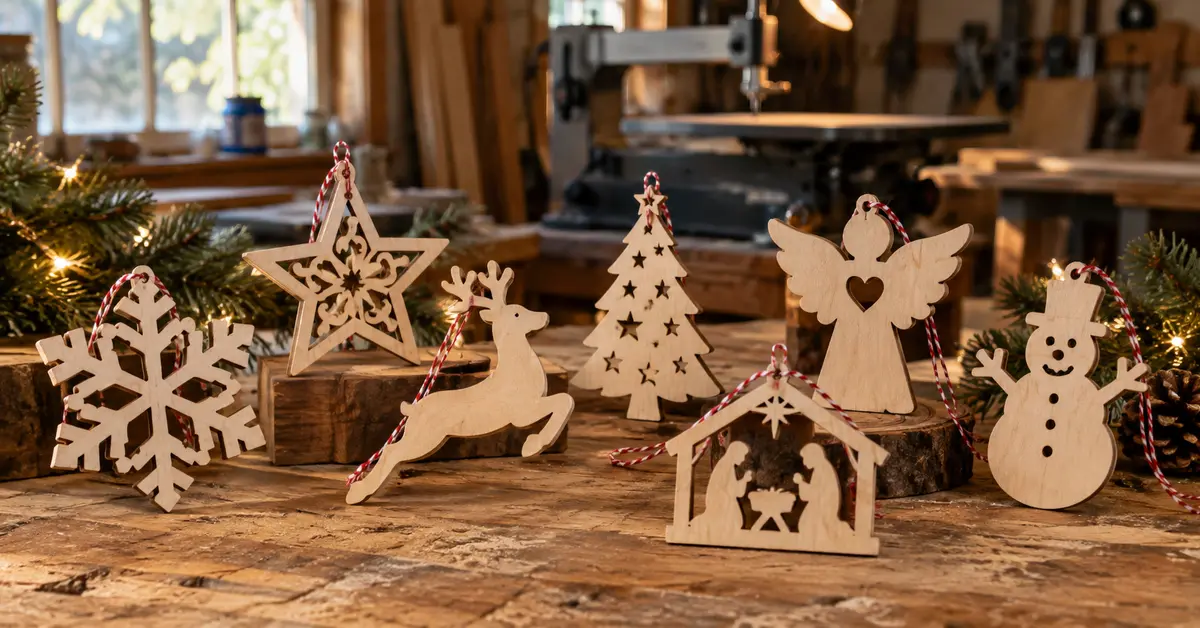
These free Christmas scroll saw patterns cover quick ornaments, giftable decorations, and a few slightly more detailed projects. You can print the patterns, attach them to wood, cut the shapes, and add your favorite finish without turning the workshop into Santa’s industrial complex.
I especially like these projects for beginners because they use little material and teach real scroll-saw control. Start with a simple tree or stocking, then work toward the nativity, word art, or detailed snowflake when your confidence catches up with your enthusiasm.
Where to Download the Free Christmas Scroll Saw Patterns
The Scrollsaw Workshop free pattern catalog offers thousands of printable patterns with no registration. Search the catalog using the project names listed below. Steve Good’s site allows makers to sell finished projects, but it does not allow anyone to sell the patterns themselves.
You can also browse the Christmas collection at Wooden Toy Plans and the free and holiday sections at OTB Patterns. Always read the creator’s current use rules before selling finished pieces. Free download does not automatically mean “do absolutely anything you fancy.” Copyright still attends Christmas dinner.
Printing tip: Open a PDF in Adobe Acrobat or your browser and choose “Actual Size” or “100%.” Avoid “Fit to Page” when the designer includes dimensions, because that option can quietly shrink the pattern and ruin matching parts.
What You Need Before You Start
You do not need a showroom full of machines. A scroll saw, a drill, a few blades, and basic sanding supplies will handle nearly every pattern in this collection. Your credit card may find that news disappointing, but your workshop will survive.
- Scroll saw: Any properly adjusted saw that accepts fine blades will work.
- Wood: Use 1/8-inch or 1/4-inch Baltic birch plywood for ornaments and 1/2-inch stock for freestanding decorations.
- Blades: Try a #2/0 or #1 blade for delicate fretwork and a #3 or #5 blade for larger shapes.
- Small drill bit: Drill starter holes for every interior cut.
- Temporary adhesive: Use repositionable spray adhesive, painter’s tape, or clear packing tape.
- Finishing supplies: Keep fine sandpaper, paint, stain, clear finish, and hanging cord nearby.
- Safety gear: Wear eye protection and use a dust mask or suitable respirator when cutting and sanding.
Baltic birch plywood costs more than cheap craft plywood, but it cuts more cleanly and hides fewer internal voids. IMO, the extra few dollars make sense when thin points and tiny bridges determine whether an ornament survives or snaps during sanding.
21 Free Christmas Scroll Saw Patterns to Print and Make
1. Classic Five-Point Christmas Star
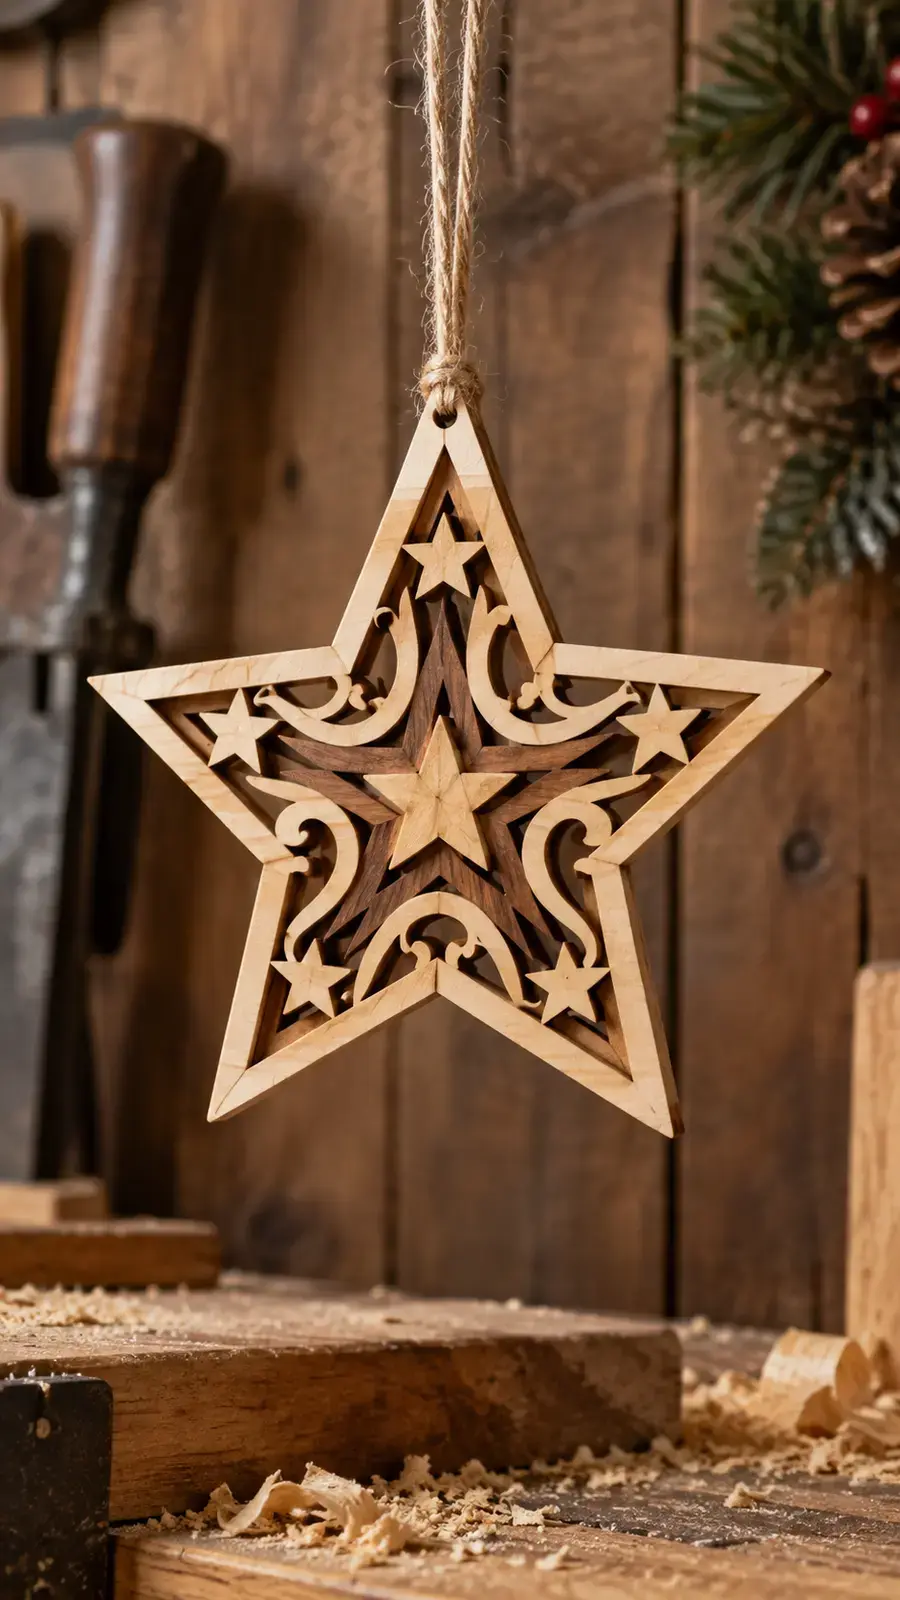
A star gives you the friendliest possible introduction to Christmas scroll saw projects. The long straight sections let you settle into a steady feed rate, while the five inside corners teach you how to turn without forcing the blade.
Search the free catalog for star ornament. Cut the design from 1/4-inch birch plywood, drill a hanging hole, and soften the edges with 220-grit sandpaper. Add a smaller interior star if you want extra detail without creating dozens of tiny cuts.
I prefer a natural oil finish on clean birch because the grain supplies enough character. Red paint also works beautifully when you need a bold ornament that stands out against a green tree.
2. Delicate Wooden Snowflake
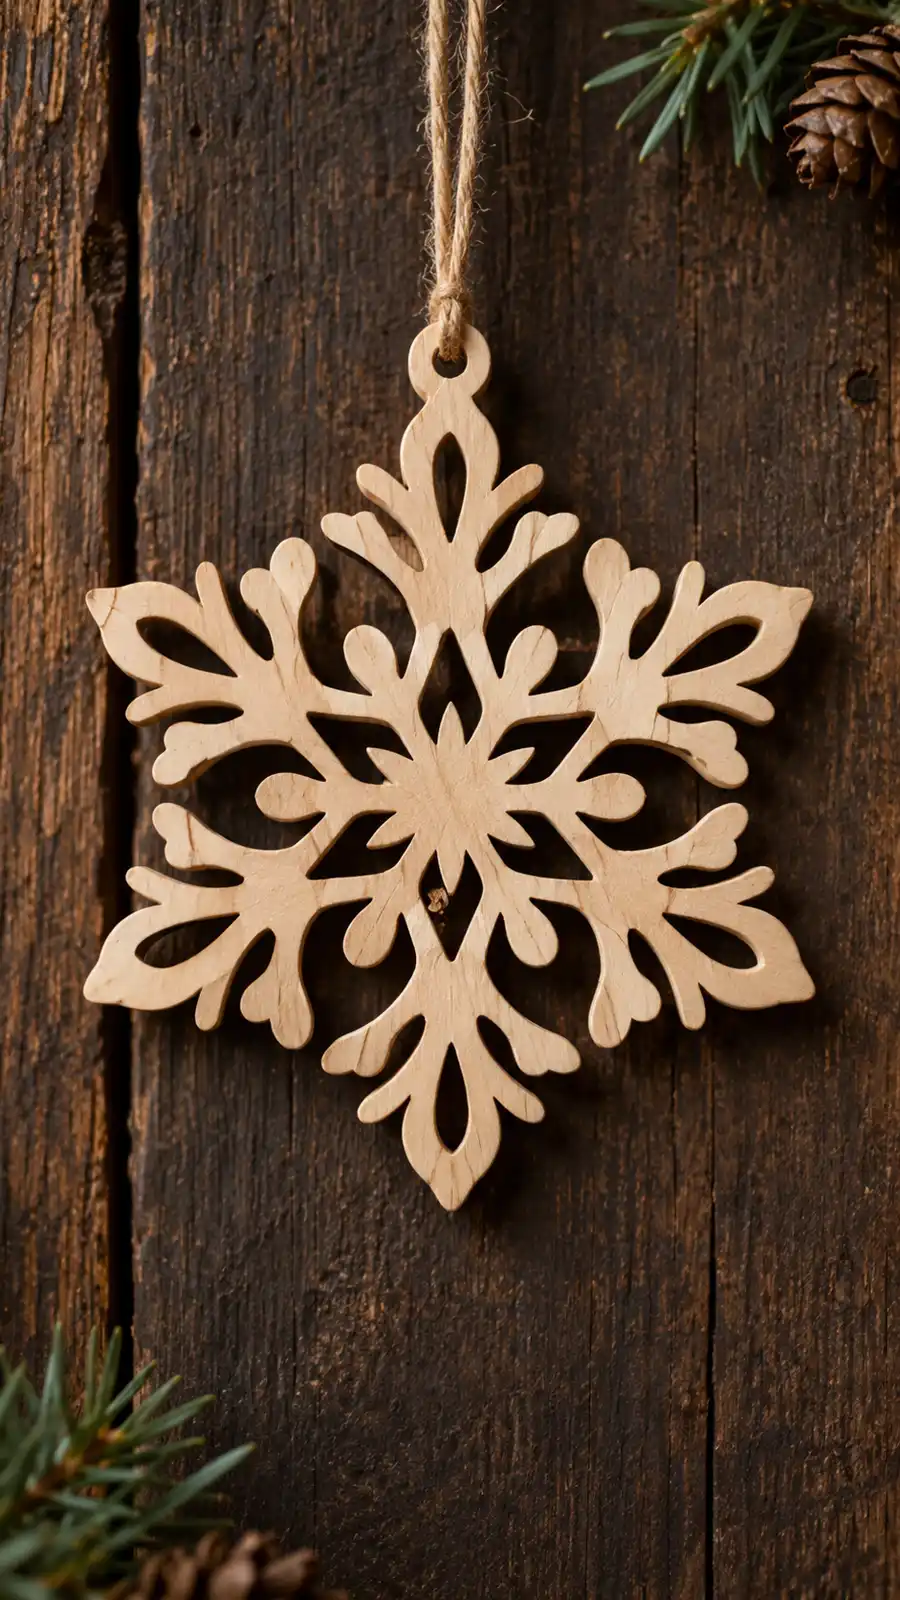
Snowflakes look impressive because their repeated arms create instant symmetry. The pattern does most of the visual work; you only need patience and a sharp blade. Isn’t that a pleasant arrangement?
Search for snowflake ornament and choose a design with thick bridges for your first attempt. Stack-cut three or four pieces of 1/8-inch plywood if you want matching ornaments. Secure the stack with painter’s tape around the edges and keep the layers flat throughout the cut.
White paint suits the obvious snowy theme, while clear finish produces a warmer Scandinavian look. Skip heavy brush coats because paint can clog narrow openings surprisingly fast.
3. Layered Christmas Tree Ornament
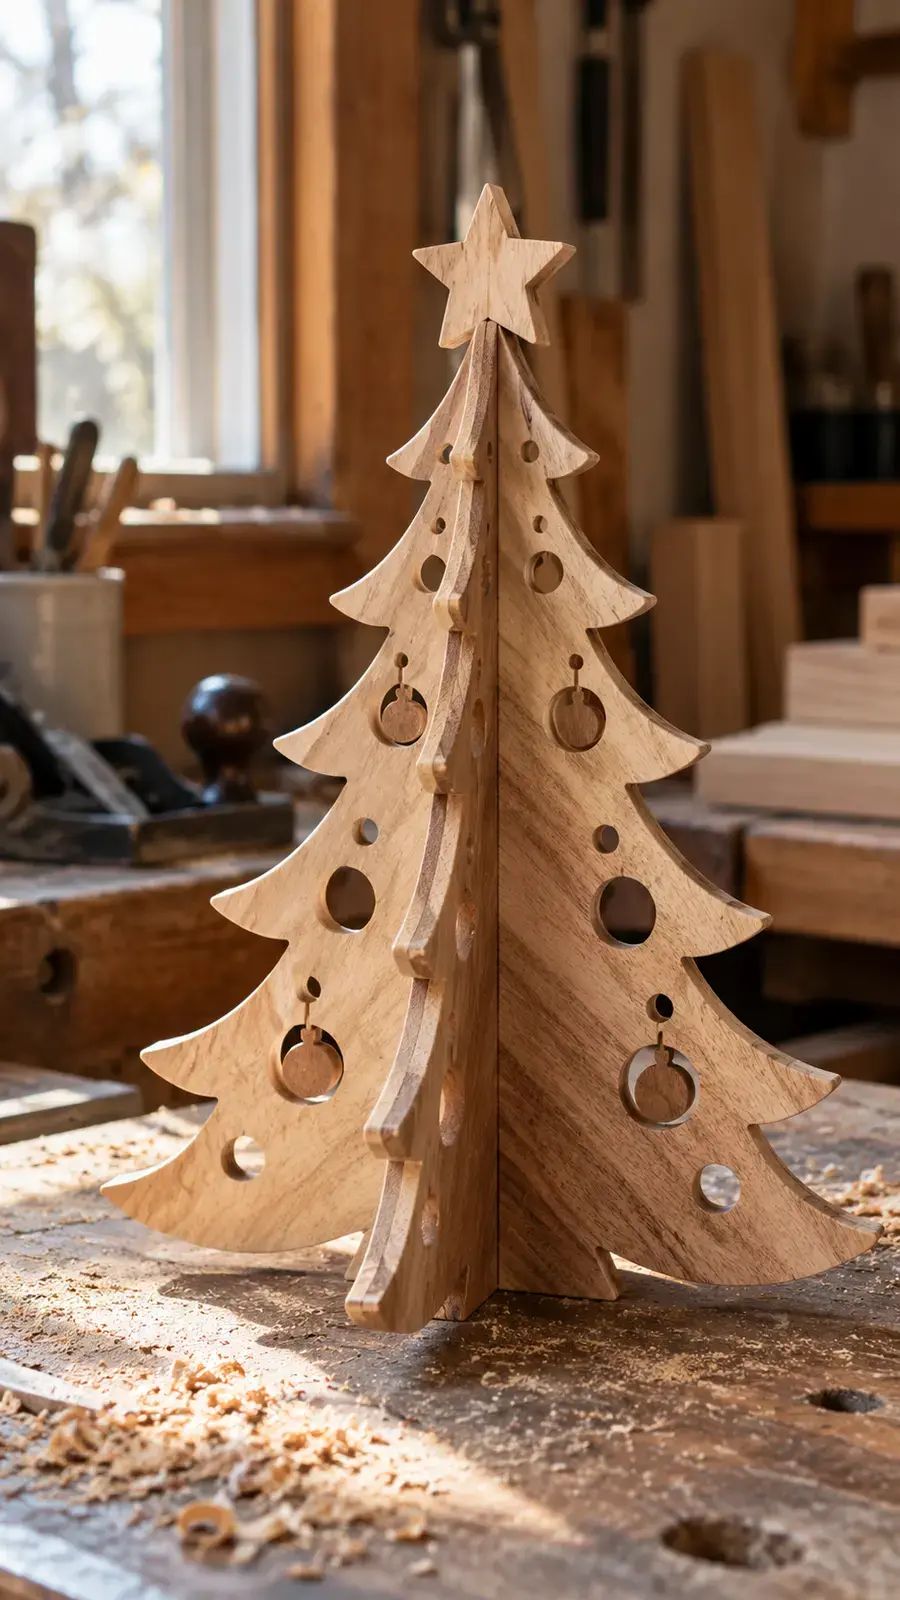
This little tree uses a strong triangular outline, so beginners can cut it without fighting fragile sections. Add interior stars, circles, or sweeping garland lines once the basic silhouette feels easy.
Search for Christmas tree ornament. Use 1/8-inch plywood for a lightweight hanging decoration or 1/2-inch wood for a freestanding tree. You can also cut two different sizes and glue the smaller tree on top to create a layered effect.
Dark green milk paint and a natural wood edge create a handmade finish that looks polished rather than factory-perfect. A tiny gold star adds enough sparkle without attacking the project with glitter from every direction.
4. Christmas Bell Ornament
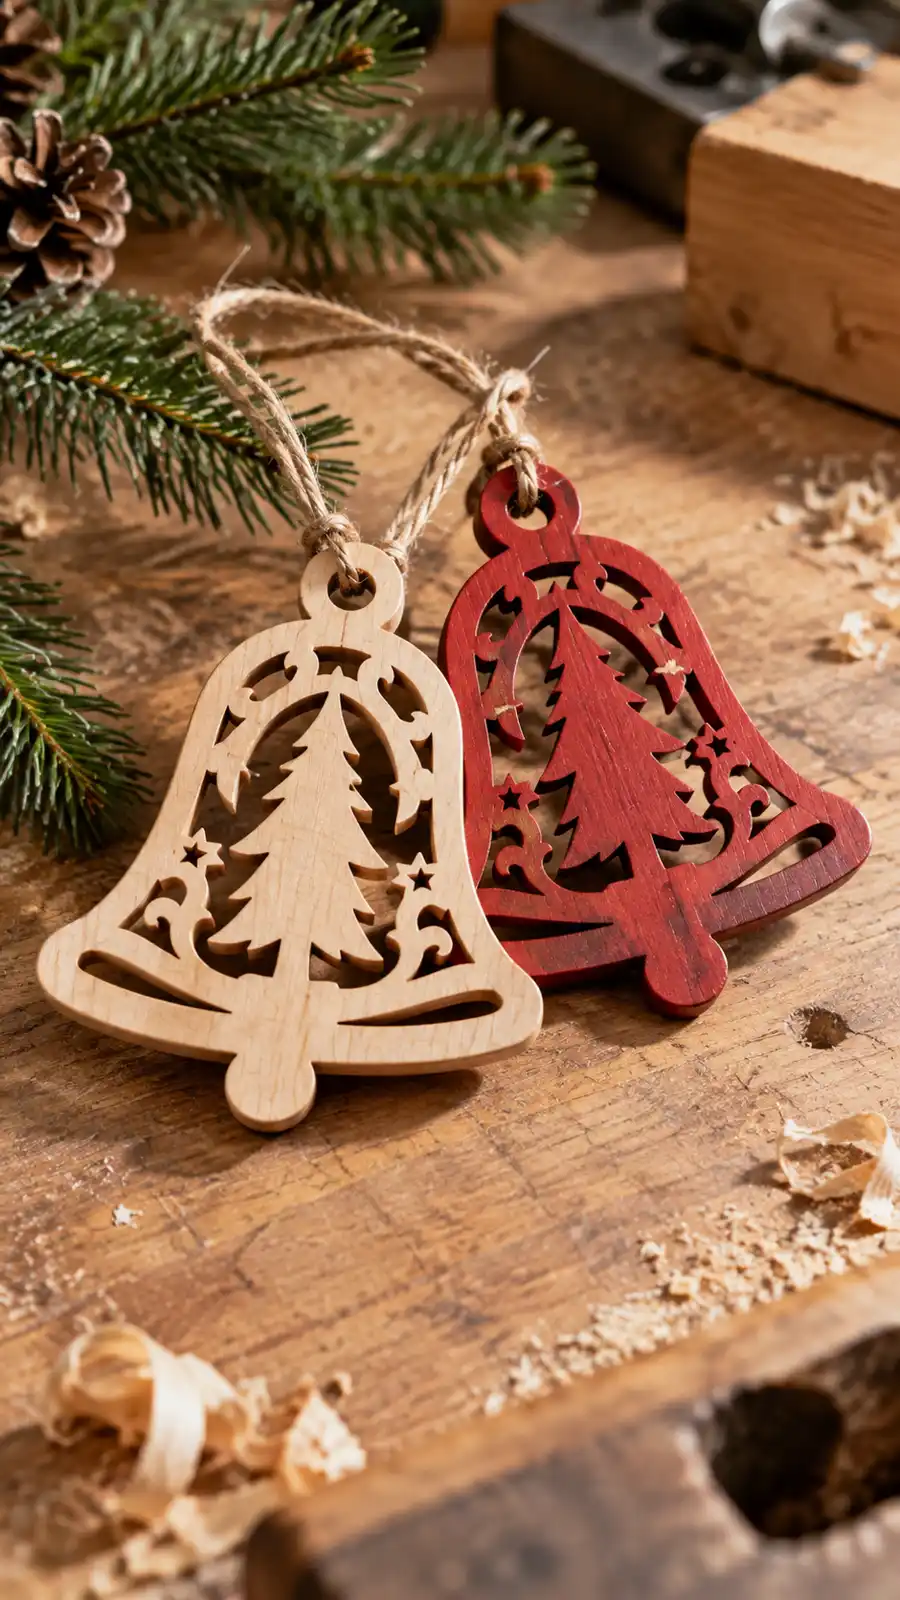
A bell combines easy exterior curves with one or two interior cuts. That combination gives beginners useful practice without demanding the patience of a miniature cathedral window.
Search for Christmas bell. Drill the blade-entry holes before attaching the pattern, then mark each hole with a pencil so you do not miss one. Cut the smallest interior opening first while the blank still has maximum strength.
Try walnut for the bell and a thin maple overlay for the bow. If you prefer paint, use antique white with a muted red ribbon. Both finishes fit rustic Christmas crafts and farmhouse holiday decor.
5. Leaping Reindeer Ornament
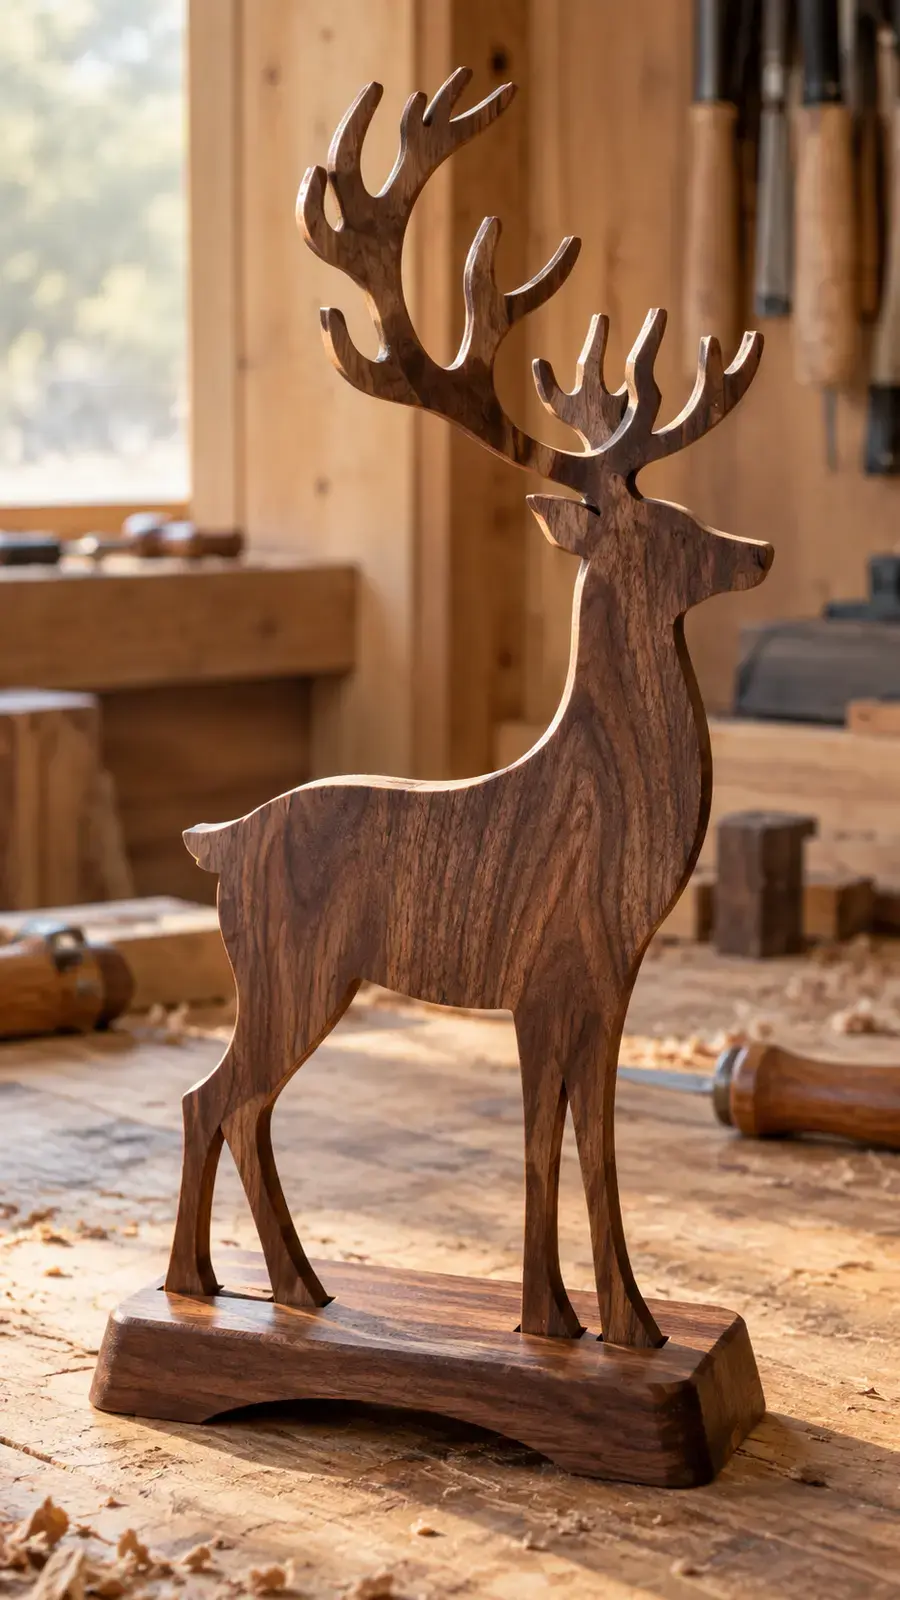
The reindeer silhouette brings motion to a tree full of round ornaments. Antlers create the only tricky section, so slow down and let the blade clear the dust before each tight turn.
Search the catalog for reindeer ornament. Choose a simplified antler pattern if you have never cut delicate points. A #1 reverse-tooth blade works well in thin plywood because it reduces fuzz along the bottom face.
Finish the reindeer with medium walnut stain or leave it natural. Add a tiny red wooden nose if you enjoy the Rudolph reference, but keep the detail subtle. Nobody needs a nose the size of a workshop clamp 🙂
6. Simple Snowman Ornament
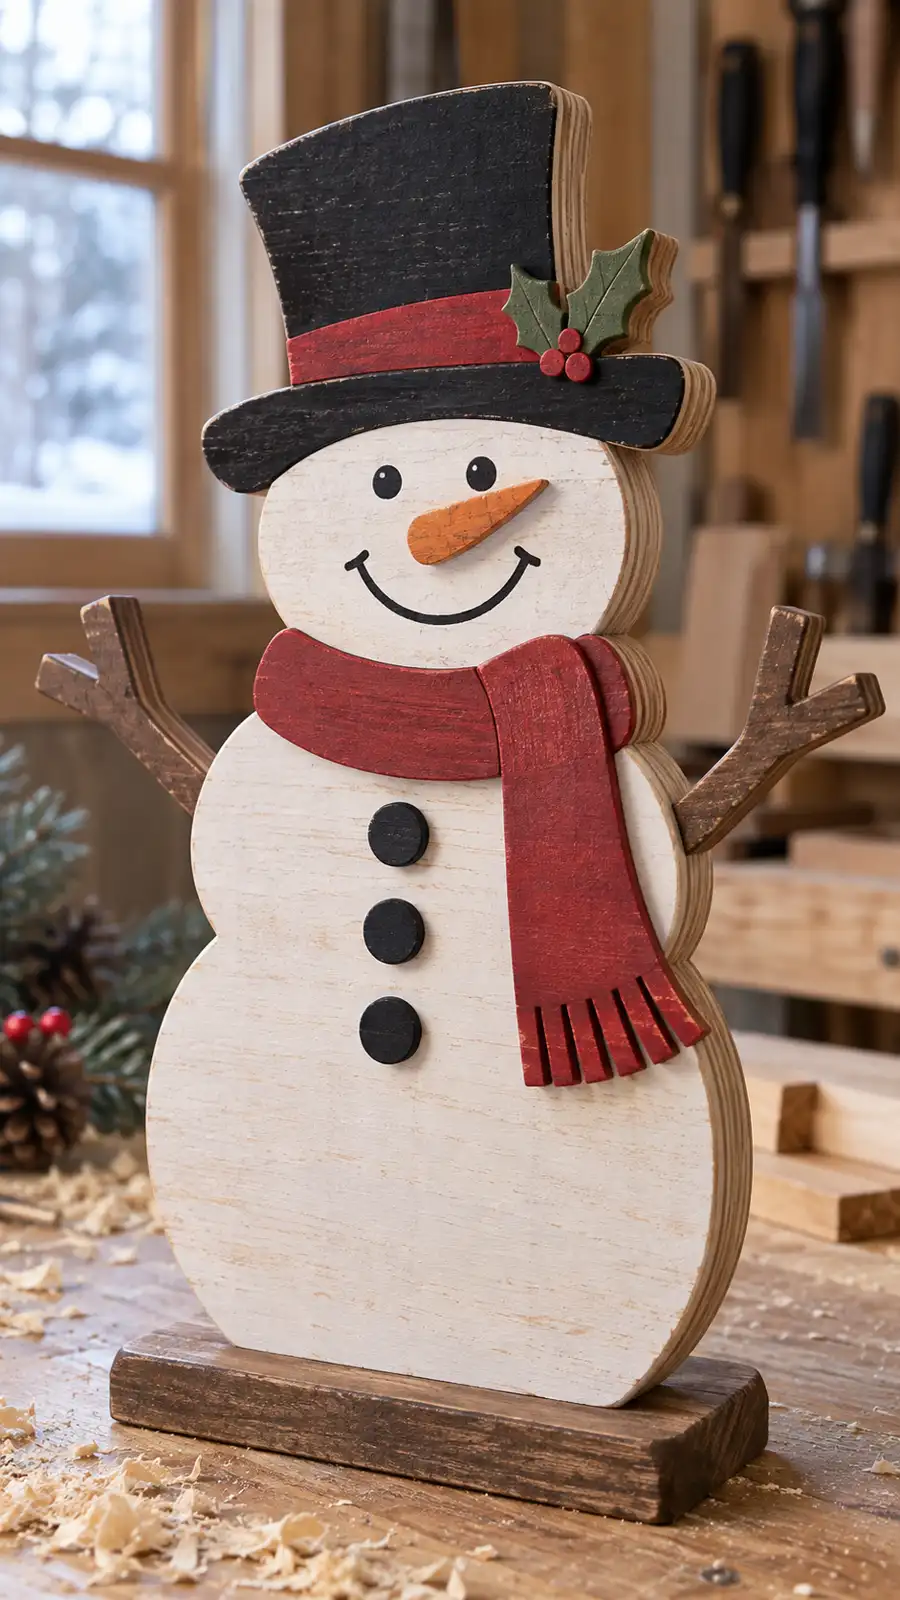
The snowman’s rounded body forgives small steering errors, which makes this pattern perfect for new scrollers. A hat, scarf, carrot nose, and three buttons give you several easy ways to personalize the same outline.
Search for snowman ornament. Cut the main body from 1/4-inch plywood and add thin contrasting pieces for the hat and scarf. You can also burn the facial details with a fine pyrography tip instead of trying to scroll tiny eyes.
Make a family set with different hat shapes and names. These small handmade Christmas gifts use very little wood, and relatives actually display them instead of quietly wondering where to store another large decoration.
7. Santa Face Ornament
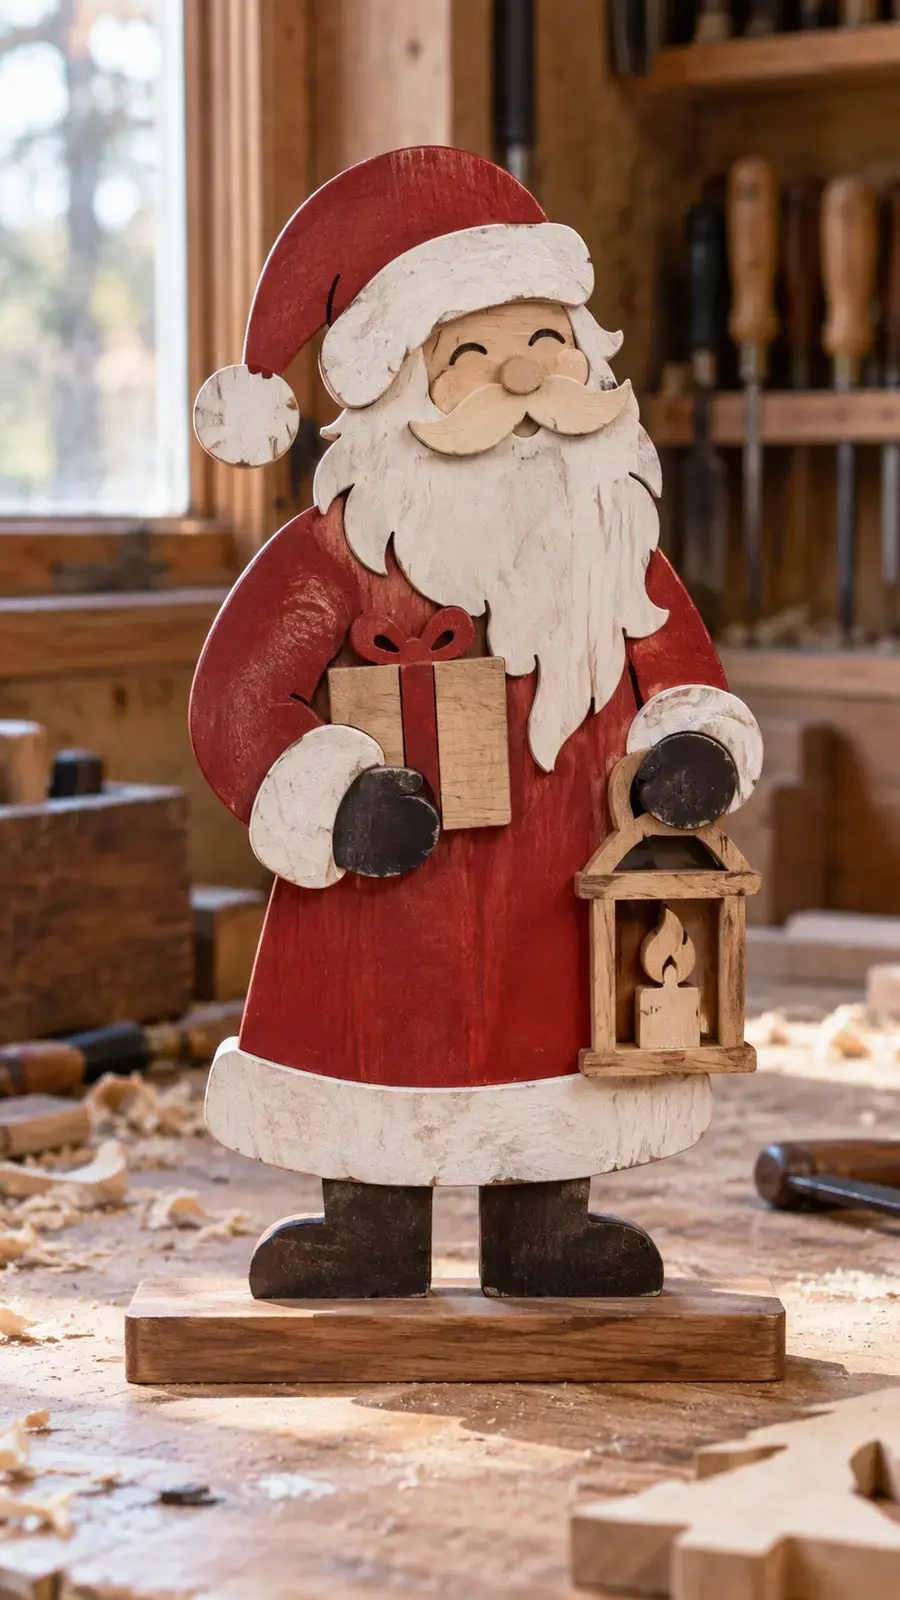
A Santa face lets you practice interior cuts around the beard, mustache, and hat trim. Choose a bold pattern rather than an ultra-detailed portrait, especially if you plan to cut several ornaments before Christmas.
Search for Santa ornament. Cut the silhouette from light plywood, then paint only the hat and nose. The pale wood naturally suggests Santa’s beard, which saves time and keeps the grain visible.
Use a fine paint marker for the eyes rather than cutting two microscopic holes. Technically, you could scroll them. You could also spend twenty minutes searching the floor for a wooden eyelid, so choose wisely.
8. Scroll Saw Angel
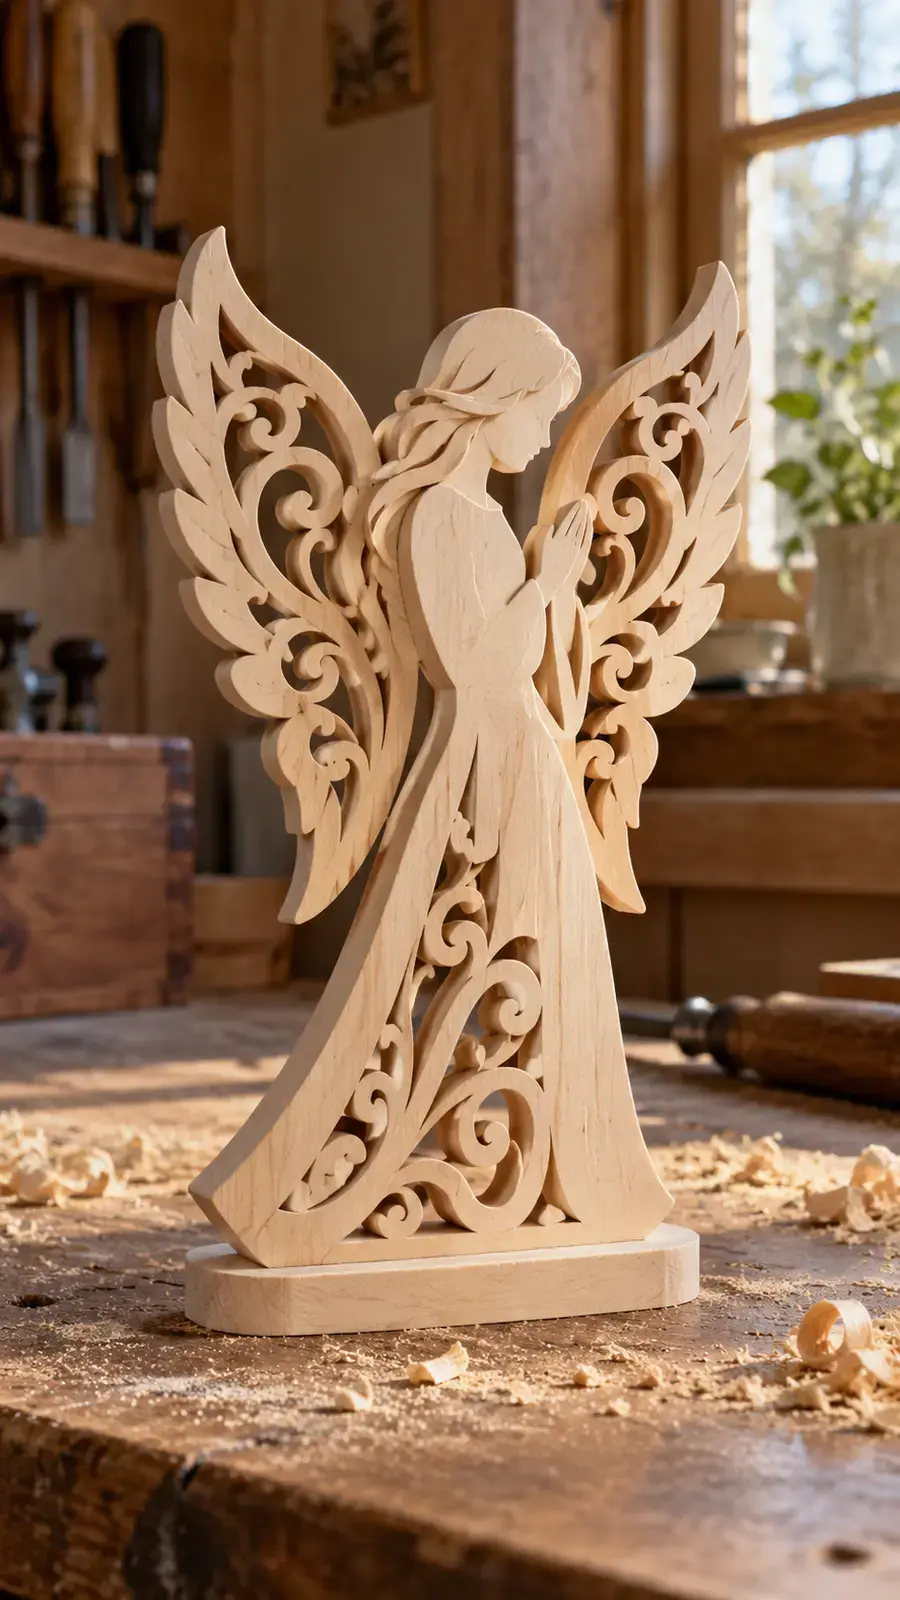
An angel ornament looks elegant in natural birch, maple, or cherry. Flowing wings and a simple robe create graceful lines without requiring dozens of separate parts.
Search the pattern catalog for Christmas angel. Cut the inner wing details first and support the narrow sections with your fingers on both sides of the blade. Never push directly toward the blade; guide the wood from safe positions instead.
A satin clear coat suits the design better than thick glossy paint, in my opinion. Add thin gold cord through the hanging hole and let the wood grain carry the rest of the decoration.
9. Simple Nativity Silhouette
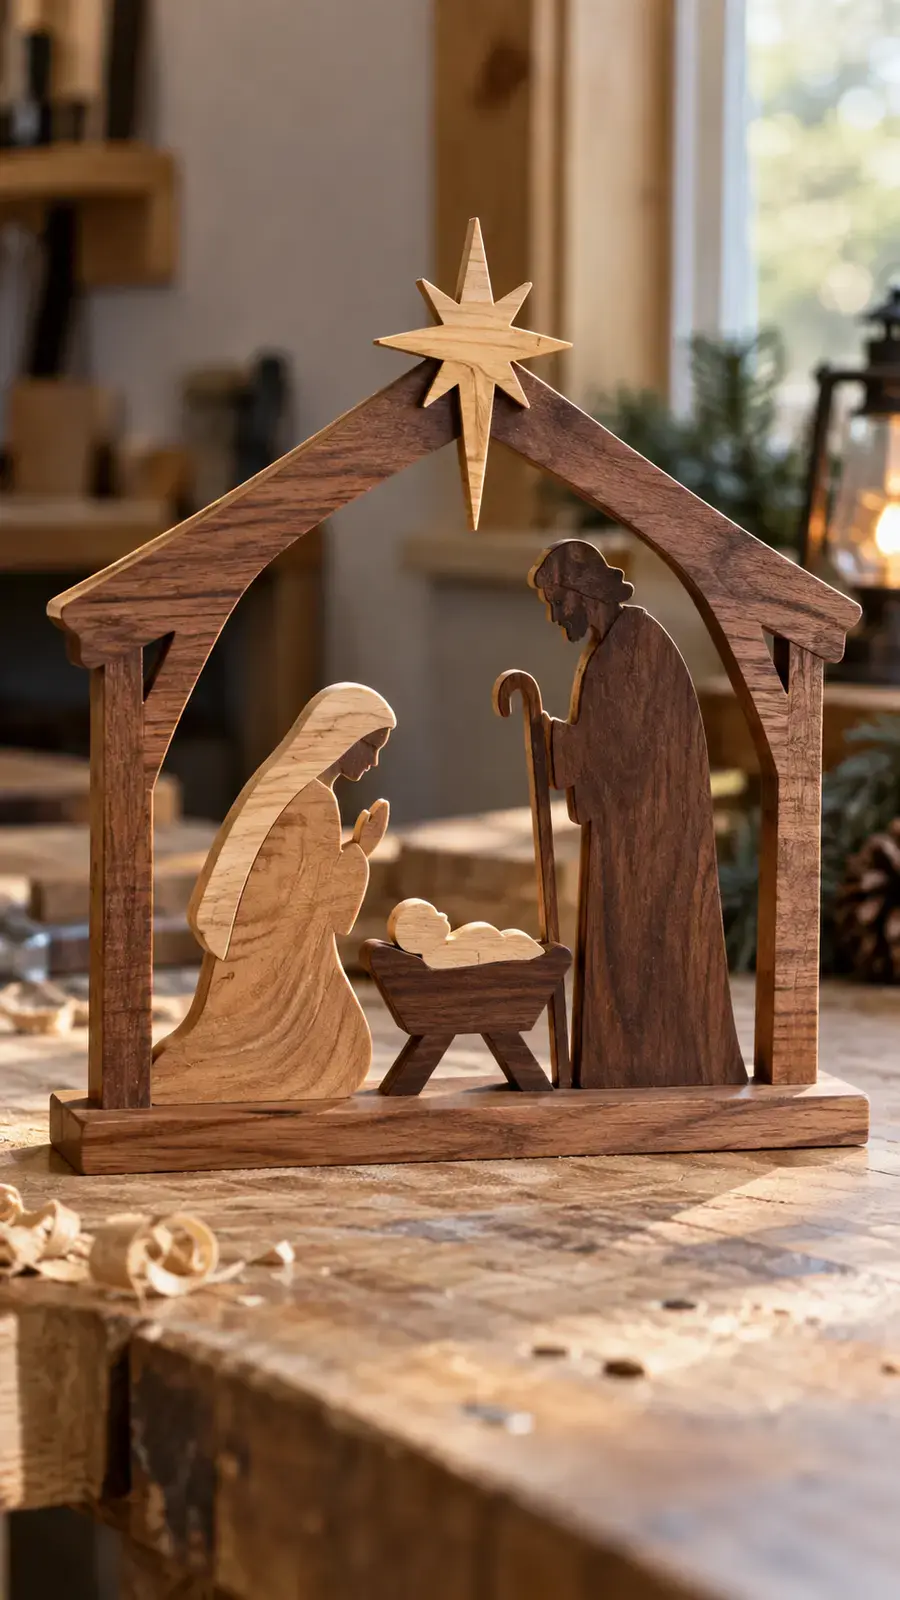
A nativity silhouette creates a meaningful Christmas decoration with relatively few lines. The negative space between Mary, Joseph, and the manger supplies most of the detail.
Search for nativity or nativity ornament. Use dark walnut plywood against a pale backer, or cut the scene from light wood and mount it inside a darker frame. Strong contrast helps viewers recognize the small figures.
Keep the narrow sections around the manger and faces slightly thicker than the printed line when necessary. A pattern guides you, but the wood still gets the final vote.
10. Peace Dove Ornament

A dove makes a calm, versatile ornament that works for Christmas, weddings, and memorial gifts. A leafy branch adds one delicate interior detail without overwhelming the silhouette.
Search for peace dove. Use a small spiral blade only if the pattern forces frequent direction changes; a regular flat blade usually leaves a cleaner edge. Cut slowly around the beak and leaf tips.
White paint creates a traditional finish, while natural maple looks warmer and more refined. Tie the ornament with green velvet ribbon for a little color that you can remove or replace later.
11. Country Church Ornament
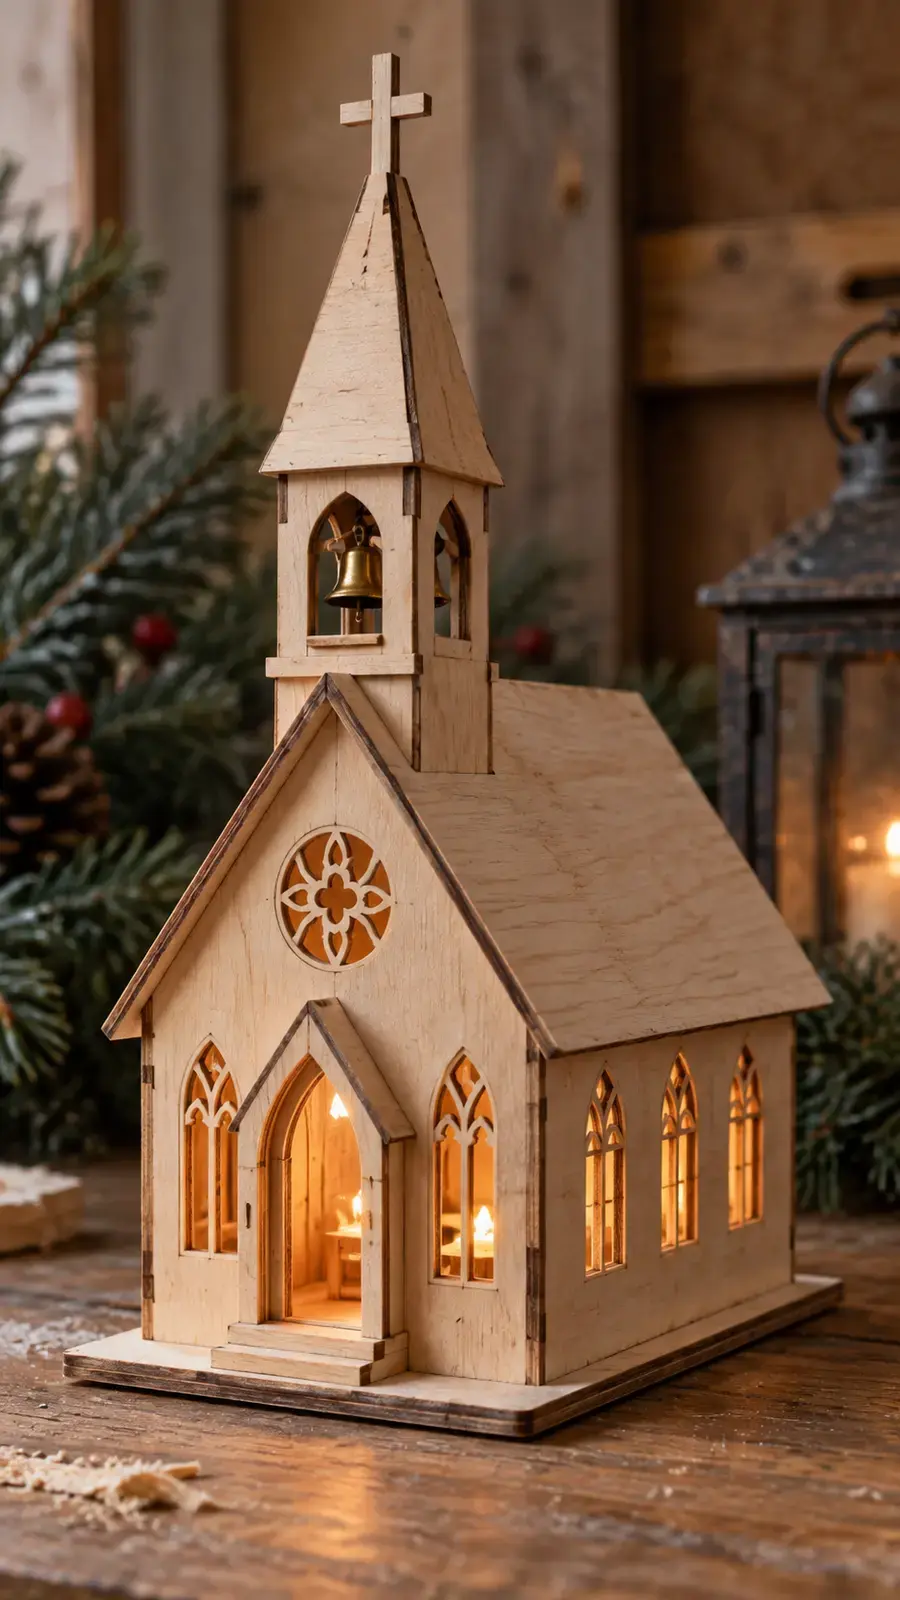
A small church pattern introduces windows, a door, and a steeple without turning the project into architectural engineering. Who wants building permits for a four-inch ornament?
Search for church ornament. Drill every window opening with the smallest bit that comfortably accepts your blade. Cut the interior windows before shaping the exterior walls and roof.
Mount the finished cutout over a thin contrasting backer or translucent vellum. A dark walnut church over pale maple produces crisp detail, while white paint creates a classic snowy village look.
12. Candle Window Ornament
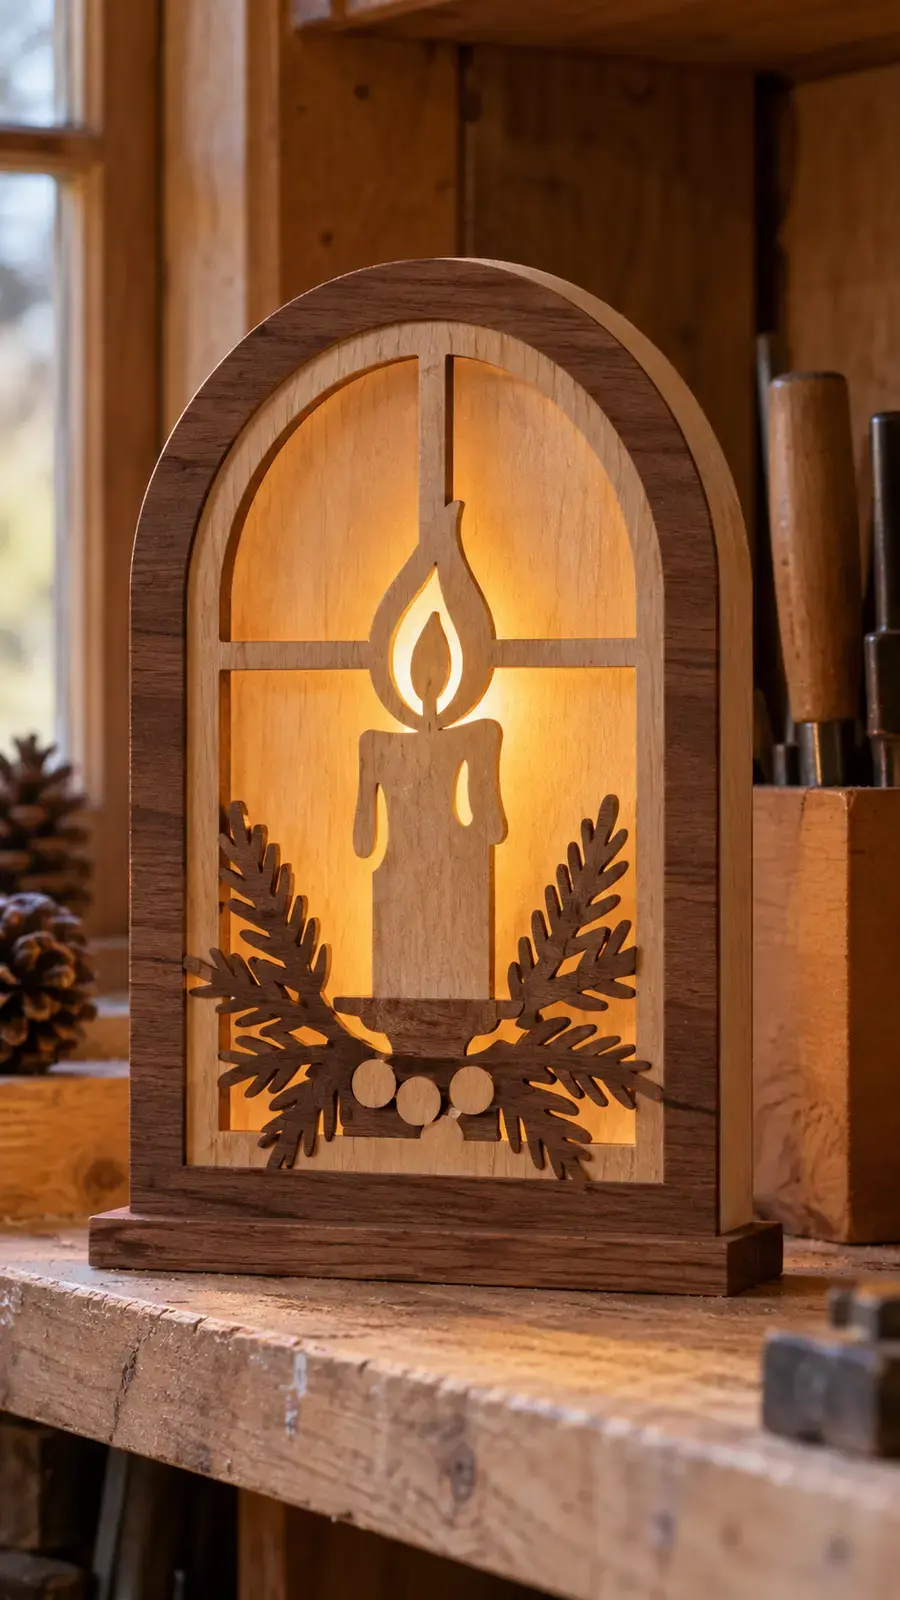
This design resembles a small arched window with a candle silhouette inside. The frame teaches straight cuts and gentle arches, while the flame adds one compact interior shape.
Search for Christmas candle. Cut the project from 1/4-inch plywood and place a battery-powered tea light behind a freestanding version. Never place an open flame against wood. Christmas excitement should not include calling the fire department.
Sand the rear surface lightly so the ornament sits flat against its backer. Gold paint behind the flame creates a warm glow even when you leave the battery light switched off.
13. Santa’s Sleigh Ornament

The sweeping runners make a sleigh pattern instantly recognizable. They also teach you how to follow long curves without correcting every tiny wobble. Smooth movement creates a cleaner cut than constant nervous steering.
Search for Christmas sleigh. Choose a pattern with sturdy runners if you plan to hang the piece or sell it at a craft fair. Thin curls may look beautiful on paper but can snap when someone handles the ornament.
Use walnut for the sleigh body and maple for a layered seat, or paint the entire piece deep red. A small natural-wood gift box adds dimension without making the design bulky.
14. Christmas Stocking Ornament
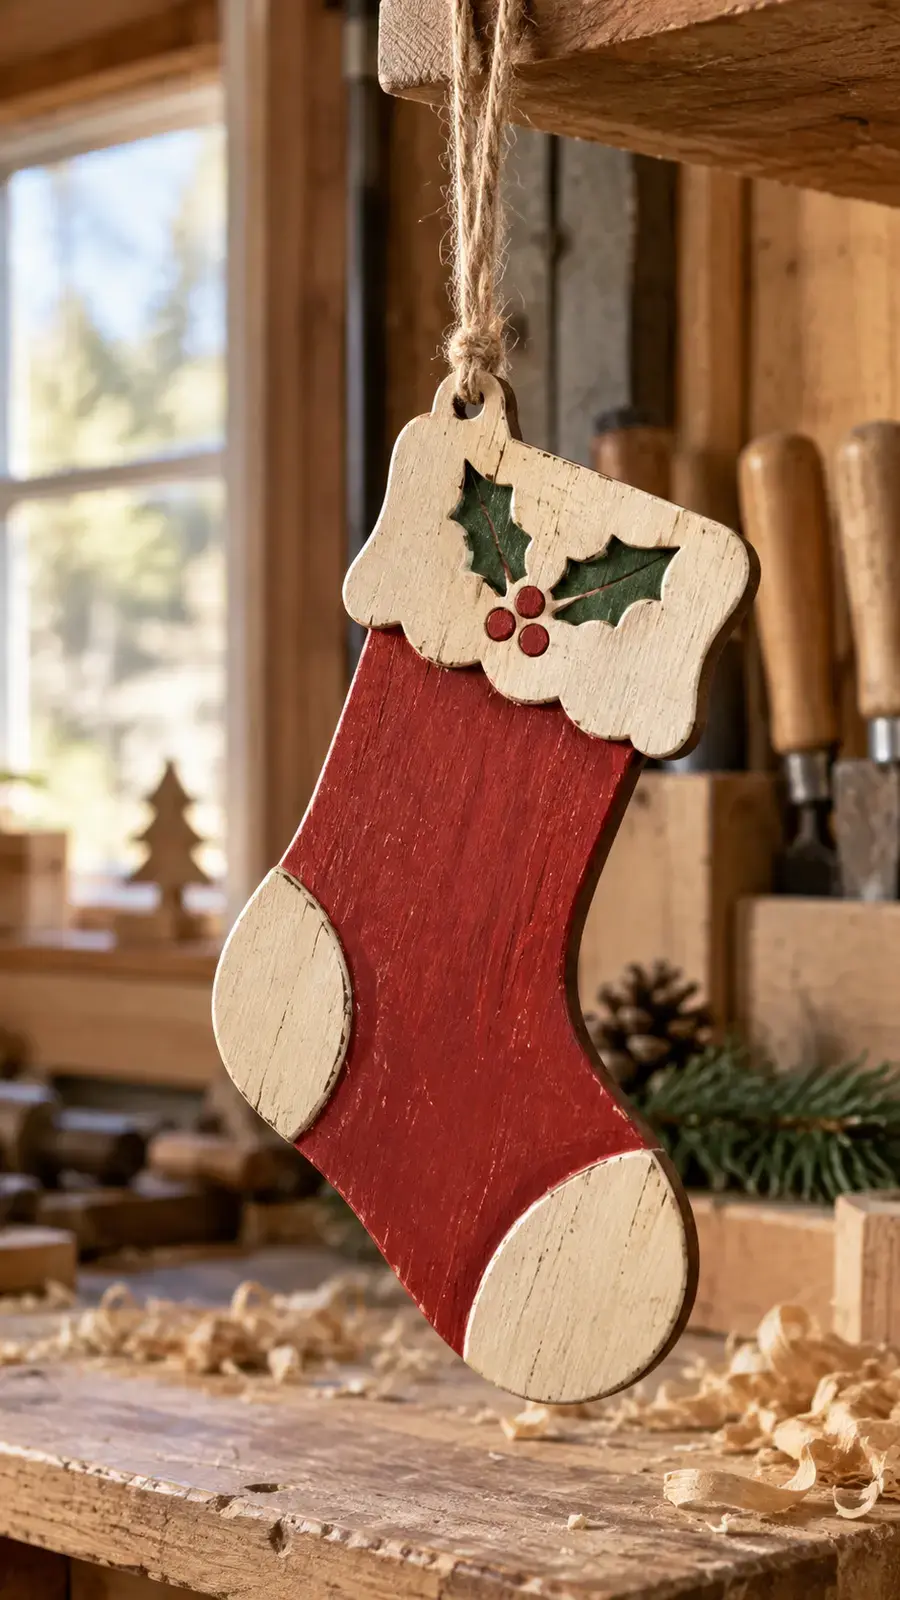
A stocking offers a quick project for beginners, children who help with finishing, or anyone facing a suspiciously close gift deadline. The simple outline takes little time, yet names and decorative cutouts make every piece personal.
Search for stocking ornament. Cut the shape from 1/4-inch plywood and add a contrasting cuff from a thin scrap. Burn or paint a name across the center after you sand the surface.
Batch-cut several stockings for family gifts. Stack cutting keeps the shapes consistent, and individual paint colors prevent everyone from arguing about which stocking belongs to whom.
15. Gingerbread Person Ornament
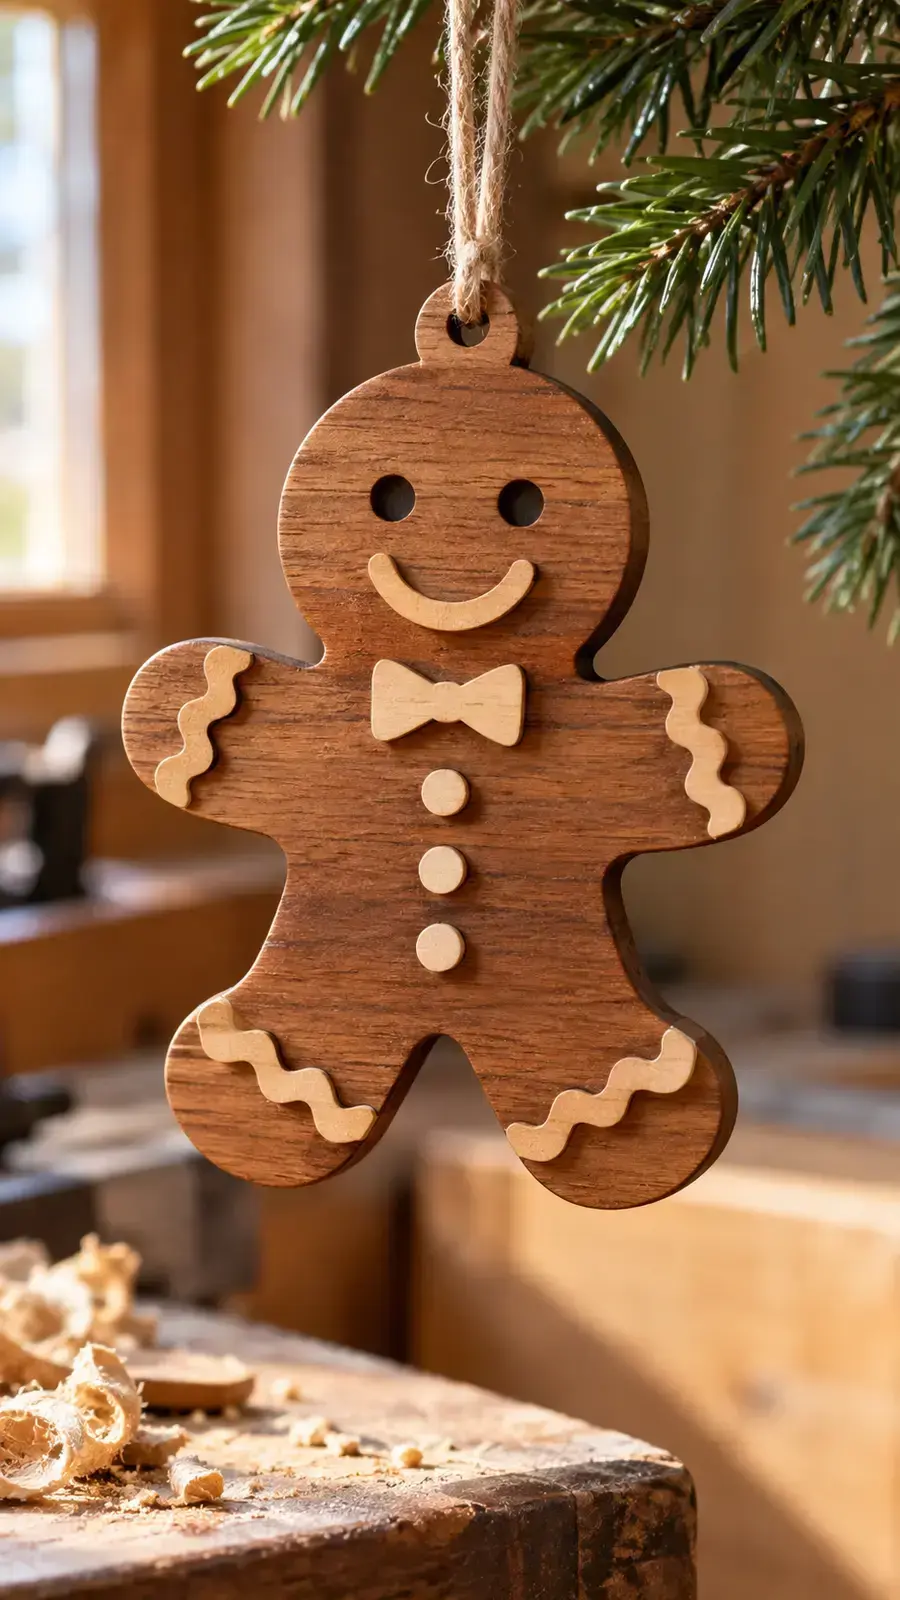
A gingerbread person needs broad curves and only a few small details, so beginners can finish one quickly. Dark wood also creates the gingerbread color without a drop of brown paint.
Search for gingerbread ornament. Cut the body from walnut, sapele, or stained birch. Add icing lines with a white paint pen and use small wooden dots for buttons.
Round every sharp edge with fine sandpaper because the ornament invites people to pick it up. Just remind younger helpers that walnut does not taste like a cookie, no matter how festive it looks.
16. Candy Cane Ornament

The candy cane’s hook teaches smooth curve control, while the straight lower section gives you room to relax. You can finish the pattern in natural wood, but red-and-white stripes deliver the recognizable Christmas look.
Search for candy cane ornament. Draw the stripes with a pencil after sanding, then paint every other section red. Keep the paint thin near the edges so you preserve the crisp scroll-saw profile.
Pair candy canes with stars and stockings in gift sets. The three shapes share similar difficulty, and the group looks intentional rather than like random practice pieces.
17. Scandinavian Christmas Gnome
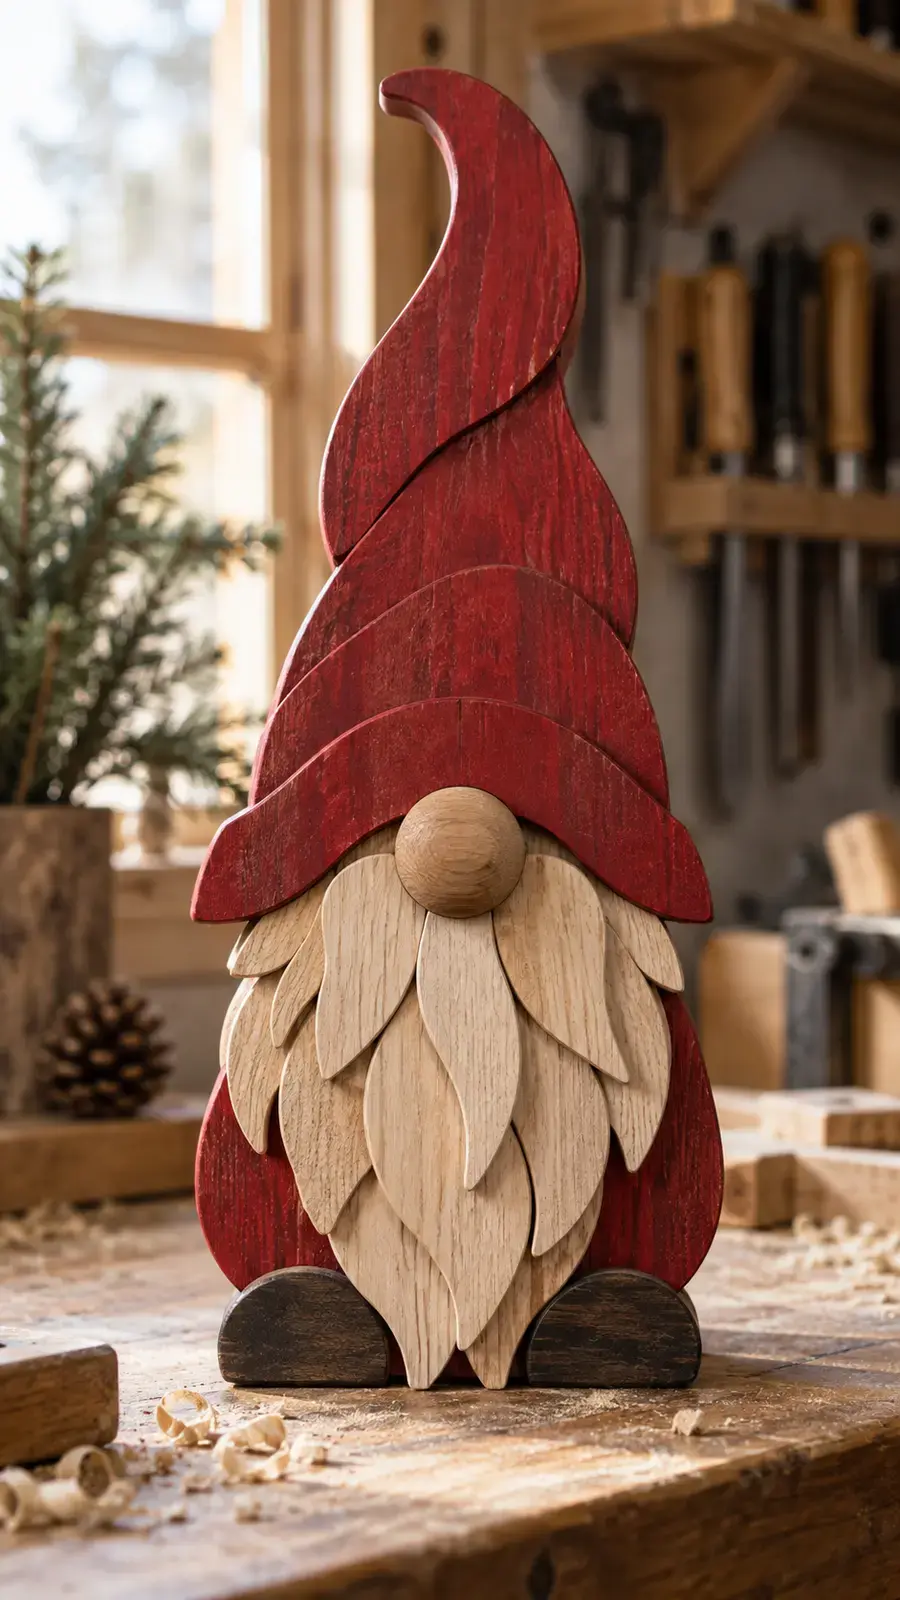
A gnome combines a tall hat, round nose, and textured beard in one compact shape. The design feels current on Pinterest but still suits rustic wooden Christmas crafts.
Search for Christmas gnome. Cut a simple base silhouette, then layer separate beard and nose pieces on top. Layering creates more depth than complicated internal fretwork and usually takes less time.
Paint the hat muted red or forest green and leave the beard natural. Avoid covering every surface with color; visible wood keeps the project connected to woodworking instead of making it look like a foam craft kit.
18. Vintage Truck With Christmas Tree
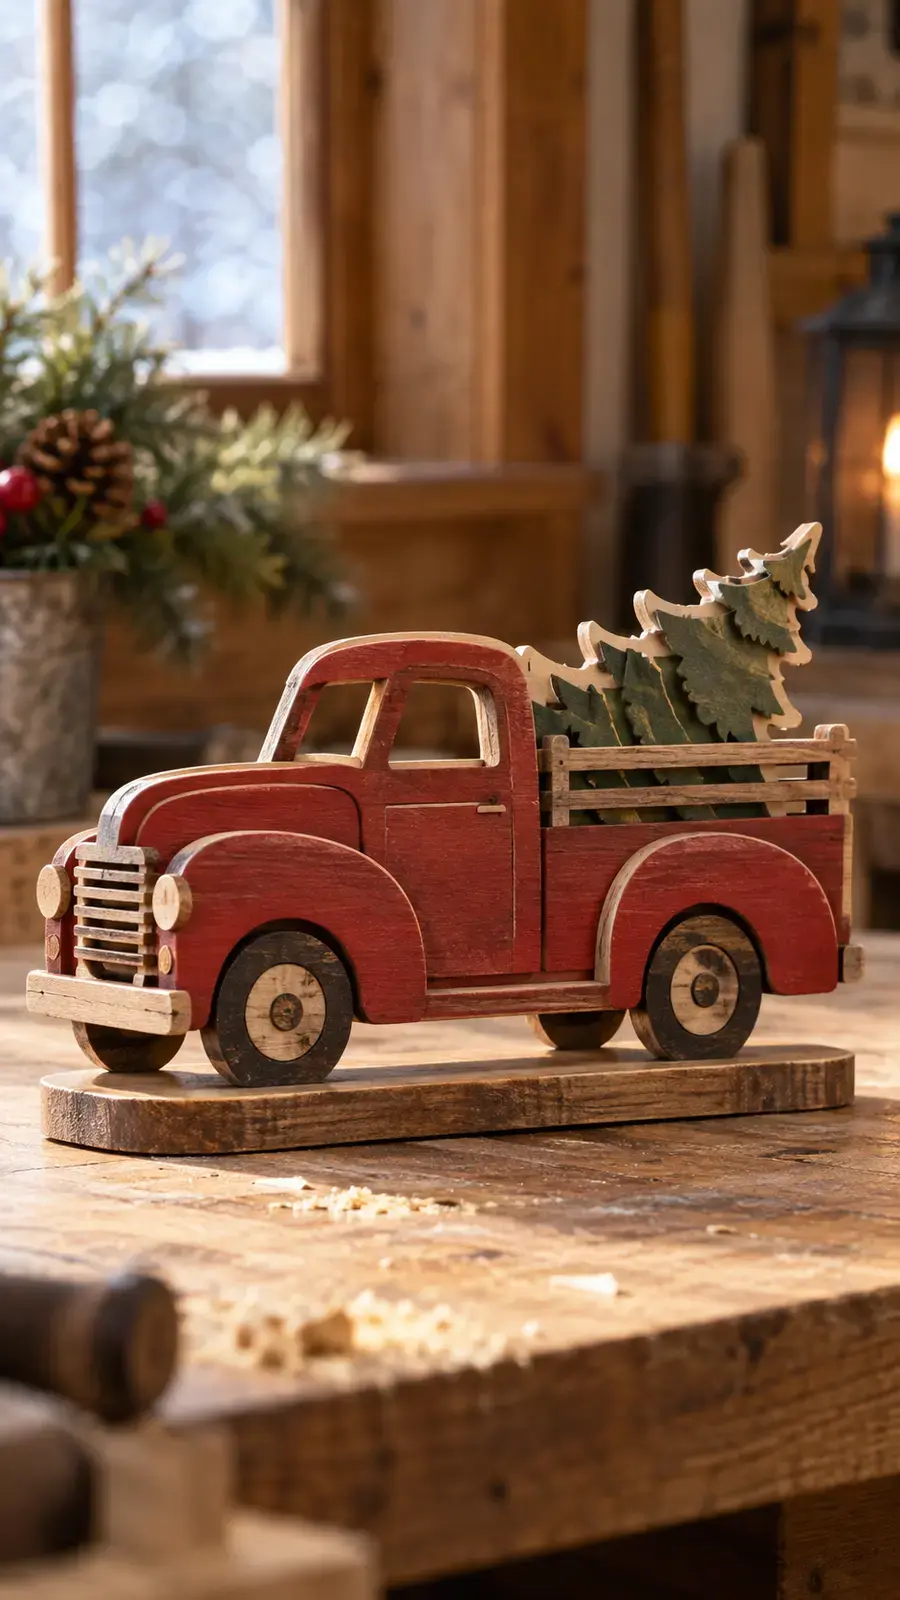
The vintage pickup carrying a tree has become a holiday-decor favorite for good reason. It tells a tiny story, uses several recognizable shapes, and looks excellent on signs, ornaments, or shelf decorations.
Search for Christmas truck. Beginners should choose a silhouette with engraved or painted wheel details. More experienced scrollers can cut the windows, wheel openings, and tree branches as interior sections.
Paint the truck red, the tree green, and the tires charcoal while leaving a natural wood outline. FYI, thin black outlines around every detail can make the project look busy, so let contrast do most of the work.
19. Rocking Horse Ornament

A rocking horse brings a nostalgic toy-shop feel to the Christmas tree. The curved rocker and small legs demand controlled turns, but the pattern remains manageable when you use sturdy proportions.
Search for rocking horse ornament. Start with 1/4-inch Baltic birch and cut the spaces around the legs before shaping the outside. That order leaves more material around the delicate areas while you work.
Add a walnut rocker or saddle as a thin overlay. The two-tone finish creates depth and saves you from painting tiny harness lines with the concentration of a watchmaker.
20. Merry Christmas Fretwork Ornament

Word art raises the difficulty because every letter needs a bridge that keeps its center attached. Still, the finished ornament looks professional and makes an excellent gift or craft-fair product.
Search for Merry Christmas ornament. Use the exact stencil-style lettering from the pattern and resist “improving” the bridges until you understand their purpose. One careless cut can turn “Christmas” into a confusing pile of wooden punctuation.
Choose a #1 or #2/0 blade for small letters and drill clean entry holes. Cut every interior space before releasing the outside circle, then sand with folded abrasive or a fine sanding strip.
21. Let It Snow Fretwork Plaque
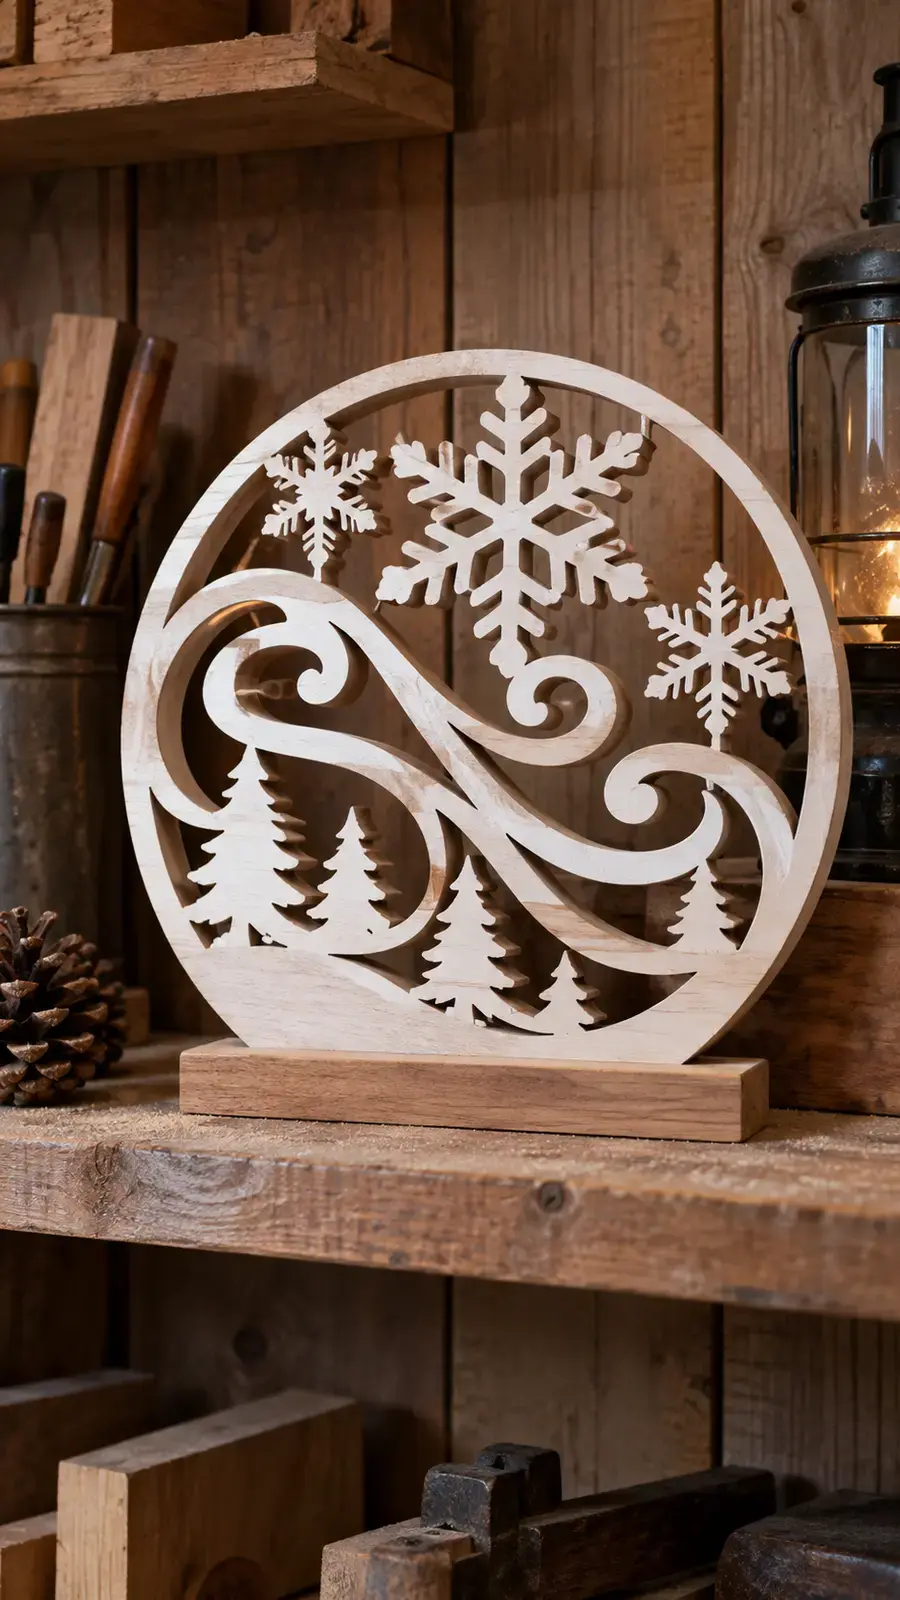
The free Let It Snow PDF pattern gives you a satisfying final challenge. The design includes flowing script and snowflake details, yet the large format feels easier to control than tiny ornament lettering.
Use 1/2-inch poplar, pine, maple, plywood, or MDF. ScrollSawNewb recommends a #3 blade for the tight snowflake turns and completes the internal cuts before cutting the exterior. That sequence keeps the workpiece stable.
Paint the plaque white and add a light dusting of glitter while the final coat remains wet. Seal the surface after it dries. The result looks festive on a shelf, mantel, or holiday market display.
How to Attach and Remove a Printable Pattern
First, sand the wood lightly and remove the dust. Cover the surface with painter’s tape, then spray the back of the paper pattern with repositionable adhesive. Press the paper flat and remove every bubble before cutting.
Many scrollers add clear packing tape over the pattern. The tape protects the paper, reduces friction, and can help lubricate the blade. Test the method on scrap wood because some adhesives react differently with heat.
After cutting, peel away the tape and paper. Use mineral spirits sparingly if adhesive remains, but check your finish plan first. Let the wood dry fully before applying paint, stain, oil, or clear coat.
Scroll Saw Tips for Cleaner Christmas Crafts
- Let the blade cut: Pushing hard creates heat, blade drift, and rough edges.
- Cut interior openings first: The surrounding blank supports fragile areas.
- Use relief cuts: Extra cuts give waste pieces room to fall away around tight curves.
- Turn gradually: Pivot around the blade instead of twisting it sideways.
- Replace dull blades: A cheap blade costs less than a ruined ornament and an evening of creative vocabulary.
- Stack-cut carefully: Tape the entire stack firmly and keep every layer flat.
- Sand before painting: Finish cannot hide fuzzy edges; it usually highlights them.
If you want more small projects after these ornaments, browse our free whittling patterns for beginners and scroll saw project ideas for adult beginners. You can also use leftover plywood for these scrap wood Christmas projects.
How to Finish Wooden Christmas Ornaments
Natural wood needs very little decoration. Sand to 220 grit, remove the dust, and apply a light coat of clear oil or spray lacquer. Thin coats protect the wood without filling delicate fretwork.
Paint works best when you apply several light coats. Start with the edges and interior openings, then cover the faces. Heavy paint around tiny bridges can soften the detail and create annoying drips.
Wood burning adds names, dates, and small lines without hiding the grain. If that technique interests you, read our guide on how to start wood burning. Practice on an offcut from the same plywood because glue layers can affect how the tip moves.
Can You Sell Projects Made From Free Patterns?
Every designer sets different rules. Some creators allow you to sell unlimited finished projects, some limit commercial use, and others allow personal use only. Check the source page before listing anything online or carrying a box of ornaments into a craft fair.
Steve Good’s Scrollsaw Workshop states that makers may sell projects made from its patterns without restrictions, while nobody may sell the patterns. That distinction matters: sell your finished wooden ornament, not someone else’s PDF.
If you plan to build beyond Christmas crafts, read our honest Ted’s Woodworking Plans review. The large plan library can save time when you want furniture, outdoor projects, toys, and workshop builds instead of searching through scattered free files.
Frequently Asked Questions
What wood works best for Christmas scroll saw ornaments?
1/8-inch and 1/4-inch Baltic birch plywood work well for most ornaments. The layers add strength, the surface accepts paint, and the material usually cuts more cleanly than cheap craft plywood. Use solid hardwood for premium gifts and thicker freestanding decorations.
Which scroll saw blade should a beginner use?
A #3 reverse-tooth blade gives beginners a useful balance between control, strength, and clean edges in 1/4-inch plywood. Switch to a #1 or #2/0 blade for delicate fretwork. Always match the blade to the wood thickness and pattern detail.
How do I resize a printable scroll saw pattern?
Use the custom scale setting in your PDF print dialog. Print at 75% for a smaller design or 125% for a larger one, then measure the printed reference box if the designer includes one. Remember that resizing also changes bridge thickness and hole size.
Can I cut several ornaments at once?
Yes. Stack-cut thin plywood by securing two to four layers with painter’s tape or small brads placed in waste areas. Use a sharp blade and reduce the stack height if the blade starts wandering.
Do I need to sand inside every cut?
Remove obvious fuzz and rough fibers, but do not erase crisp detail by sanding aggressively. Reverse-tooth blades reduce bottom splintering. Fold fine sandpaper, use sanding strips, or borrow an old toothbrush for dust cleanup.
Choose a Pattern and Make Some Sawdust
You now have 21 free Christmas scroll saw pattern ideas that range from a simple star to detailed holiday word art. Start with bold shapes, use thin plywood, cut the interior spaces first, and let a sharp blade do the work.
Pick one pattern tonight and print it at actual size. By tomorrow, that ordinary scrap of wood could hang on your tree, sit inside a gift box, or become the first item in a holiday craft collection. That feels far more satisfying than adding another plastic bauble to the cart, doesn’t it?