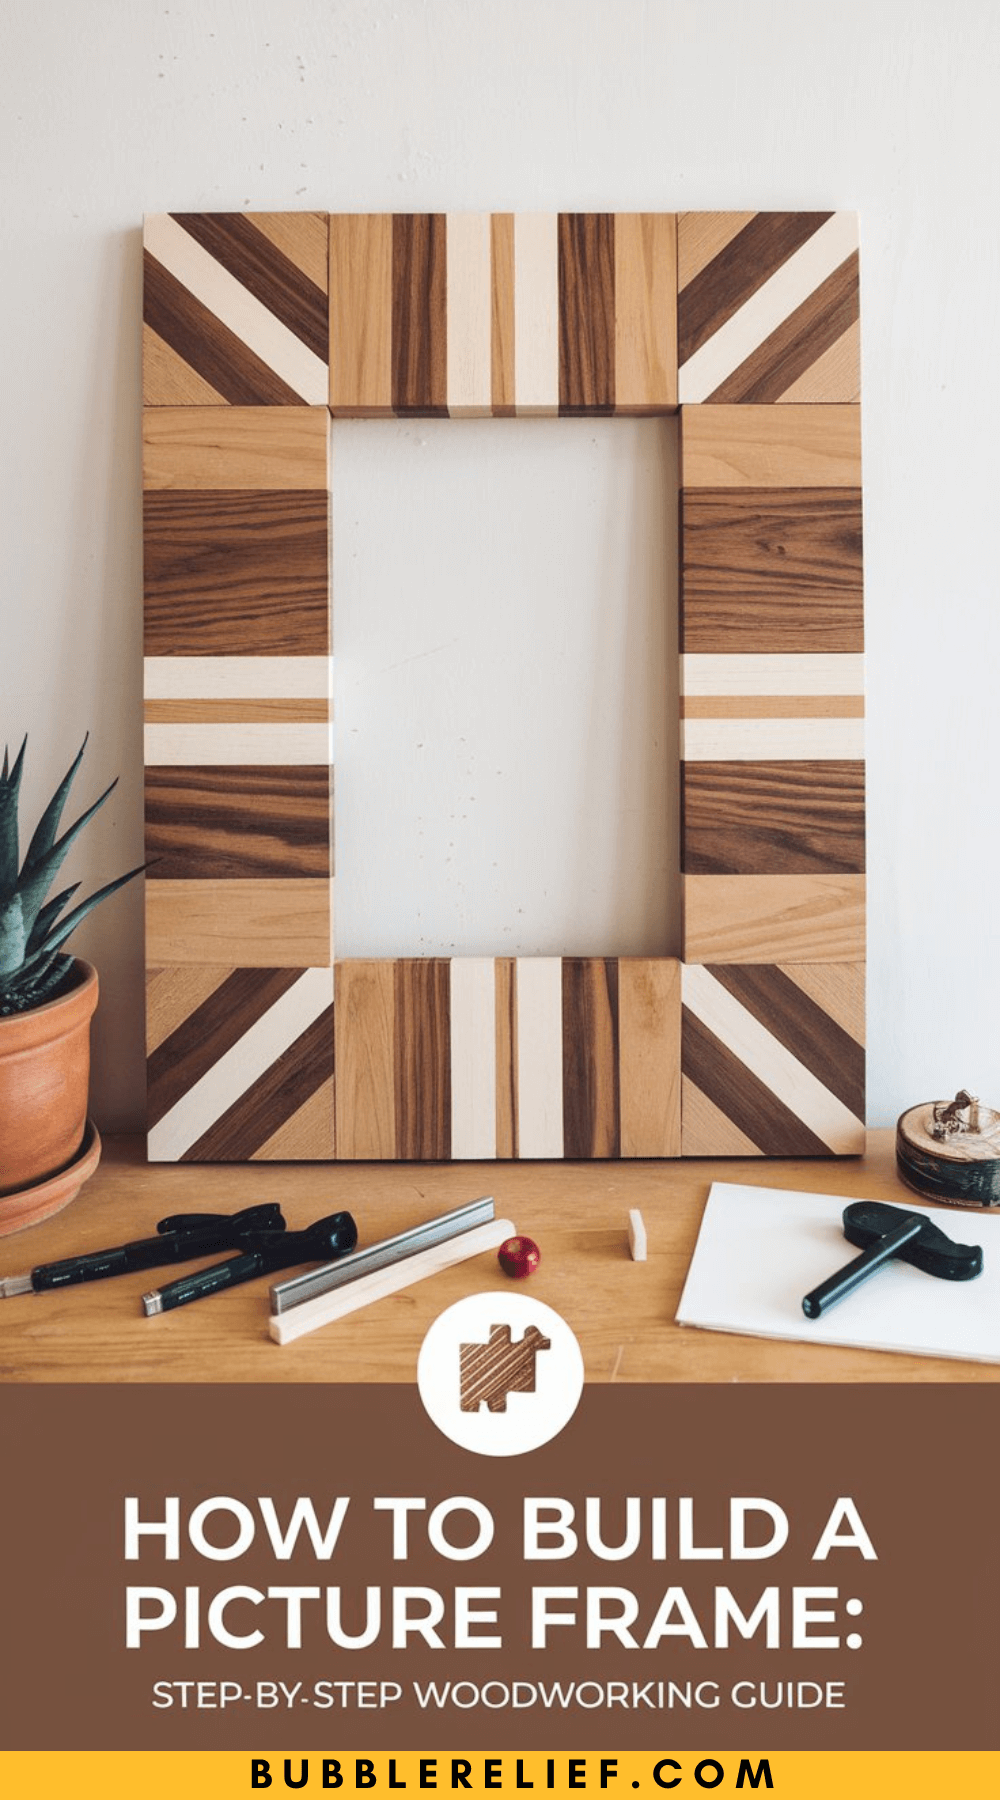
There’s something special about creating your own picture frame. Whether you’re displaying a cherished photo, a beautiful piece of artwork, or a special memory, making your own frame adds a personal touch that store-bought options just can’t match. Plus, it’s an incredibly satisfying project—one that can be done in an afternoon, even if you’ve never picked up a saw before.
In this guide, we’ll walk you through the simple steps of building a picture frame from scratch. Don’t worry if you’re a complete beginner—this is an easy, fun project that anyone can do. So, grab your tools and let’s dive in!
Materials You’ll Need
Before we jump into building, let’s make sure we have everything we need. Don’t worry, the materials are easy to find and relatively inexpensive:
- Wooden Strips: You can use almost any type of wood that you like. Pine is a great, affordable choice that’s easy to work with. Avoid wood with knots, as they can make cutting and finishing harder.
- Measuring Tape: Accuracy is key in framing, so a measuring tape is essential for precise cuts.
- Miter Saw (or Hand Saw): A miter saw is best for cutting the wood at an angle, but a regular hand saw will also do if you don’t have one.
- Wood Glue: This is what will hold your frame together at the corners.
- Clamps: These are used to hold the frame together while the glue dries.
- Finishing Nails or Staples: You’ll need these to secure the backing of your frame.
- Paint or Wood Finish: This will add color and protection to the wood.
- Glass or Acrylic Sheet: This protects the photo or artwork inside the frame.
- Picture Hangers: These make hanging your frame a breeze.
- Sandpaper: Smooth out rough edges to make your frame look polished.
Step 1: Measure Your Photo or Artwork

The first step is to figure out how big you want your frame to be. Measure the width and height of your photo or artwork. You can decide if you want the frame to be the exact size of your piece or if you want a little extra space around it.
- For a snug fit: Subtract about 1/8 inch from each side of your photo to make sure it fits in without being too tight.
- For a matted look: If you want a matting around the artwork, you’ll need to make the frame bigger. Then, you can add a separate mat to sit around your picture inside the frame.
Step 2: Cut the Wood Strips
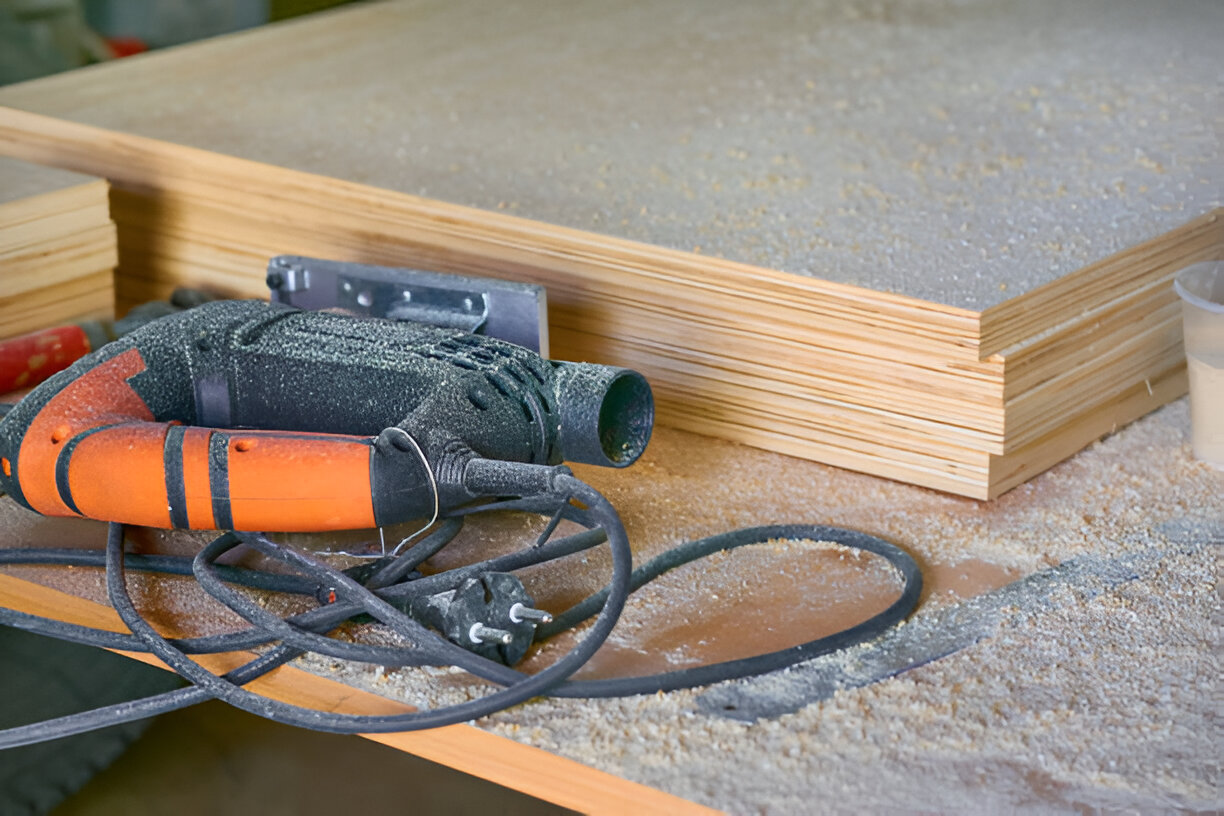
Now that we have our measurements, it’s time to cut the wood. You’ll need four pieces: two for the width of the frame and two for the height.
- Measure and Mark: Use your measuring tape to mark where you’ll cut each strip. Make sure the pieces are the right length based on the size of your photo or artwork.
- Cut the Angles: For the corners of the frame, we want to cut the wood at a 45-degree angle. This creates a neat mitered corner that gives the frame a polished look.
- Cut Carefully: Whether you’re using a miter saw or a hand saw, make sure your cuts are clean and straight. If you’re using a hand saw, take your time to ensure the cuts are accurate.
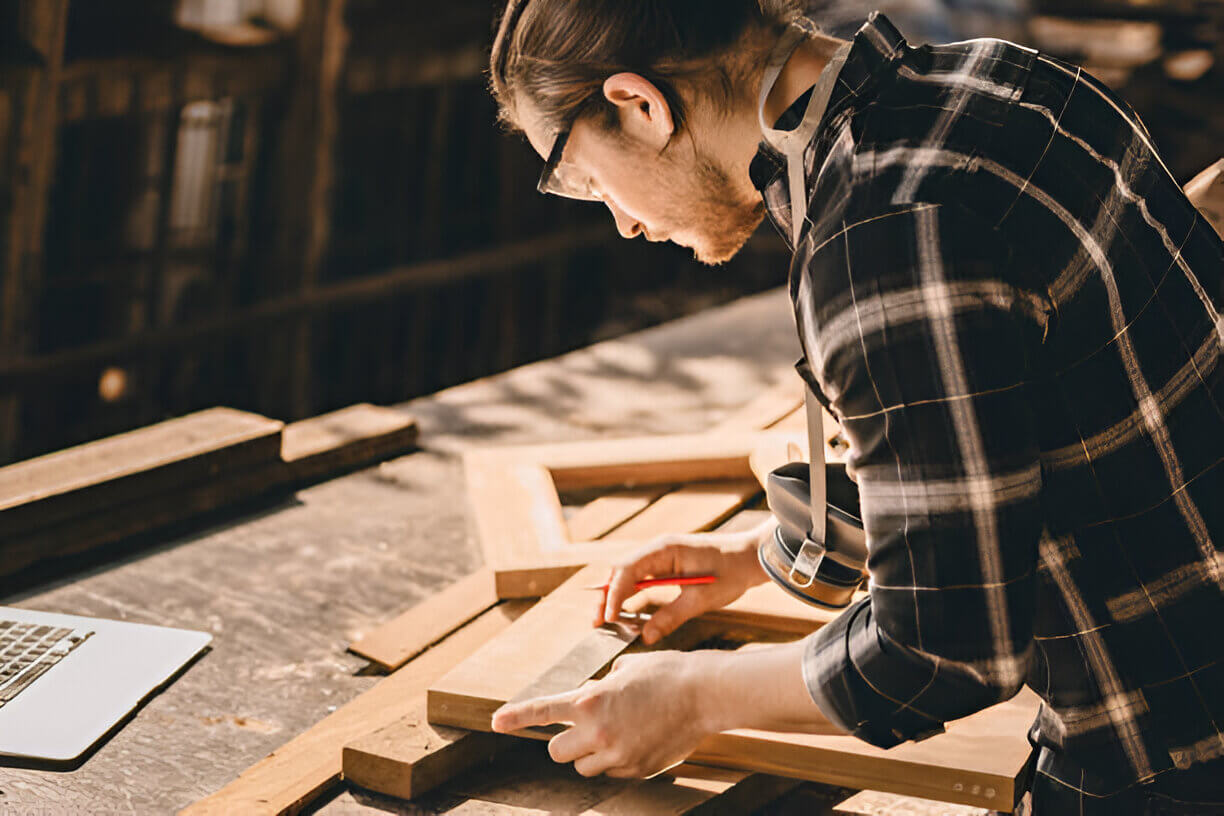
Step 3: Sand the Wood
Once your pieces are cut, give them a smooth finish. Sanding the wood will get rid of any rough edges or splinters, making it feel nicer to touch and look at.
- Sand the Edges: Use sandpaper to smooth out the edges of each cut, focusing especially on the corners where the angles meet. You want them to fit perfectly together, and sanding can help with that.
- Make It Smooth: After you’ve smoothed the edges, use a finer sandpaper to polish the wood to a soft finish. You’ll want the wood to feel nice to the touch and look good up close.
Step 4: Assemble the Frame
Now comes the fun part: putting the frame together! This is where the wood glue and clamps come into play.
- Apply the Glue: Put a thin layer of wood glue on the edges where the pieces meet. Be careful not to use too much, as it can spill out and make a mess.
- Join the Pieces: Carefully align the two pieces at a 90-degree angle, so the mitered cuts match up perfectly. Do the same with the other two pieces.
- Clamp it Down: Once everything is aligned, use clamps to hold the frame together while the glue dries. This should take about 30 minutes to an hour, depending on the type of glue you’re using. Just make sure the frame stays square while it dries.
Step 5: Secure the Backing
With the frame all glued and ready, we can now secure the backing, which will hold your photo in place.
Advertisement
- Cut the Backing: Measure and cut a piece of cardboard or foam board that fits snugly into the back of the frame. This should be slightly smaller than the inside of the frame, leaving room for the photo and glass or acrylic.
- Insert Your Photo: Place your photo or artwork into the frame. Make sure it’s centered properly.
- Attach the Backing: Use finishing nails or a staple gun to secure the backing to the frame. This will hold everything in place and keep your picture from falling out.
Step 6: Add the Glass or Acrylic
Now, to protect your photo and give the frame a nice, finished look, you’ll want to add glass or acrylic.
- Cut the Glass: Measure the size of the frame opening and have a piece of glass or acrylic cut to fit. Many hardware stores offer custom cutting, so you can bring in your measurements and have it cut for you.
- Place the Glass: Carefully insert the glass or acrylic into the frame. It should fit snugly against the photo and backing. If you’re using glass, be careful to avoid fingerprints.
Step 7: Final Touches
This is your chance to add your personal touch and make the frame uniquely yours.
- Paint or Stain: You can leave the wood natural or give it a fresh coat of paint or wood stain. Choose a color that matches your home décor, or go bold for a pop of color.
- Let it Dry: Give your frame plenty of time to dry. If you’ve painted it, let it sit for a day or two to fully cure.
- Polish: Once the paint or finish is dry, polish the frame with a soft cloth to bring out its shine.
Step 8: Attach the Picture Hangers
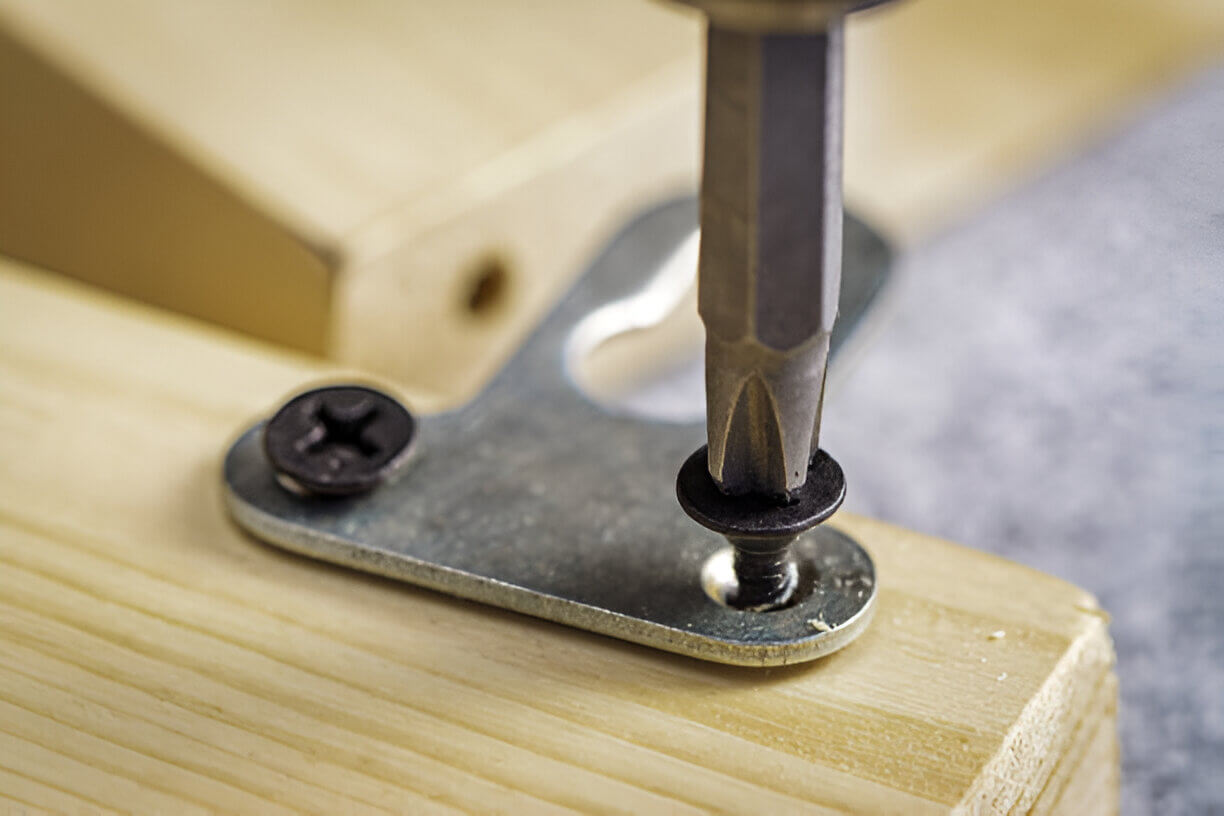
Now that your frame is looking great, it’s time to hang it up!
- Install D-Rings or Hanging Wire: If you’re using D-rings, attach them to the sides of the frame about one-third of the way down from the top. If you’re using a hanging wire, attach small hooks to the back of the frame, then thread the wire tightly across.
- Check for Level: Make sure the hangers are level so your frame hangs straight. You don’t want your beautiful creation to be crooked on the wall!
Tips for a Perfect Frame
- Start Simple: If you’re new to woodworking, don’t worry about making the frame too complicated. Start with a basic design, and as you get more comfortable, you can try more intricate styles.
- Personalize It: Add your own flair! Whether it’s carving a design into the wood, using decorative nails, or painting it in a bold color, a personal touch can make the frame even more special.
- Use a Template: If you’re worried about making the cuts at the right angles, use a picture frame jig. It will make the process even easier.
Conclusion
Building your own picture frame is not only a fun and creative project, but it’s also a great way to add a personal touch to your home décor. With a few basic tools and materials, you can create something beautiful that will showcase your favorite memories in style. So, whether you’re framing family photos, artwork, or a special memento, this simple DIY project is sure to leave you with a sense of pride—and maybe even a new hobby!